The next step after automatics and calendars was to ease into chronographs. The best and easiest way to do that is to start working on timers. A timer is a ‘watch’ that will measure and record a period of time on demand. There are less parts in a timer than there is a watch with a chronograph complication, but the general principles are the same.
During my timer section, I worked on a few different timers, but instead of detailing them all, I’m going to discuss the general features, mechanics behind them and talk about some of the differences I saw while going through the timers section.
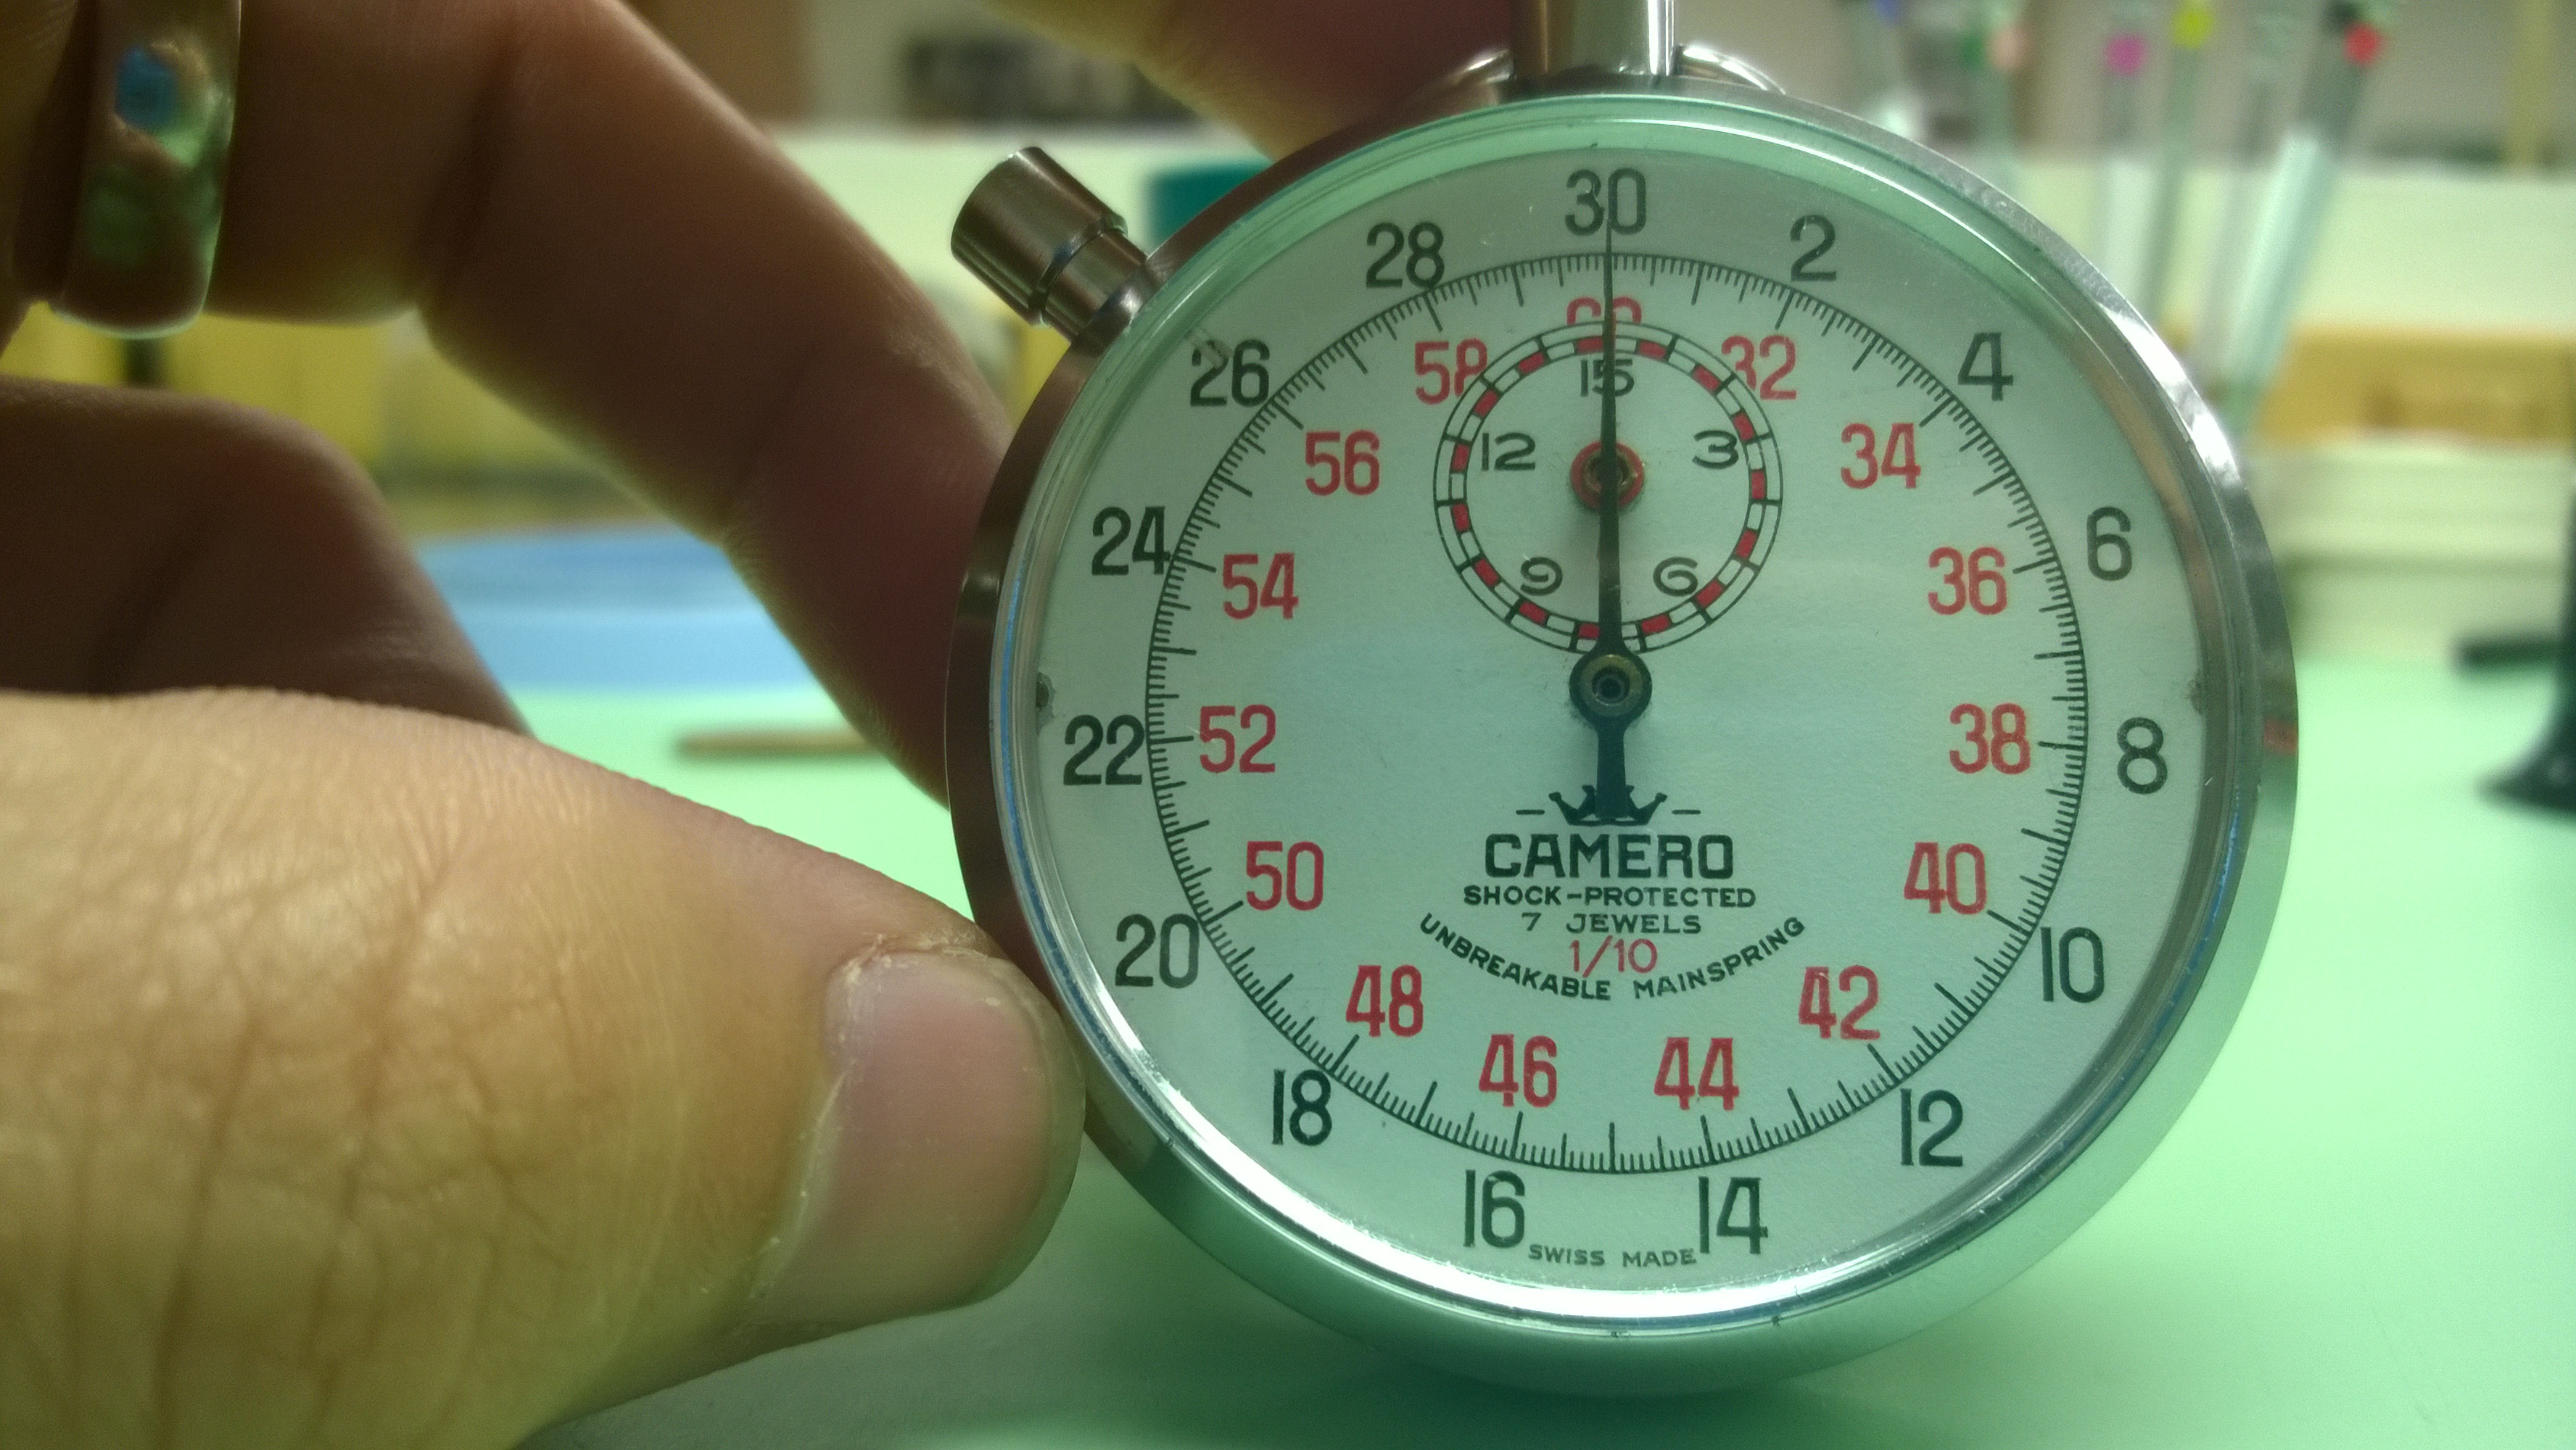
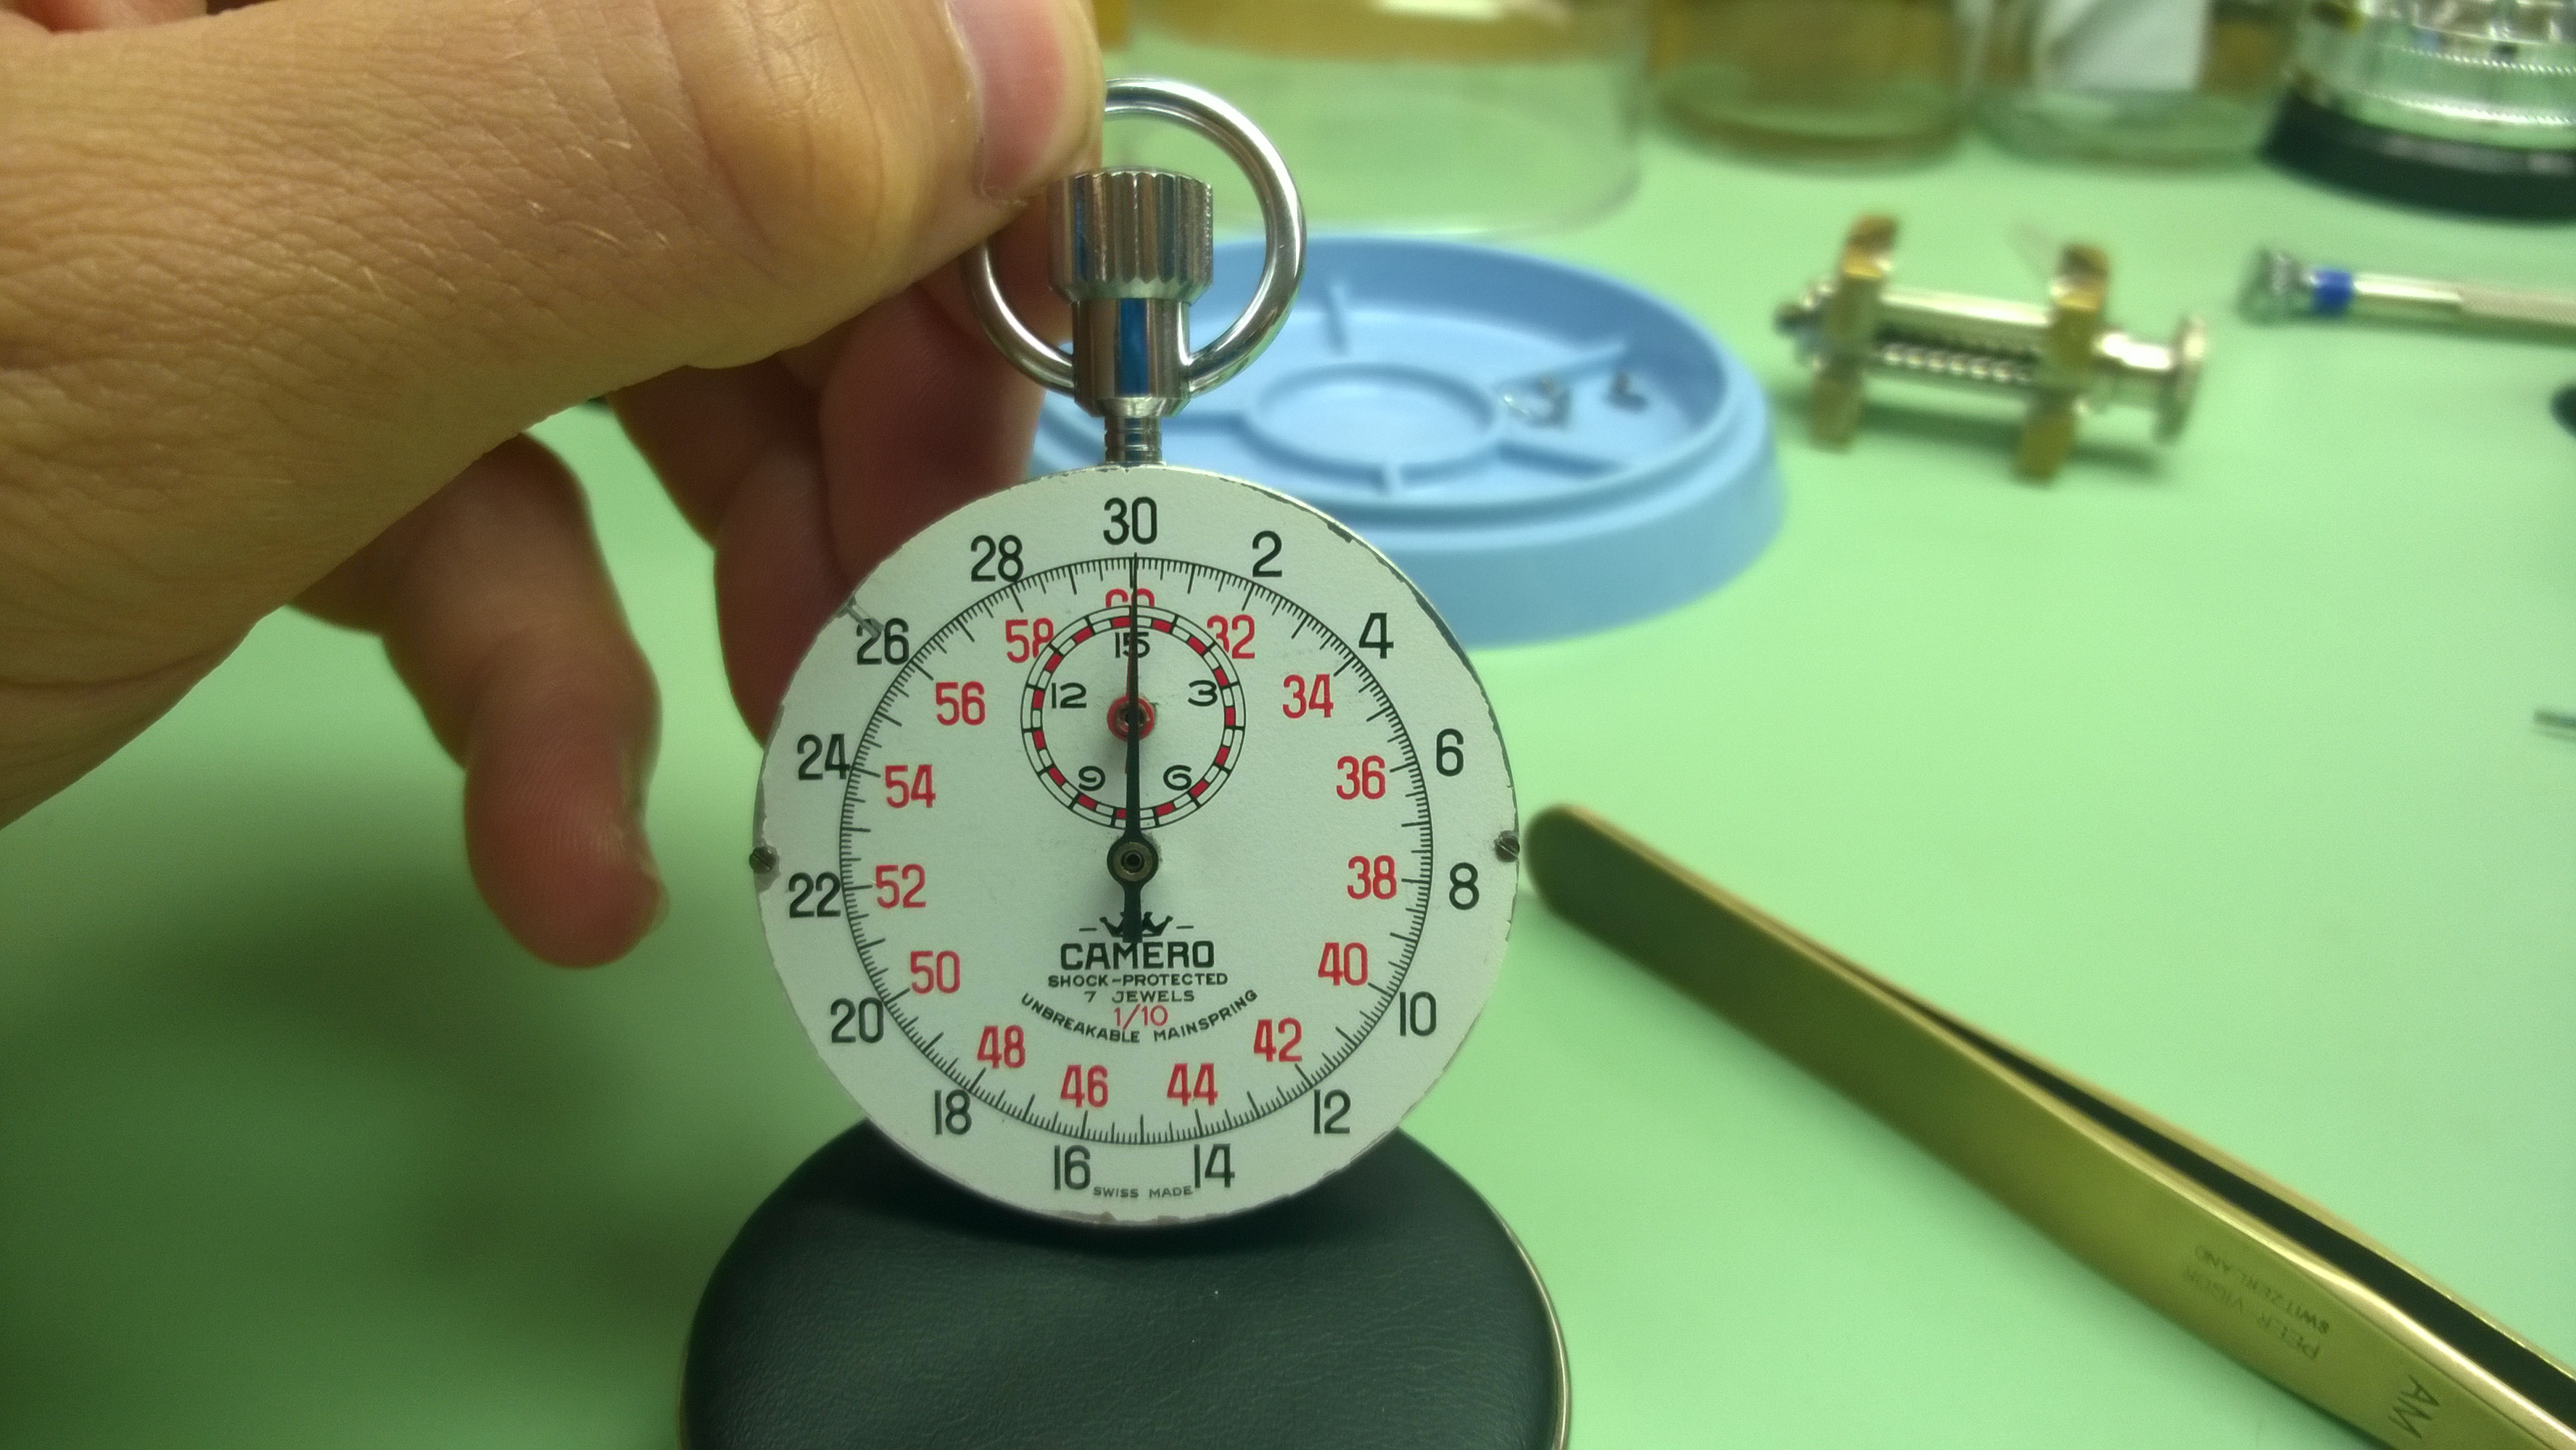
The above timer is your average timer. It is a two-button timer. The pusher at 12:00 will start and stop the timer. The pusher at 10:00 is the reset/fly-back button. The large hand is the seconds hand, and the subdial is for minutes. One thing to note is the seconds ‘register’ is composed of two different tracks: 0-30 in black and 31-60 in red. The seconds hand will sweep the dial twice per minute. In order to properly read the seconds, you need to pay attention to where the minute hand is its subdial. When you stop the timer, if the minute hand is in a white section, you read the seconds hand on the outer track. If the minute hand is in a red section, you will read the inner track.
When you disassemble a timer, you will remove the movement and the dial from the case. Once you have removed the movement, you need to remove the dial and hands at the same time. The first thing you need to do is make sure you have the hands in the zero position. Then, remove any dial screws (usually from the movement side), and then gently pry the dial off with a piece of pegwood that has been cut into a wedge.

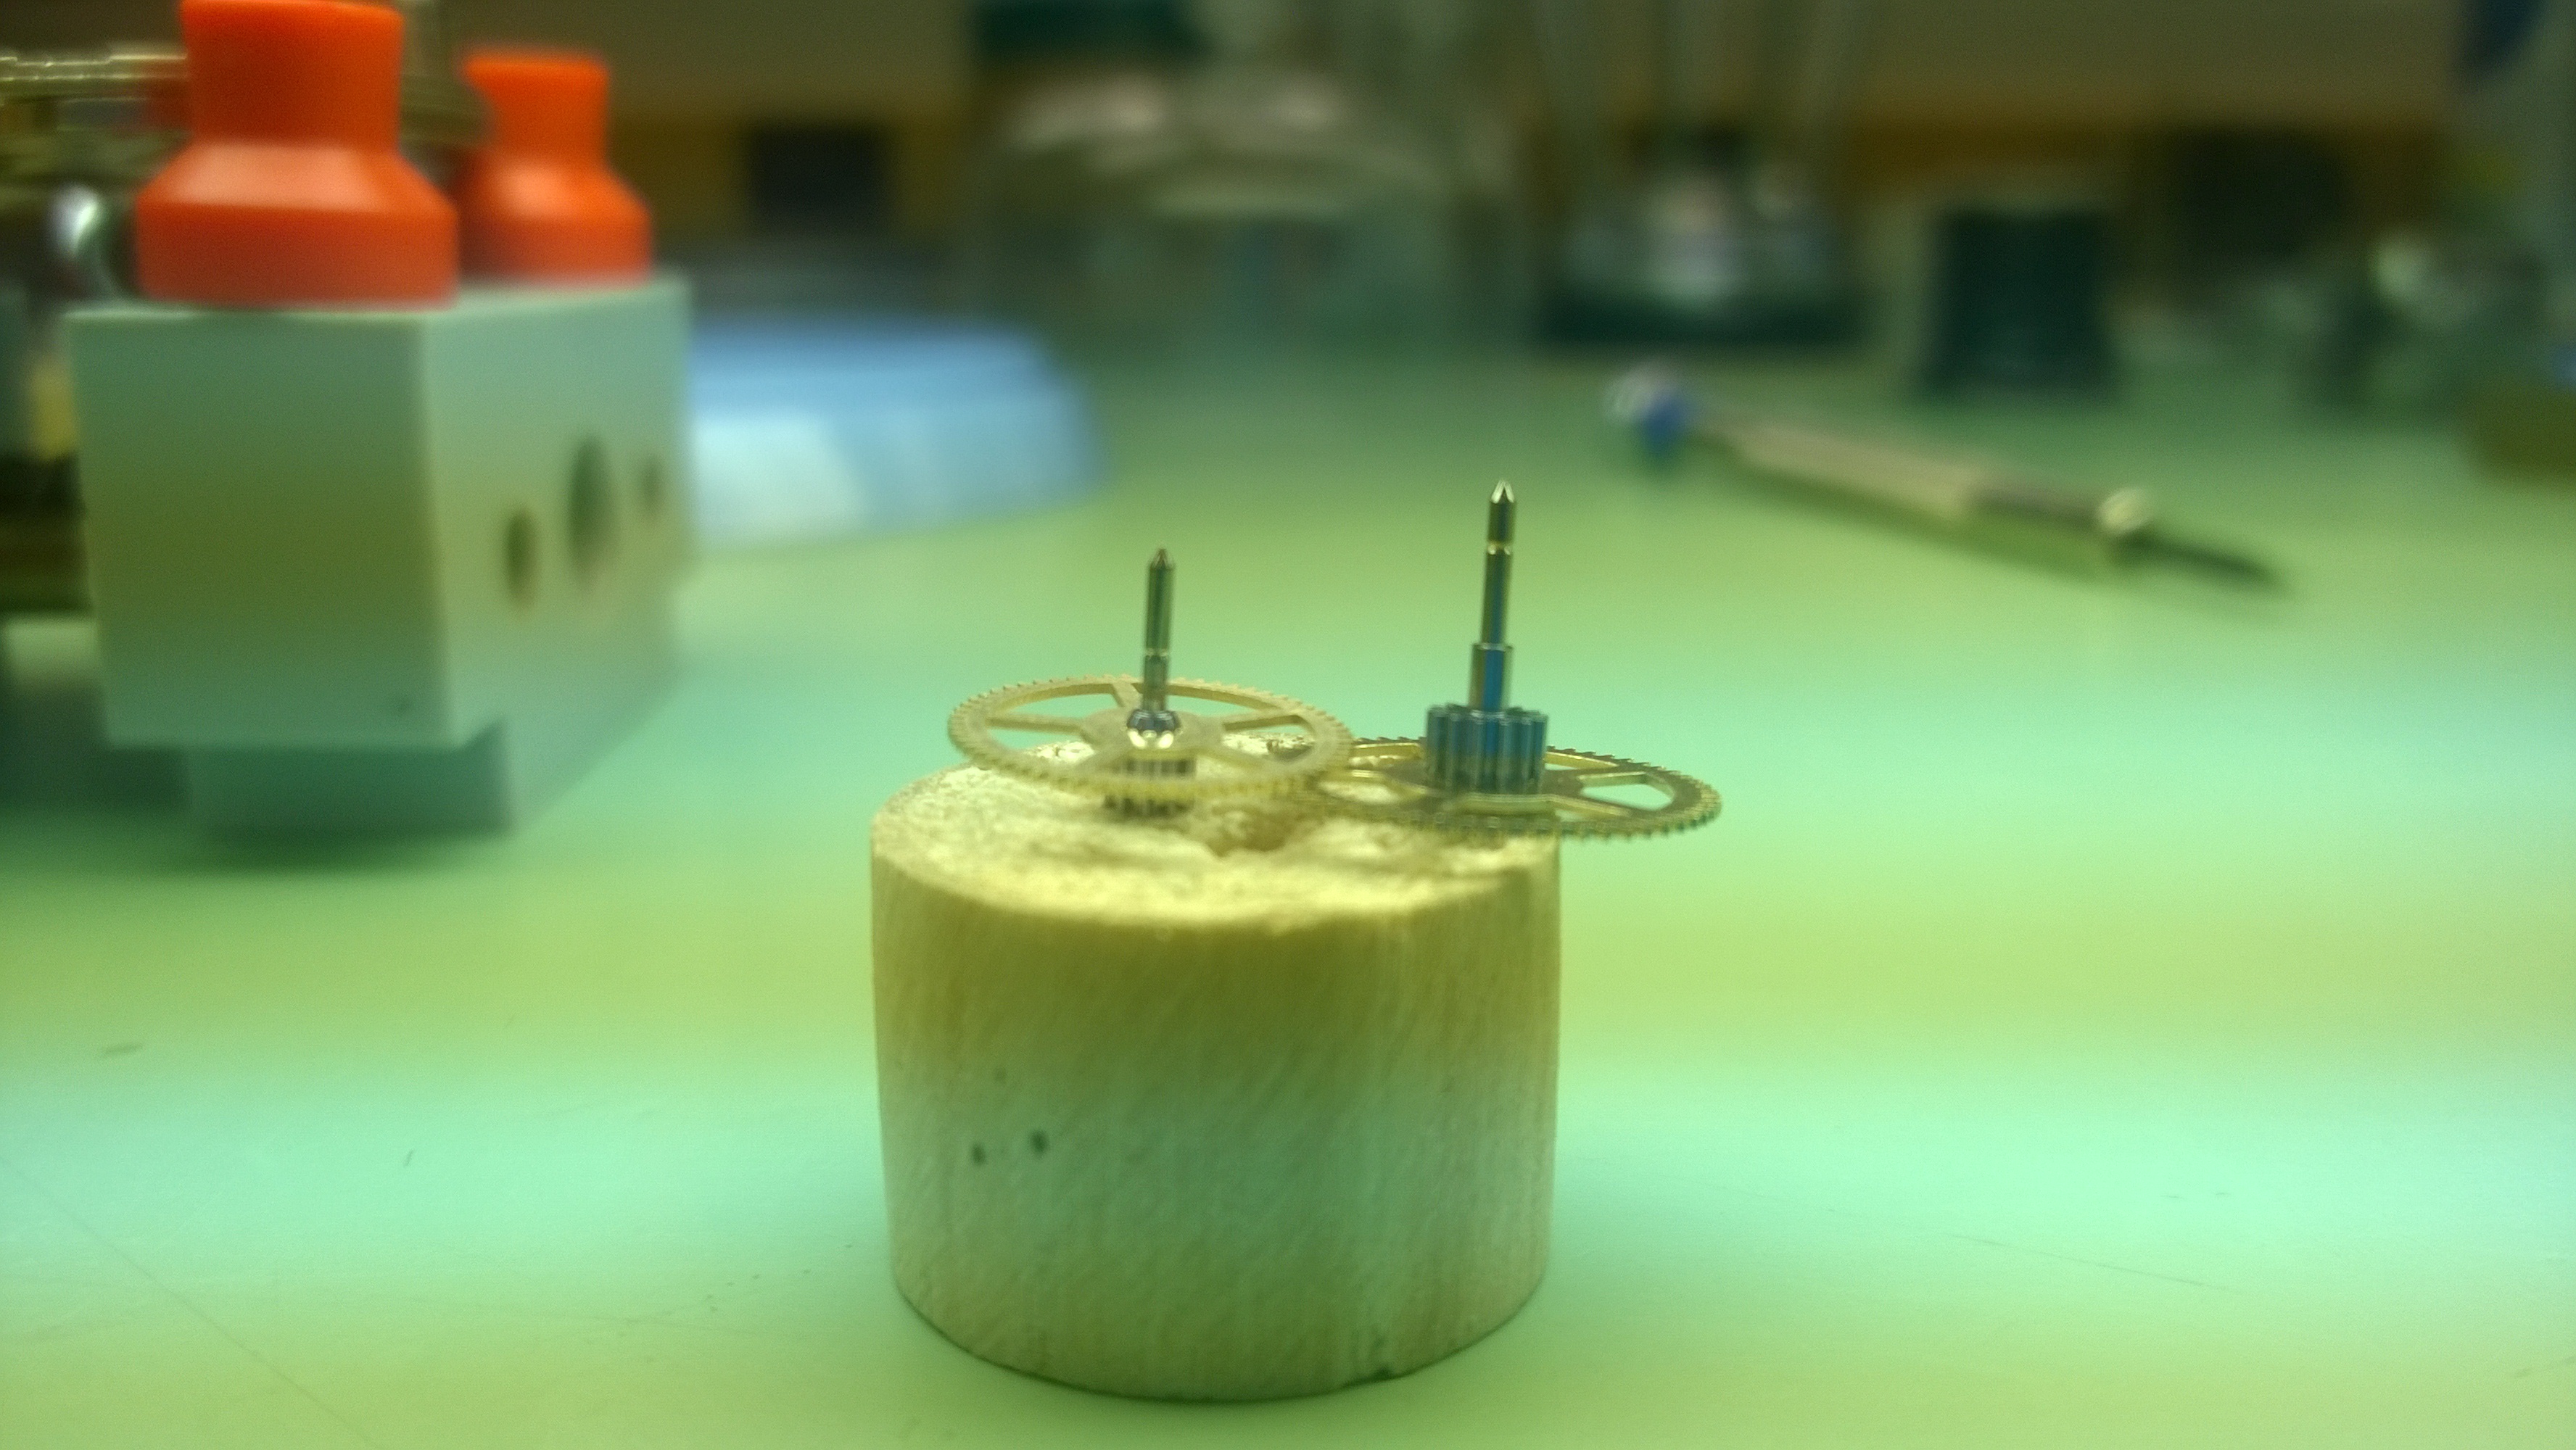
The reason you do this is because the hands on a timer are not attached to any pinions (fourth wheel, cannon, etc). Instead, they are attached to a piece that is called a heart cam/pipe.
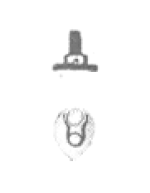
The geometry of a heart cam is what allows for the reset-to-zero function of a timer (more on that in a bit). The hands attach to the top of the pipe, and the pipe of the cam is what attaches to the pinions of the wheels. The pipe is a little bit bigger than the pinion, so to prevent it from moving freely (and thus having the hand spin around freely), there is a small cut-out in the pipe that has a tensioning spring around it to keep the pipe tight on the pinion.
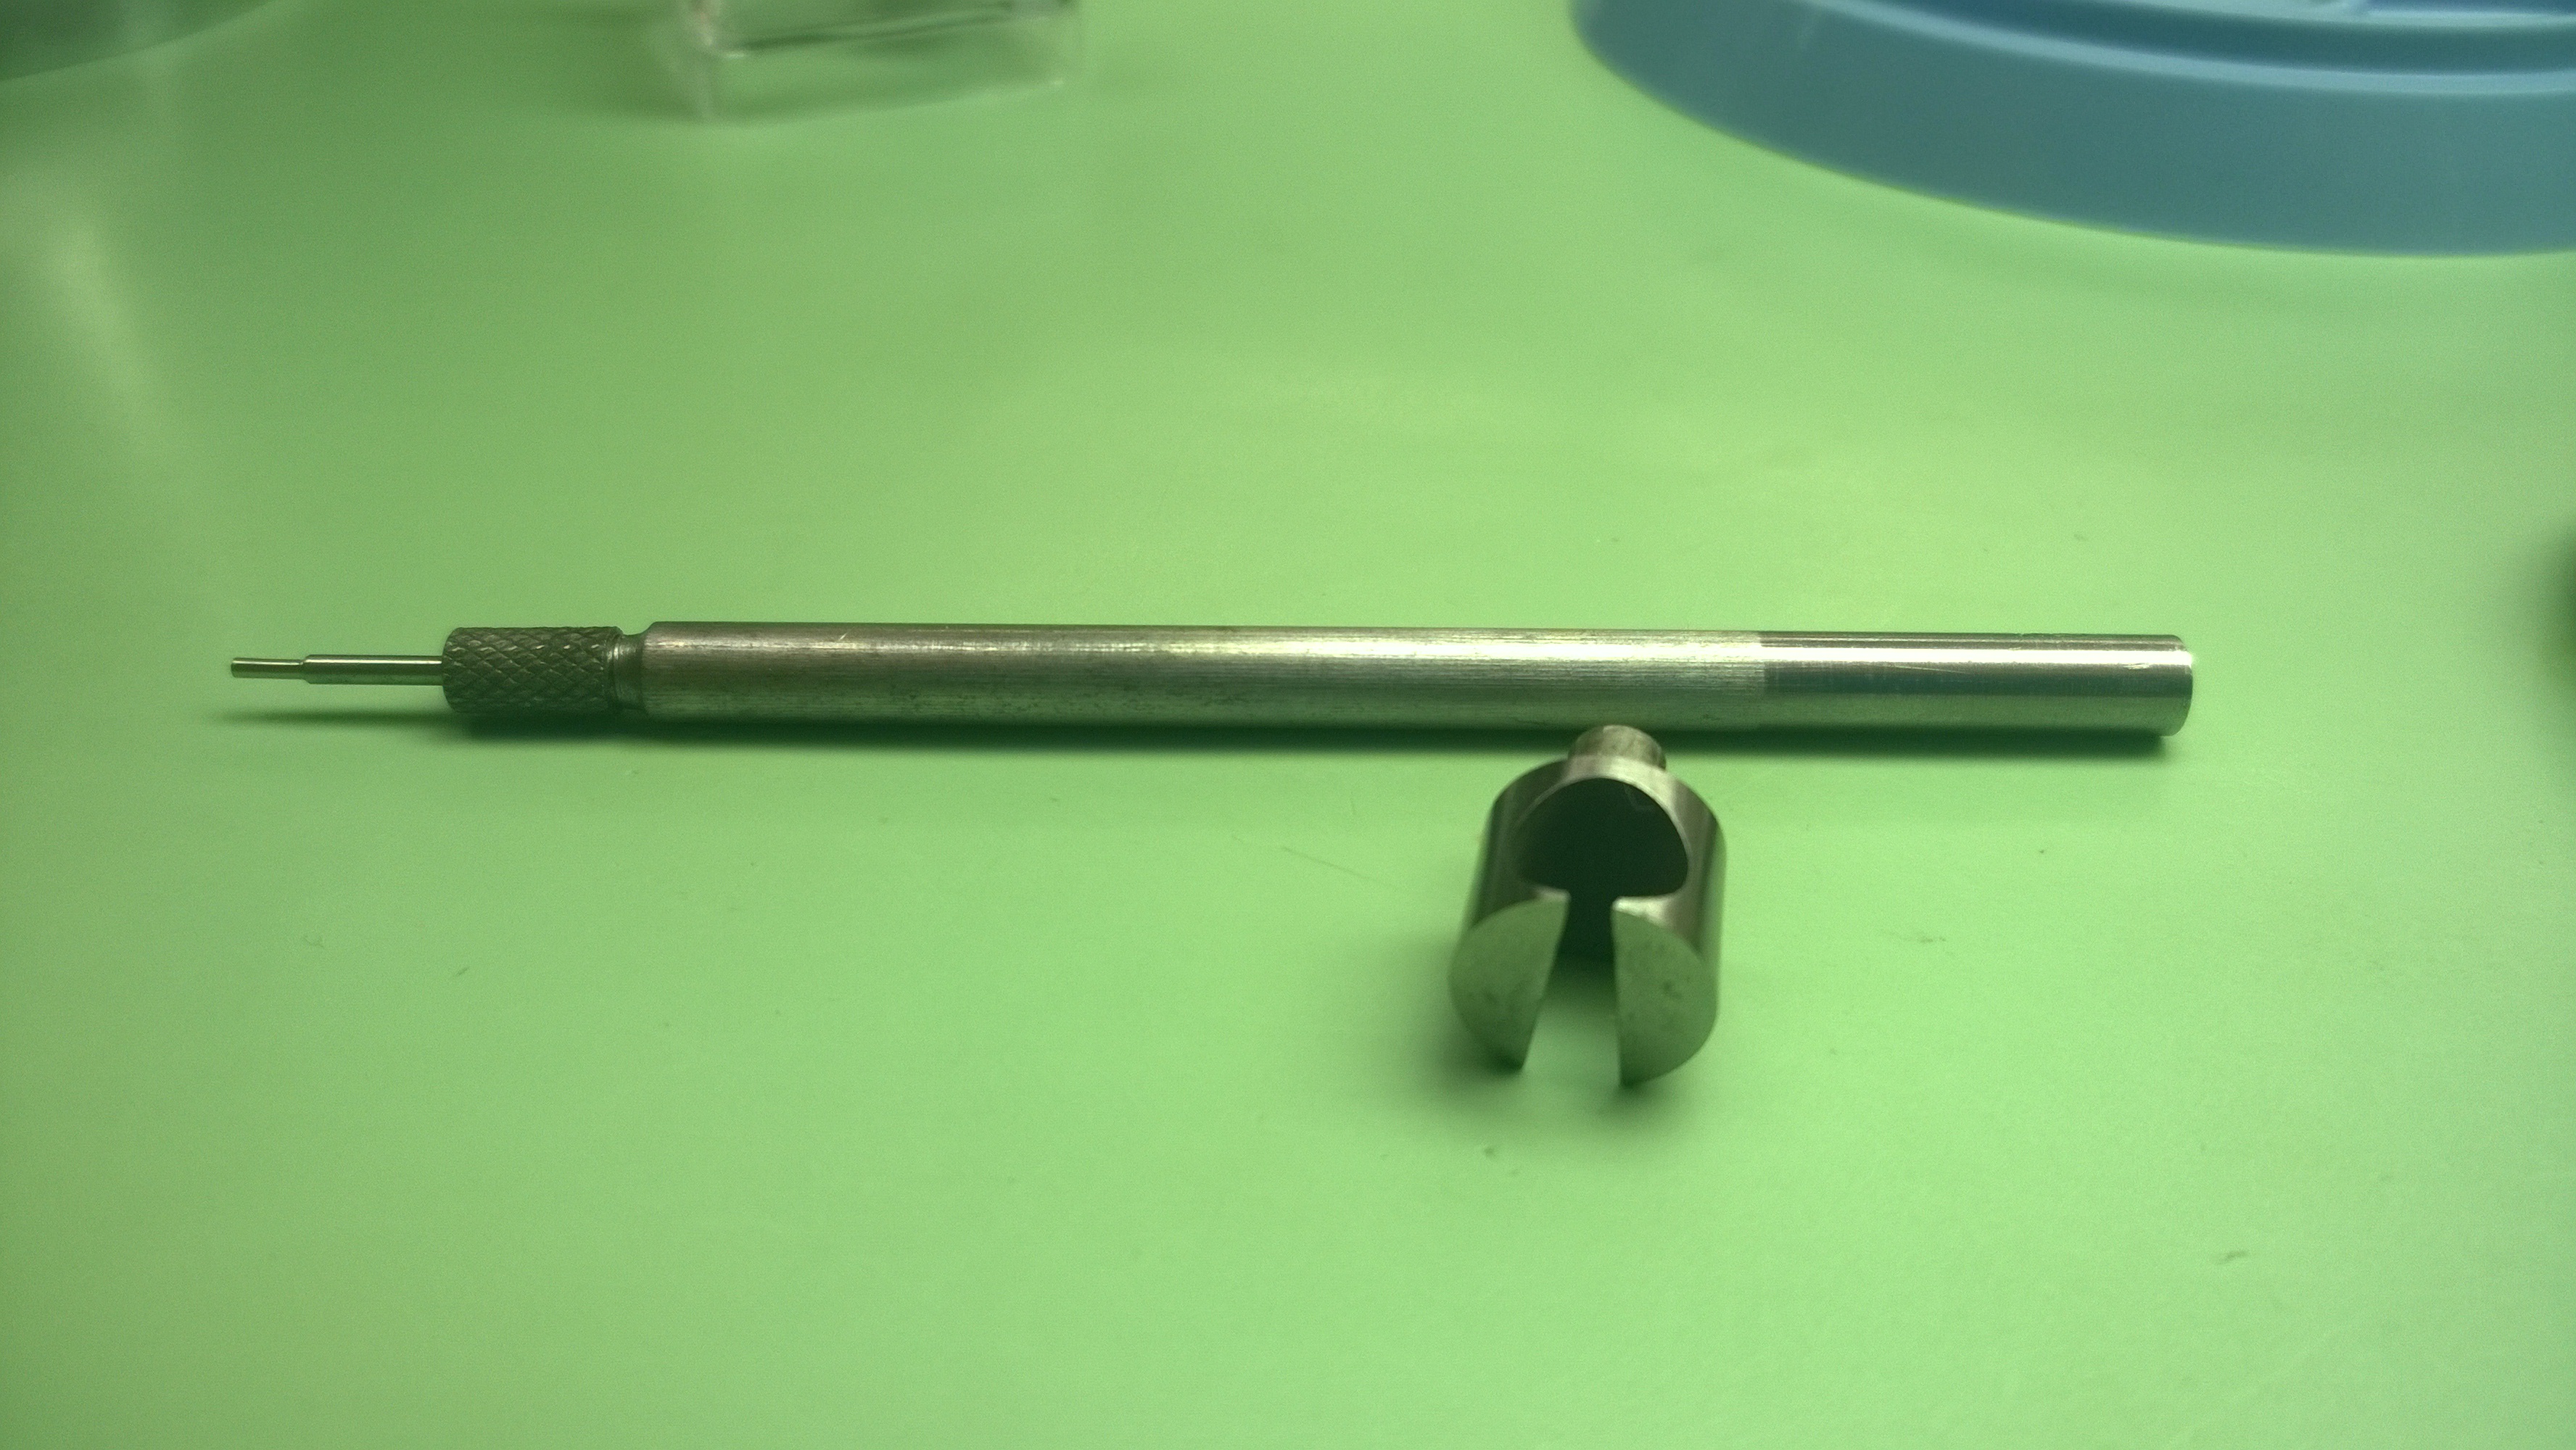
To remove the hands from the pipe, you need to use the above staking set-up. If you can find one, the K&D Roller and Hand Remover Tool works well, as well. The way you use the staking set-up is by putting a heart cam in the lower stump (so the dial is facing upwards), and you use the stake to push the pipe out of the hand.
Once you have removed the dial, go ahead and let the power down and dismantle the gear train. If you have never worked on a timer or a cheap watch, you may be surprised at what you find. Quite a few timers use pin lever pallets instead of jeweled pallets.

These are not going to be as accurate, but since you aren’t worried about COSC standards with timers, the pin pallet will be just fine. That isn’t to say that you can’t dial in the accuracy of a timer, but since a lot of timers were used in a more industrial setting and produced on a large scale, the pin pallet was cheaper and quicker to use.
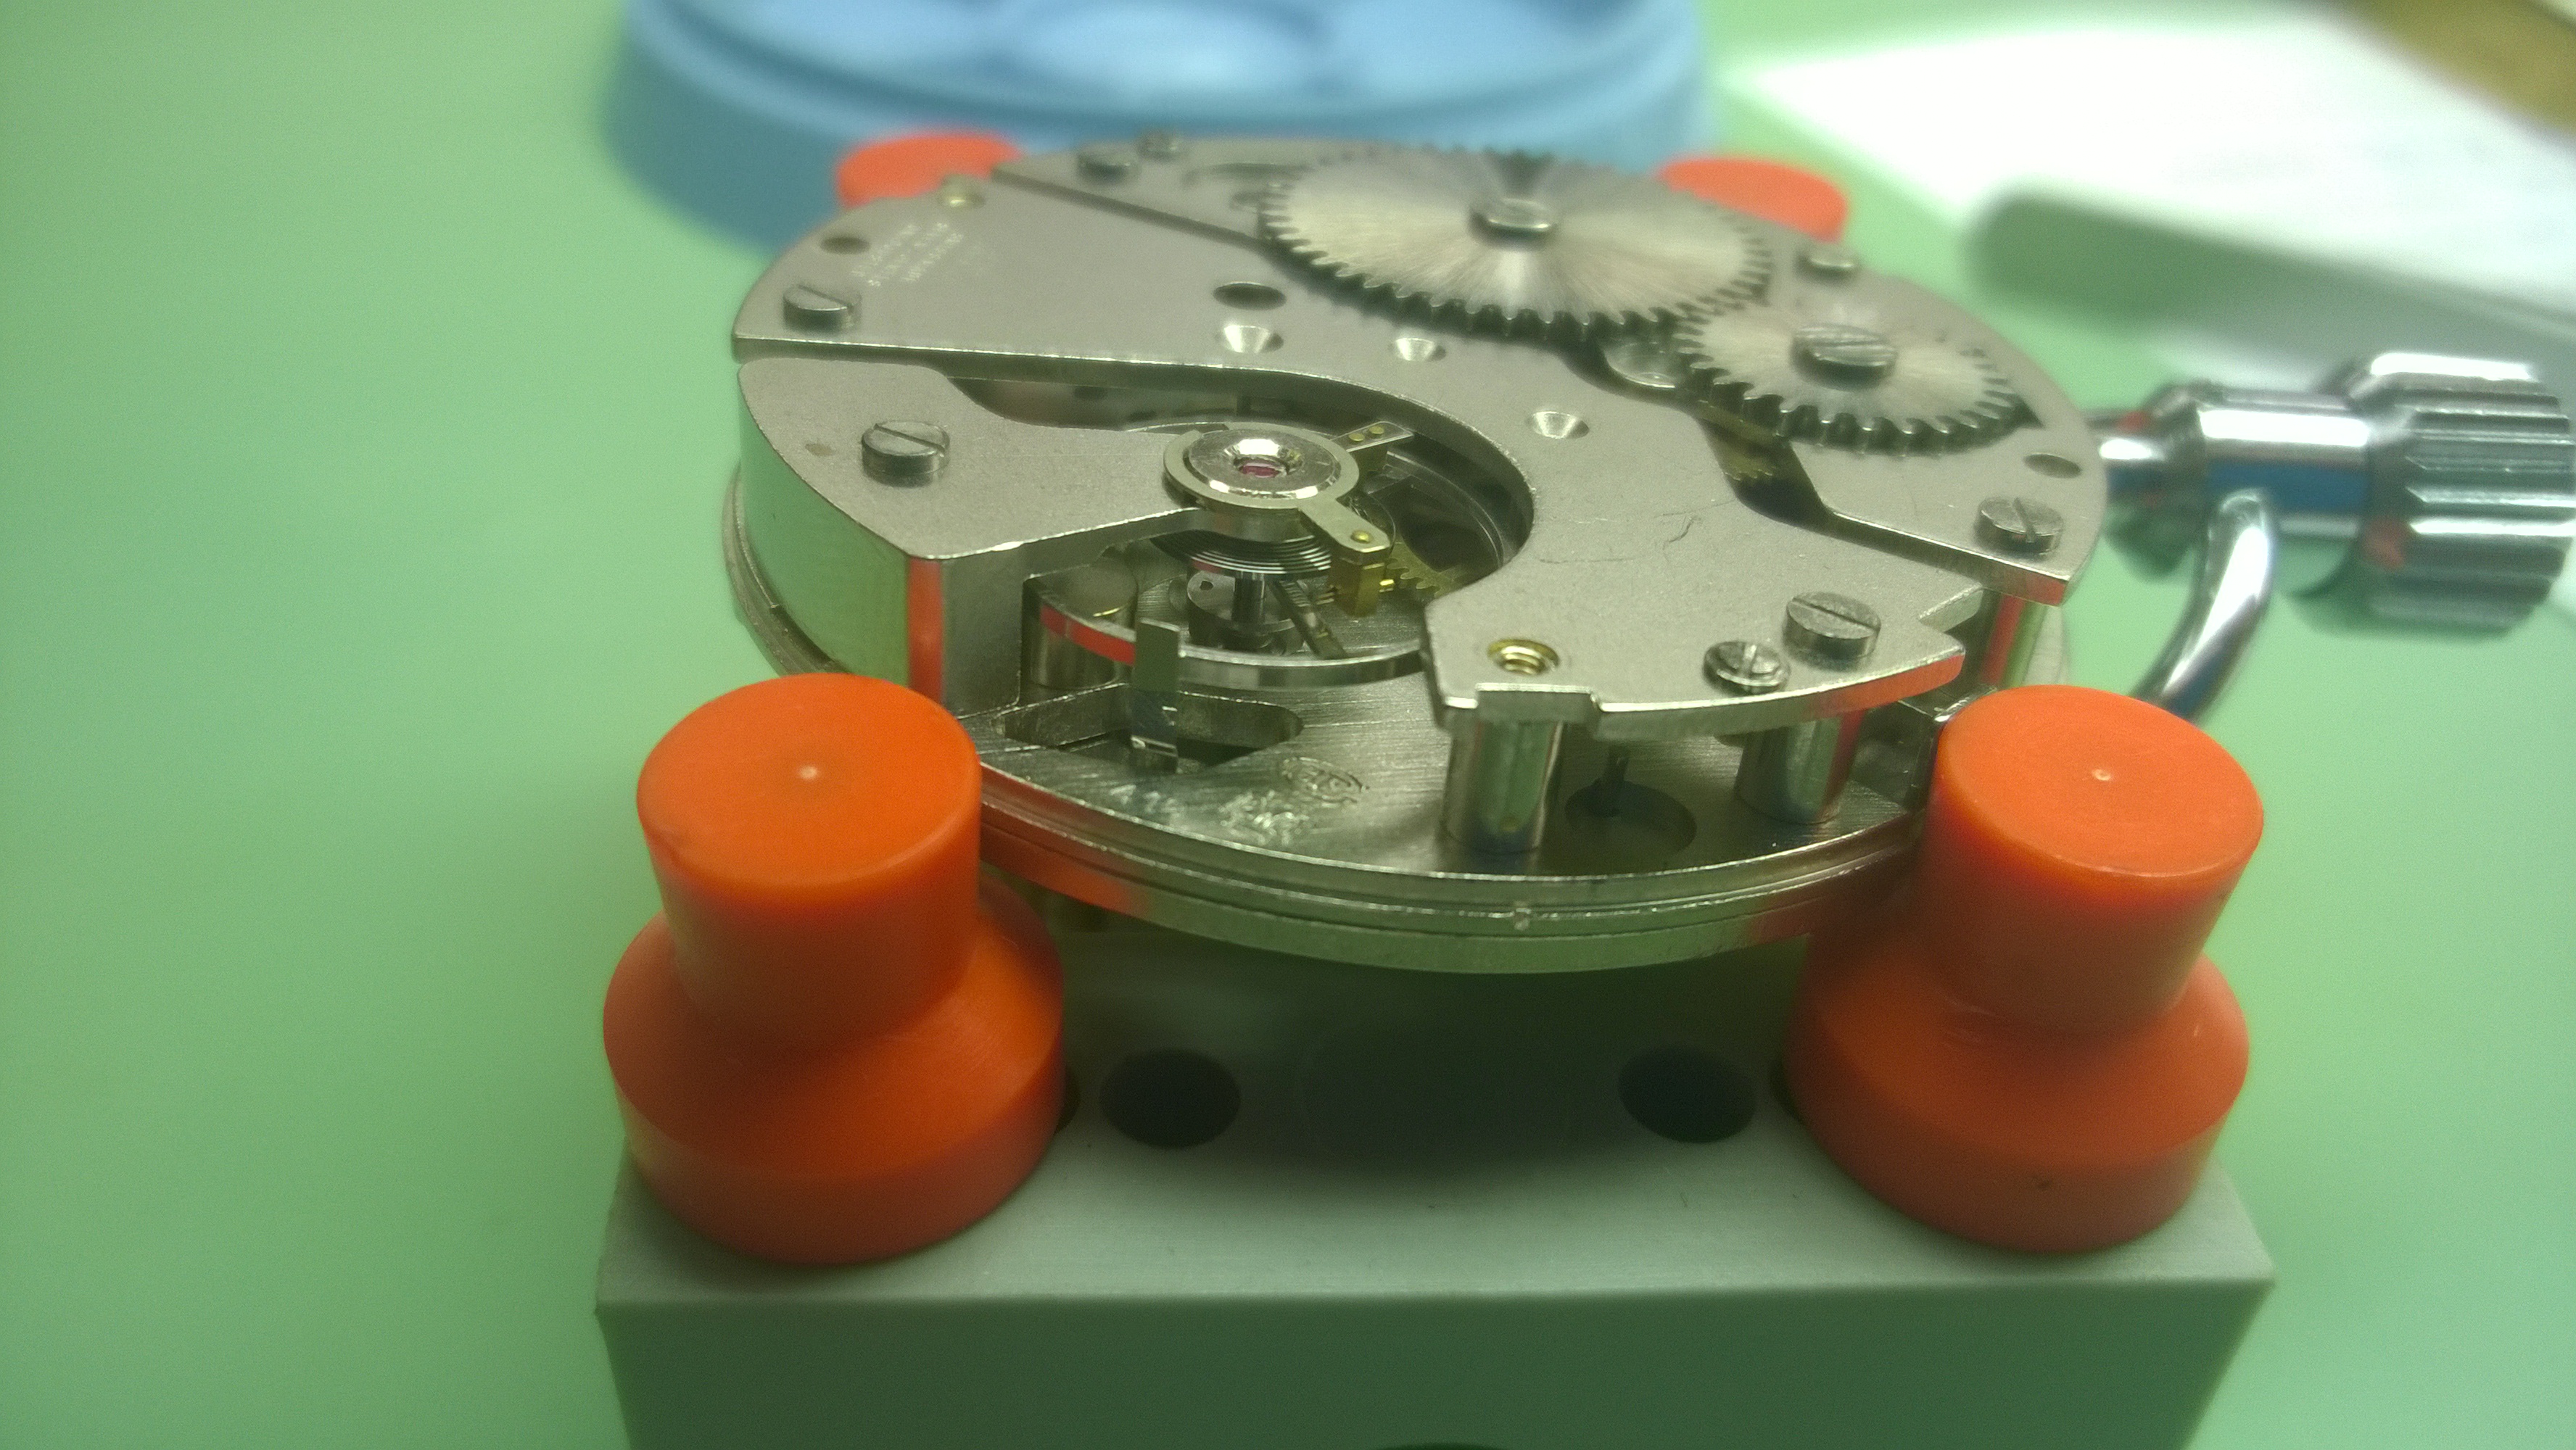
One thing you will notice is that everything on a timer is HUGE. With most of the timers that I worked on, the balance bridge was thicker than most of the movements I had worked on up until this point.
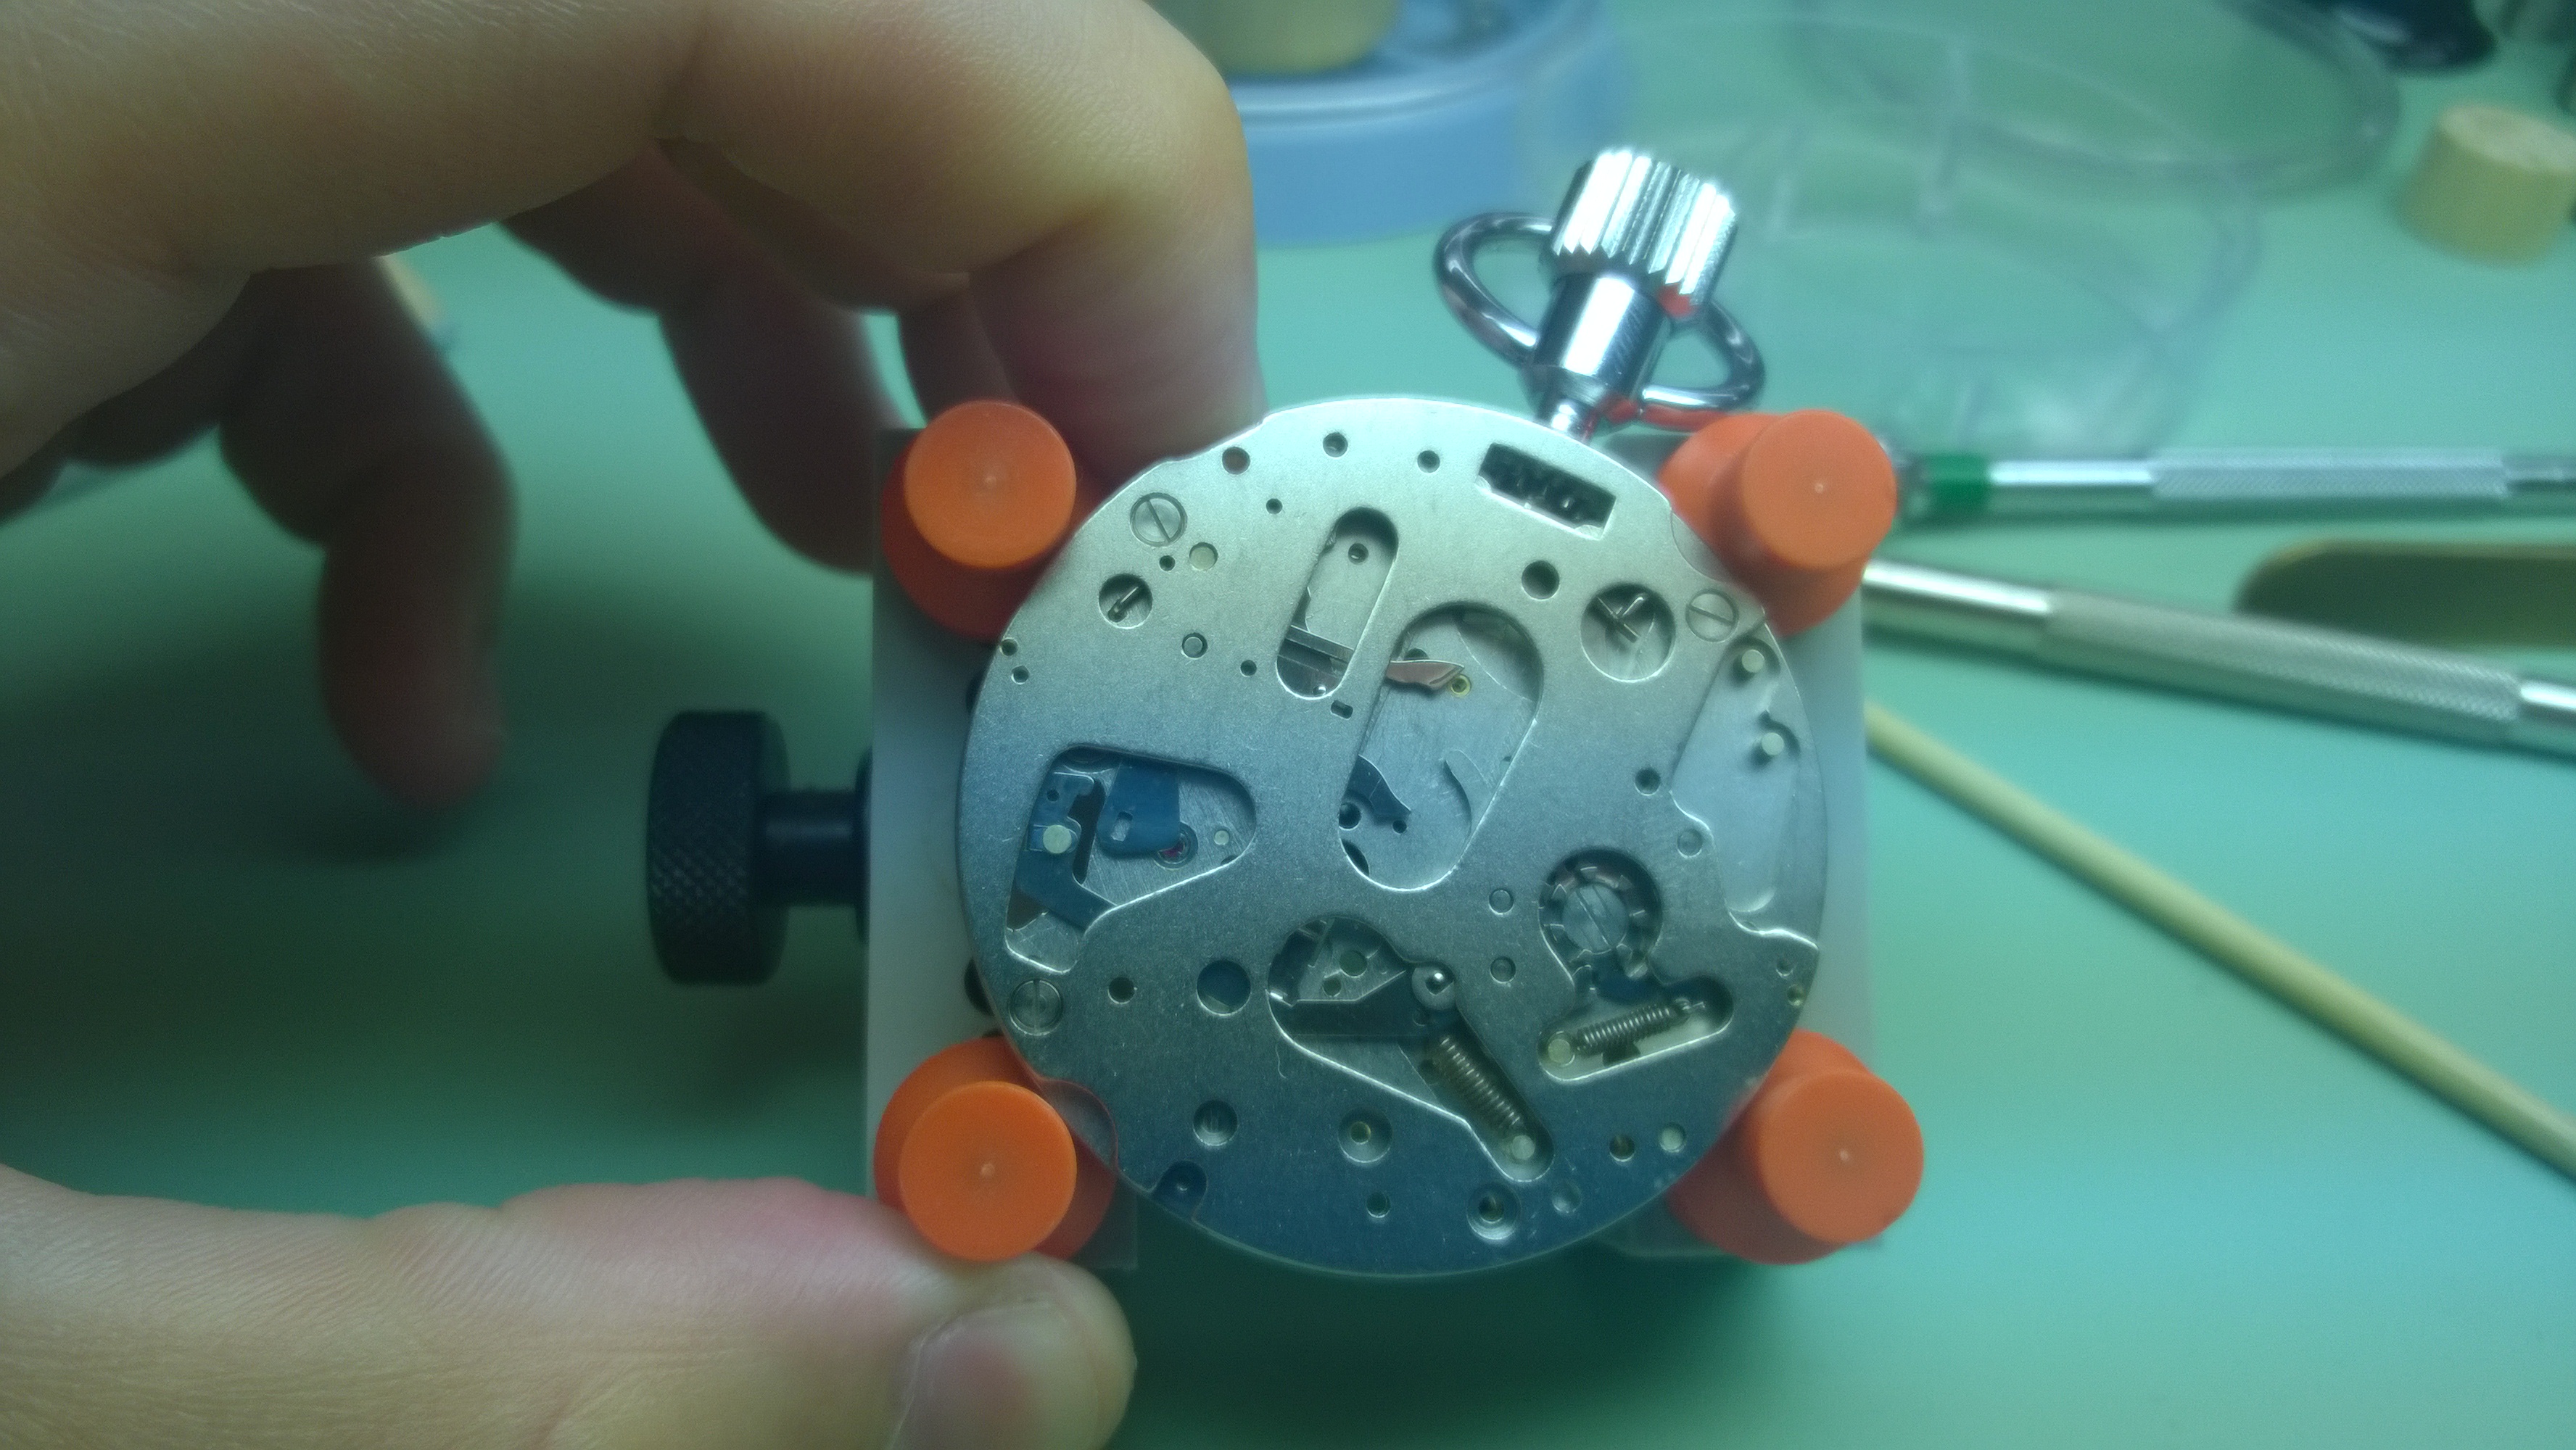
Once you have removed gear train, flip the movement over. Some timers will have a dial rest,
And some don’t. The dial rest is an added layer of ‘protection’ for keeping parts that are under tension in place.
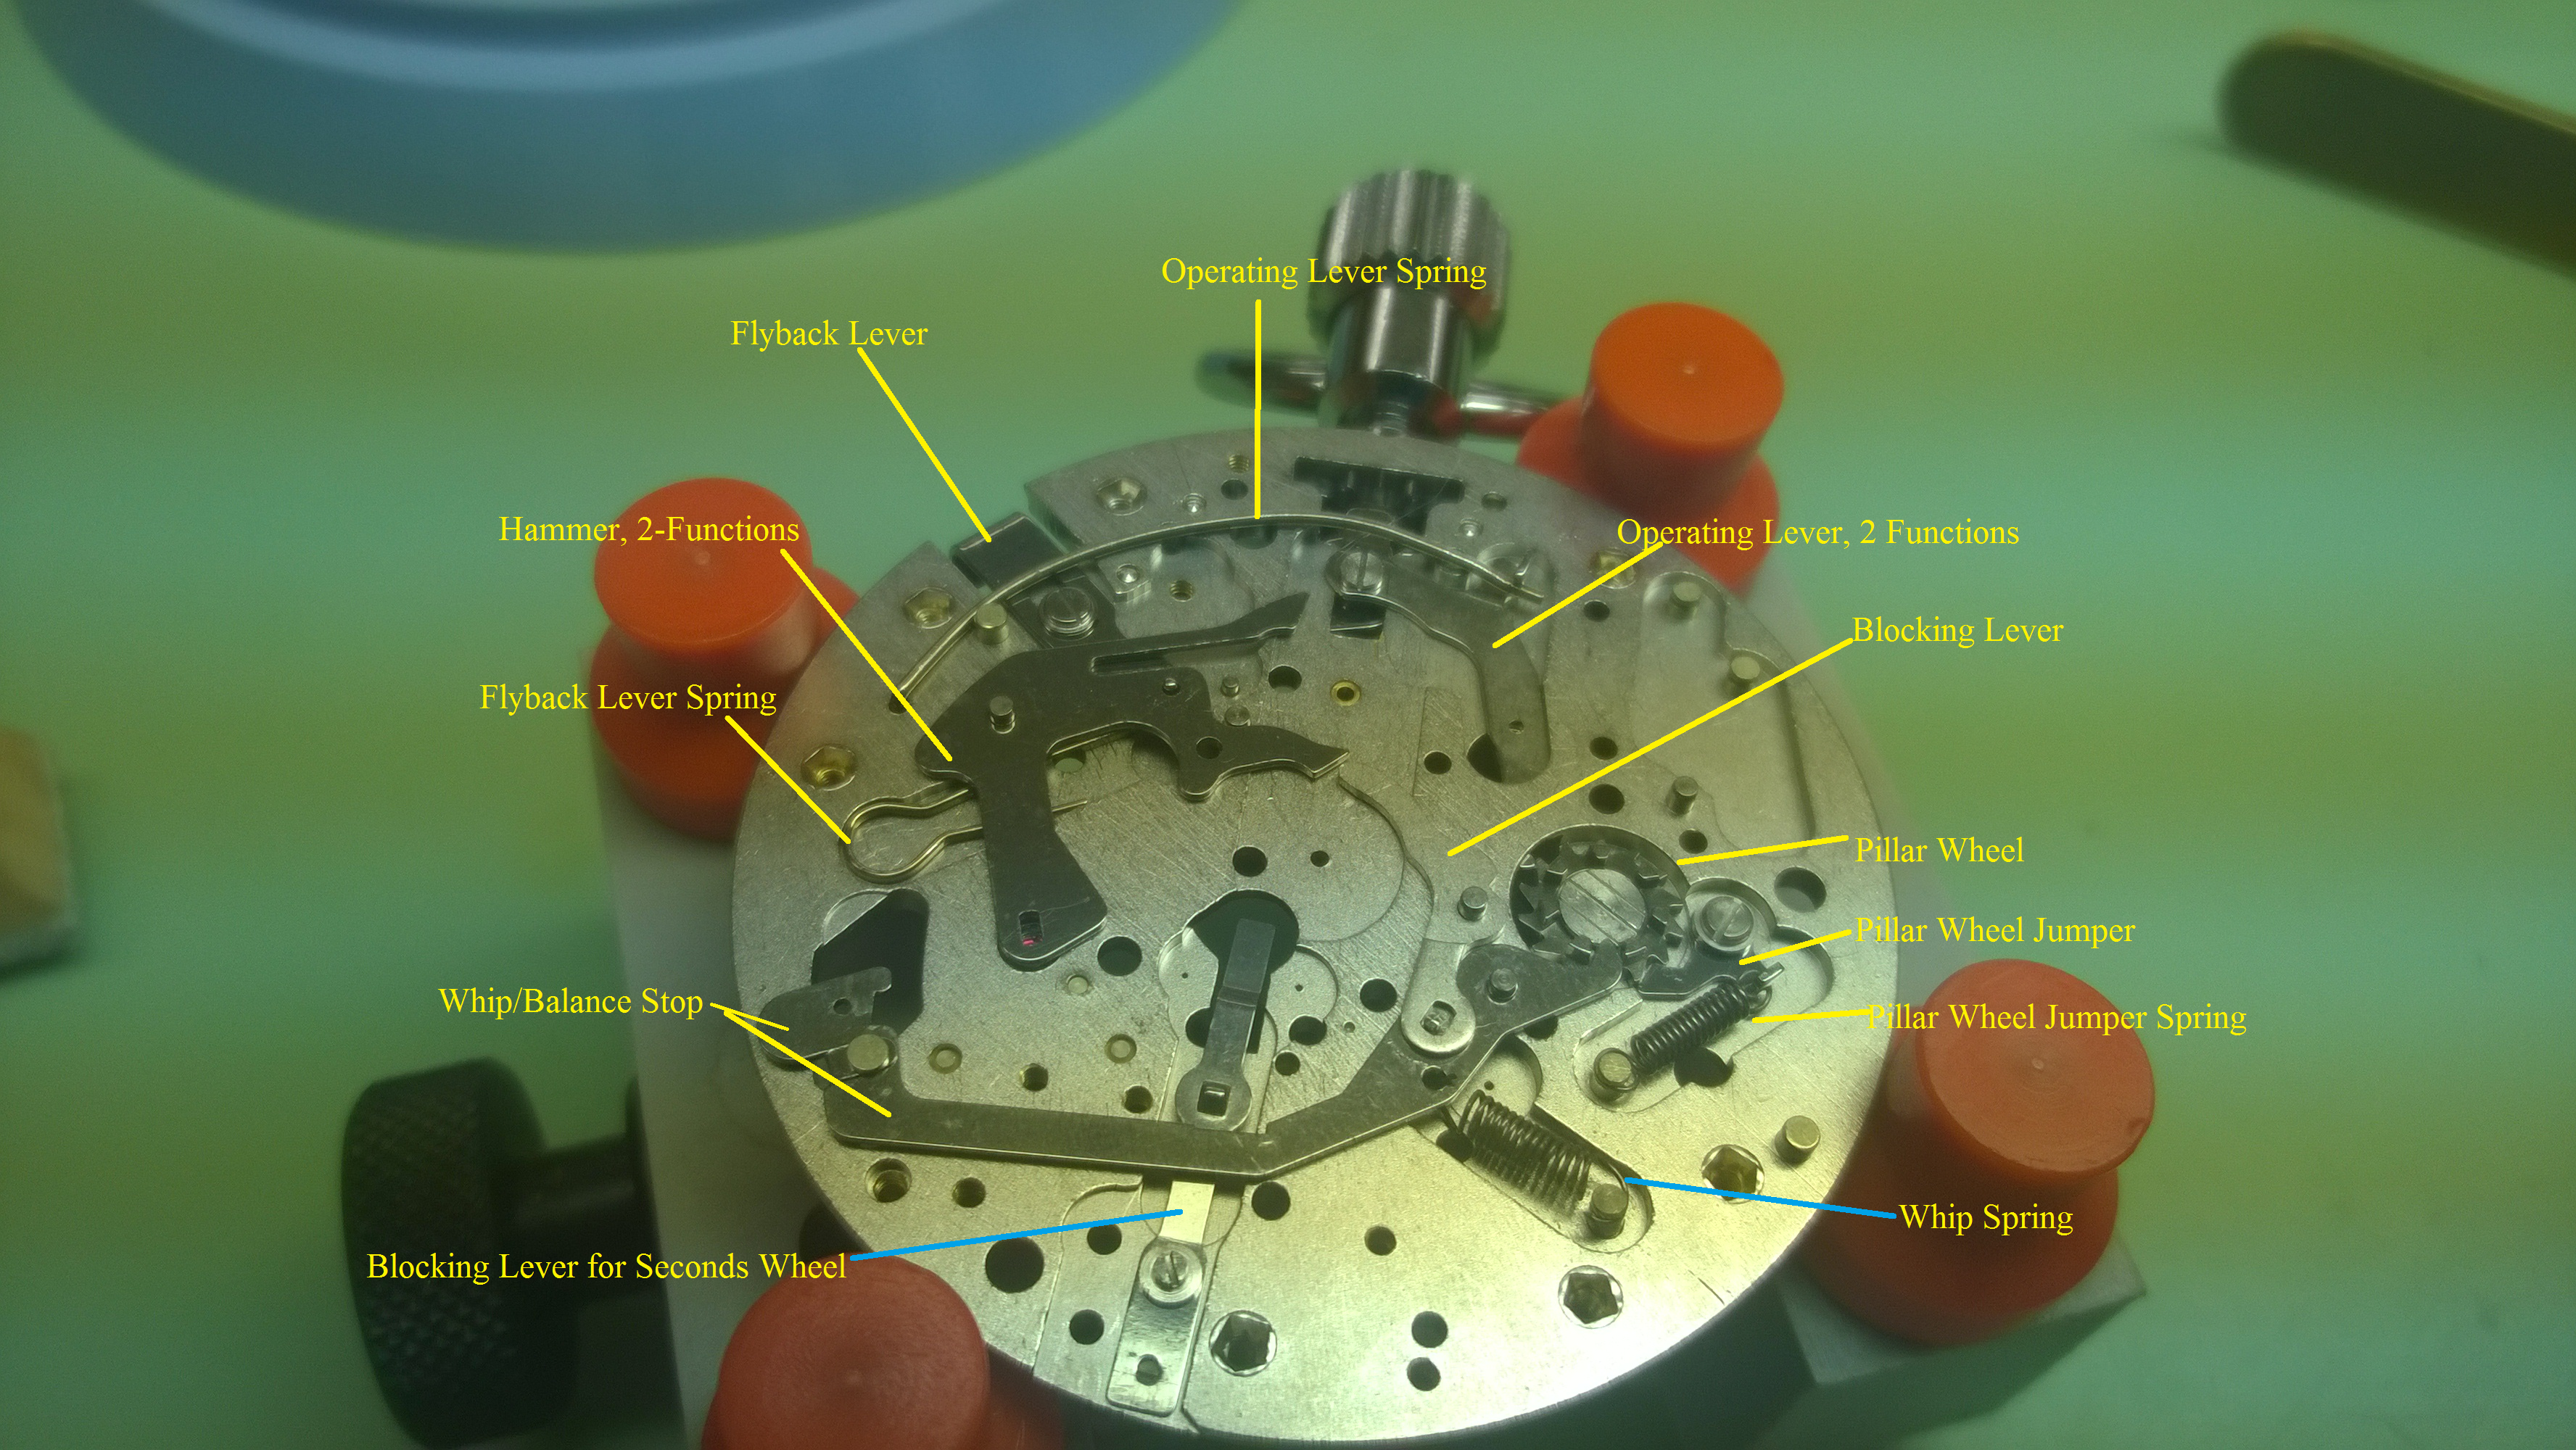
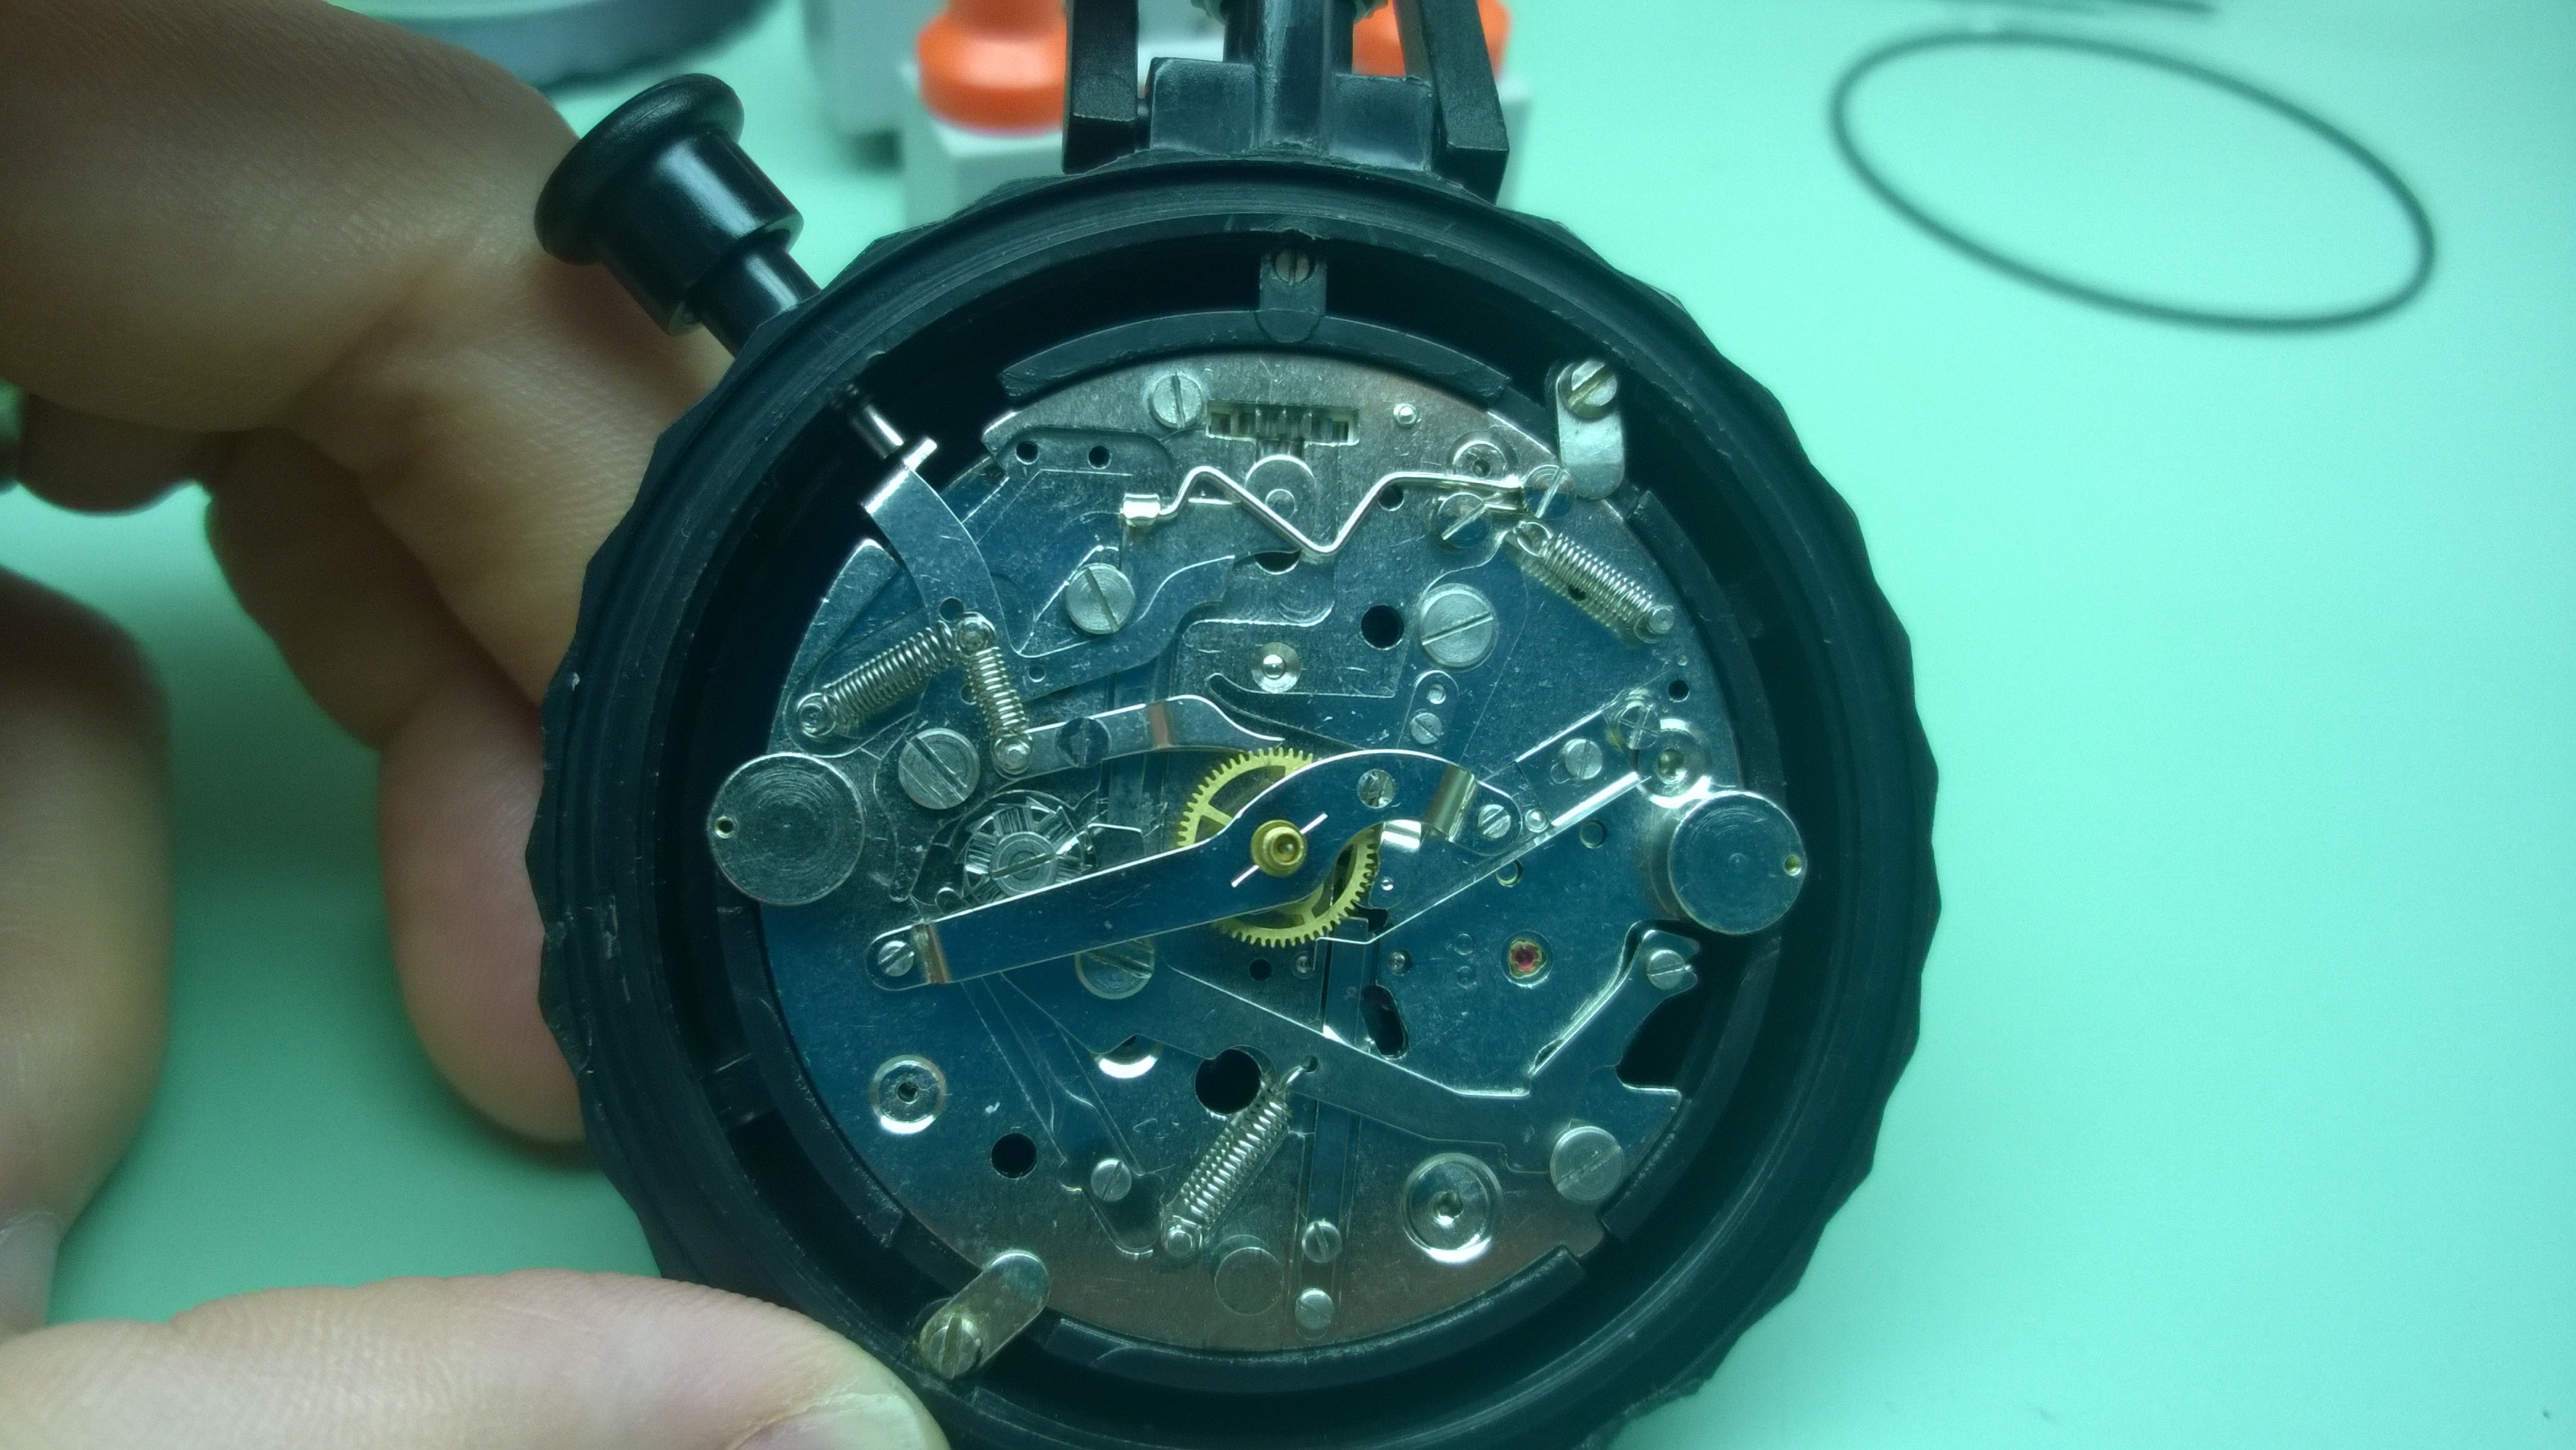
Once you remove the dial rest, you will see one variation or another of the above picture. Please reference this picture as I explain how things work with a timer. Make sure you click this picture to get the larger size.
When you press the pusher at 12:00 the operating lever slides down and pushes a flat (horizontal) tooth on the pillar wheel. As the pillar wheel rotates, the tip of the whip/balance stop slides across a vertical tooth of the pillar wheel and will cause it to rest in between two of the vertical teeth.
The whip/balance stop has a spring attached to the underside that rests on the balance rim. As the whip slides between the two teeth of the pillar wheel the spring on the underside moves out of the way and gives an impulse to the balance wheel to start the motion of the balance wheel.
As the whip is moving, it pushes the blocking lever into place (which is attached to the whip via a notch and post) which will prevent the hammer from interacting with the heart cams. It also moves away from the bump on the lower blocking lever which allows the gear train to move.
When you press the pusher at 12:00 again, the whip slides out from between the two teeth and gets pulled back and rests on the face of one tooth the pillar wheel. This causes the spring of the whip to touch the balance wheel, stopping the balance. At the same time, the whip is sliding upwards on the bump of the lower blocking lever and that puts gentle pressure on the gear train and stops it at the same time as the balance. The other blocking lever slides away from the hammer. At this point, you could press on the 12:00 pusher again and start the timer running again.
If, on the other hand, you decide to reset the timer press the other pusher. When you do that, the flyback lever moves downwards. The flyback lever and the hammer are connected via a peg and hole system. As the hammer moves downwards it interacts with the heart cam. Look back at the heart cam picture. See how there is a flat side to it? As the flat face of the hammer touches any non-flat part of the heart cam, it pushes the cam around until it comes to rest on the flat part of the cam, thus causing the hands to ‘fly-back.’
As I said in the beginning, timers are very simple. They all work on the same principle, they will just vary a bit in their architecture. I am going to put up some photos of some of the different timers I worked on along with some videos that I shot to show some of the differences between movements.
My next post that I do will be about chronographs.
The above video shows a different method of interacting with the timer. It uses a sliding lever to pause the timer and the button serves as a monopusher for starting and resetting to zero.
This video is a good segue into chronographs. The mechanism that it uses to drive the minute hand is similar to chronographs. The seconds wheel has a finger/dart on it that interacts with a pinion that turns the minute wheel. The minute wheel has a jumper that ensures the minute wheel doesn’t turn too much (the spring that has the angled bend in between the teeth of the minute wheel.
