Coming off the two older movements, it was time to learn a bit about some modern movements. First to learn on is one of the most popular movements used in watchmaking-an ETA 2824-2. This movement has been used in so many watches, it borders on ludicrous. It’s understandable-it’s a workhorse movement that is reliable and easy to work on. Combine that with the fact that ETA makes almost all their movements in a variety of grades from cheap to high-end and used to sell them to almost anyone, and you have a flood of these on the market. The 2824-2 is an automatic with a date-only calendar. This movement has a quickset function for the date and a hacking seconds option (hacking/stop-seconds functions temporarily stops the balance wheel when setting the time so you can try to make your time as accurate as possible)-both were new to me in terms of this was the first time working on those functions.

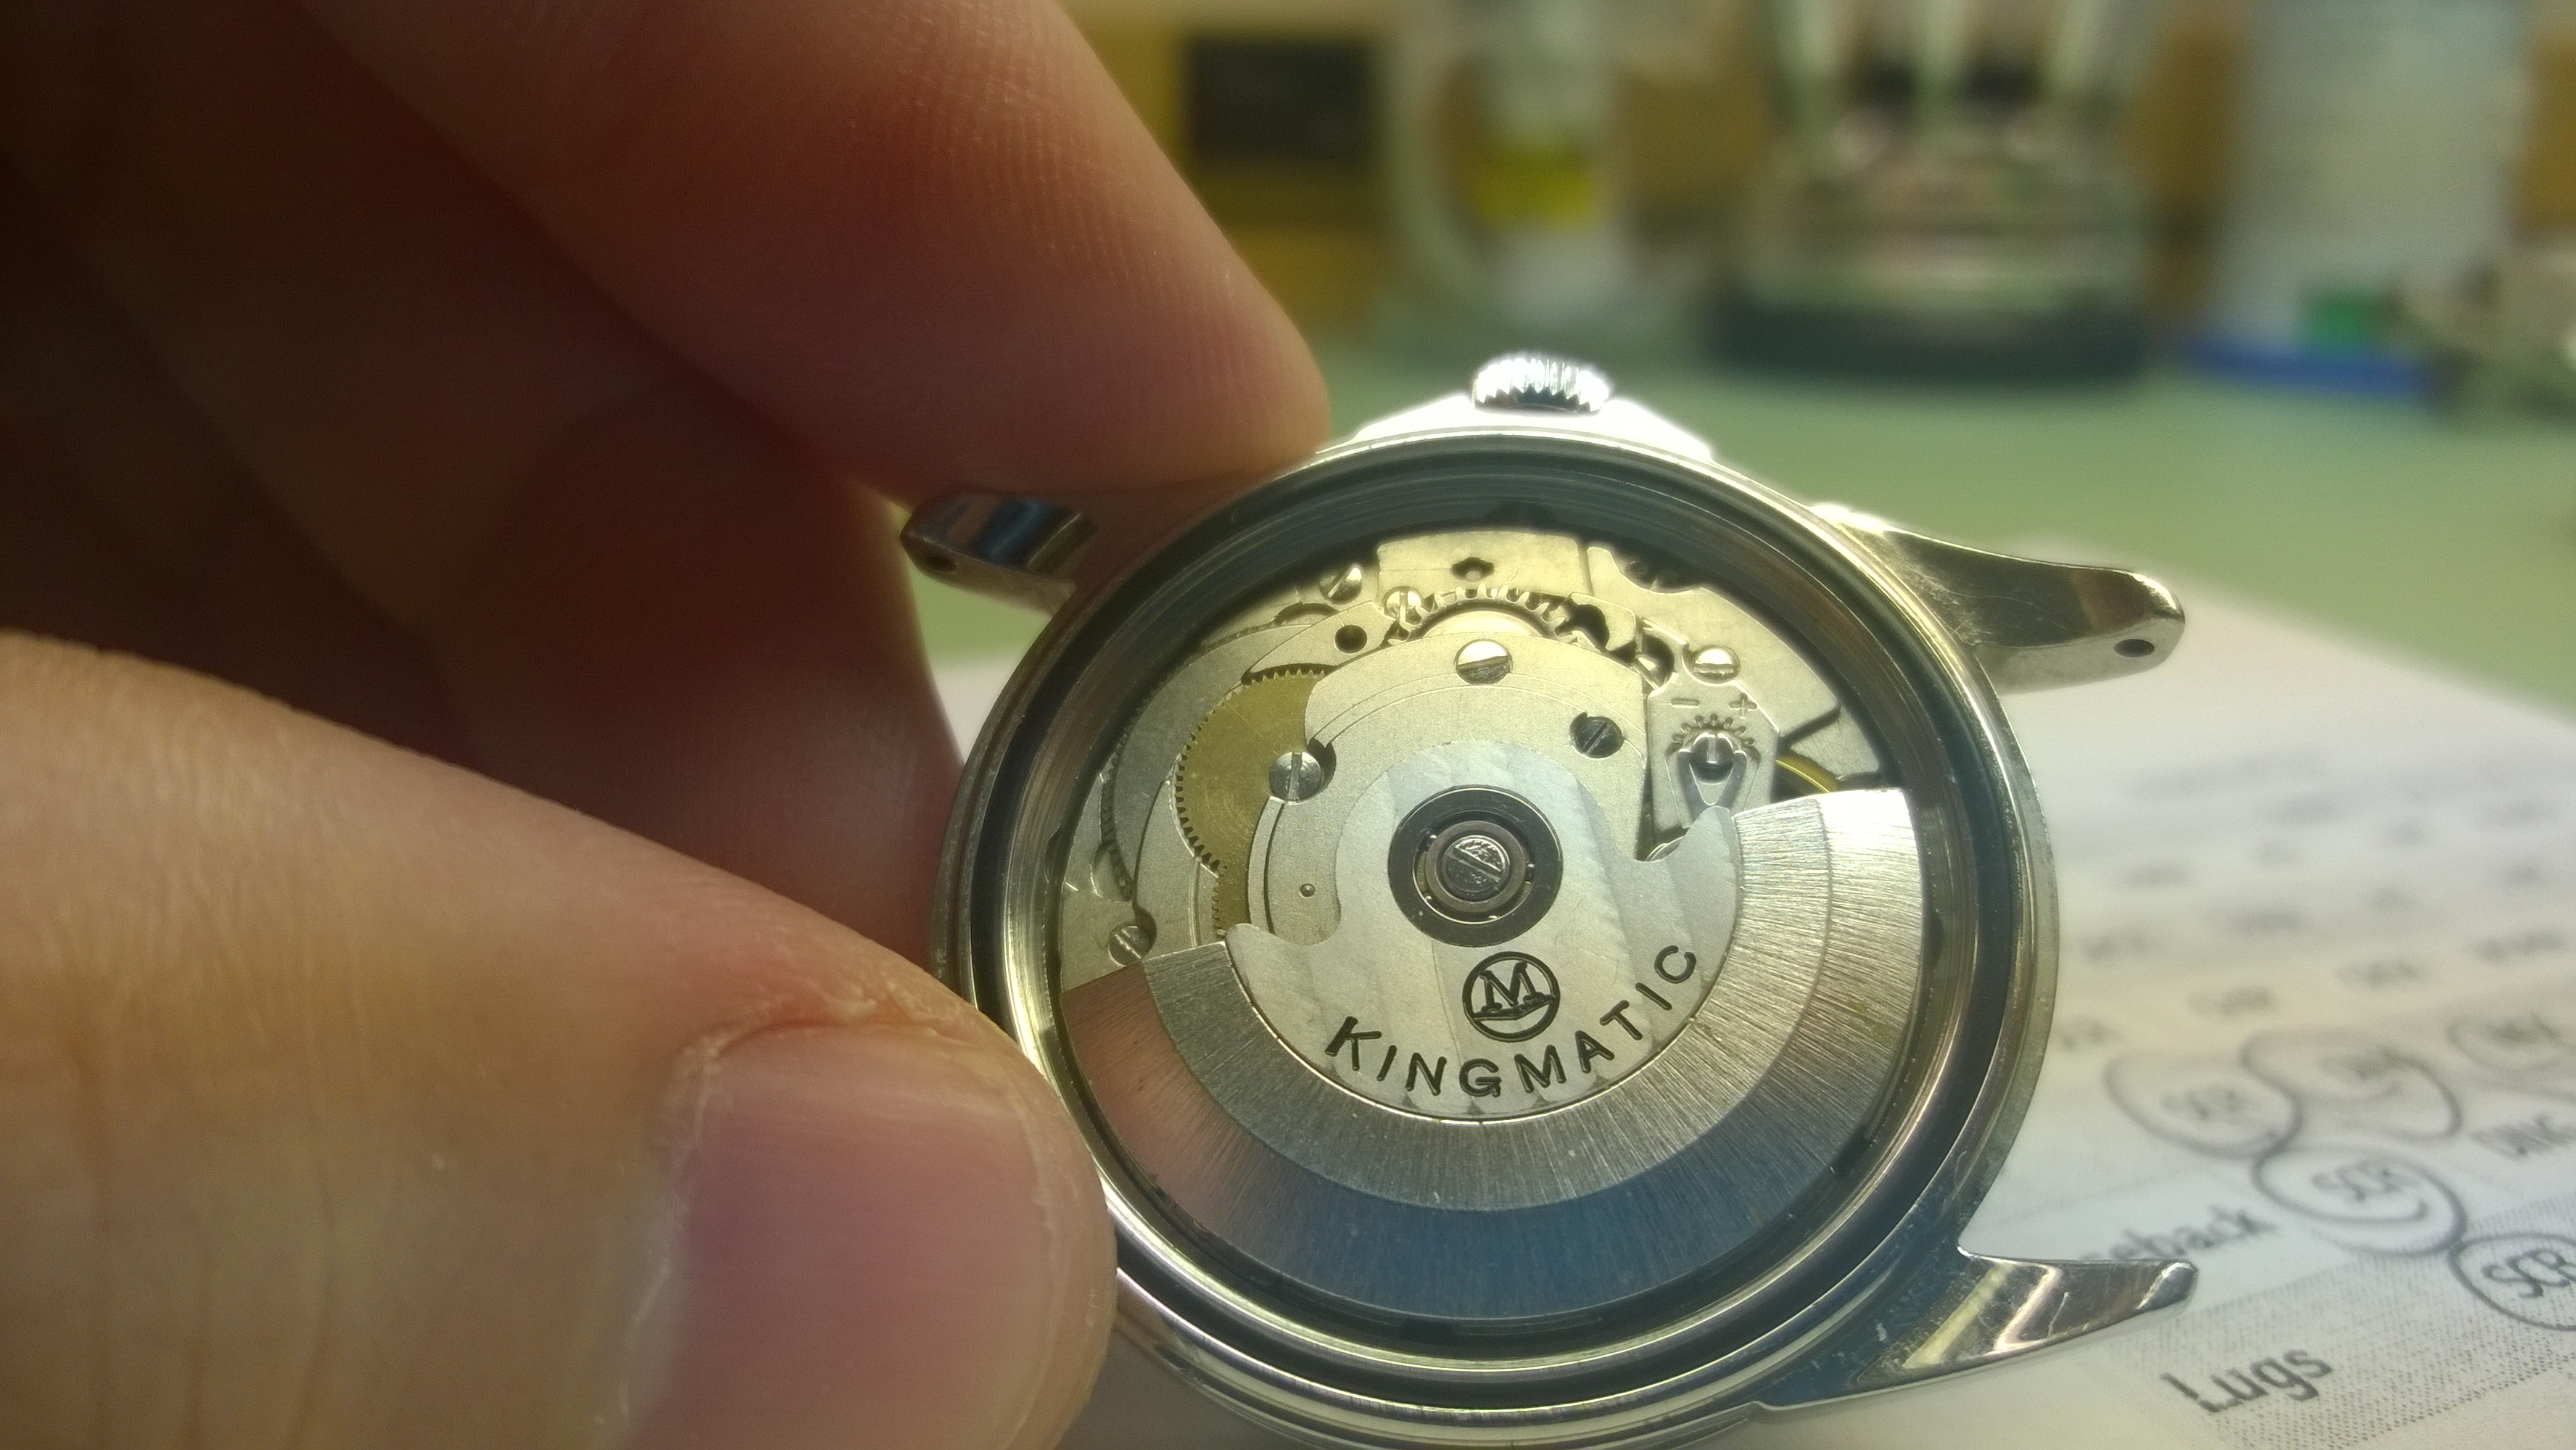
This watch is a Movado Kingmatic. I’m really digging the Breguet numerals. Look closely around the posts for the hands. You see the darker black smudge? That’s not a smudge. That is where the dial has been scratched by improper hand removal technique/tools. That is not good. Don’t do a job unless you have the tools and knowledge to do it. Please.
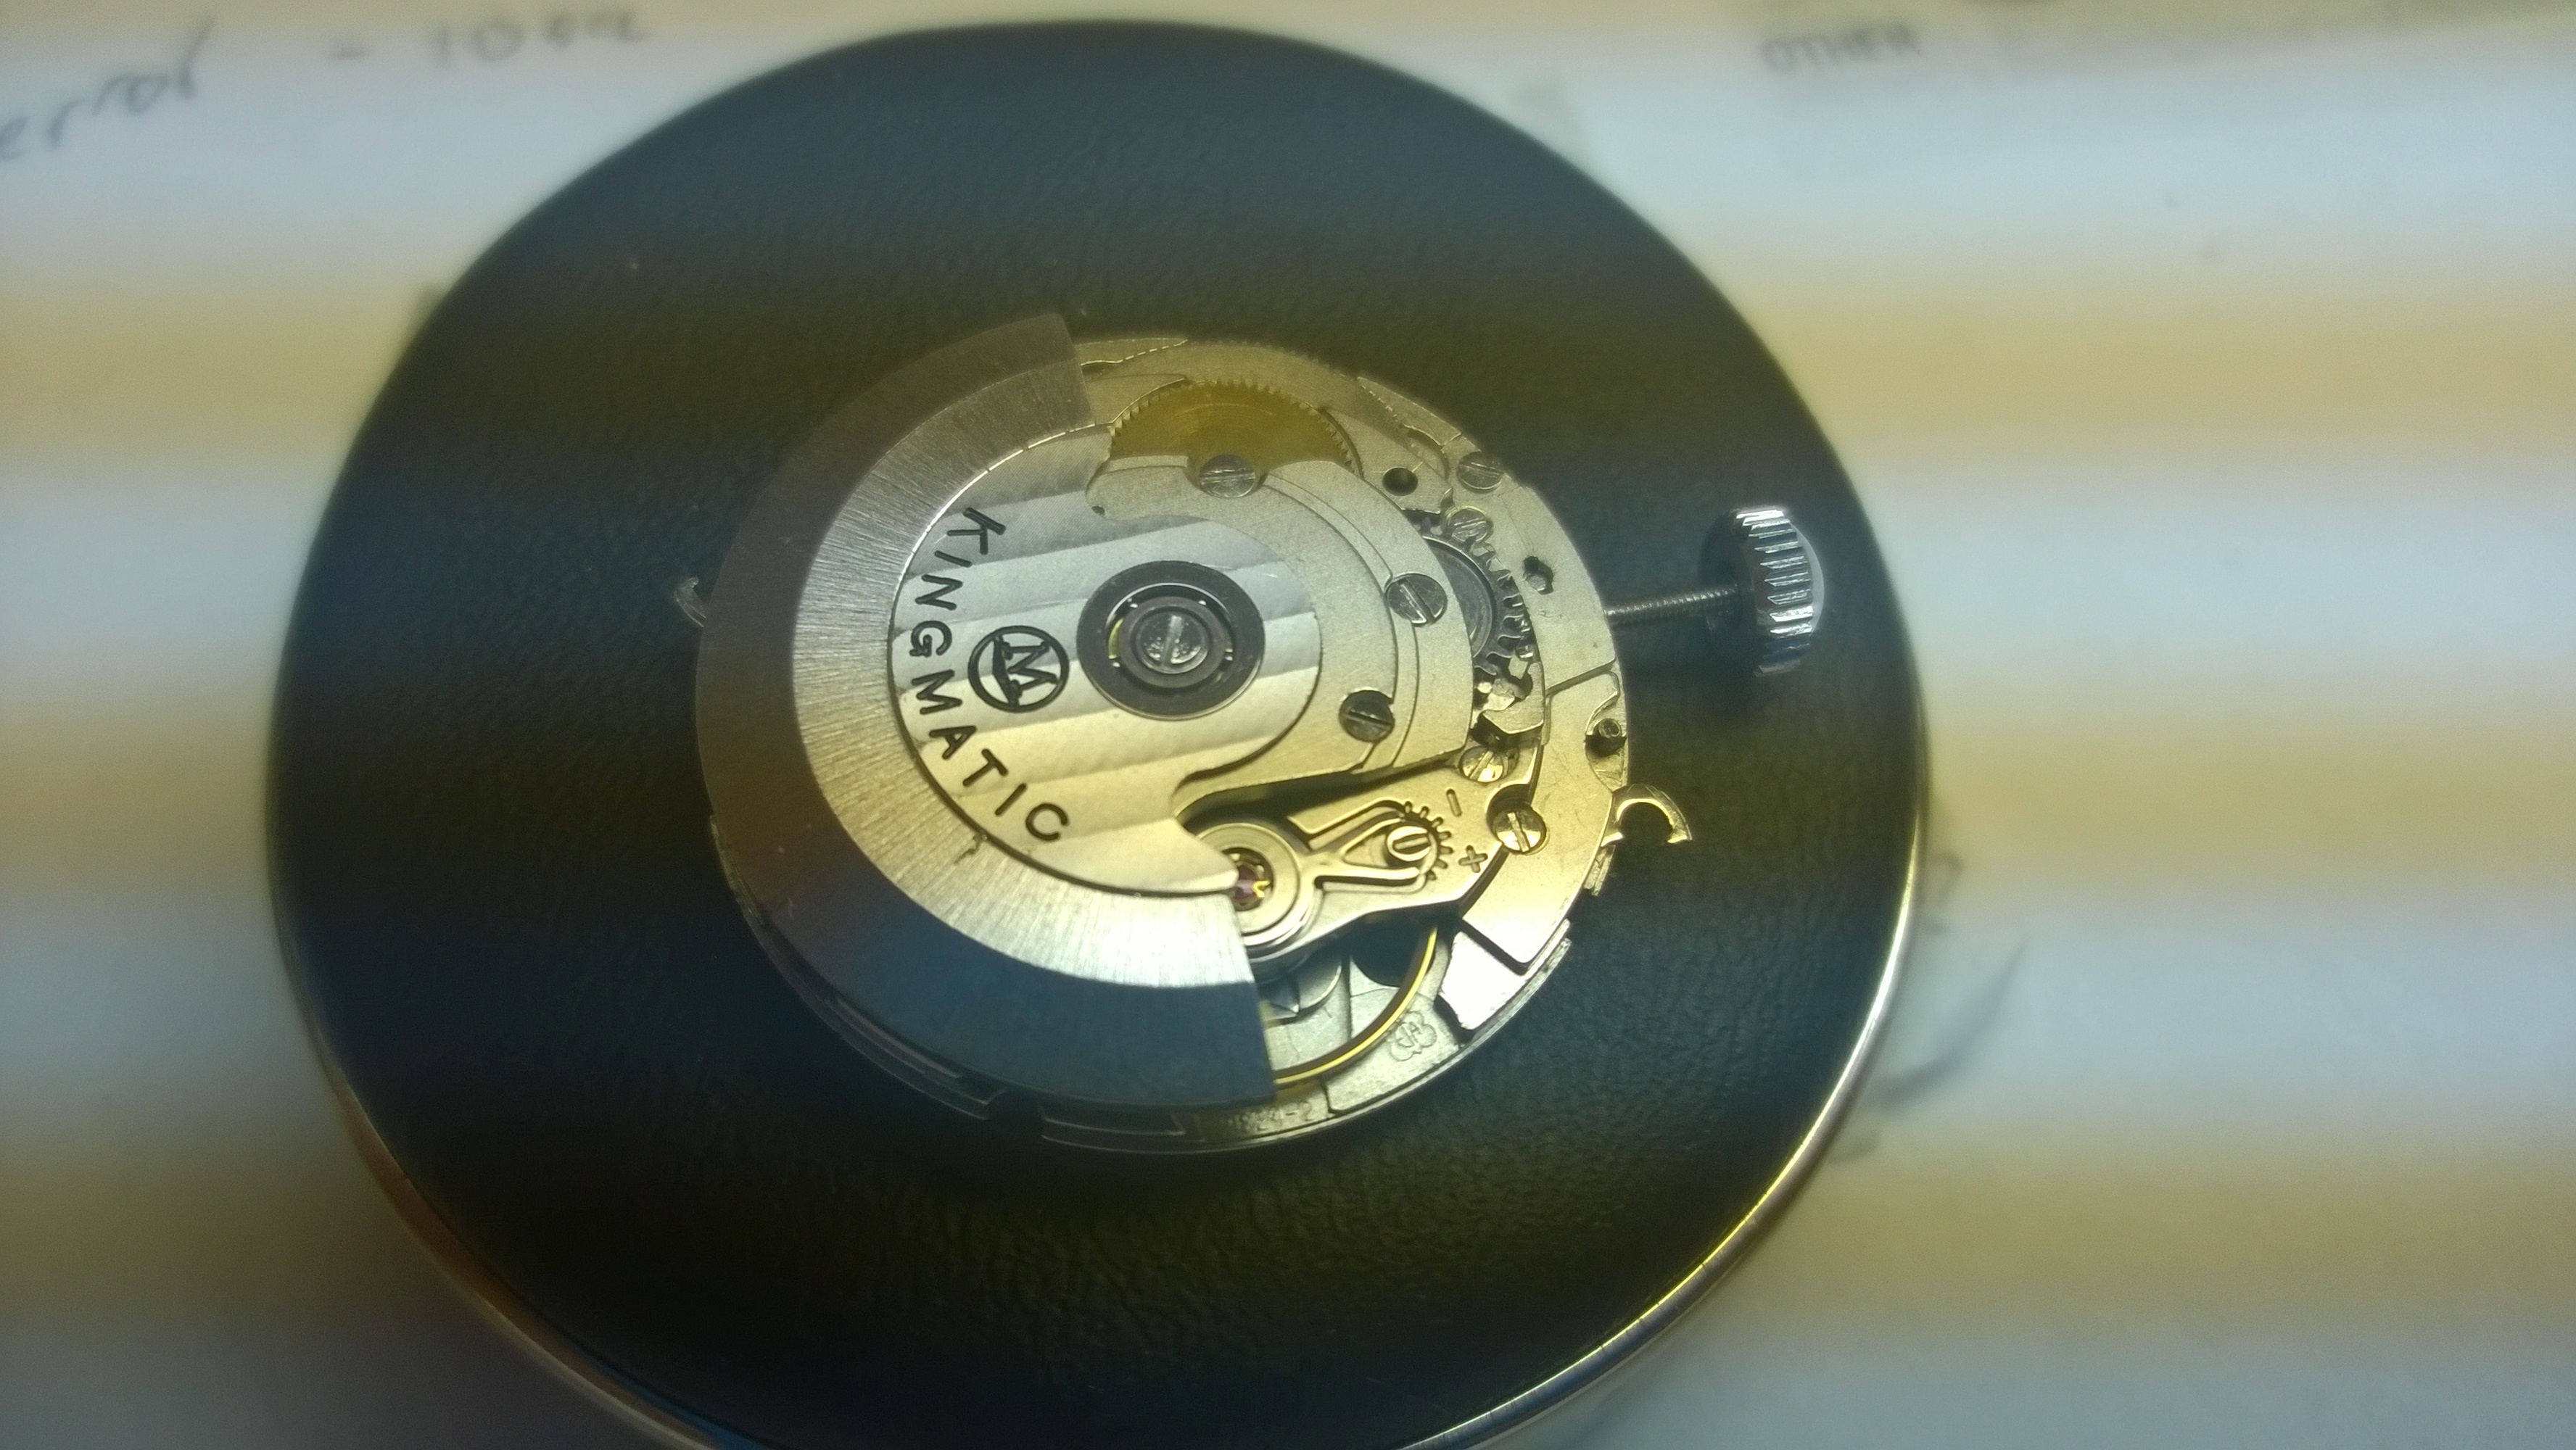
With the caseback removed, we get a nice glimpse of the rotor. Take a look at Movado’s logo. Then take a look at the logo used from the movie ‘The Kingsmen.’ I’m not saying there’s a coincidence, but that was the first thing I thought of when I saw it. This style of rotor is a ball-bearing rotor. There are five ball bearings in the rotor that allow for the weight to oscillate in a much smoother manner. It also allows for less wear and tear on parts. More on the auto mechanism later.

In order to remove the dial, a lot of ETA’s use a hinge system as opposed to screws. I like this more because I feel like it is easier to mess up dial feet with screws by accidentally torquing them too much. You can also run the risk of losing the screws during the cleaning process (or, at least that seems to happen to every student in class at least once).
In this picture, I have stripped most of the movement down to show the hack/stop lever. The way this works is pretty simple. The squiggly arm of the lever fits into the slot of the sliding pinion. When you pull the crown out to its third position to set the time, the sliding pinion moves forward to engage the intermediate setting wheel. The hack lever moves forward with the sliding pinion and the tip of it touches the rim of the balance and stops it. Once you set the time and press the crown in, the sliding pinion goes backwards and the hack lever stops touching the balance. As for accuracy of synchronizing your time, that’s debatable. Sometimes the balance will start right away, and other times it doesn’t. Regardless, the watch will always be a few milliseconds off from your master time because it is starting from a dead stop. When I cover timers soon (I mentioned I was pretty far behind on my blog, right?), I’ll have pictures of some more effective hack seconds functions that would help with time syncing accuracy.
Finally, before moving on to the auto and calendar discussion, the last unique (to me) part of the movement is the regulator. The watch uses the ETA-Chron system (which I have really learned to love after getting to play around with this watch and a few others that use it) which I’ve used once before. The thing that I found neat was the micro-adjust for the rate. While you can make large adjustments to the rate with the regulating arm, you can really dial in some fine adjustments with the screw.
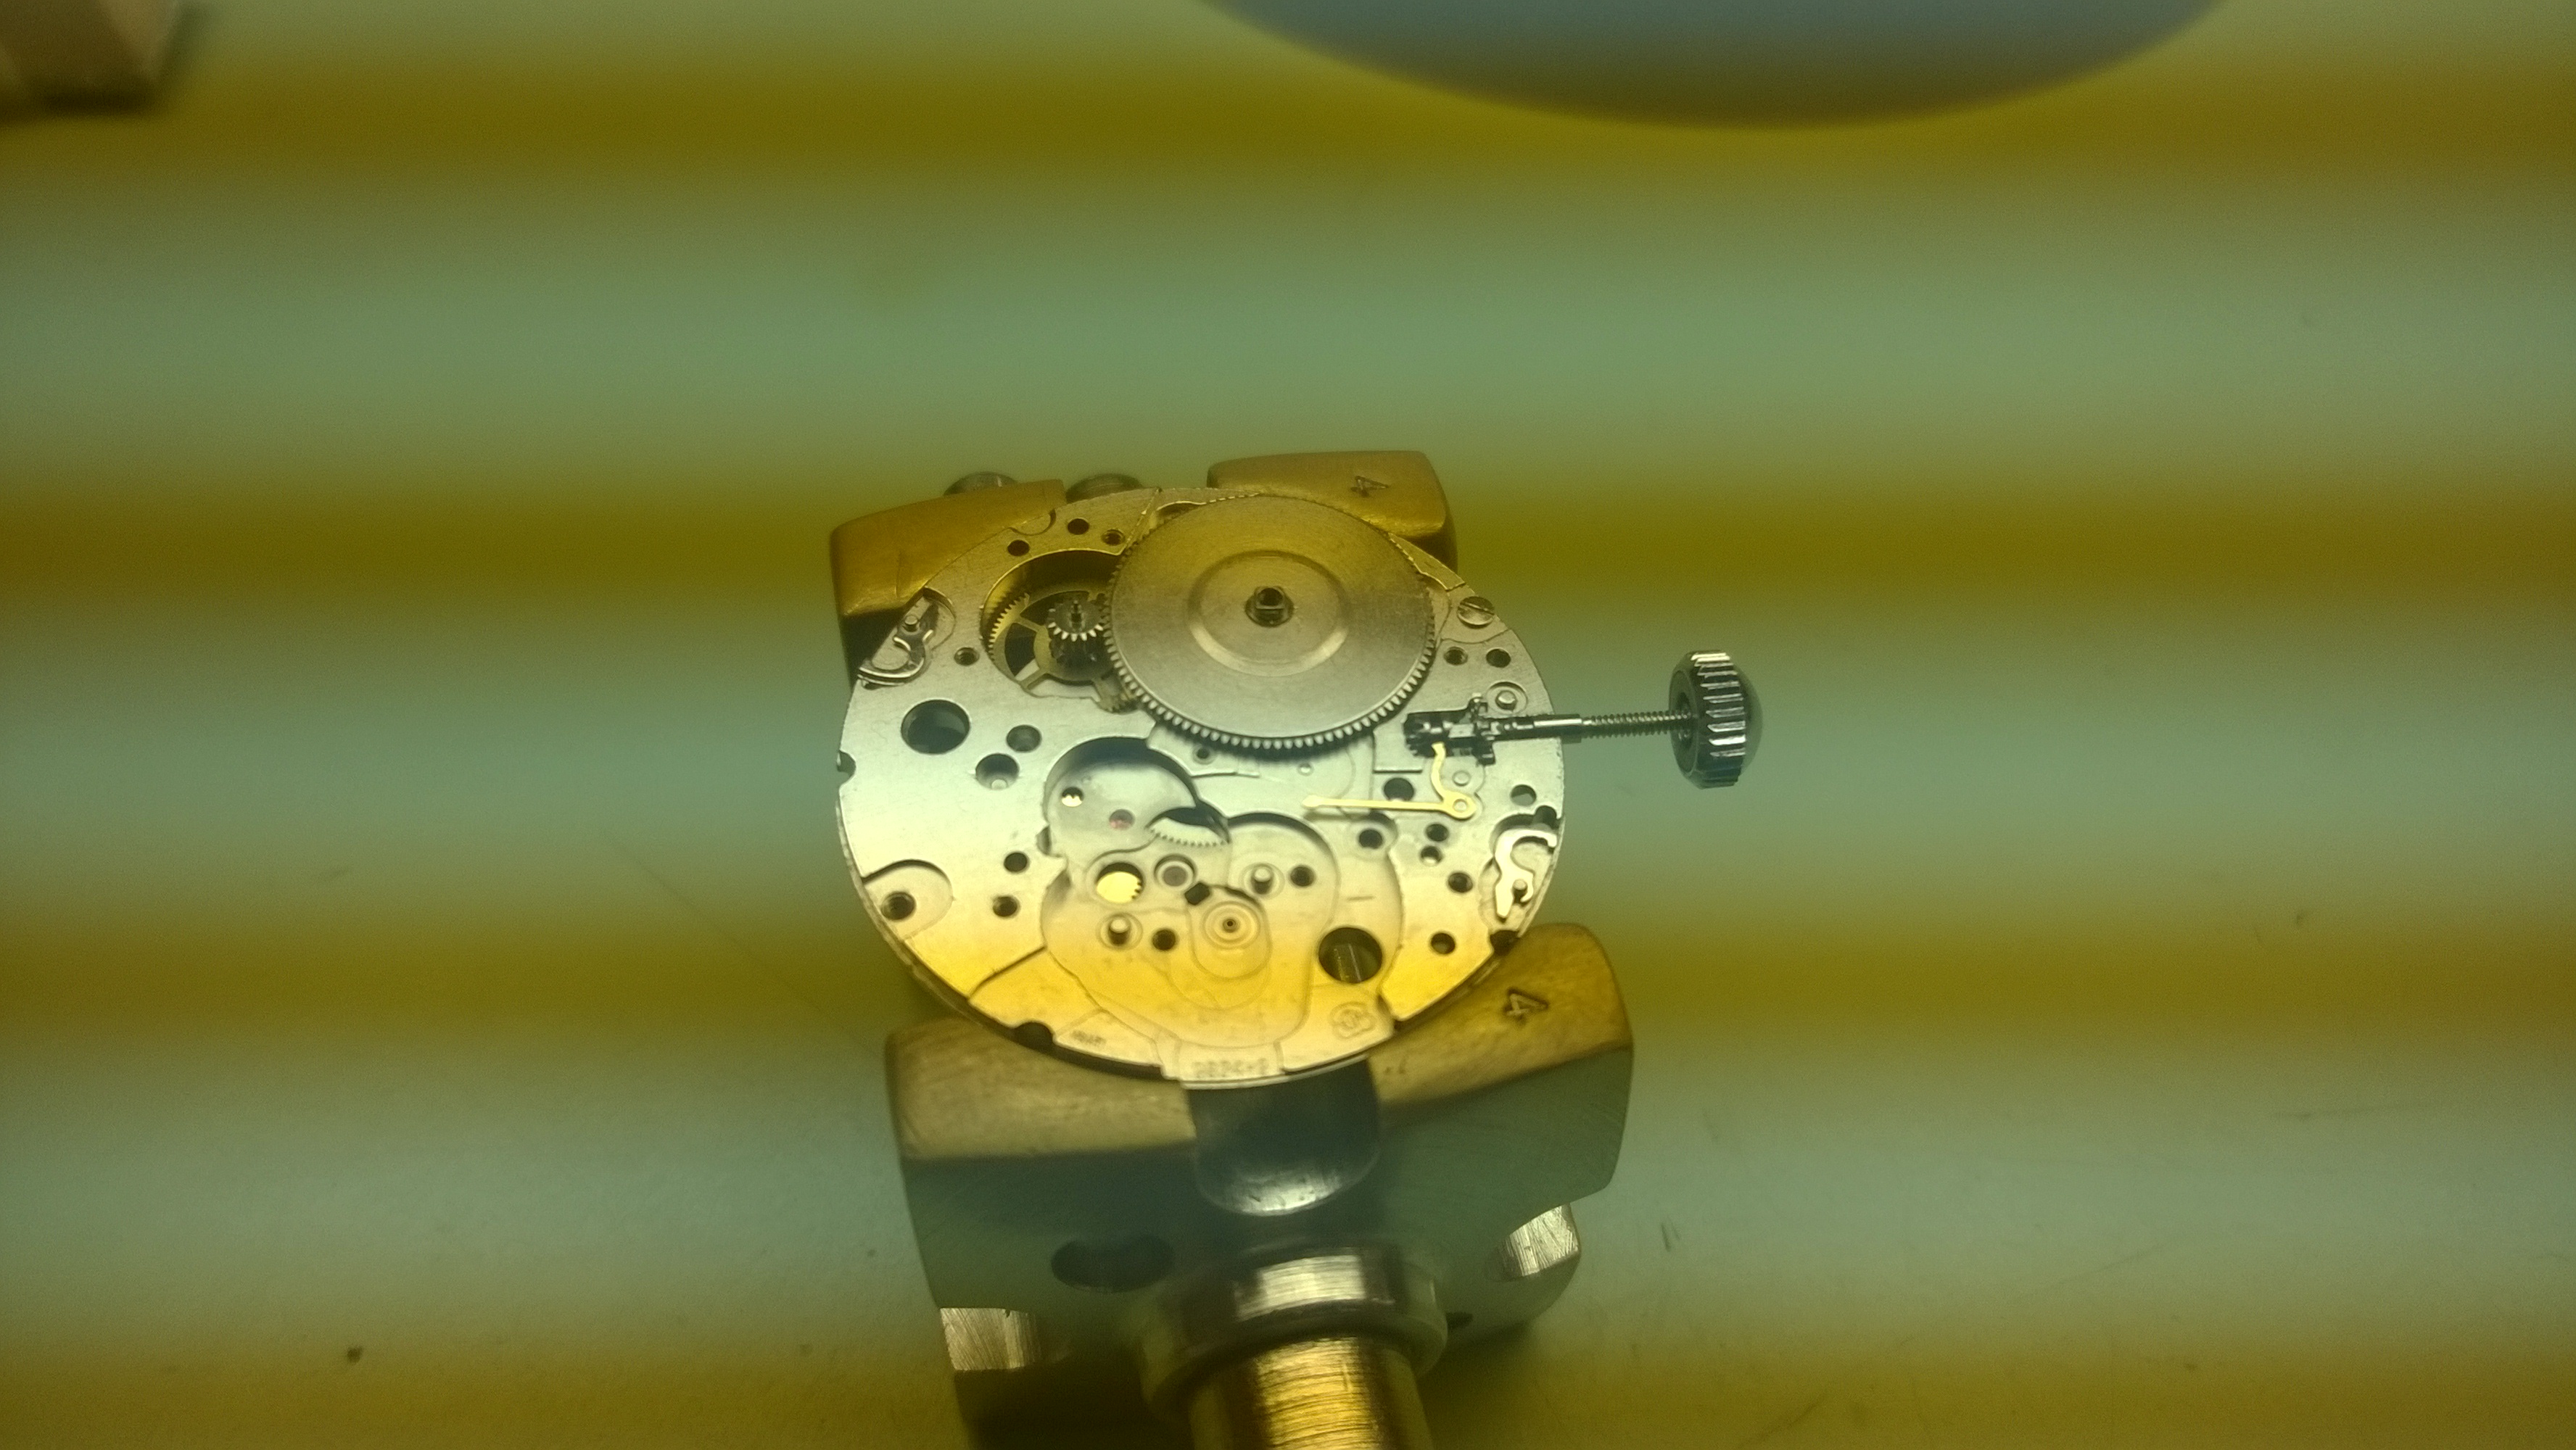
 Please forgive this weird angle. I was trying to see if I could get a picture of the hack-lever engaging the balance rim.

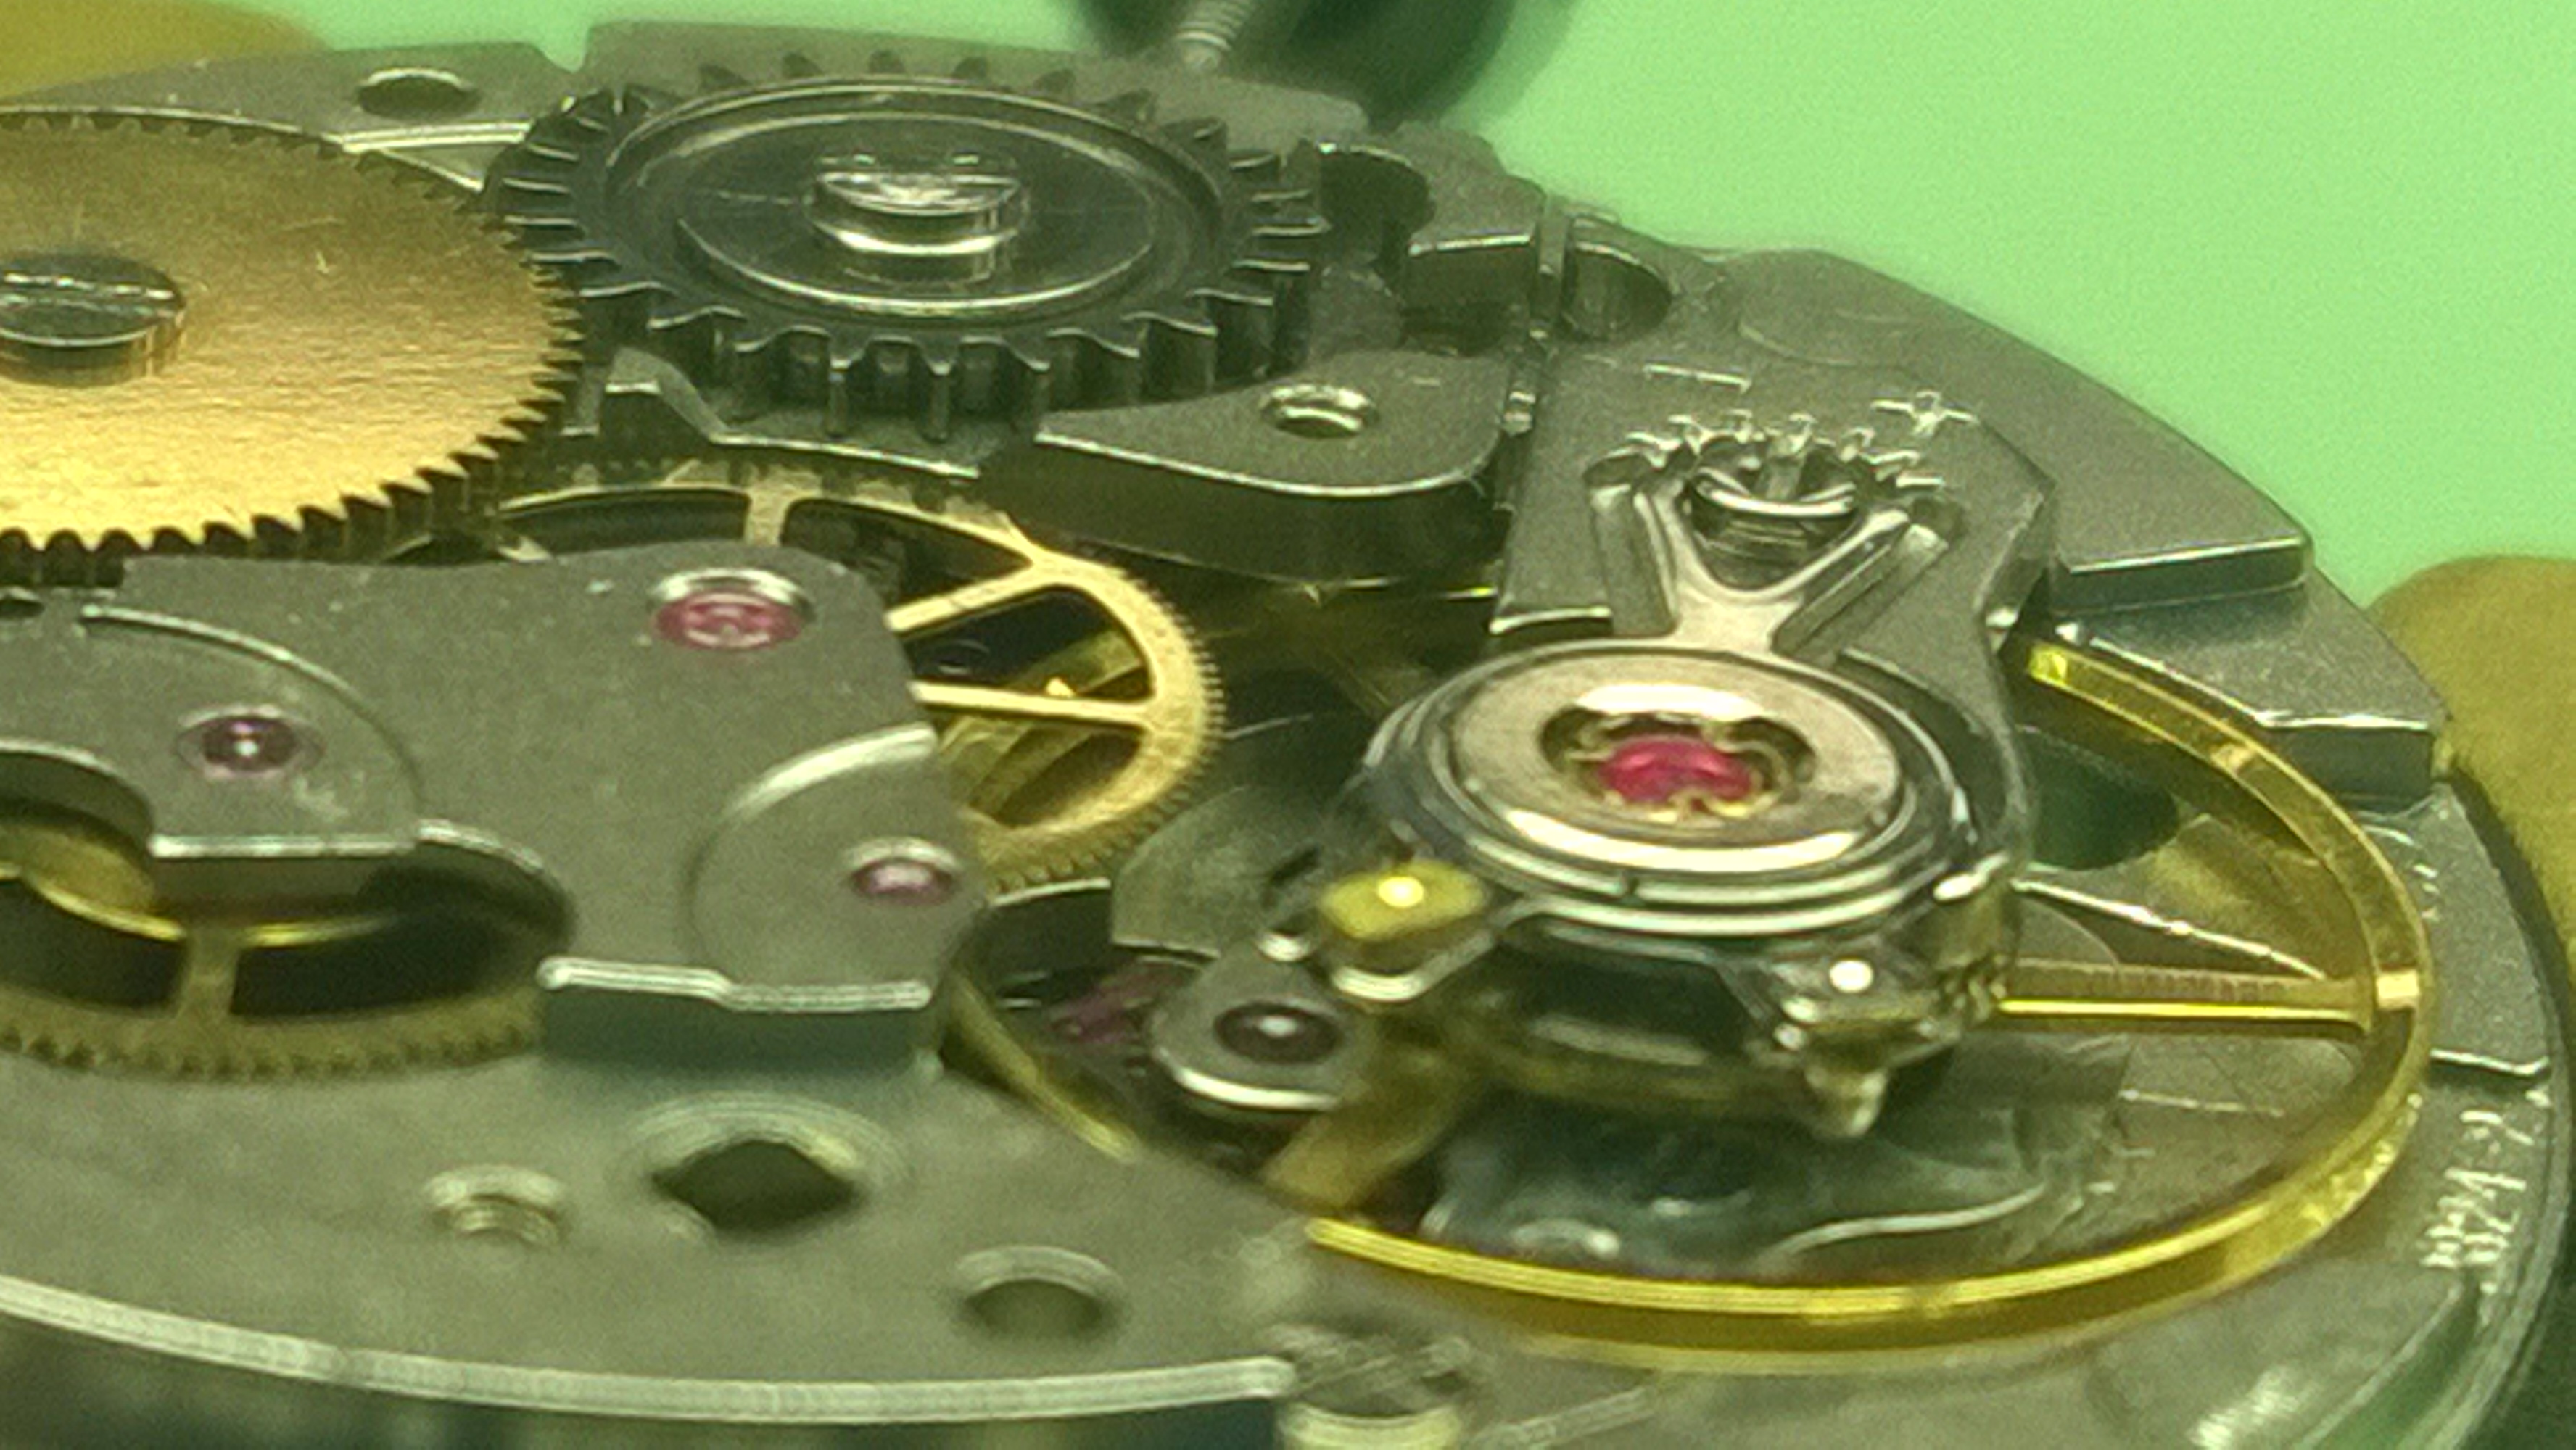
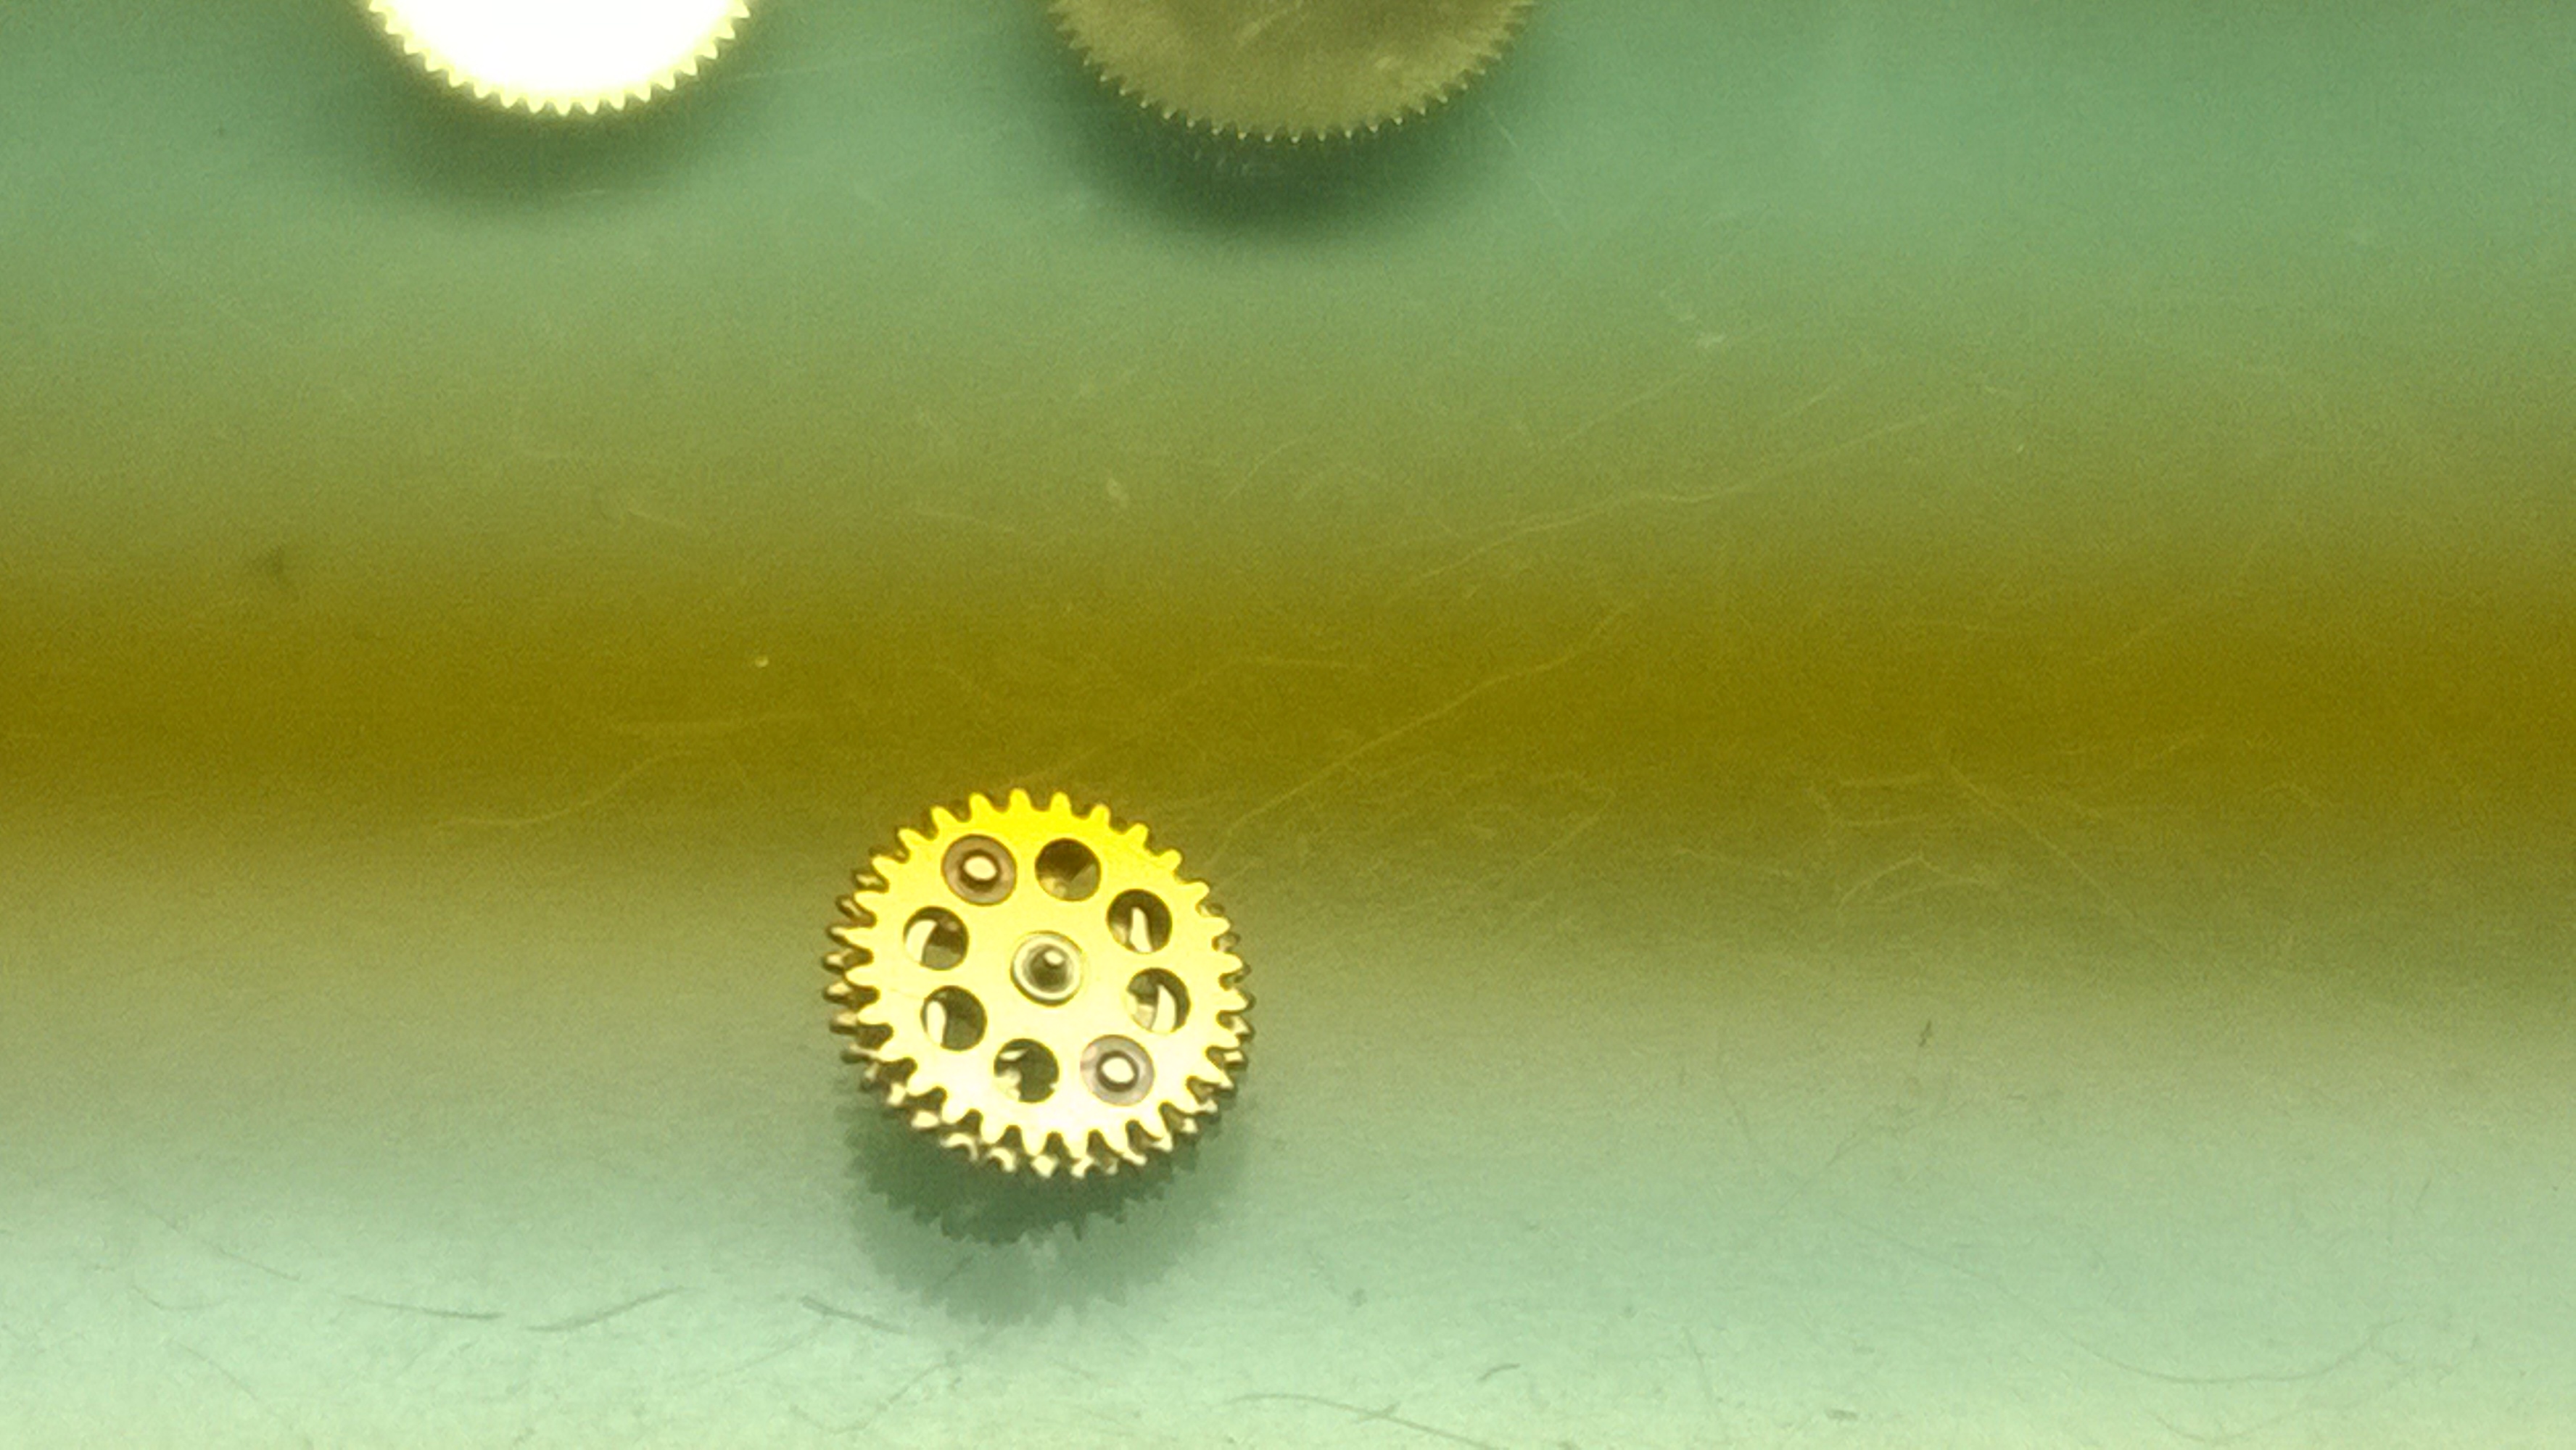
Let’s go back to the automatic. In this picture above, for whatever reason, I had left the rotor on the automatic bridge (it comes off very easily with a screw, and should be the first thing you remove). The parts that you see are (left to right) the Ratchet Driving Wheel, the Reduction Wheel, the Reverser and the Auxiliary Reverser. They are laying on the Automatic upper bridge, and its lower bridge is the part that is just a bit away from it.
So, how does this automatic system work? Again, it is another bi-directional, 360° winding system. Since the ratchet wheel can only move in one direction to wind the mainspring. To do this, the reversers work in tandem to change the bi-directional motion into one direction. This following is going to get technical and will require some mental gymnastics. I am going to do my best to explain this.
In the above picture, you can see that the reversers are two pieces. The two pieces are connected. Each reverser is able to be locked or unlocked even though the upper section of the reverser will always rotate. The lock occurs between the two sections of the reverser via a series of pawls (the silver arm looking things inside the wheels). When the upper section turns one way, the pawls will slide past a series of bumps on the inside. When they turn another way, the pawls will slide between the bumps and stop, locking the reverser. The upper section moves opposite of the rotor-that is, if the rotor is going clockwise, the upper section of the reverser will rotate counter-clockwise. The unlocked section of the reverser will rotate in the direction of the rotor. The locked section occurs depending on the rotation of the rotor. Only one reverser is able to be locked at a time. The locked reverser will turn in the direction of the rotor and transfer the motion of the rotor to the reduction wheel. The reduction wheel serves to reduce the motion from the rotor and transmit enough of the energy from the rotor to ratchet driving wheel which in turn rotates the ratchet wheel and that winds the mainspring.
The Calendar is very similar to the PUW 1361 that I worked on. The only real difference (besides how some of the parts look) is it has the quick-set date option. When you pull the crown out to its second position, the sliding pinion will move the setting wheel to its first position. The setting wheel teeth will mesh with the date corrector. When you turn the crown, it will turn the date corrector causing it to move the date driving wheel.

When the crown is all the way out, the setting wheel is engaged with the minute wheel as in the picture below.

All in all, I think this was a good introduction to a modern automatic caliber. It was easy to work on, intuitive to learn on and a fun experience overall.
