Two weeks ago, when I last left off, I was talking about how my watch was potentially timed. I am happy to report that it was timed very well. The only reason I thought it wasn’t was due to the fact that my timing tape went from one line to two. After checking with my instructor, he let me know that sometimes the Timegrapher barrel can get out of alignment and cause two lines to show up on one tape. One thing to mention-if the two lines were close to each other as opposed to far apart, that would have been indicative of a beat error. Once I got the watch cased up and turned in, I was given my next project.
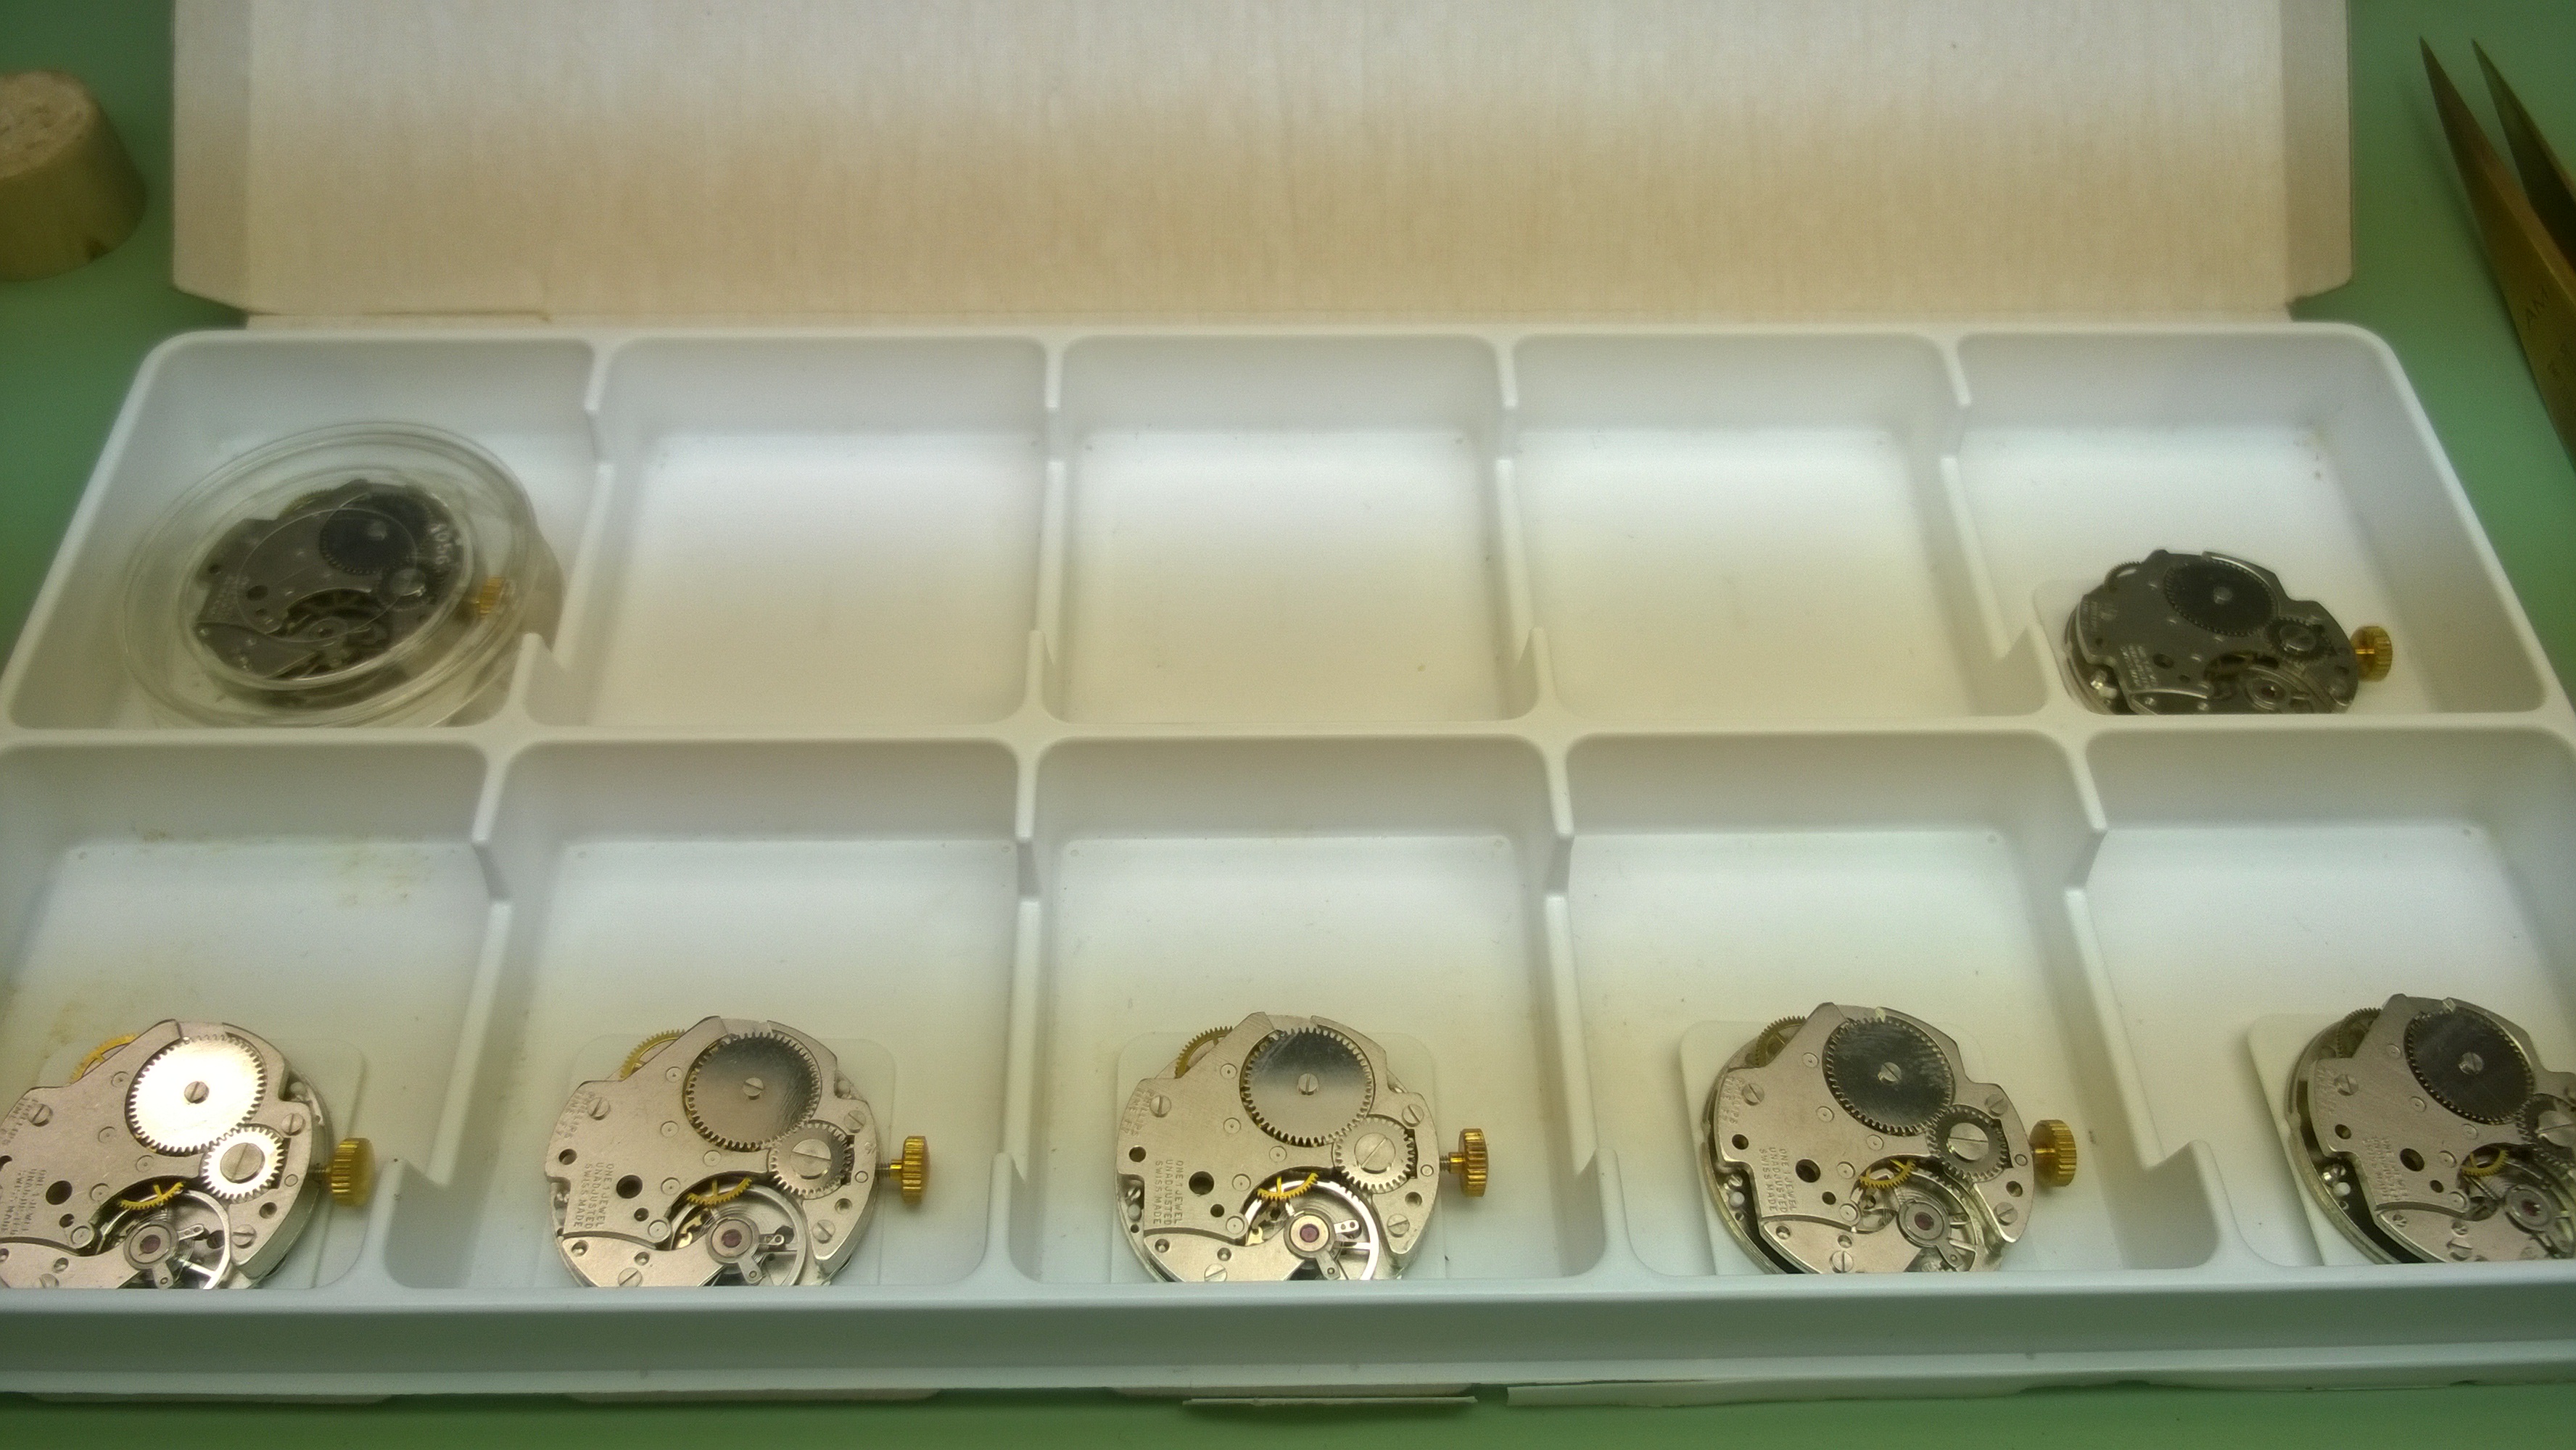
 If the guys from the 3rd semester are to be listened to, this is the white box of doom. Inside the box are some watch movements that need some work done to them.
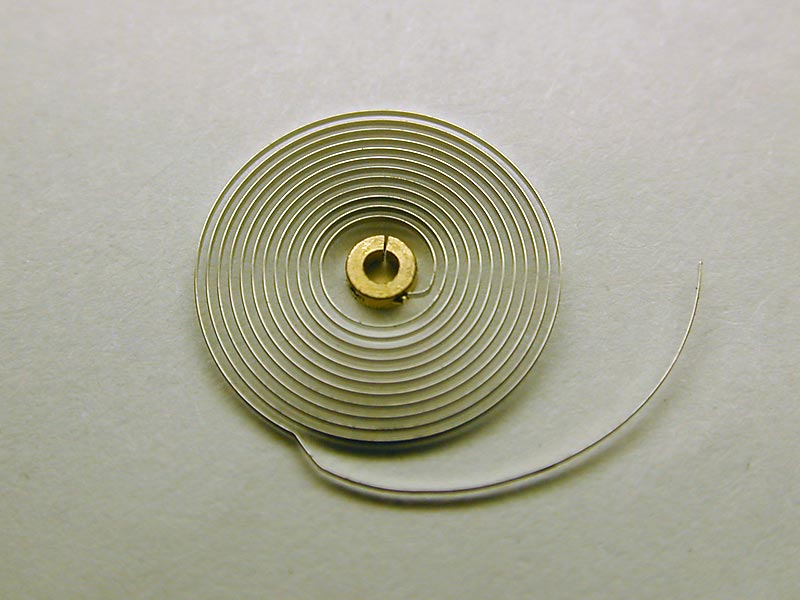
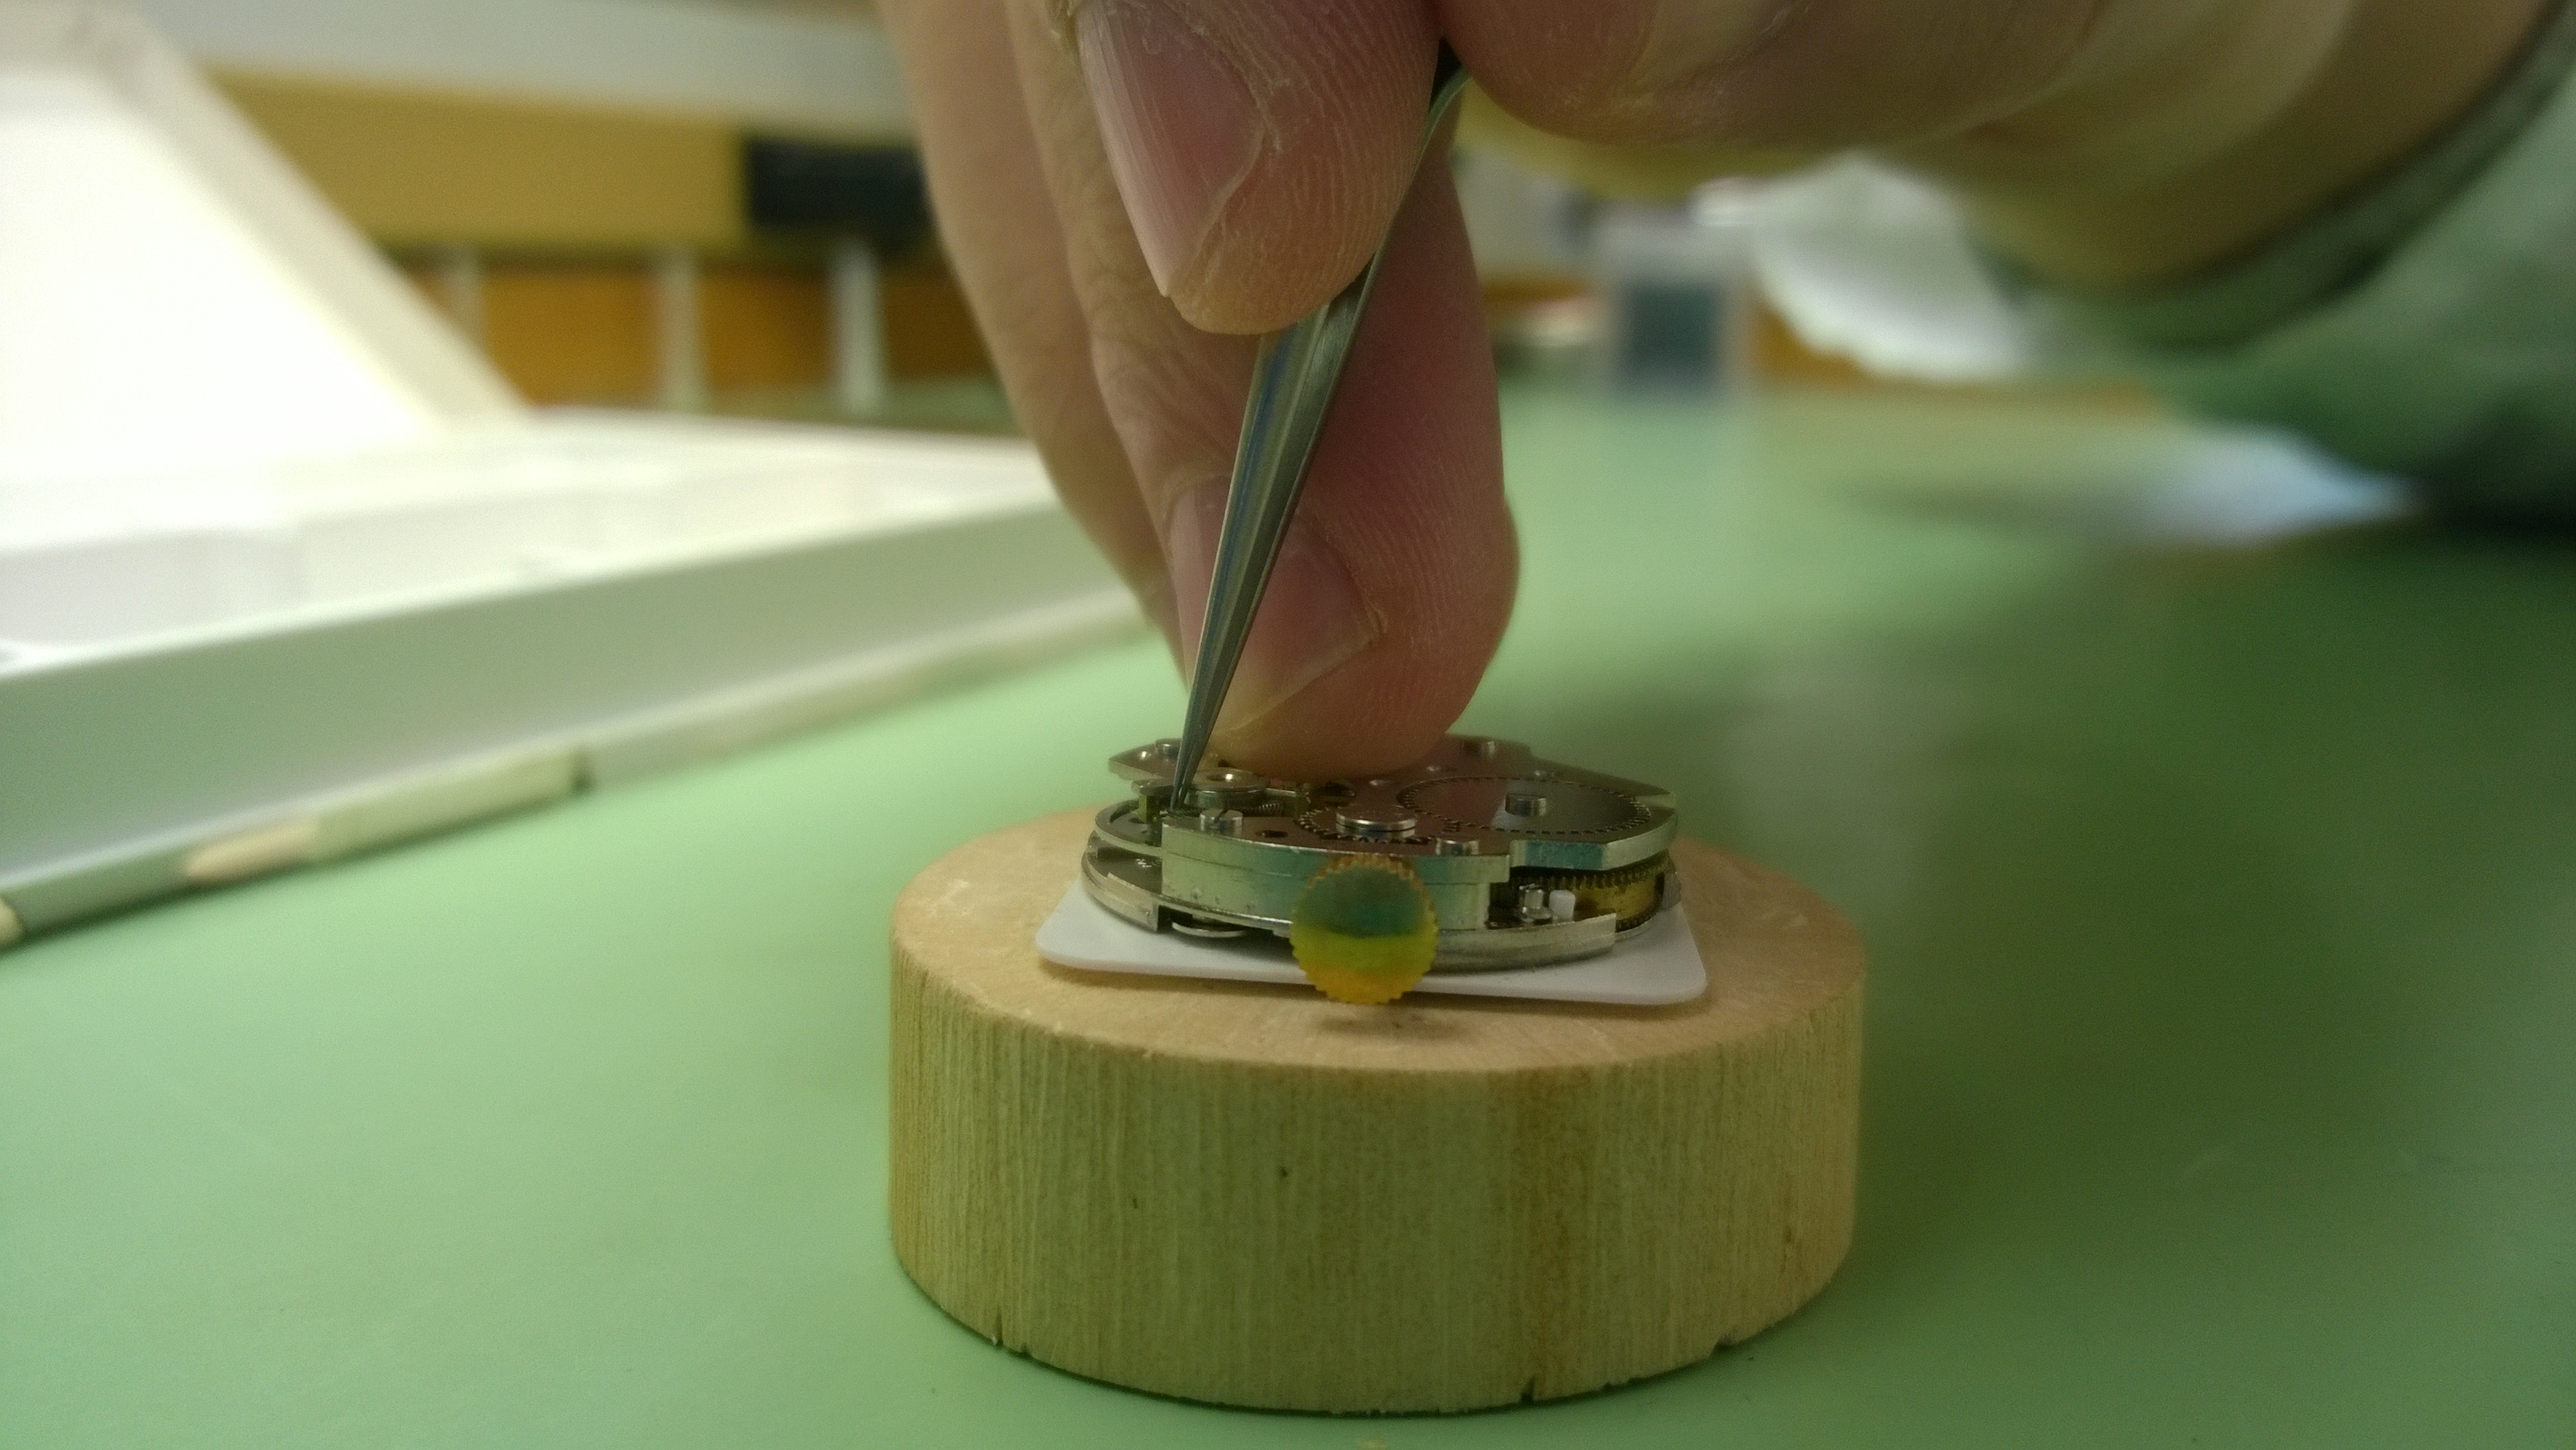
 These are pretty much non-functioning watches with broken balance pivots-that isn’t the point to these movements. With each watch, there is a bend in the hairspring that needs to be corrected while the hairspring is still in the watch, as opposed to on the glass (like how I did my hairspring work last semester). Correcting hairsprings while they are still in the watch is similar to out of a watch-it still follows the same rules for finding the bends (out-of-round the bend is 90° from the widest/narrowest spot, out-of-flat bend is 180° from the highest/lowest spot) as well as correcting them (well, for the most part, but I’ll get to the exception I am thinking of). You can use two sets of tweezers to work the bends, or you can use the regulator arm to act as a set of tweezers and just use one set.
When going about correcting a hairspring in a watch, there are three areas to address-the first is the region right near the stud, the second is the concentric curve of the spring after it leaves the regulator, and the final spot is about 90-ish degrees past the stud arm-if needed.
I wish I had a lot of pictures, but as much as I tried, it is very hard to take a picture of the hairspring using a cell phone without having parts of the spring disappear, so I will do my best to walk through the process.
Before doing anything, you first need to check that the spring coming off the stud is correct. To do this, you need to move the regulator arm close to the stud arm and note two distances:
- Distance A-From the center of the spring/collet to the stud
- Distance B-From the center of the spring/collet to the regulator
If (and it most likely will be) the two distances are different, you need to put a corrective bend in the spring coming off of the regulator to make the two distances equal. Once you have done that, you can move on to correcting the potential problems.
If you have an out-of-flat bend, find the high/low spot and go 180° opposite to where the bend is at. Grasp the spring with the tweezers at a slight angle and perform a “pinch bend.” If you don’t angle the tweezers before grasping, you will increase the risk of introducing a new bend (I know this first hand), or you will just kind of… wiggle your tweezers back and forth without getting anywhere (I know this as well). Depending on if you need to raise or lower the spring will also determine from what direction you grab the spring. If the spring needs to be raised, I have found that angling from inside the spring (with the tips of the tweezers pointing away from the collet) works best, and if the spring needs to be lowered, angling in (tweezers tips pointing towards collet) works best.
If you are dealing with an out-of-round bend, you need to find the spot where it is bending from and rotate the the regulator arm to where the regulator pin is just at the bend and push/pull the spring to open/close the spot that is narrow/wide.
If there are both bends, correct them both. My preference is to correct the out-of-flat first, but you can do it either way.
Once you have corrected the flat/round bend, you should have a nice concentric curve in your outer coil. You need to position your regulator arm 90° away from the stud and check the position of the spring. If it is resting against the regulator pin or the regulator key, you need to make some small adjustments (you know how American Football is sometimes called a game of inches? Well, at this point, you are in a game of hundredths of a millimeter. Or less.) and get the hairspring even between the pin and key.
If you aren’t able to get the spring even between the pin and key, or correcting the out-of-round bend didn’t get the spring concentric, you will need to put in a second corrective bend in the spring that will allow the spring to center itself and relieve pressure across the coils.
 All that said, the way this project works is fix six hairsprings, have them checked and ultimately bent again. Repeat the procedure until it is time to move on. That is what made up the bulk of my week last week (Week 5).
As a distraction/learning experience, we did have representatives from Richemont come to the school and talk with the watch and jewelry students about post-graduation employment opportunities. It was an excellent presentation and I learned more about how the service center in Dallas is structured-as well as how advancement and in-house education works. We learned about some of Richemonts expansion plans, as well as where boutiques are located and which ones have watchmakers working from them. It was a lot of fun watching some of my fellow classmates who weren’t familiar with Richemont get excited looks about a career path they may not have thought about.
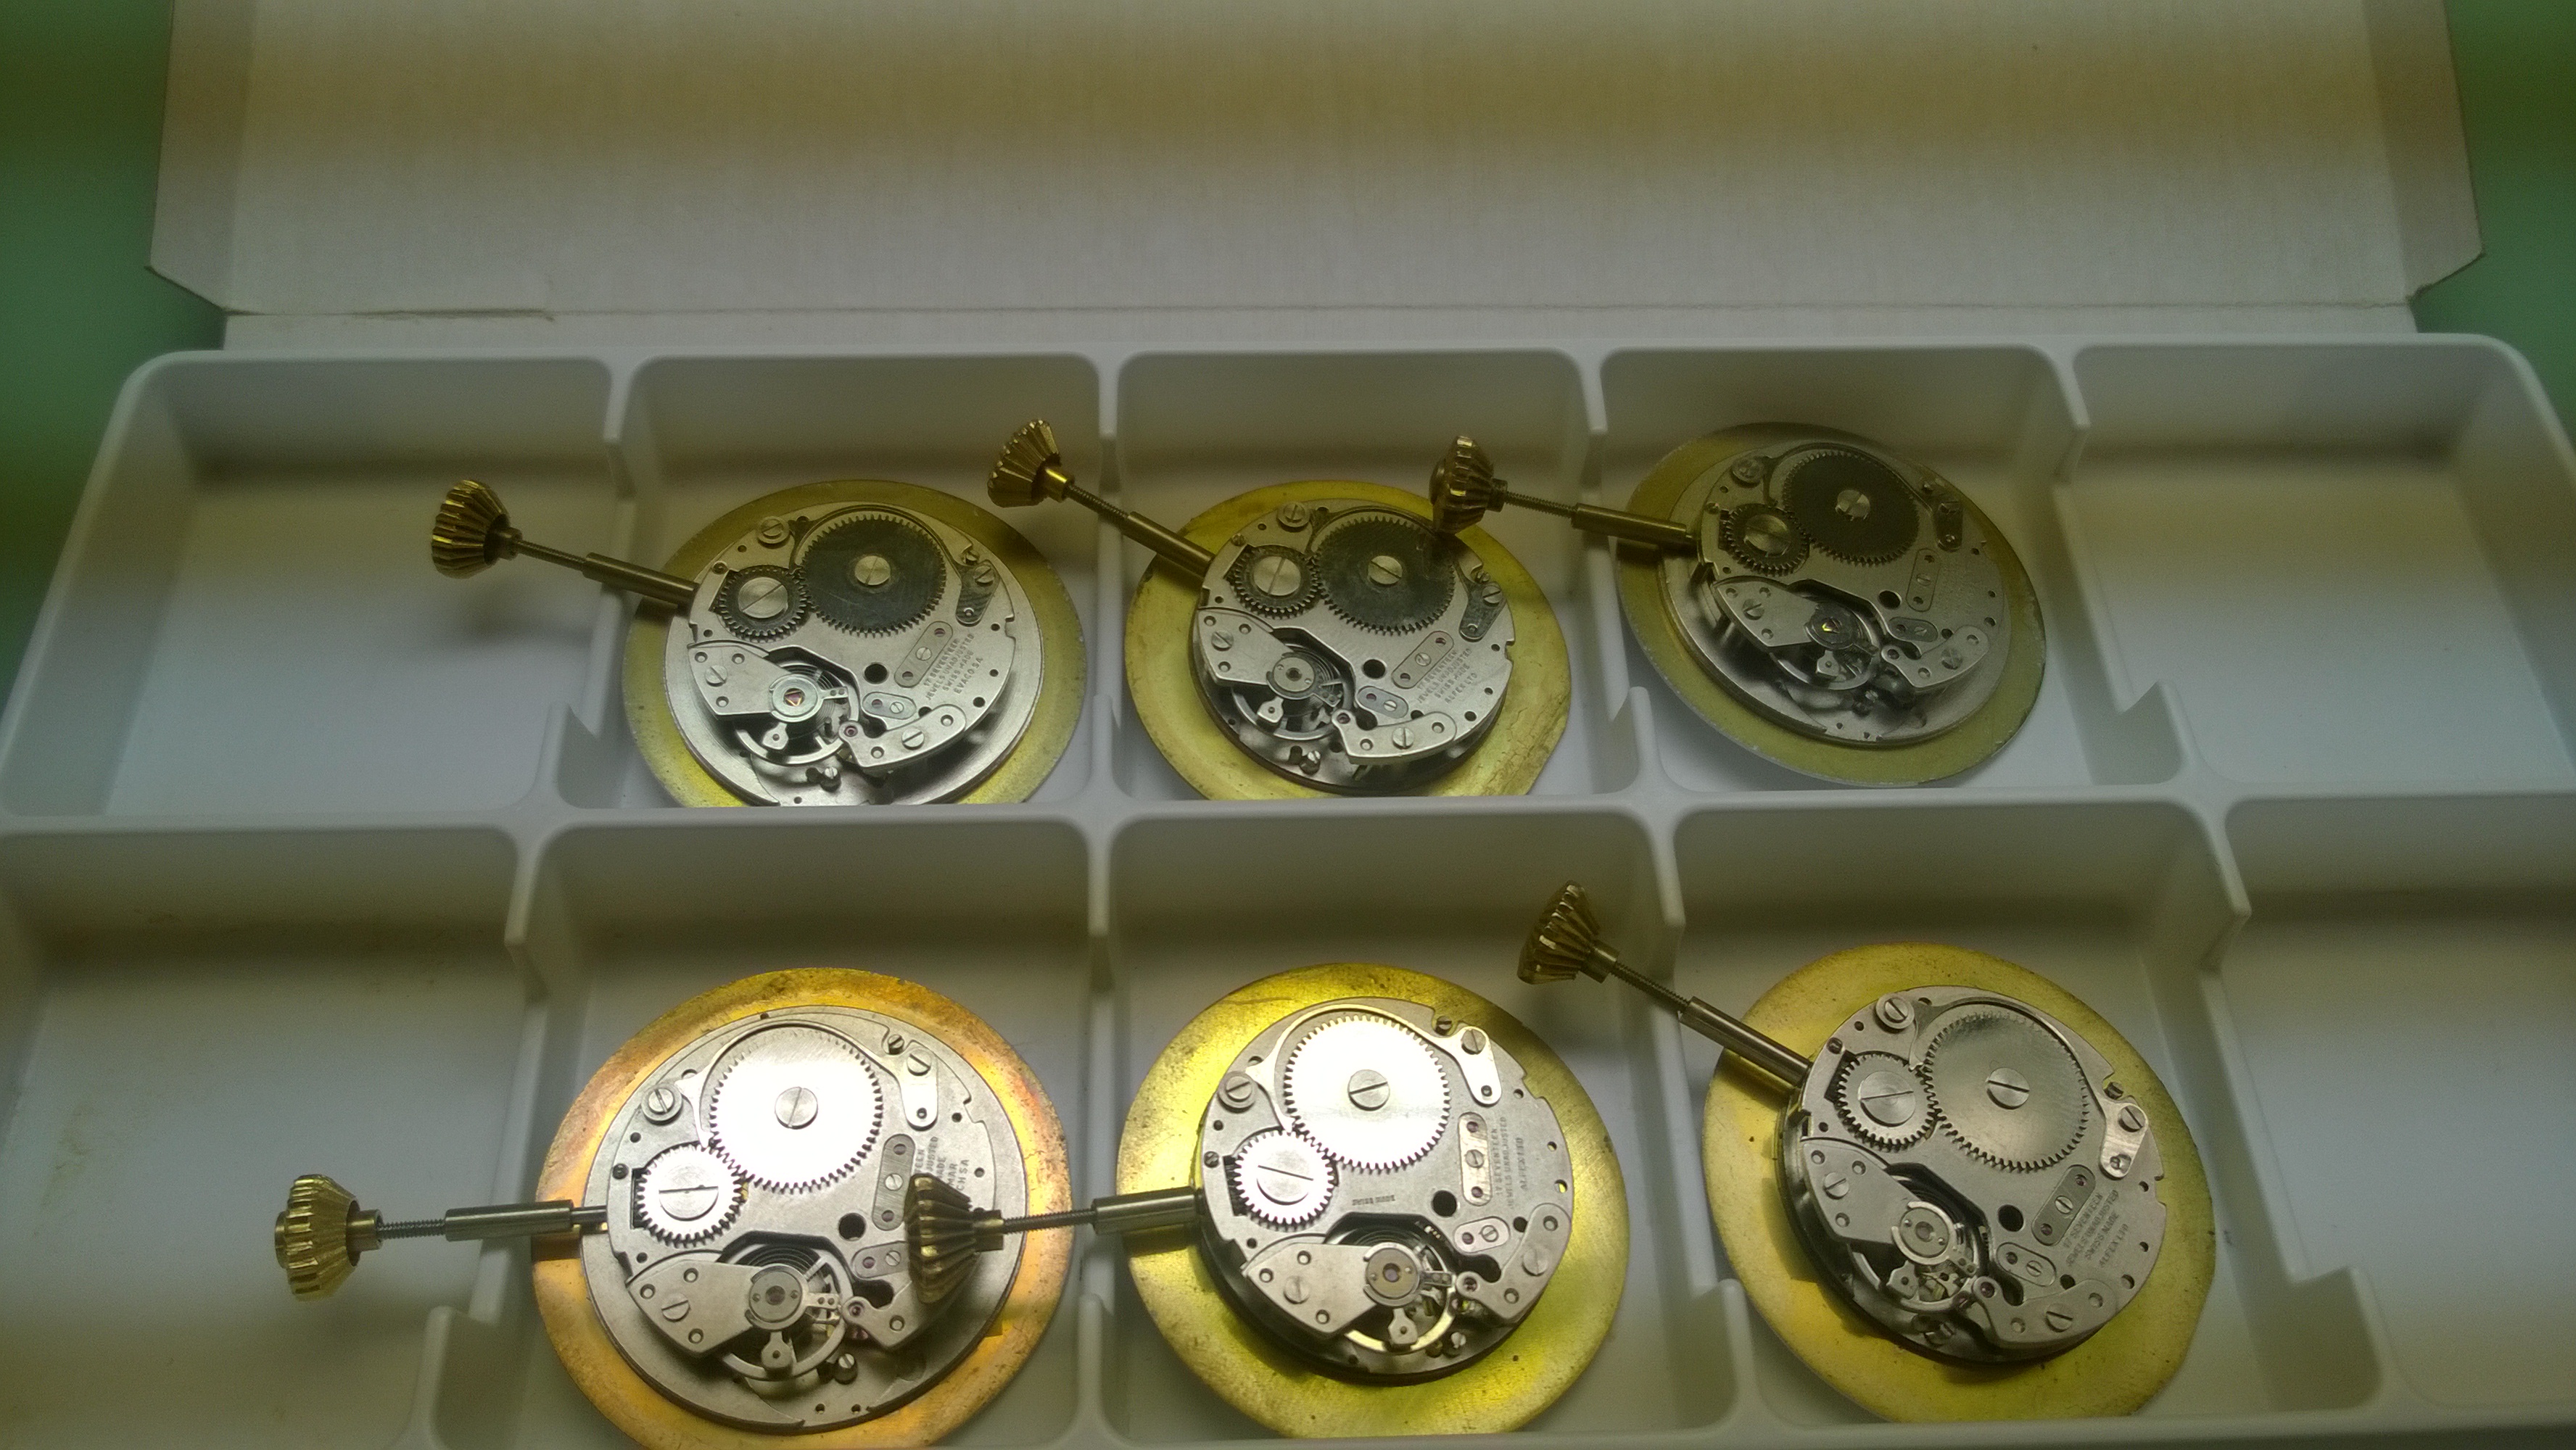
Monday, of this week, I finished up the first set of movements. As with all the other projects I have done, you first start big and work your way smaller. The process is the same, so I’ll just post a few pictures without repeating myself. Unless something happens to where I move on to a new project tomorrow, my post for Saturday will detail some of the stuff that I’m working on as extra-curricular projects.
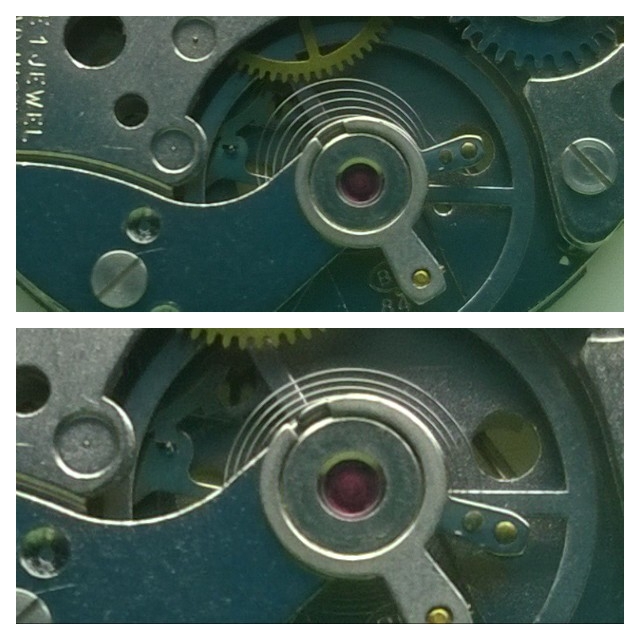
Before Correction on Top, After Correction on Bottom.
