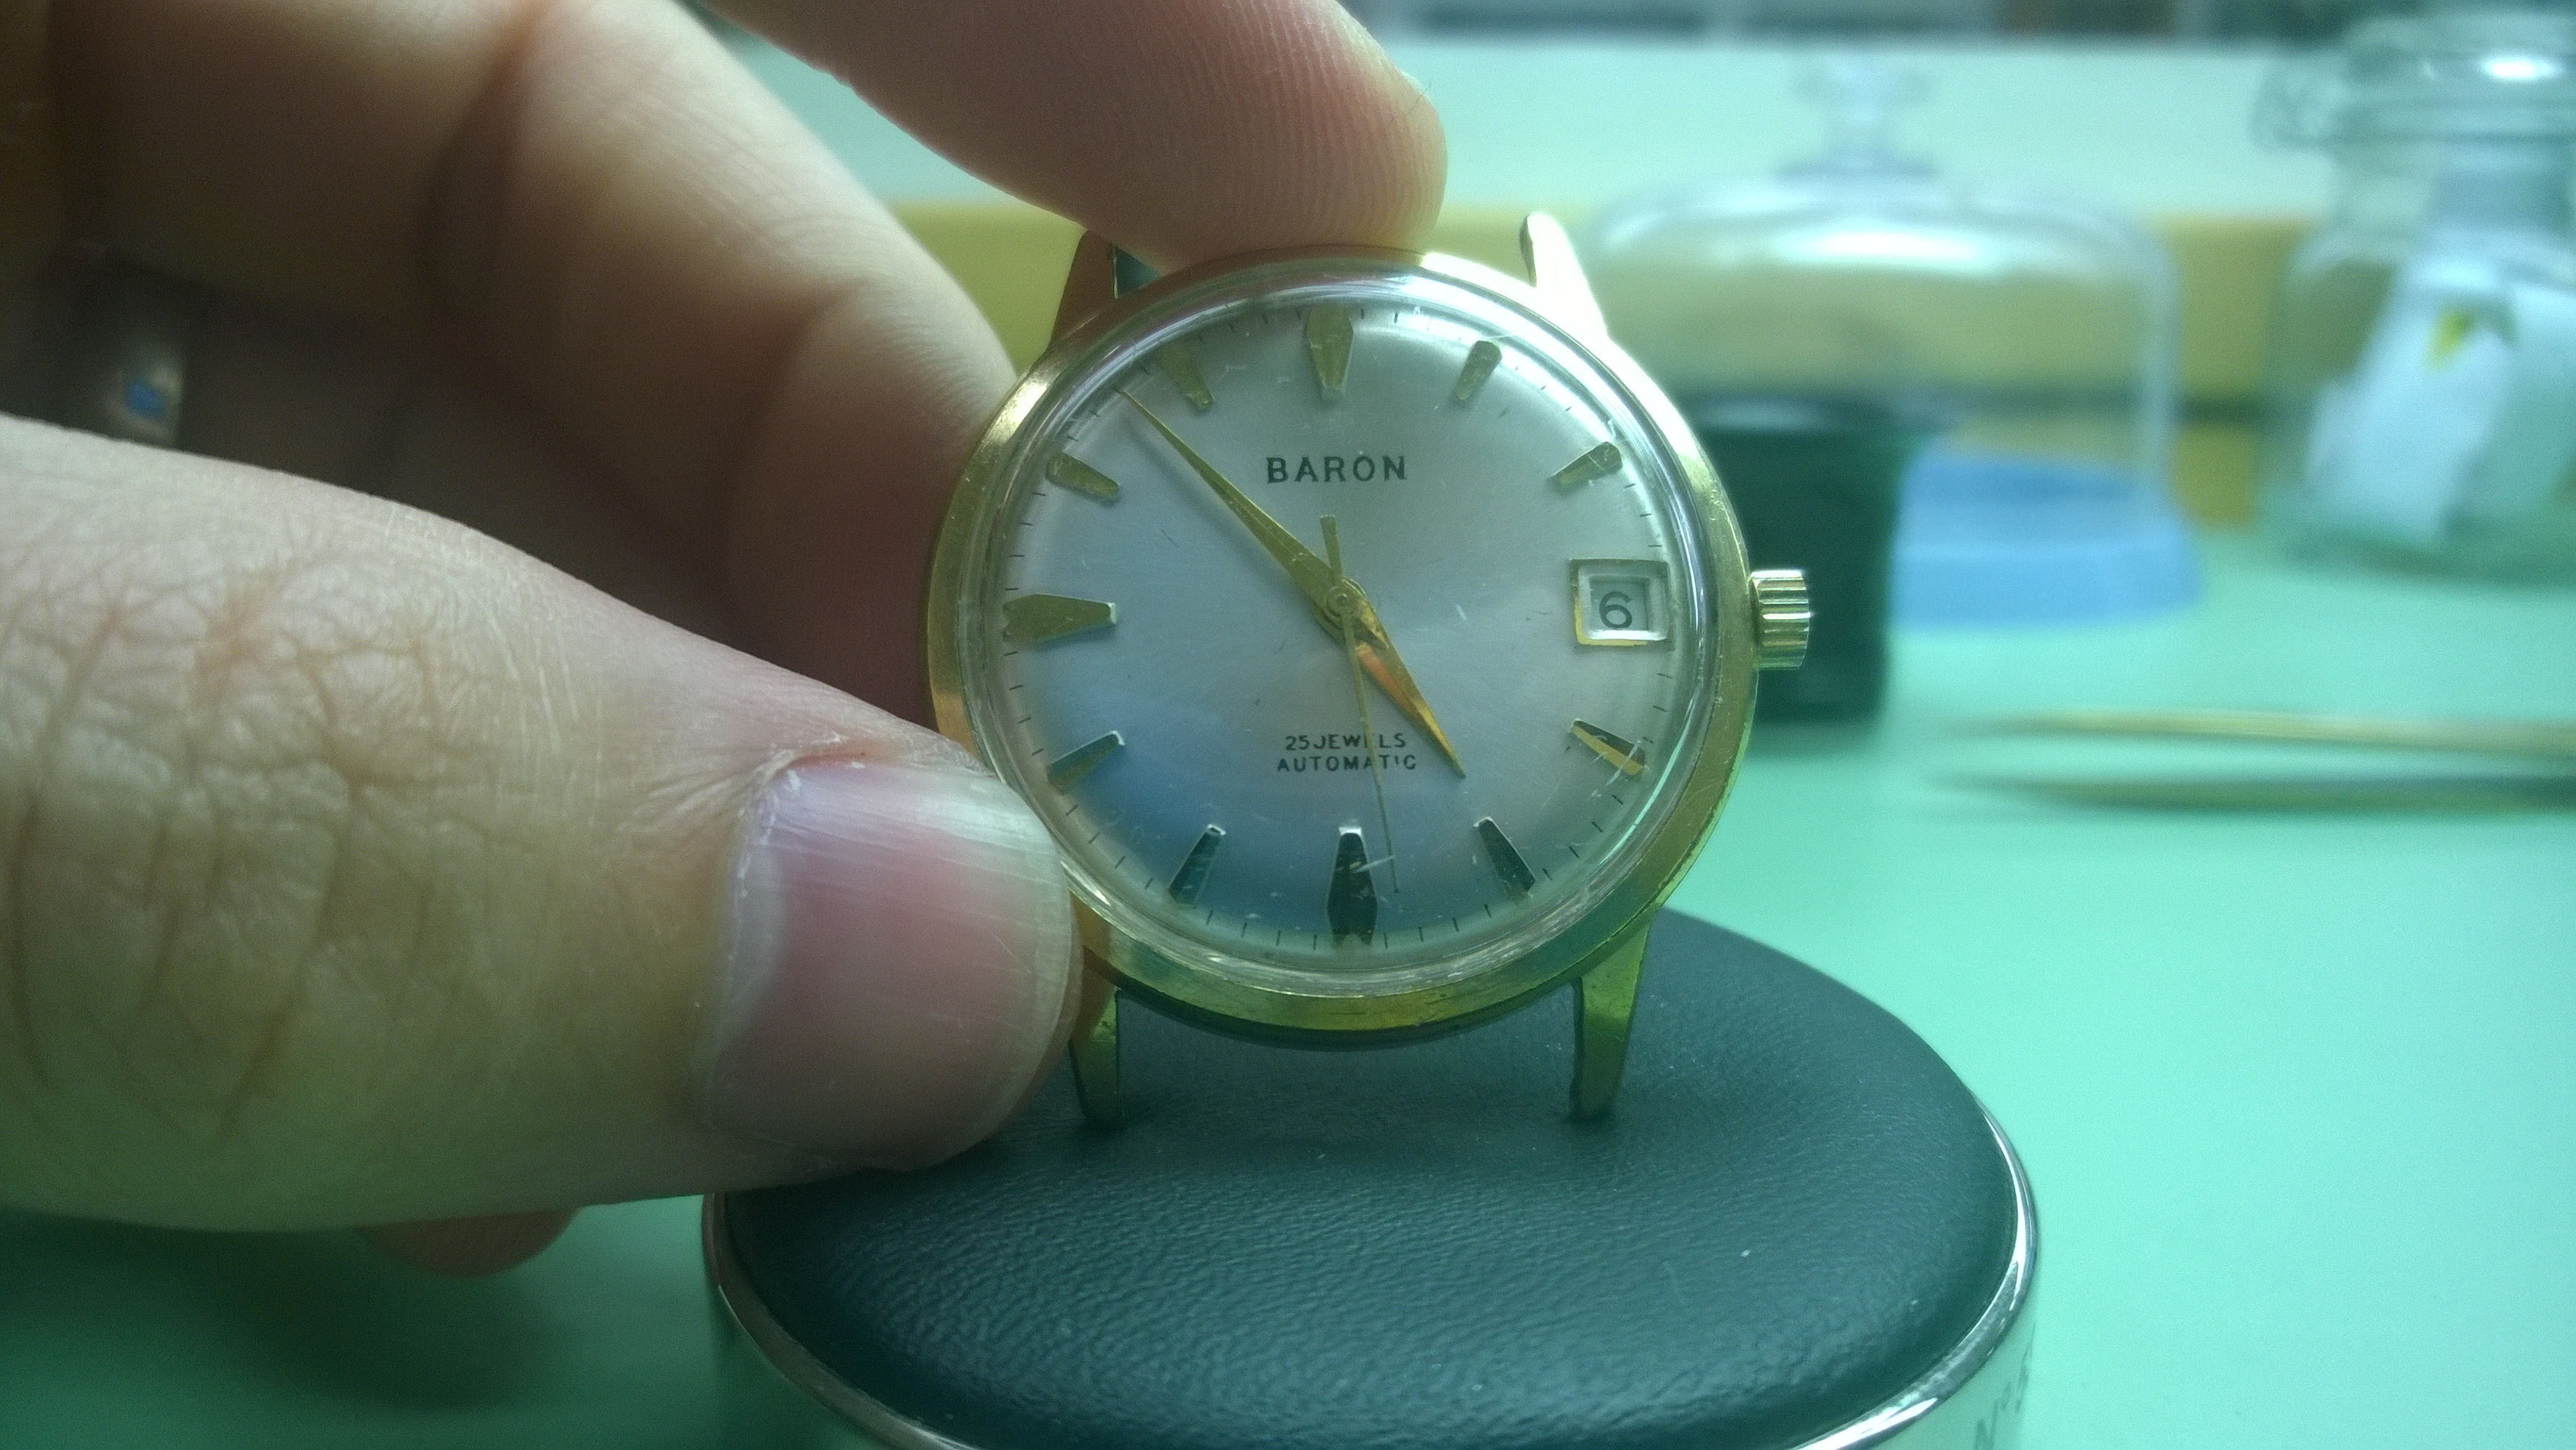
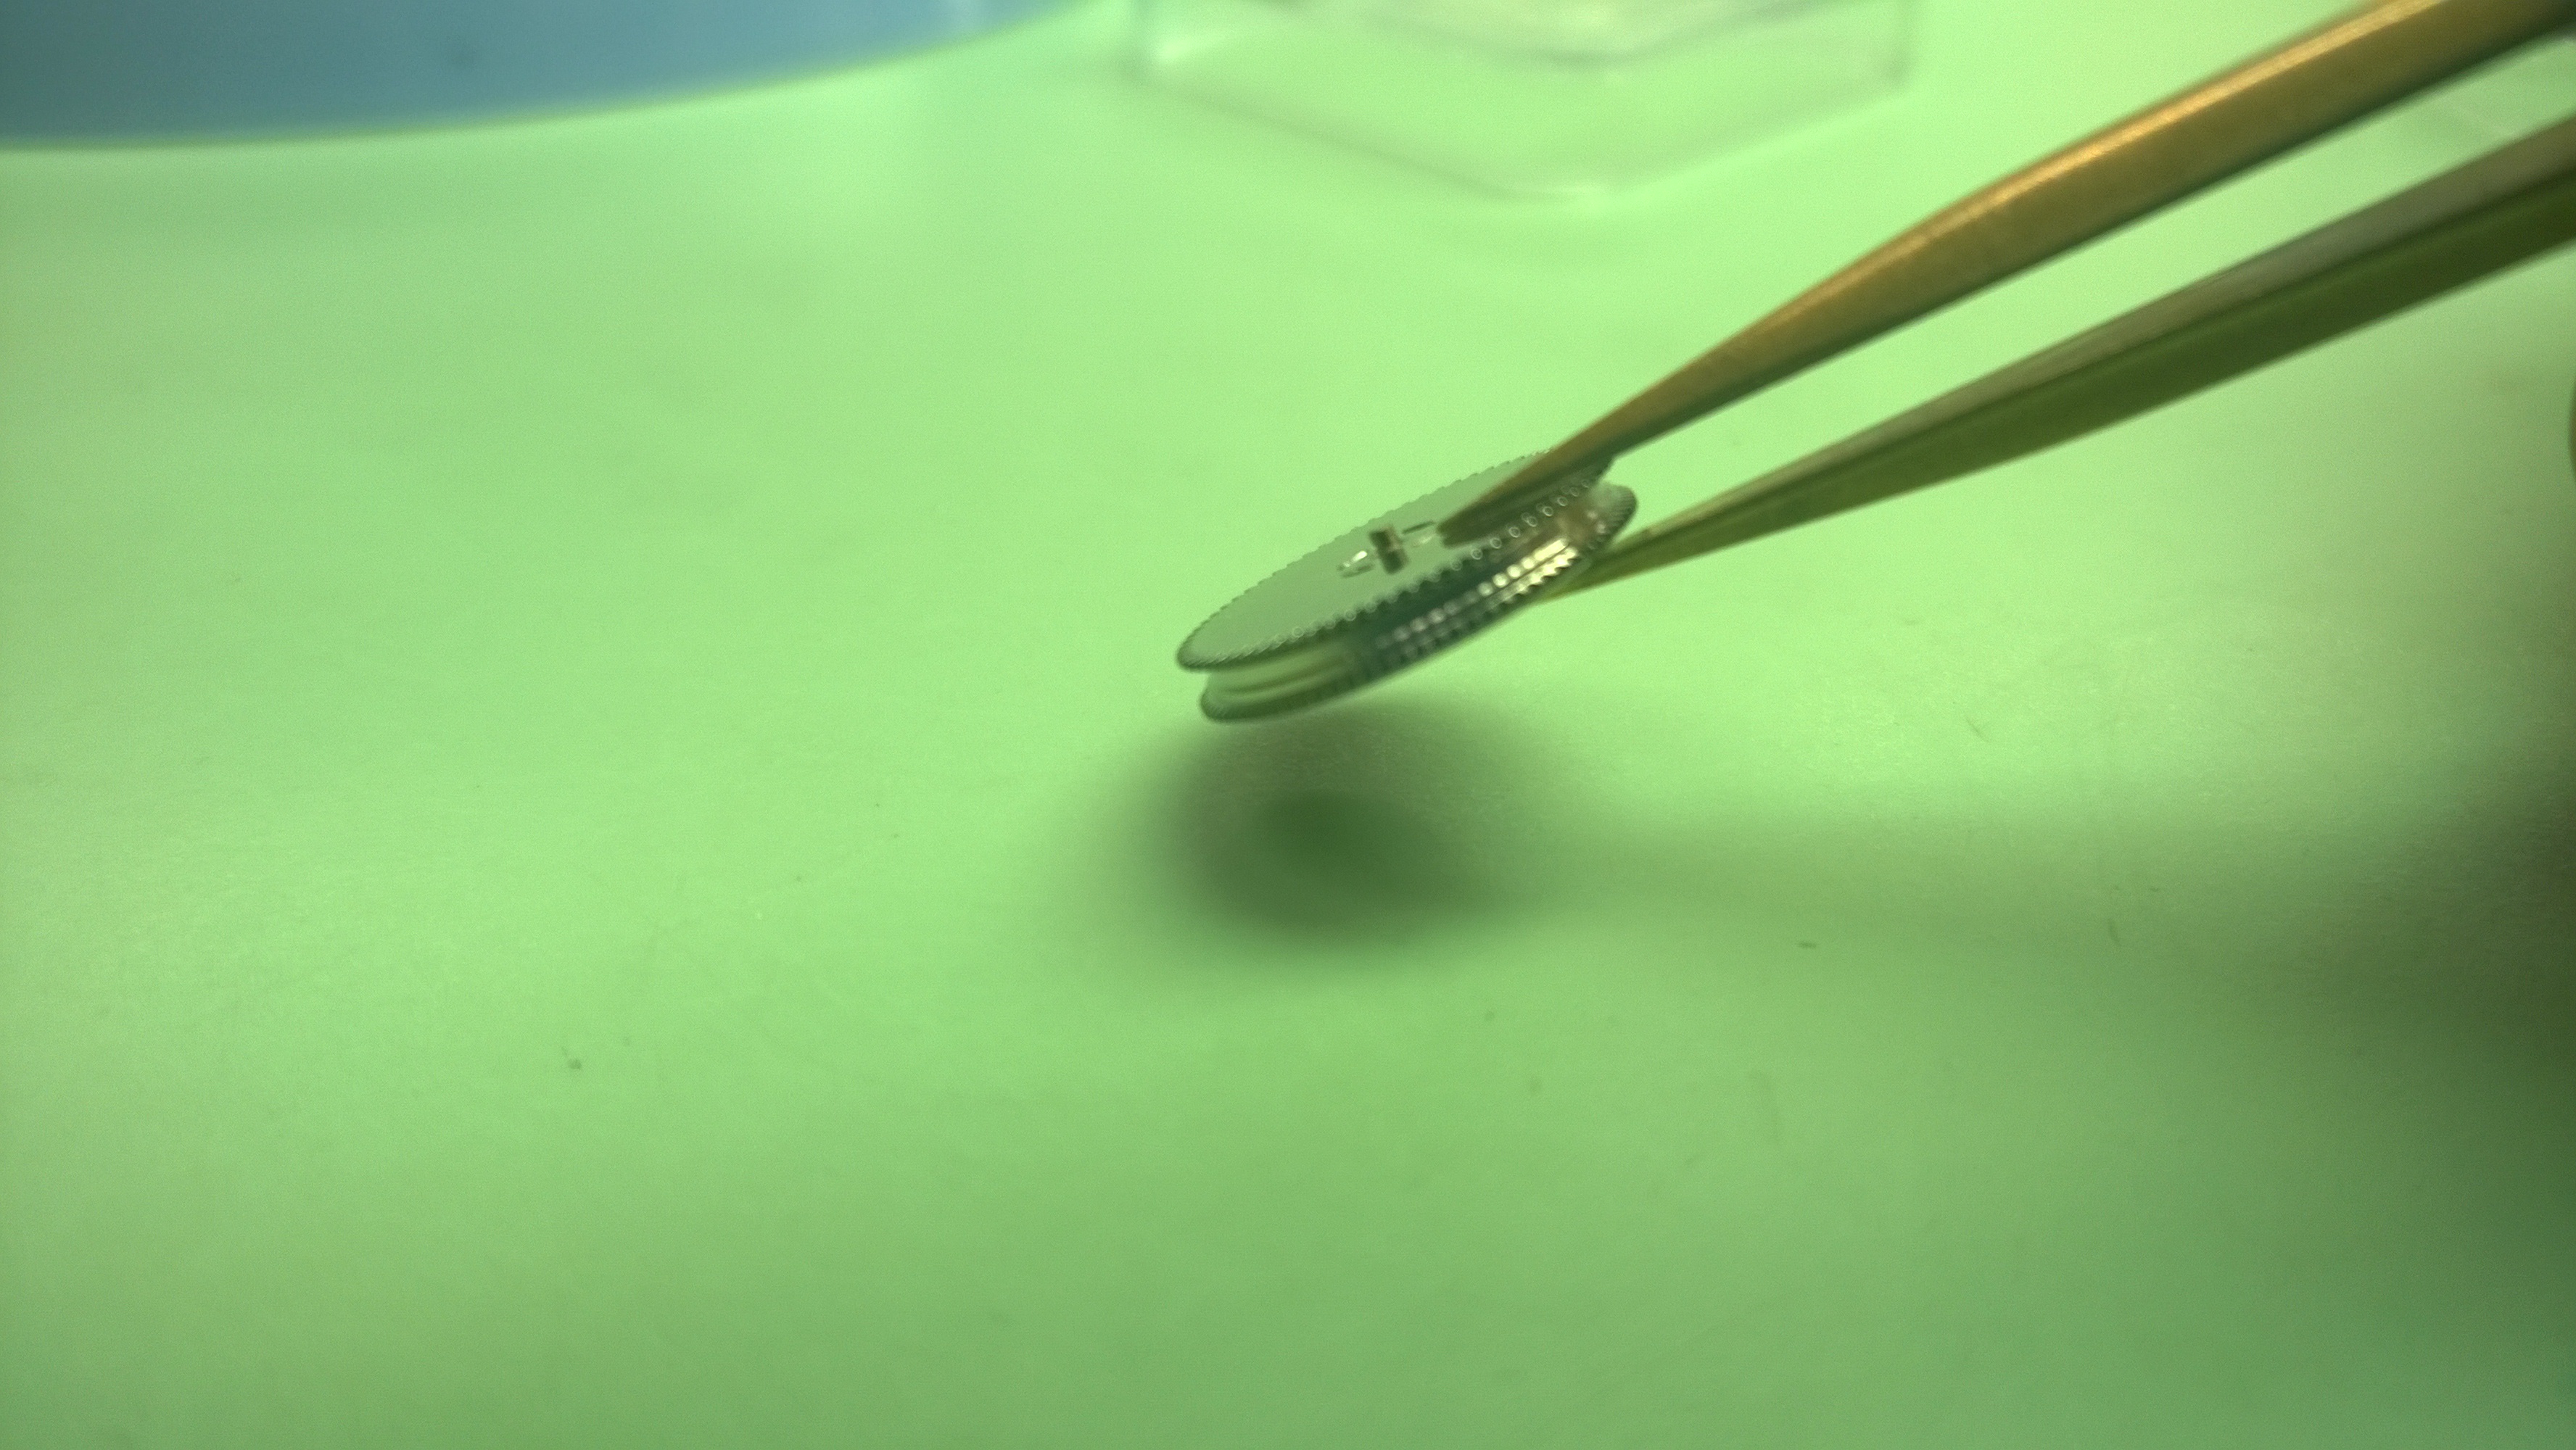
The next watch that I worked on in my Automatic section was a PUW 1361. This one, as you can tell, has a calendar complication. Since it is just the date only, it was a simple calendar. It was also a two-piece stem. I’m not a fan of two-piece stems.

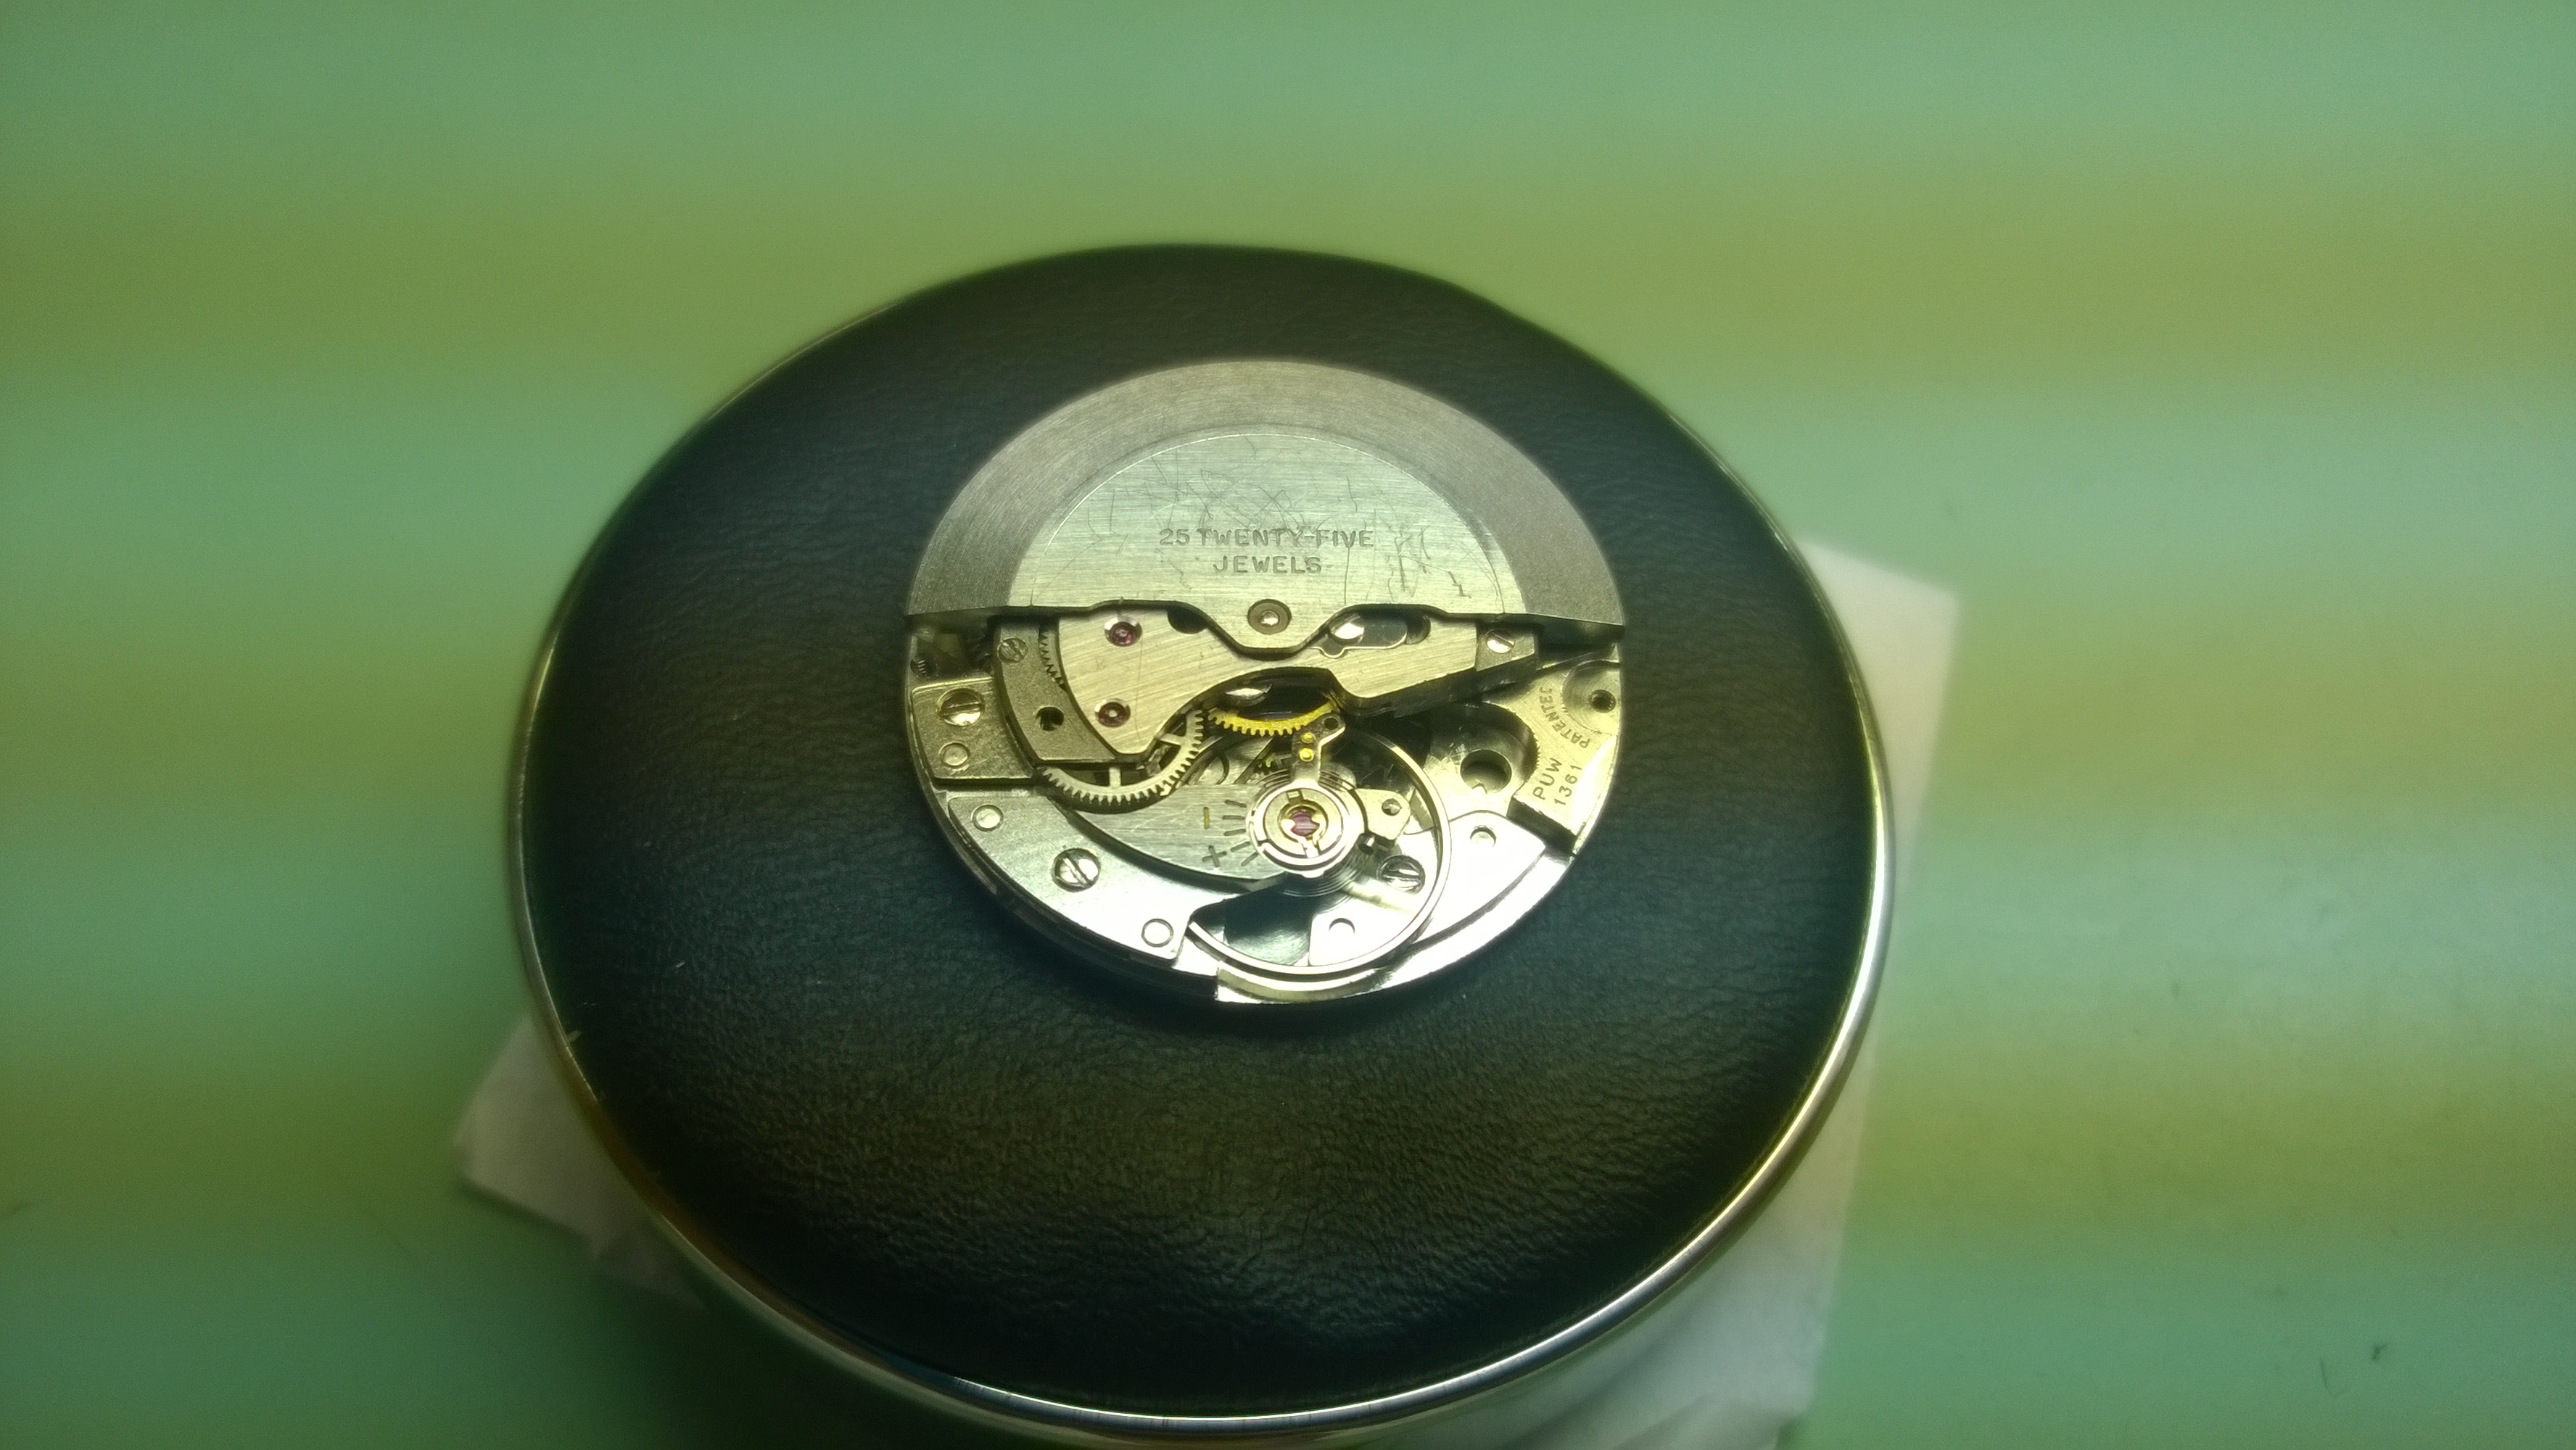
The rotor was held in place via a similar clip like the Bulova. Once removed, the automatic bridge is visible. The auto-bridge is actually a combined bridge with an automatic top-plate (that will become clear in a moment). The rotor gear sits on a post that is screwed in place on the combined bridge. The combined bridge serves as both the top plate for the gear train and the bottom plate for the automatic train.

In the above picture, you can see the auto gear train. The small wheel that is immediately to the left of the rotor post is called a wig-wag wheel. The post the wig-wag is on is slightly oblong in its shape. This gives the wig-wag an elliptical movement pattern, so it can engage the rotor and one of the other wheels at the same time. Jumping up to the topmost wheel, you have a winding-up wheel, a reduction gear and a driving-gear for the coupling wheel. To see the coupling wheel, look at the driving-gear wheels arm that is pointing to 9:00. The “hole” that you see is actually the coupling wheel. The coupling wheel serves as the link between automatic rotor and the ratchet wheel.
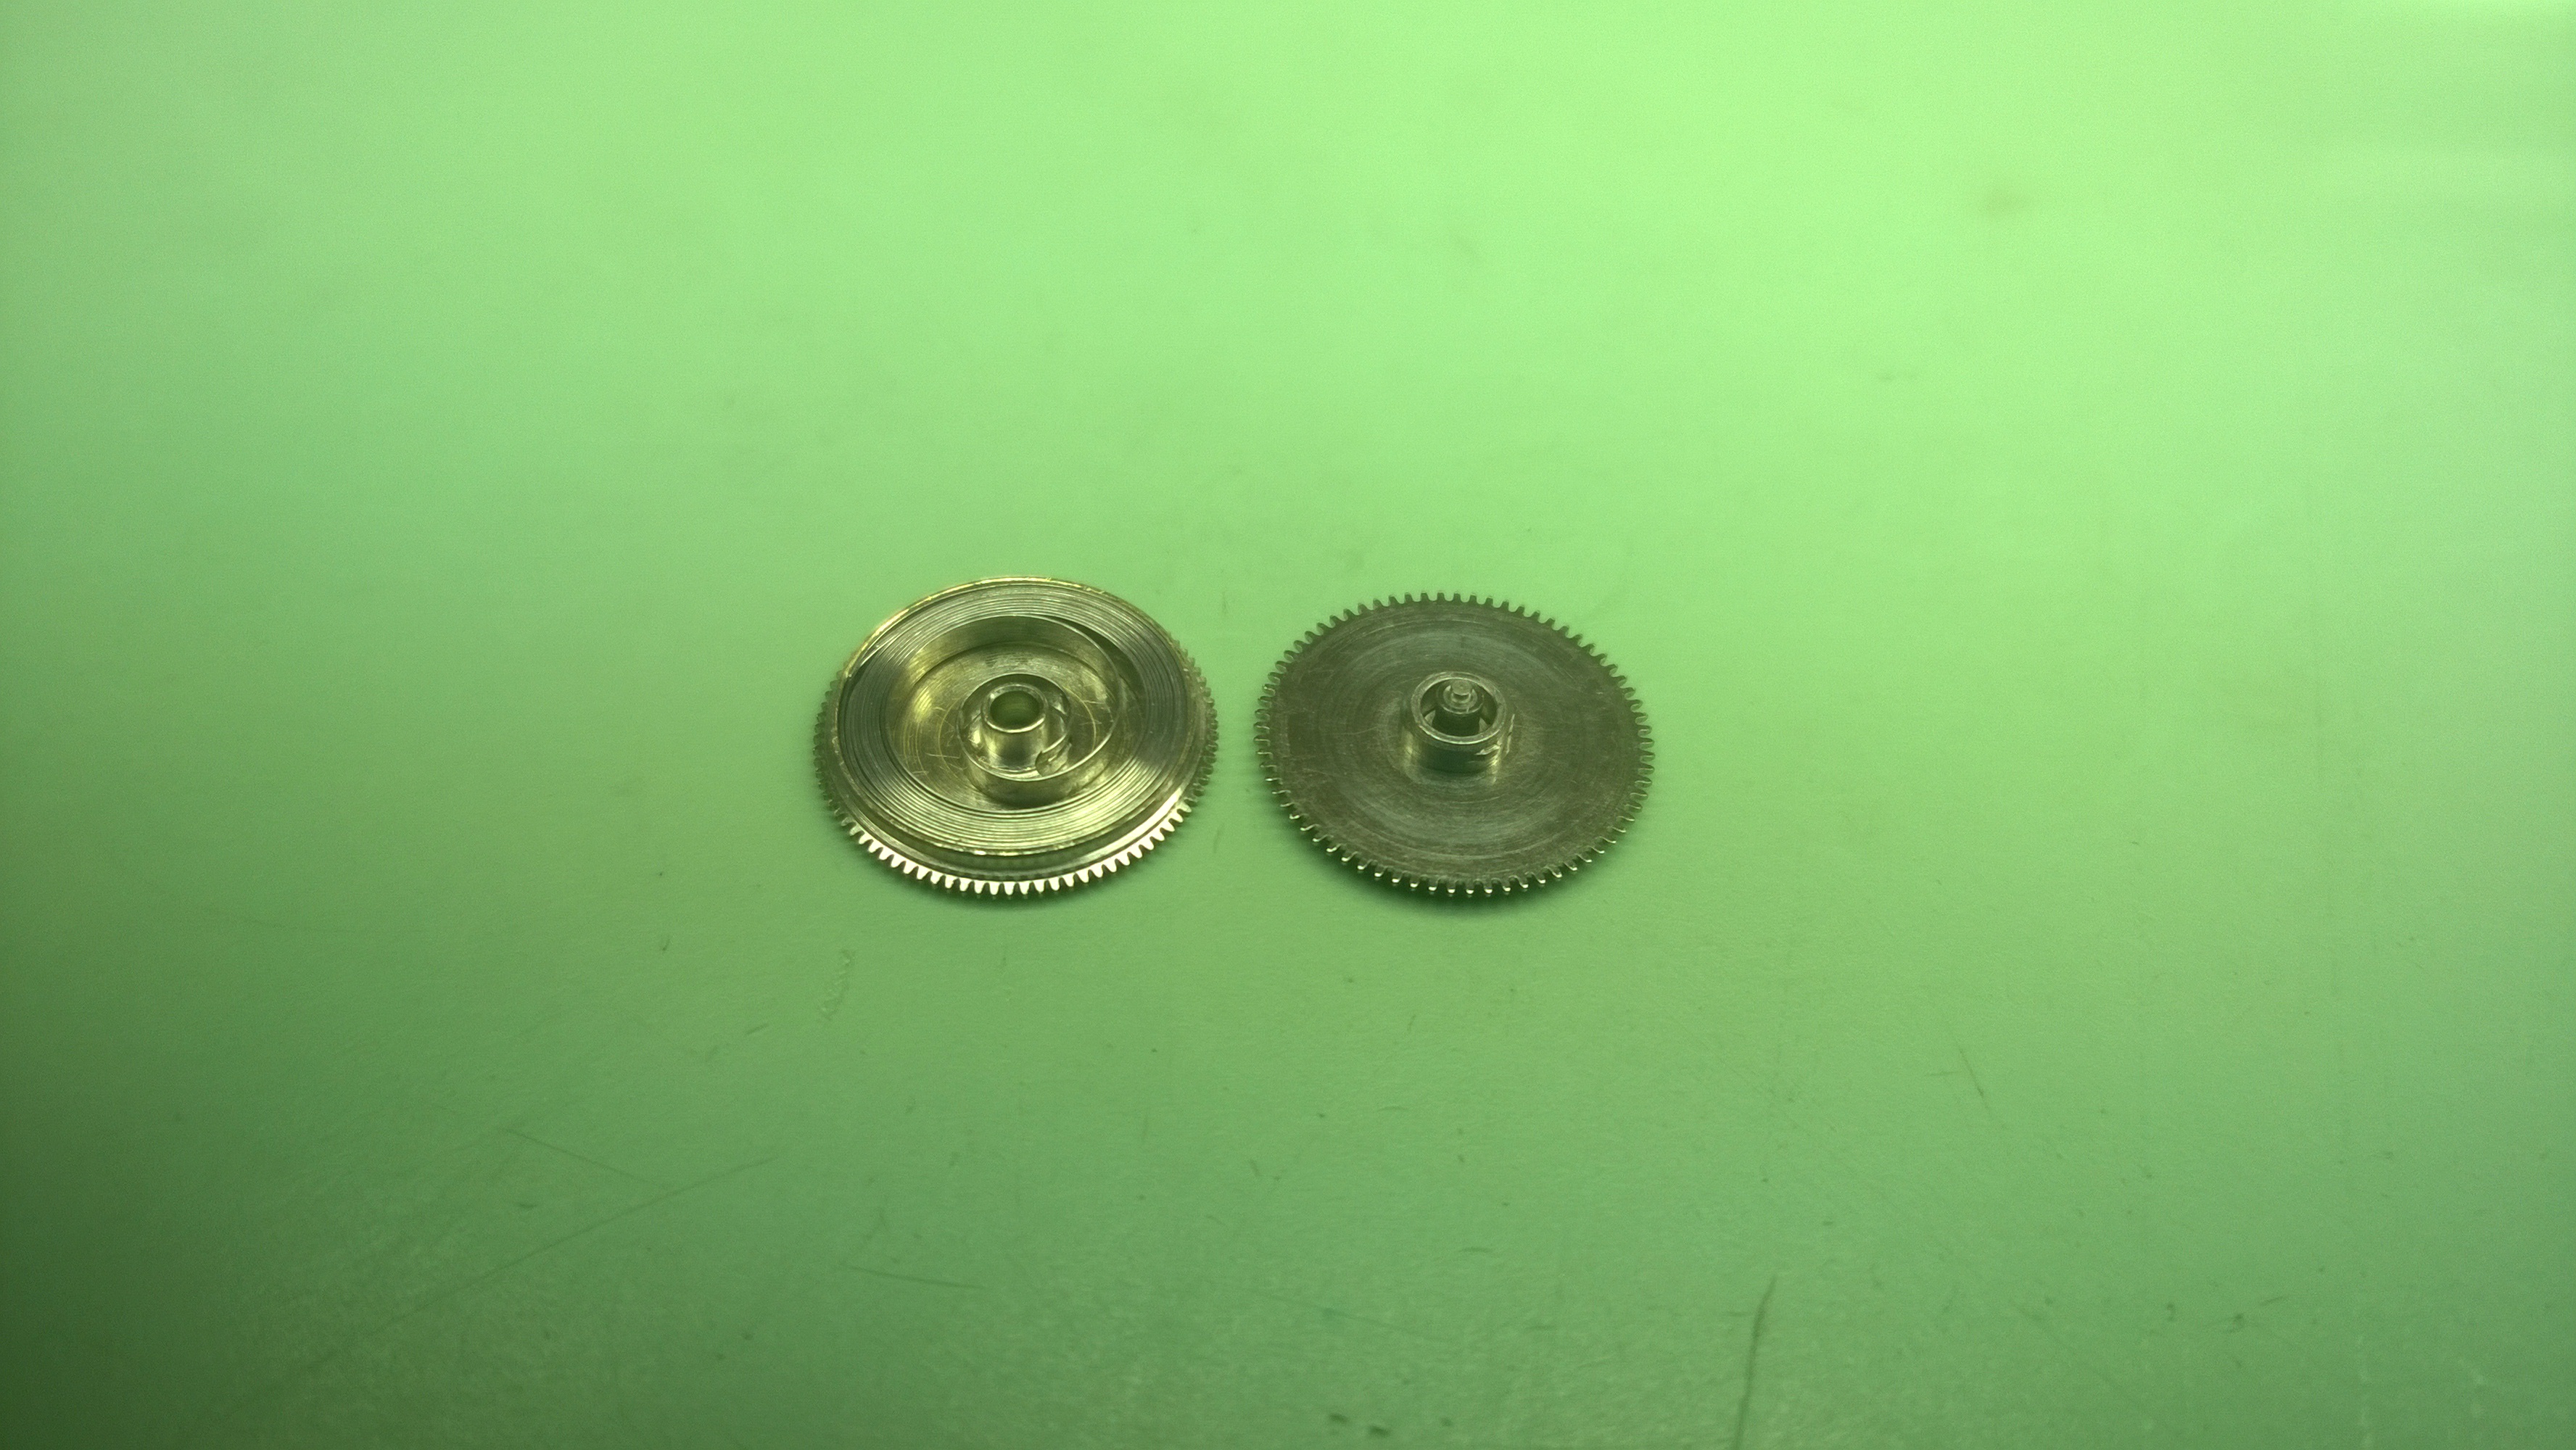
Speaking of ratchet wheel, the ratchet wheel serves as the barrel cap and arbor, which was an interesting design choice.
The post that the rotor sits on covers the third wheel jewel, the third wheel sits over the centerwheel bridge. Other than that, there wasn’t anything else interesting or different about the going train.

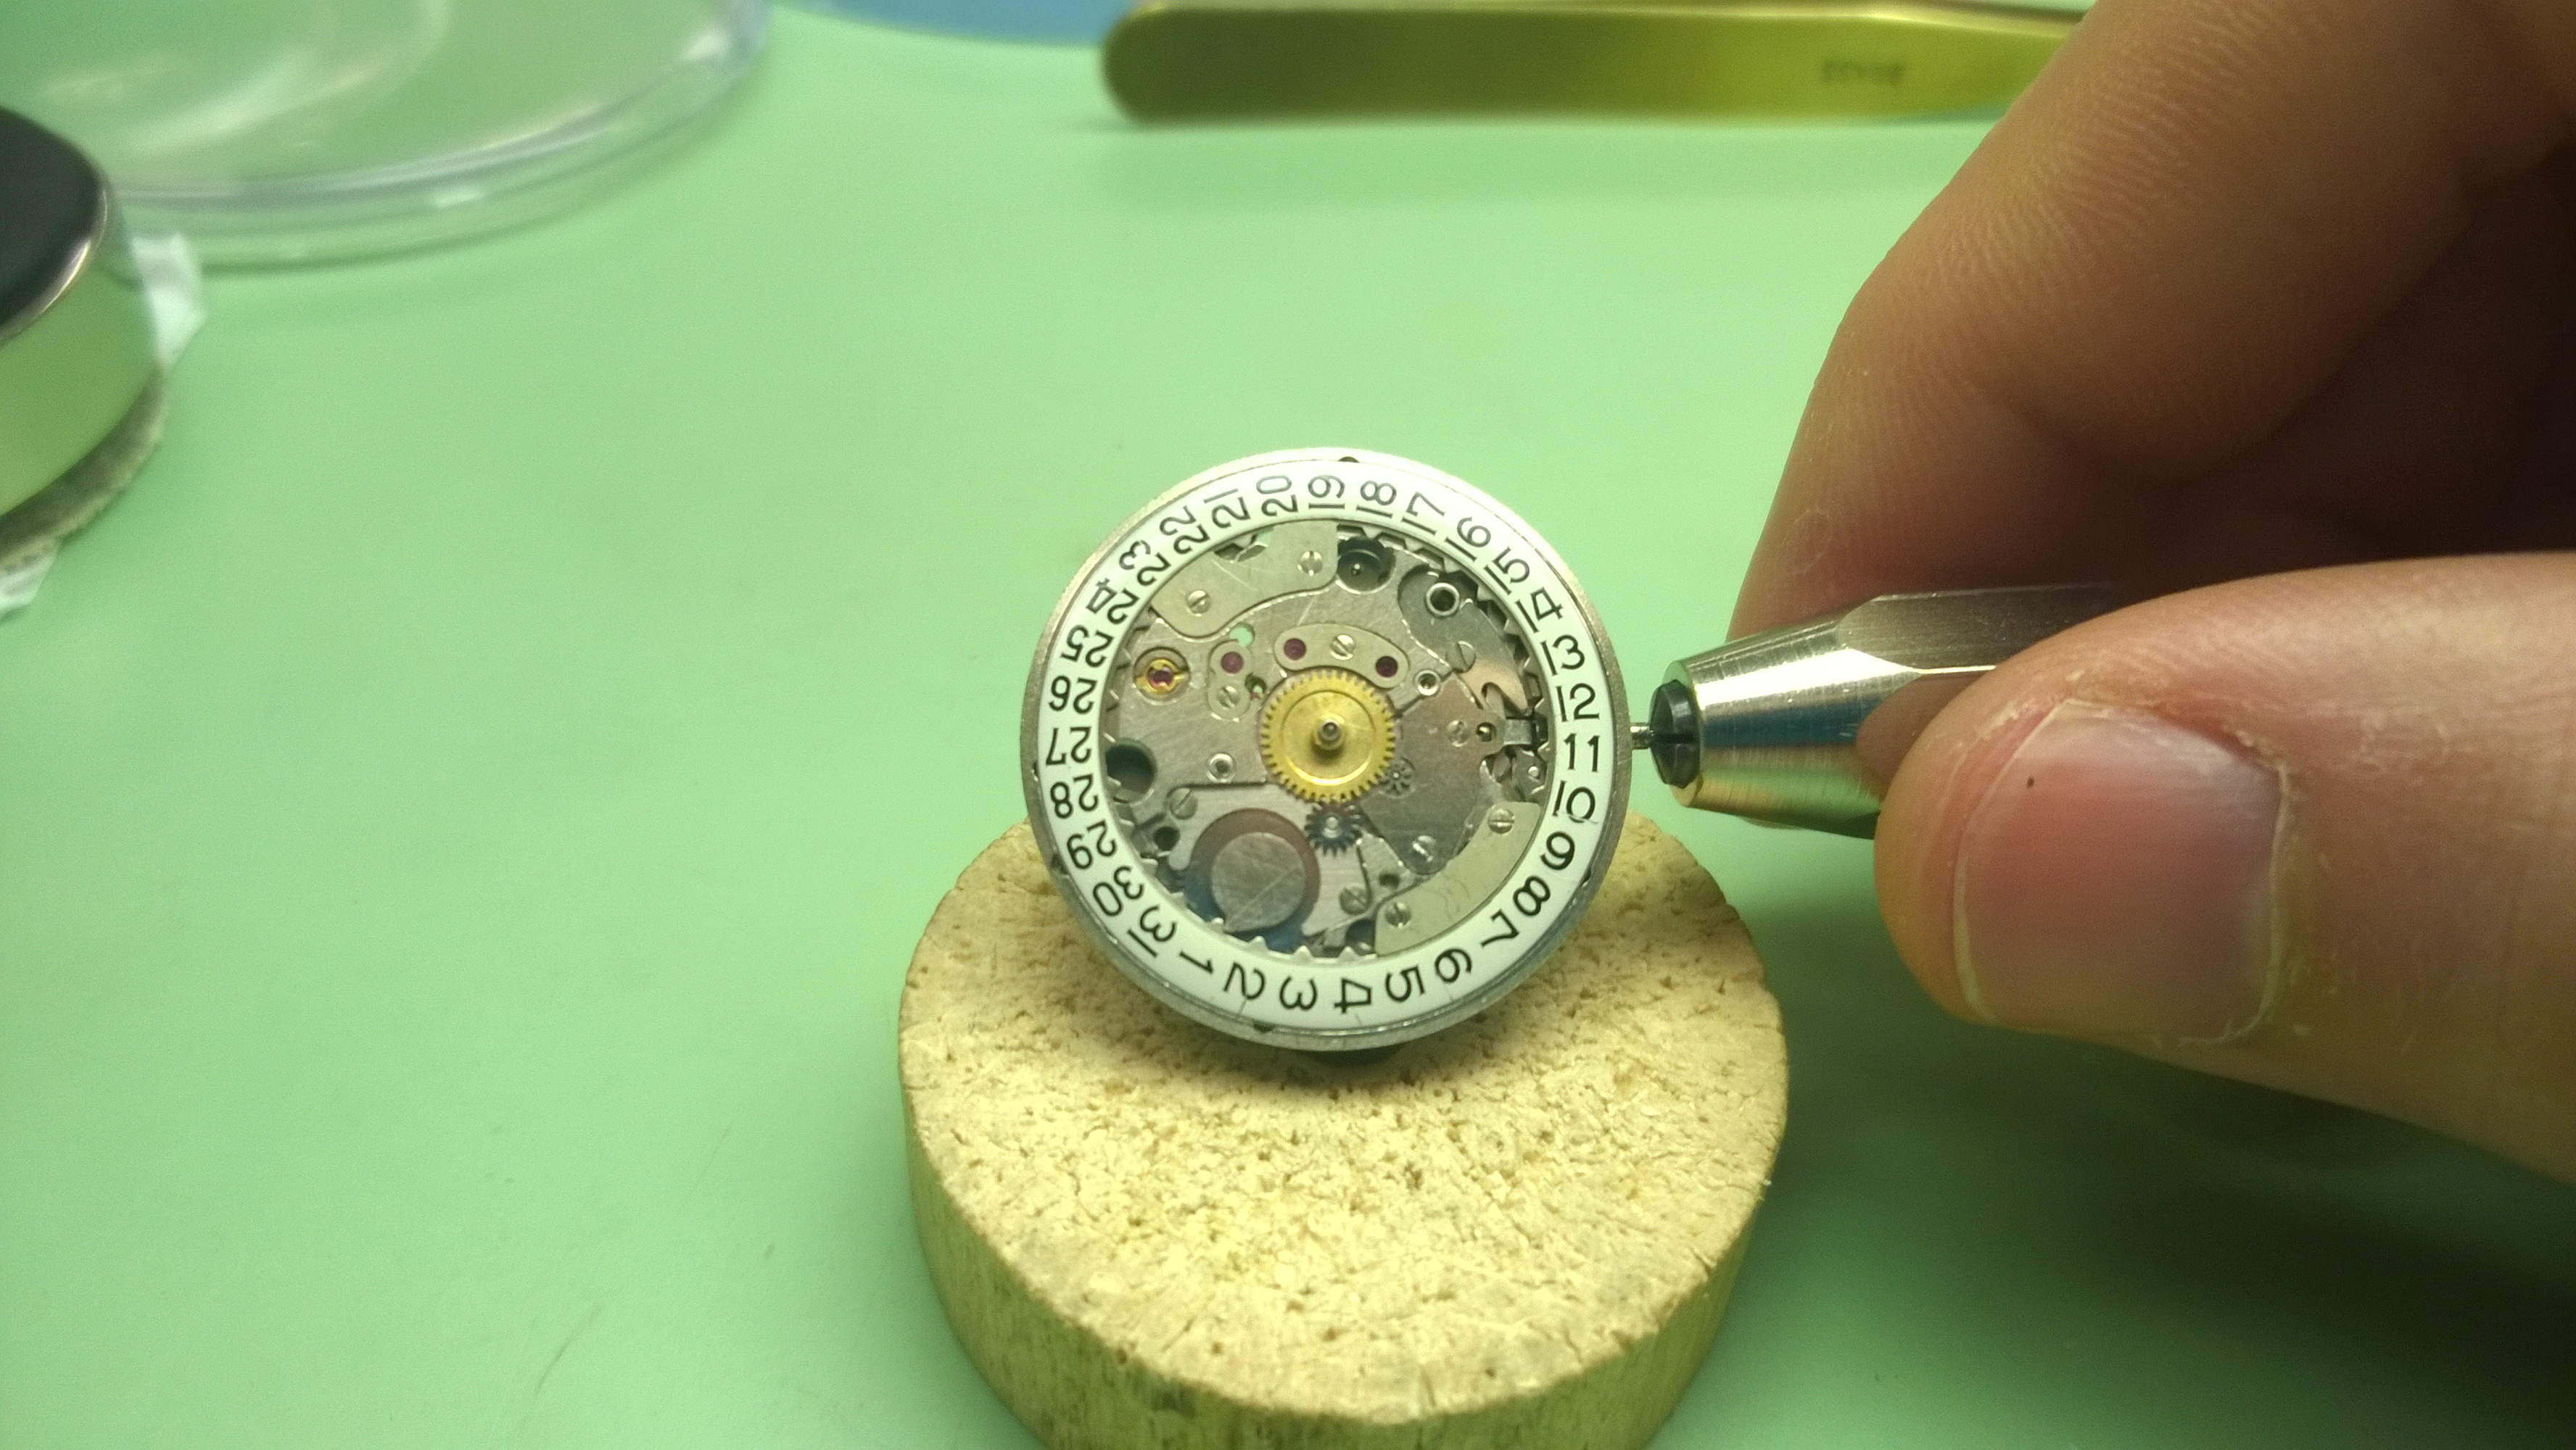
Now, it’s time to tackle explaining this particular watch’s calendar set-up. Take a look at the next two pictures and refer to them as I’m explaining things.
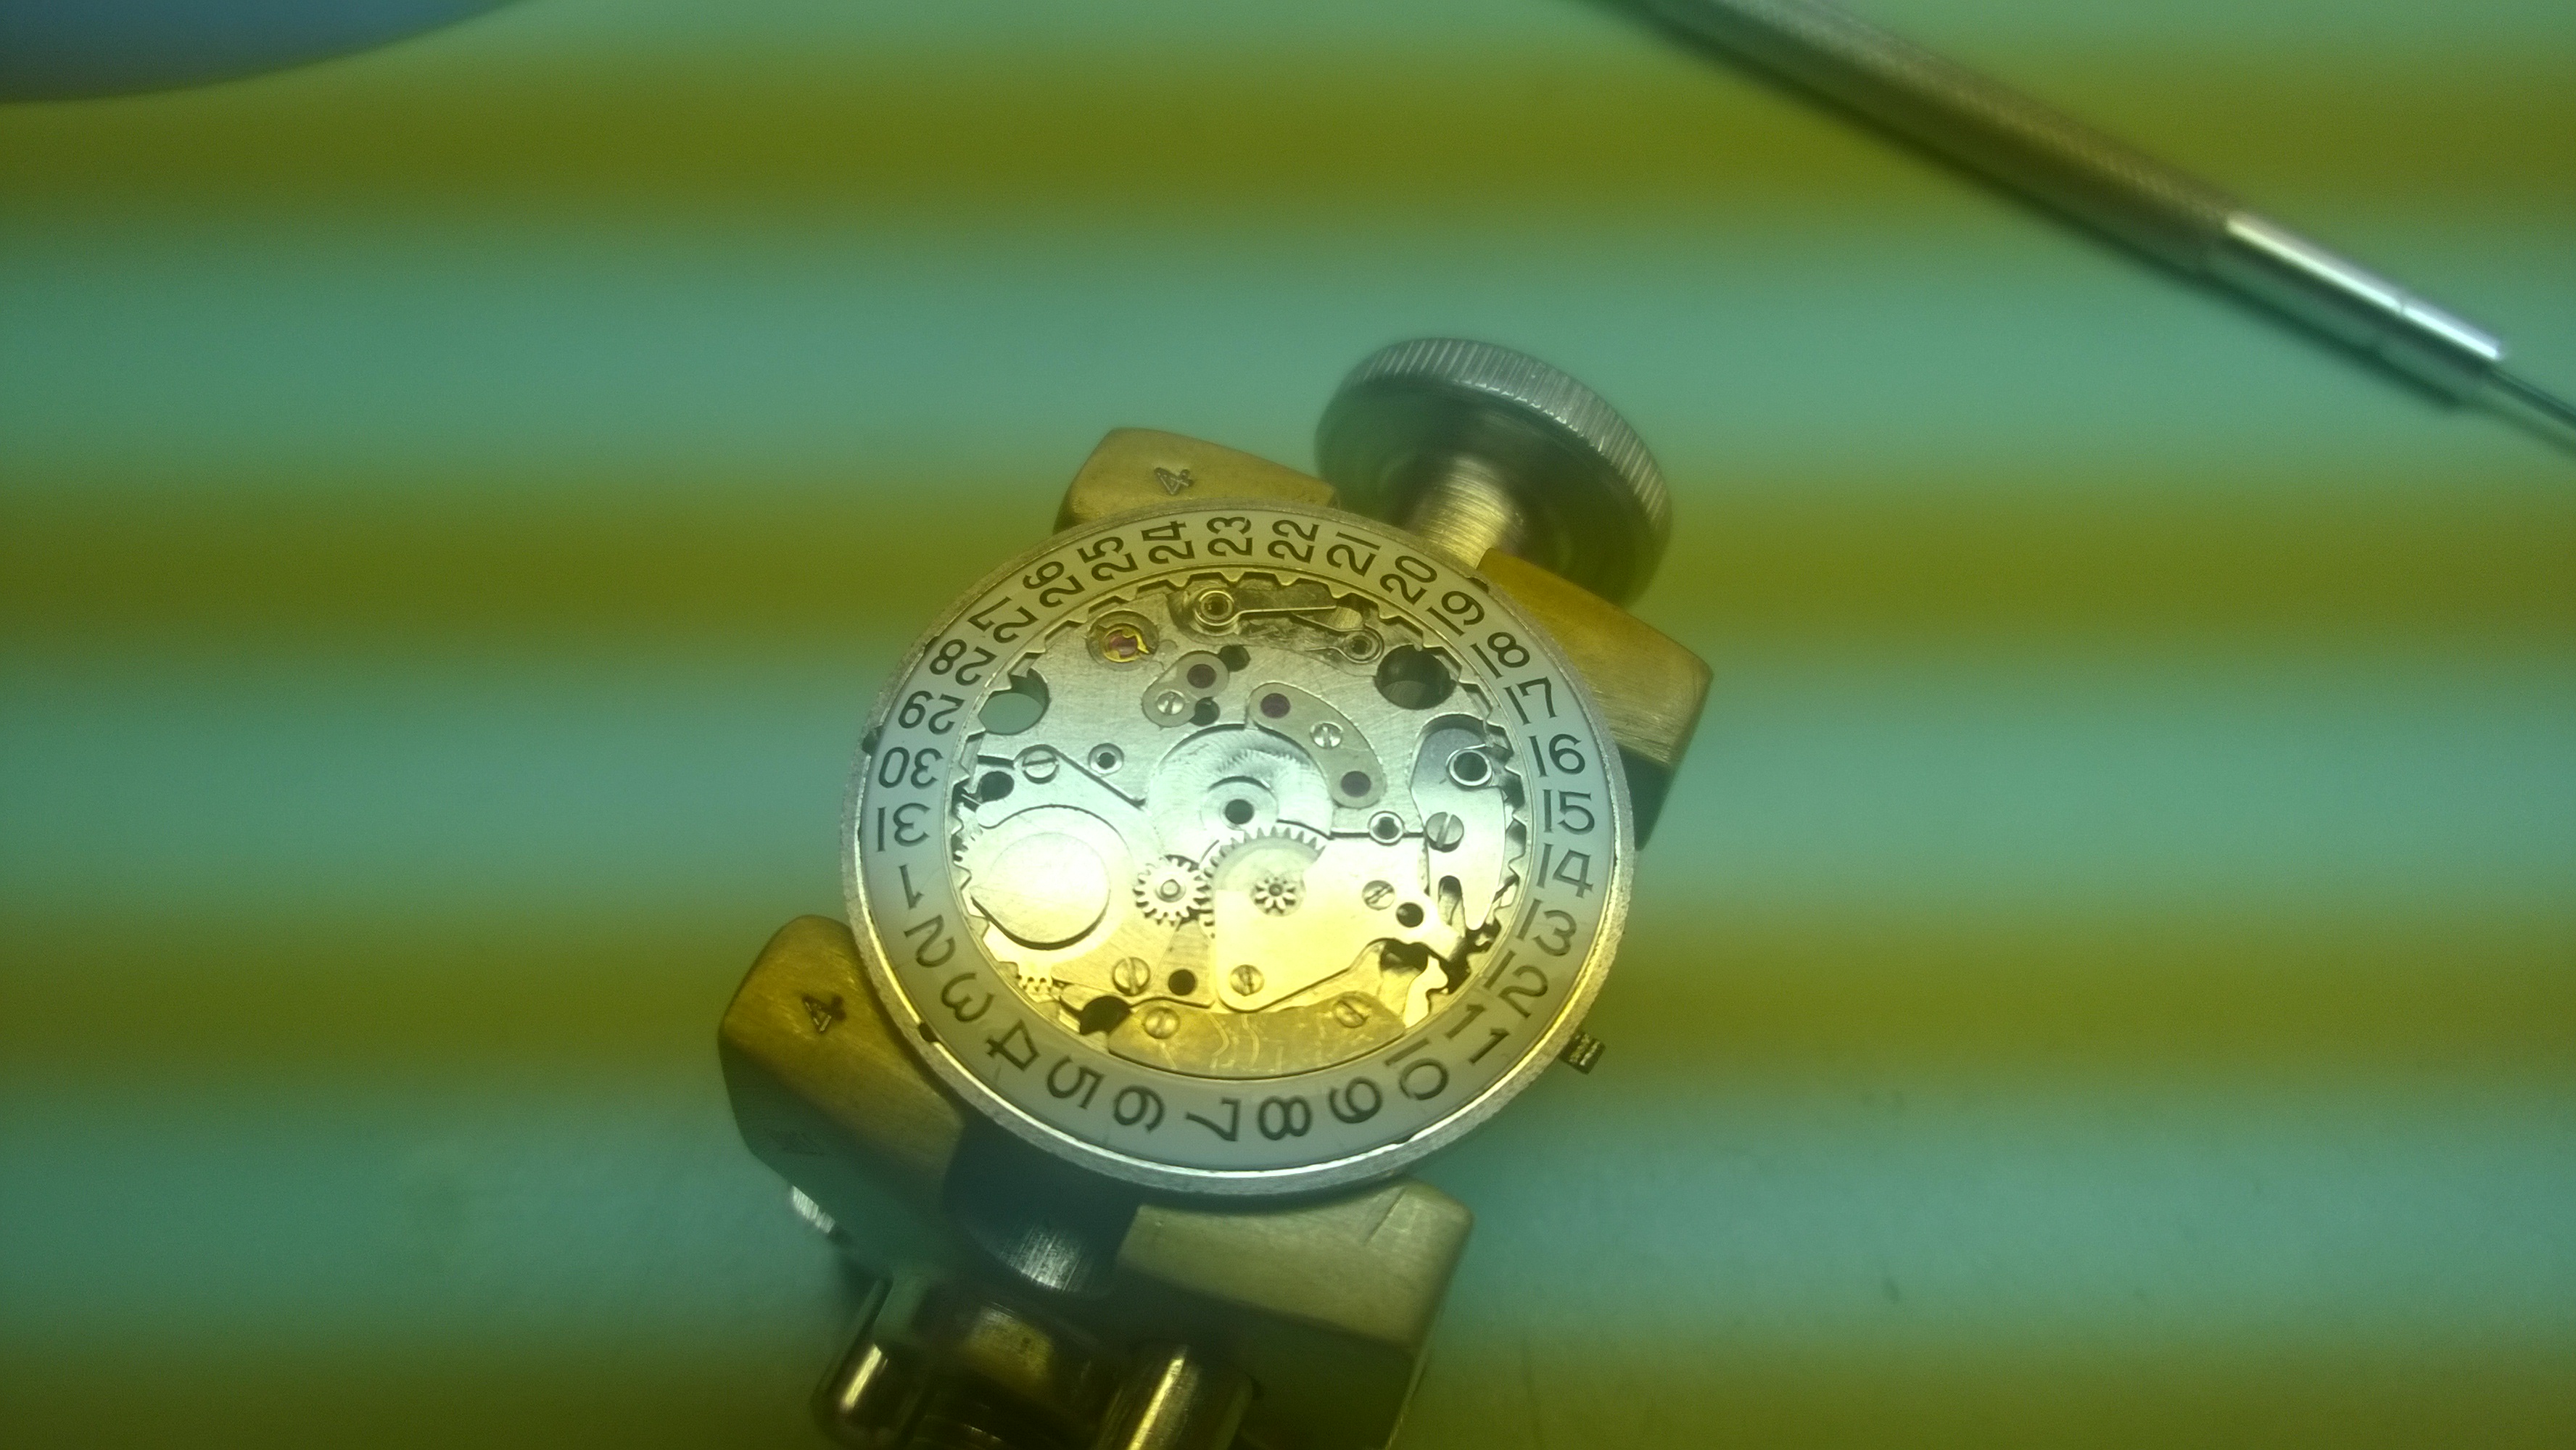
This is what the calendar looks like fully assembled.
This will be the reference picture for the next couple of paragraphs. I encourage you to click on the picture to see full resolution.
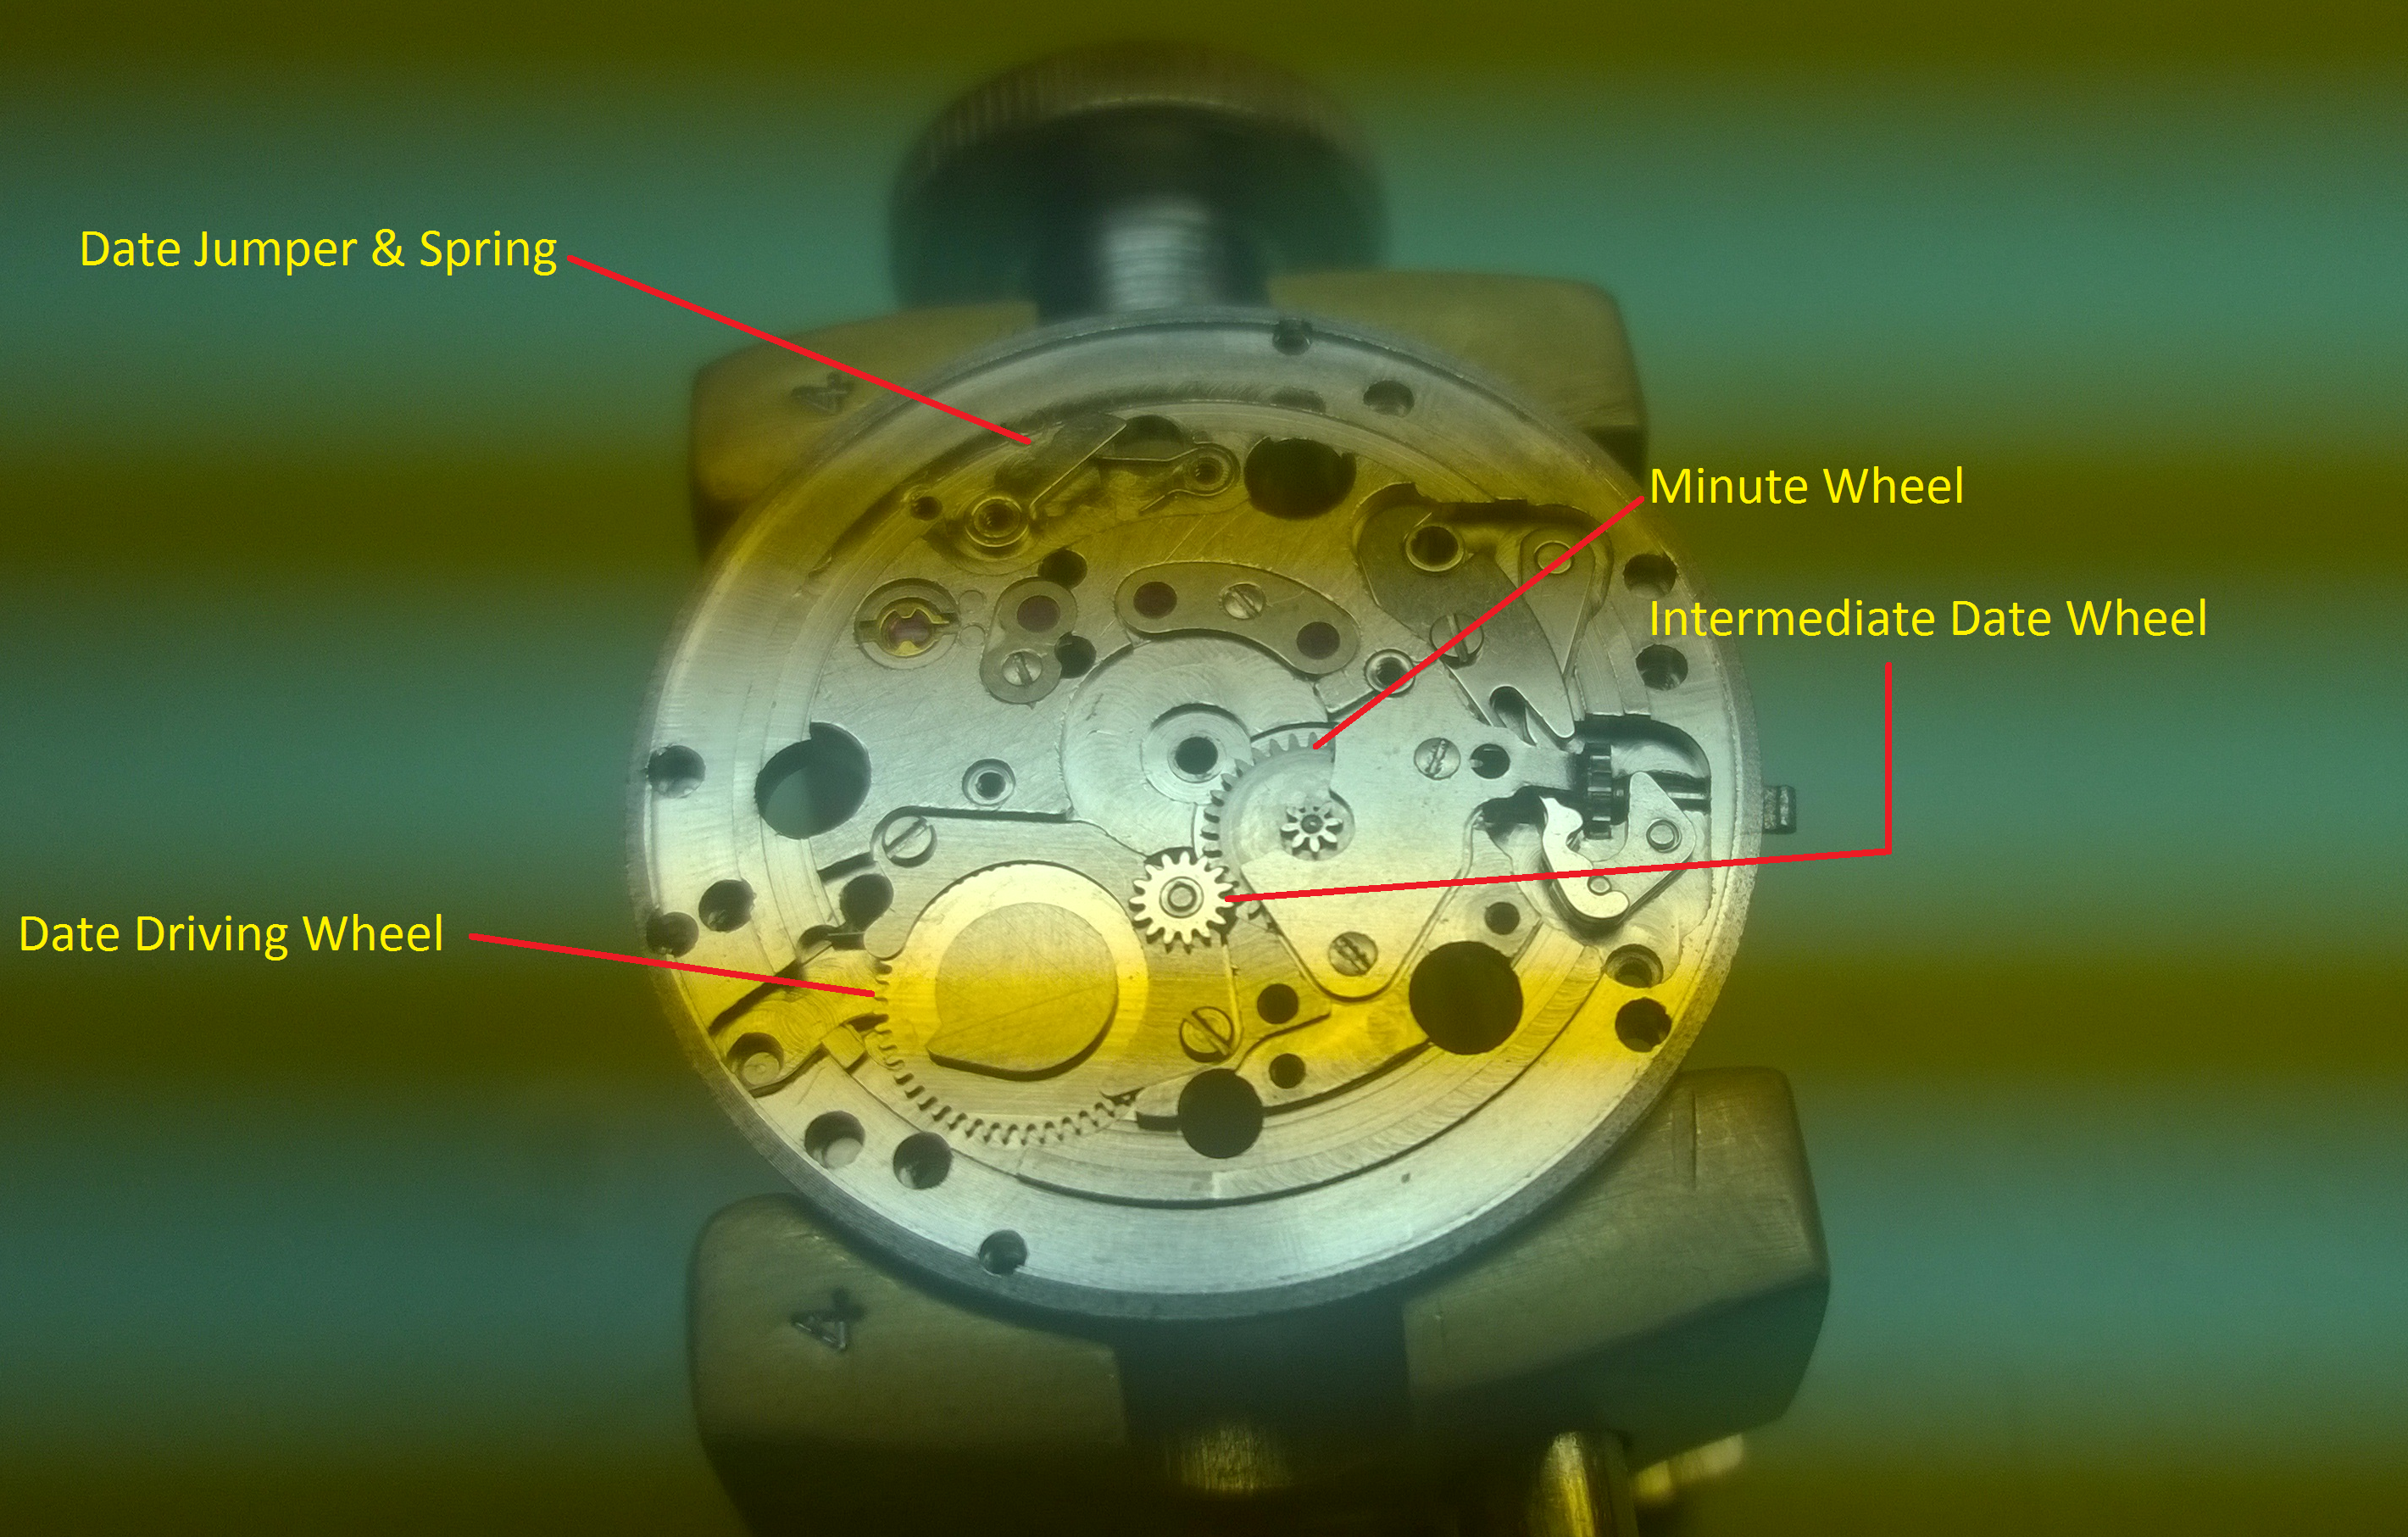
In the second picture, at right around 12:00 and 6:00, there were two maintaining plates that were held in place, each with two screws. The one that was at 6:00 is the calendar maintaining plate, and the one that was at 12:00 is the jumper maintaining plate.
Starting on the right at 3:00, you have the keyless works (the winding and time-setting mechanism). Moving in towards the center, you have the minute wheel being held down by part of the keyless works. The minute wheel drives the hour wheel (not pictured) touches the intermediate date wheel. This wheel is actually two wheels riveted together. When the hour wheel turns the top wheel, the bottom wheel turns accordingly. The intermediate date wheel turns the date driving wheel. The date driving wheel consists of two parts. The toothed wheel that is turned, and the large tear-drop looking part that does the turning/pushing. As the wheel turns, the large tooth (for lack of a better word) turns/pushes the date indicating disc (removed). Moving upwards to about 12:00, there are two parts that are integral to the calendar function. These parts are the date jumper and the date jumper spring. The date jumper spring keeps tension on the date jumper. As the tooth of the date indicating disc is being pushed by the date driving wheel, it is under constant tension from the date jumper. The date jumper rests between two teeth of the date indicating disc and will be slowly pushed out of place between 10:00 pm and around 2:00 am-ish until the date driving wheel has made a full rotation, at which point the date jumper will be on the edge of next tooth and will fall into place. As it ‘falls’ it will push/jump/snap/drive the date indicating disc into the next dates position (so going from the 12th to the 13th).
So, putting this all together with the time-keeping aspect, the gear-train drives the cannon pinion. The cannon pinion drives the minute wheel. The minute wheel drives the hour wheel. The hour wheel drives the intermediate date wheel. The intermediate date wheel turns the date driving wheel which turns the date indicating disc which is moving under tension by the date jumper.
After everything has been cleaned and reassembled, before you put the hands back on, you need to turn the crown until the date jumps from one day to the next. Doing so will ensure that you put hands on at 12:00. If you don’t do this and assume you put them on at 12:00, your date will not change at the correct time.
The last thing I did with this watch was actually related to the hands. The Seconds hand was loose. When I went to press it into place, it slipped on and off its post with no tension whatsoever. When I would rotate the hour/minute hands to check for clearance, the seconds hand would fall off. When the watch was in a vertical position or dial down position, the seconds hand would fall off. The ideal solution in this case would be to install new hands. Were I not able to find new hands, there are ways to repair the post for watch hands if needed. Without doing a crazy repair, my teacher suggested that I try tightening the post using a lathe chuck. A lathe chuck will put pressure on the hand post from three directions giving a more even crimp.
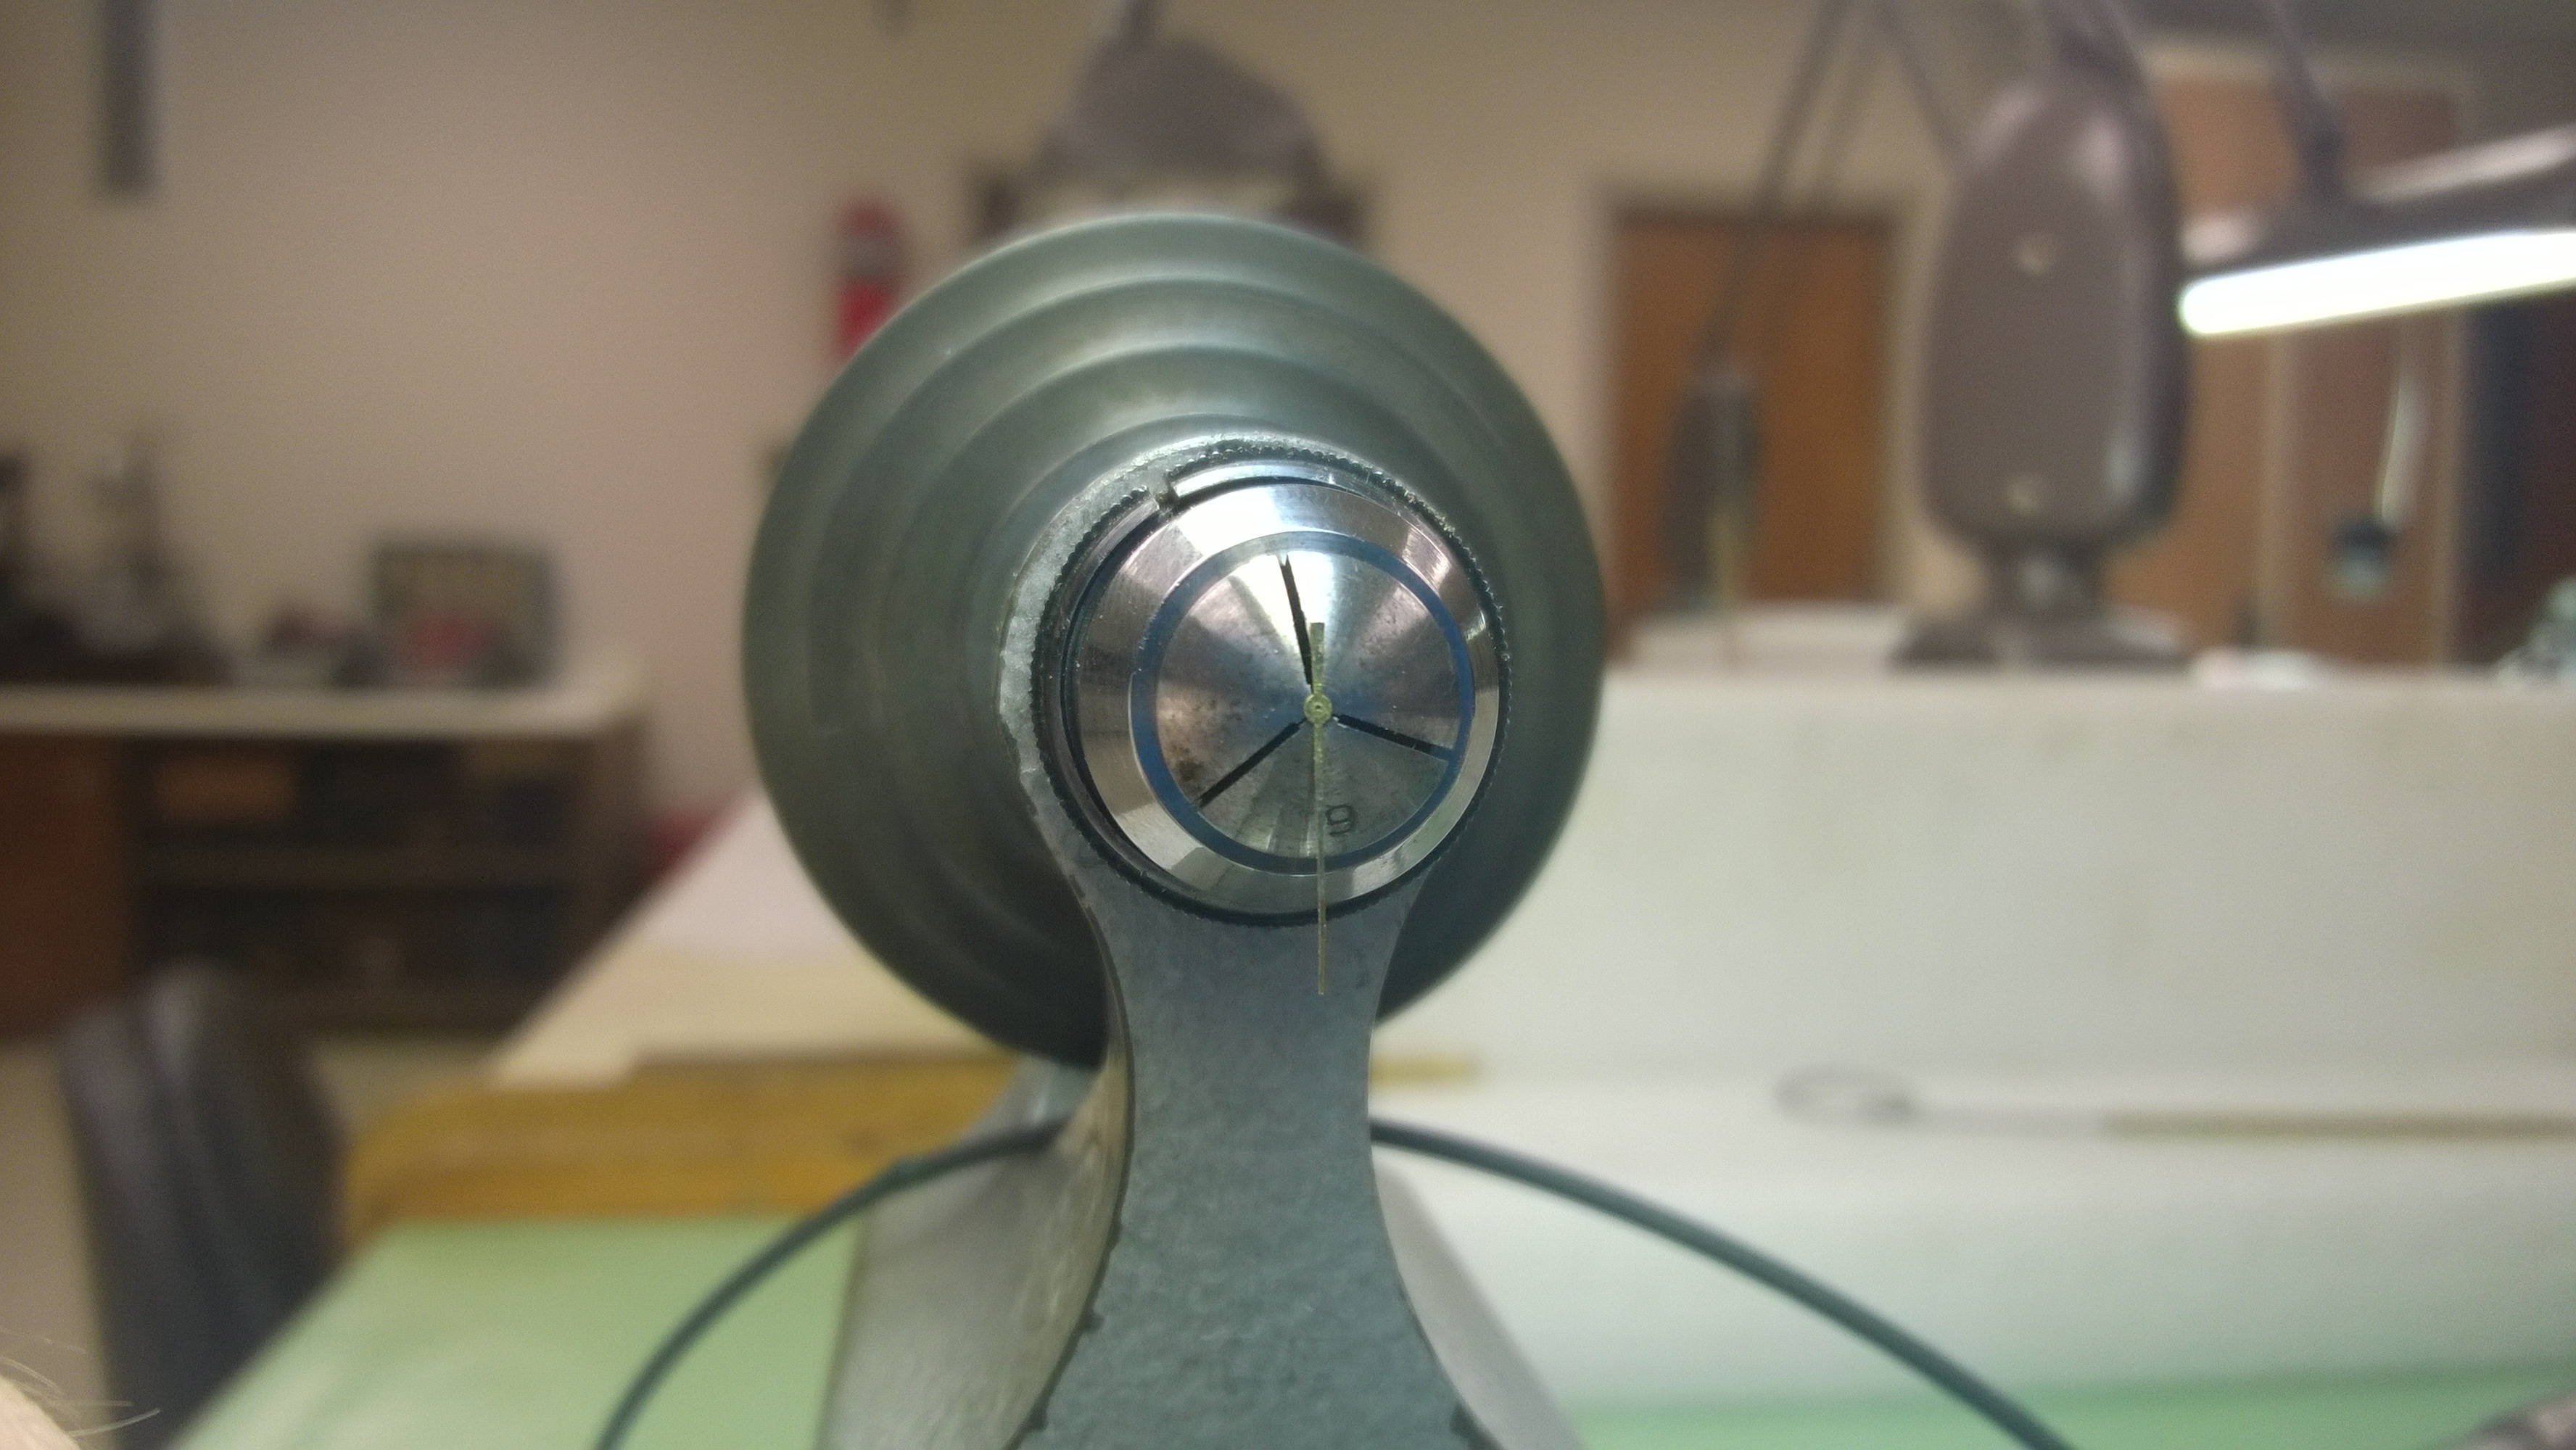
I measured the thickness of the post with some calipers and chose a lathe chuck that was around the same size. I installed the chuck so the number (the size of the chuck) was pointing down so I had a reference to where I put the hand in the chuck in case I needed to tighten the post some more. If I went to far, I could use a broach to open it up.
This method worked great! The hand went on nice and tight and the watch ran beautifully.
