A quick statement: Since I am using this space to document my journey to becoming a watchmaker, the nature of the content is going to evolve along with me. My first couple of weeks/months of posting will be basic in the content. As I progress, the technical content will increase. I haven’t figured out how I want to do it, but either at the end of a section or the end of the entry, I will do my best to translate the technical into easier to understand language. That being said, onto my first real post!
Day 1
Monday, May 12th was my first day in school. It was what you would expect for the first day of any class. We received our syllabus and class schedule (7:30-5:00 during the summer term), a stack of handouts for the first semester, and I got my toolkit for school.
I spent the greater part of the morning labeling parts on exploded diagrams of watch movements.

The purpose of this was to start getting familiar with the different parts of a mechanical watch, and to get an idea as to where they are found in a watch. For the most part, barring any complications, most mechanical watches are going to have the same parts and are also going to have similar movement architectures. Once I finished the diagrams, I went ahead and worked on the questions at the end of the chapter.
After a while, Mr. Poye went over some of the different tools that we will be able to use for measuring parts and tolerances. These tools will allow us to measure to .01 mm
After lunch, Mr. Poye took the other new student and I around to the library to show us where the horology books are. When we returned to class, Mr. Poye demonstrated his preferred method for tearing down and rebuilding a basic watch movement. we were highly encouraged to take step by step notes because we were going to do it ourselves today. The tear down took the greater part of the afternoon. We finished up with Mr. Poye beginning the rebuild of the movement before we realized we had gone about 10 minutes past the end of class.
Day 2
We started class right away with Mr. Poye showing us how he wanted us to complete the rebuild of the movement. It took him about 20-30 minutes to finish up since he was stopping to show us what he was doing using a TV/Microscope set-up. Once he was finished, Mr. Poye gave each of us a watch (well, it wasn’t a full watch-it was just the movement with a dial and hands on it) and told us to tear it down, show it to him, and the rebuild it.
On our second day. Needless to say, it was pretty intense. Here is a rough breakdown of what I did (I left out some of the steps)
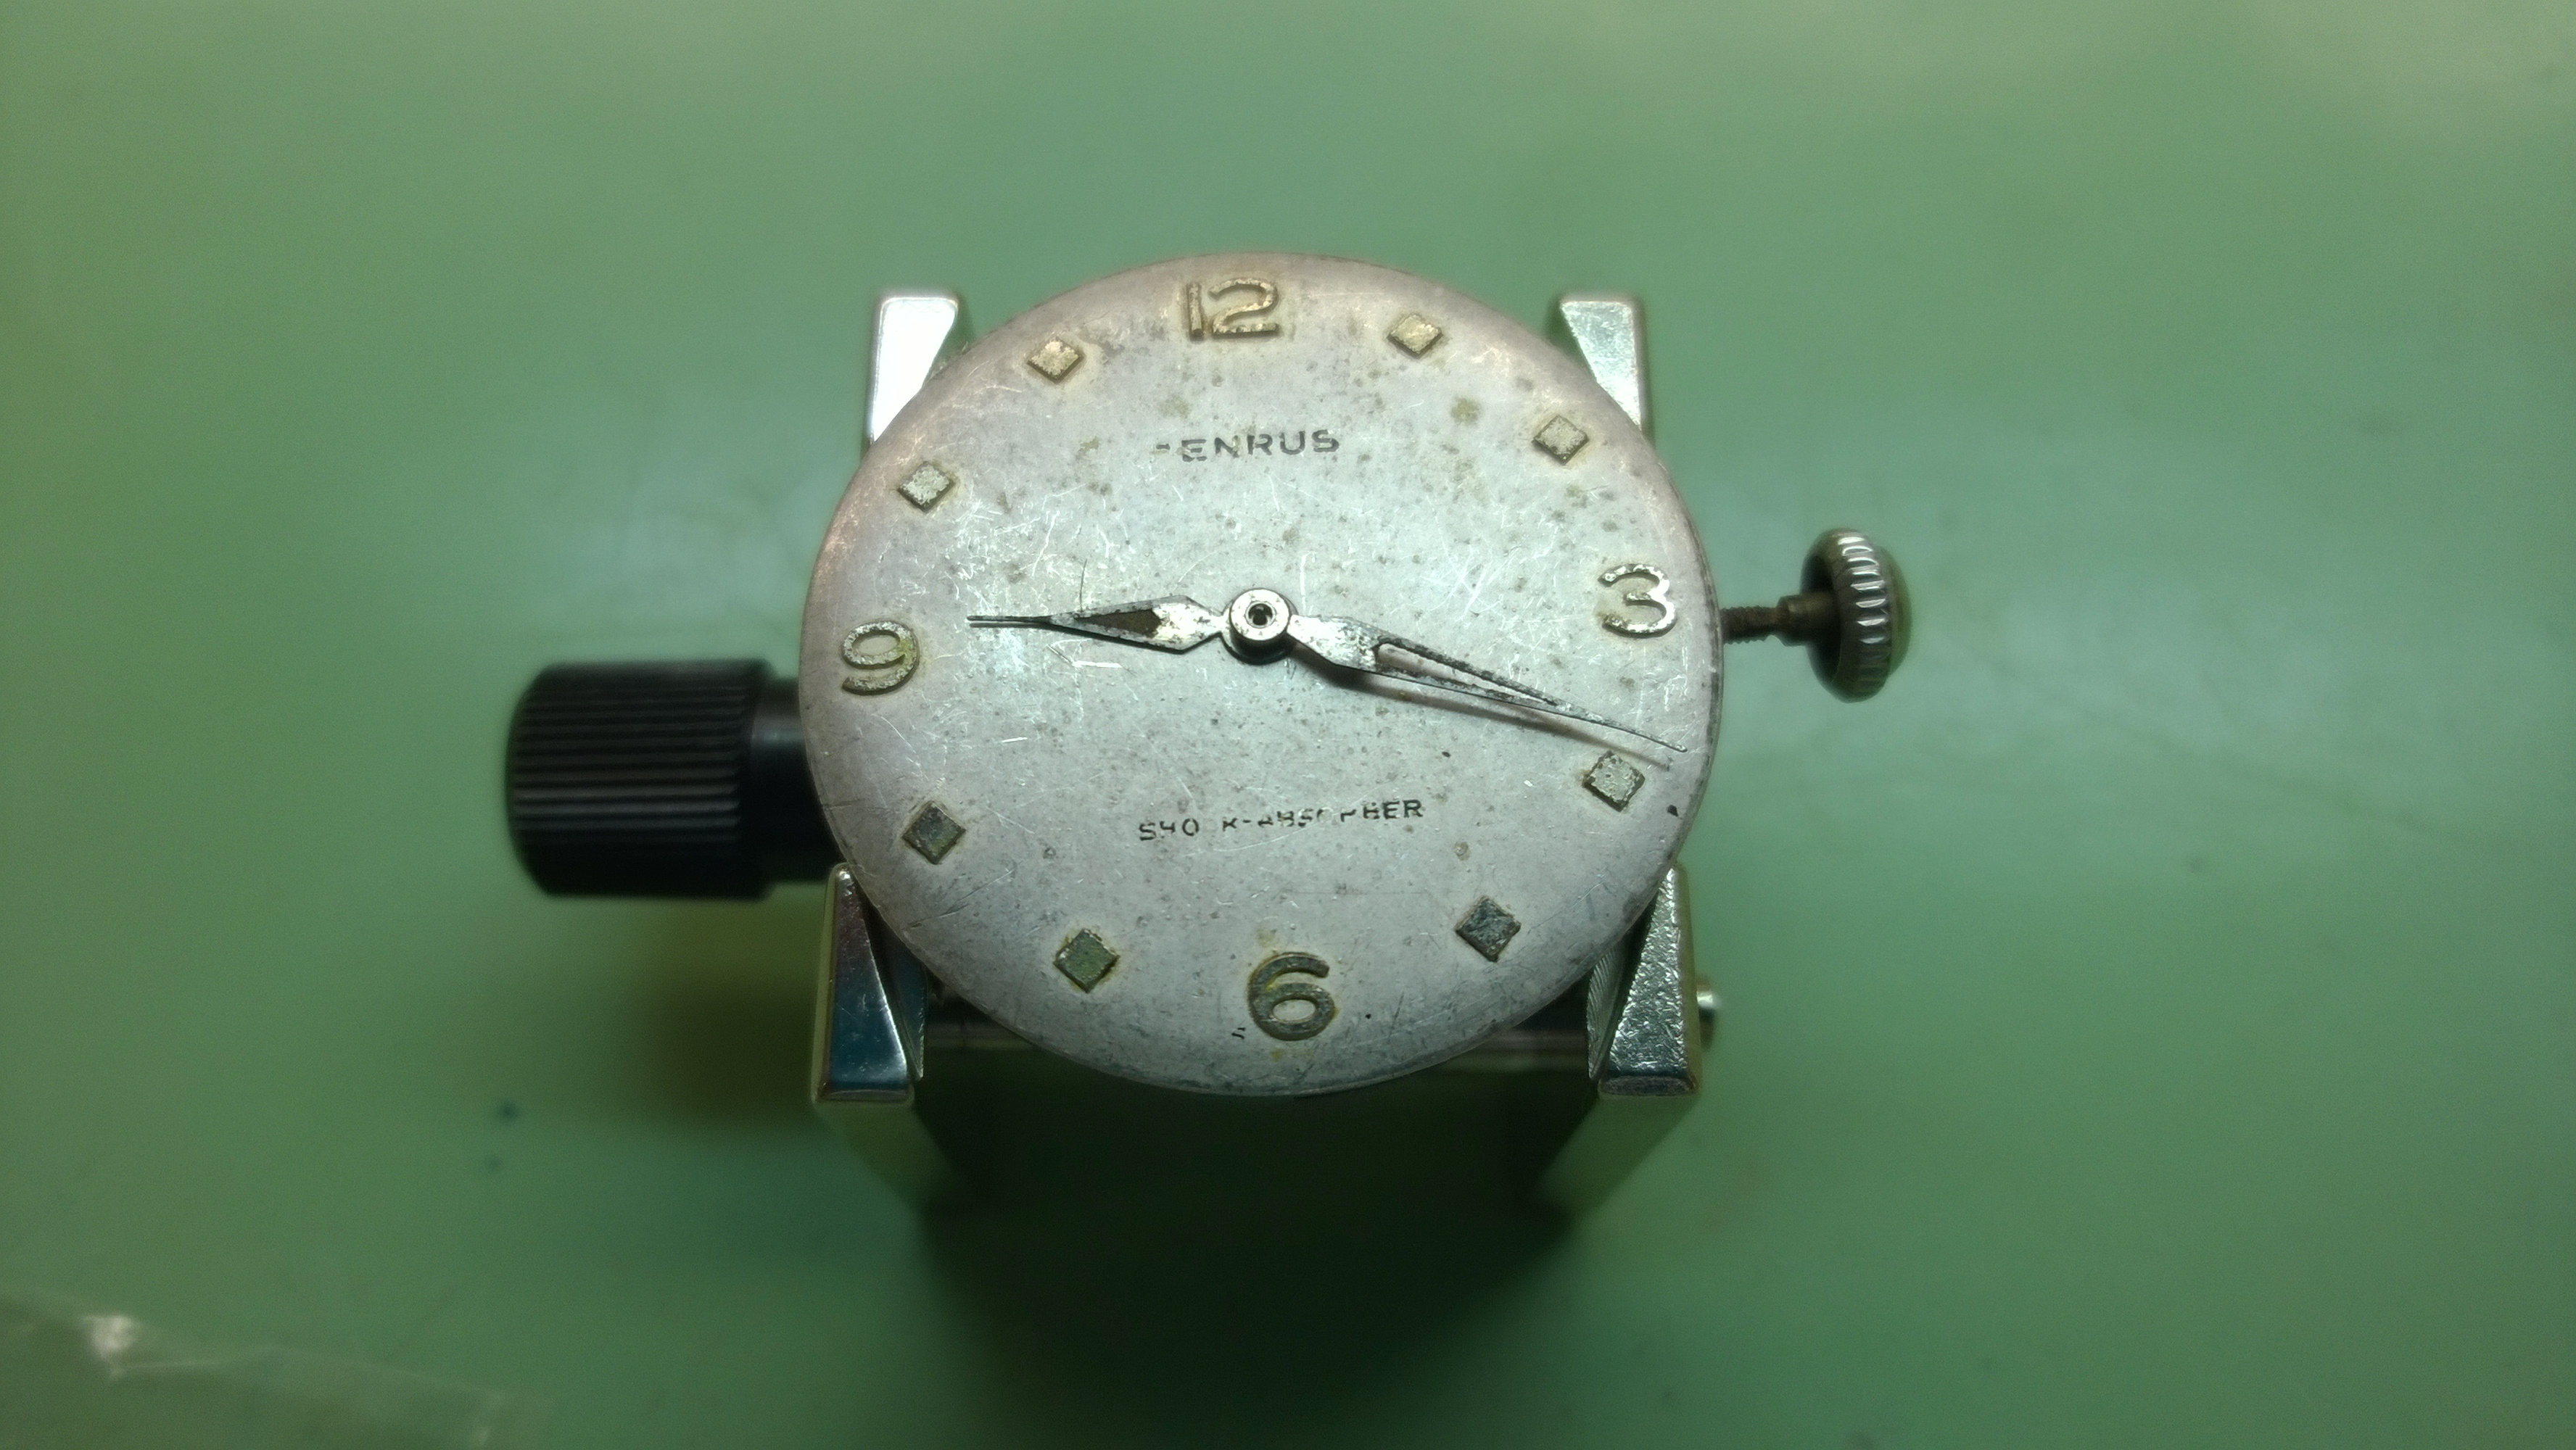
As you can see, the watch is pretty beat up. This is a trainer watch-it was dirty and not working. This exercise wasn’t about trying to get the watch running, it was to become familiar with the hand tools I’ll be using and to get used to manipulating the parts of the watch and movement.

The first step was to remove the hands of the watch and the dial screws.

After that, it was just a steady process of removing certain components. The cannon pinnion and hour wheel were removed.
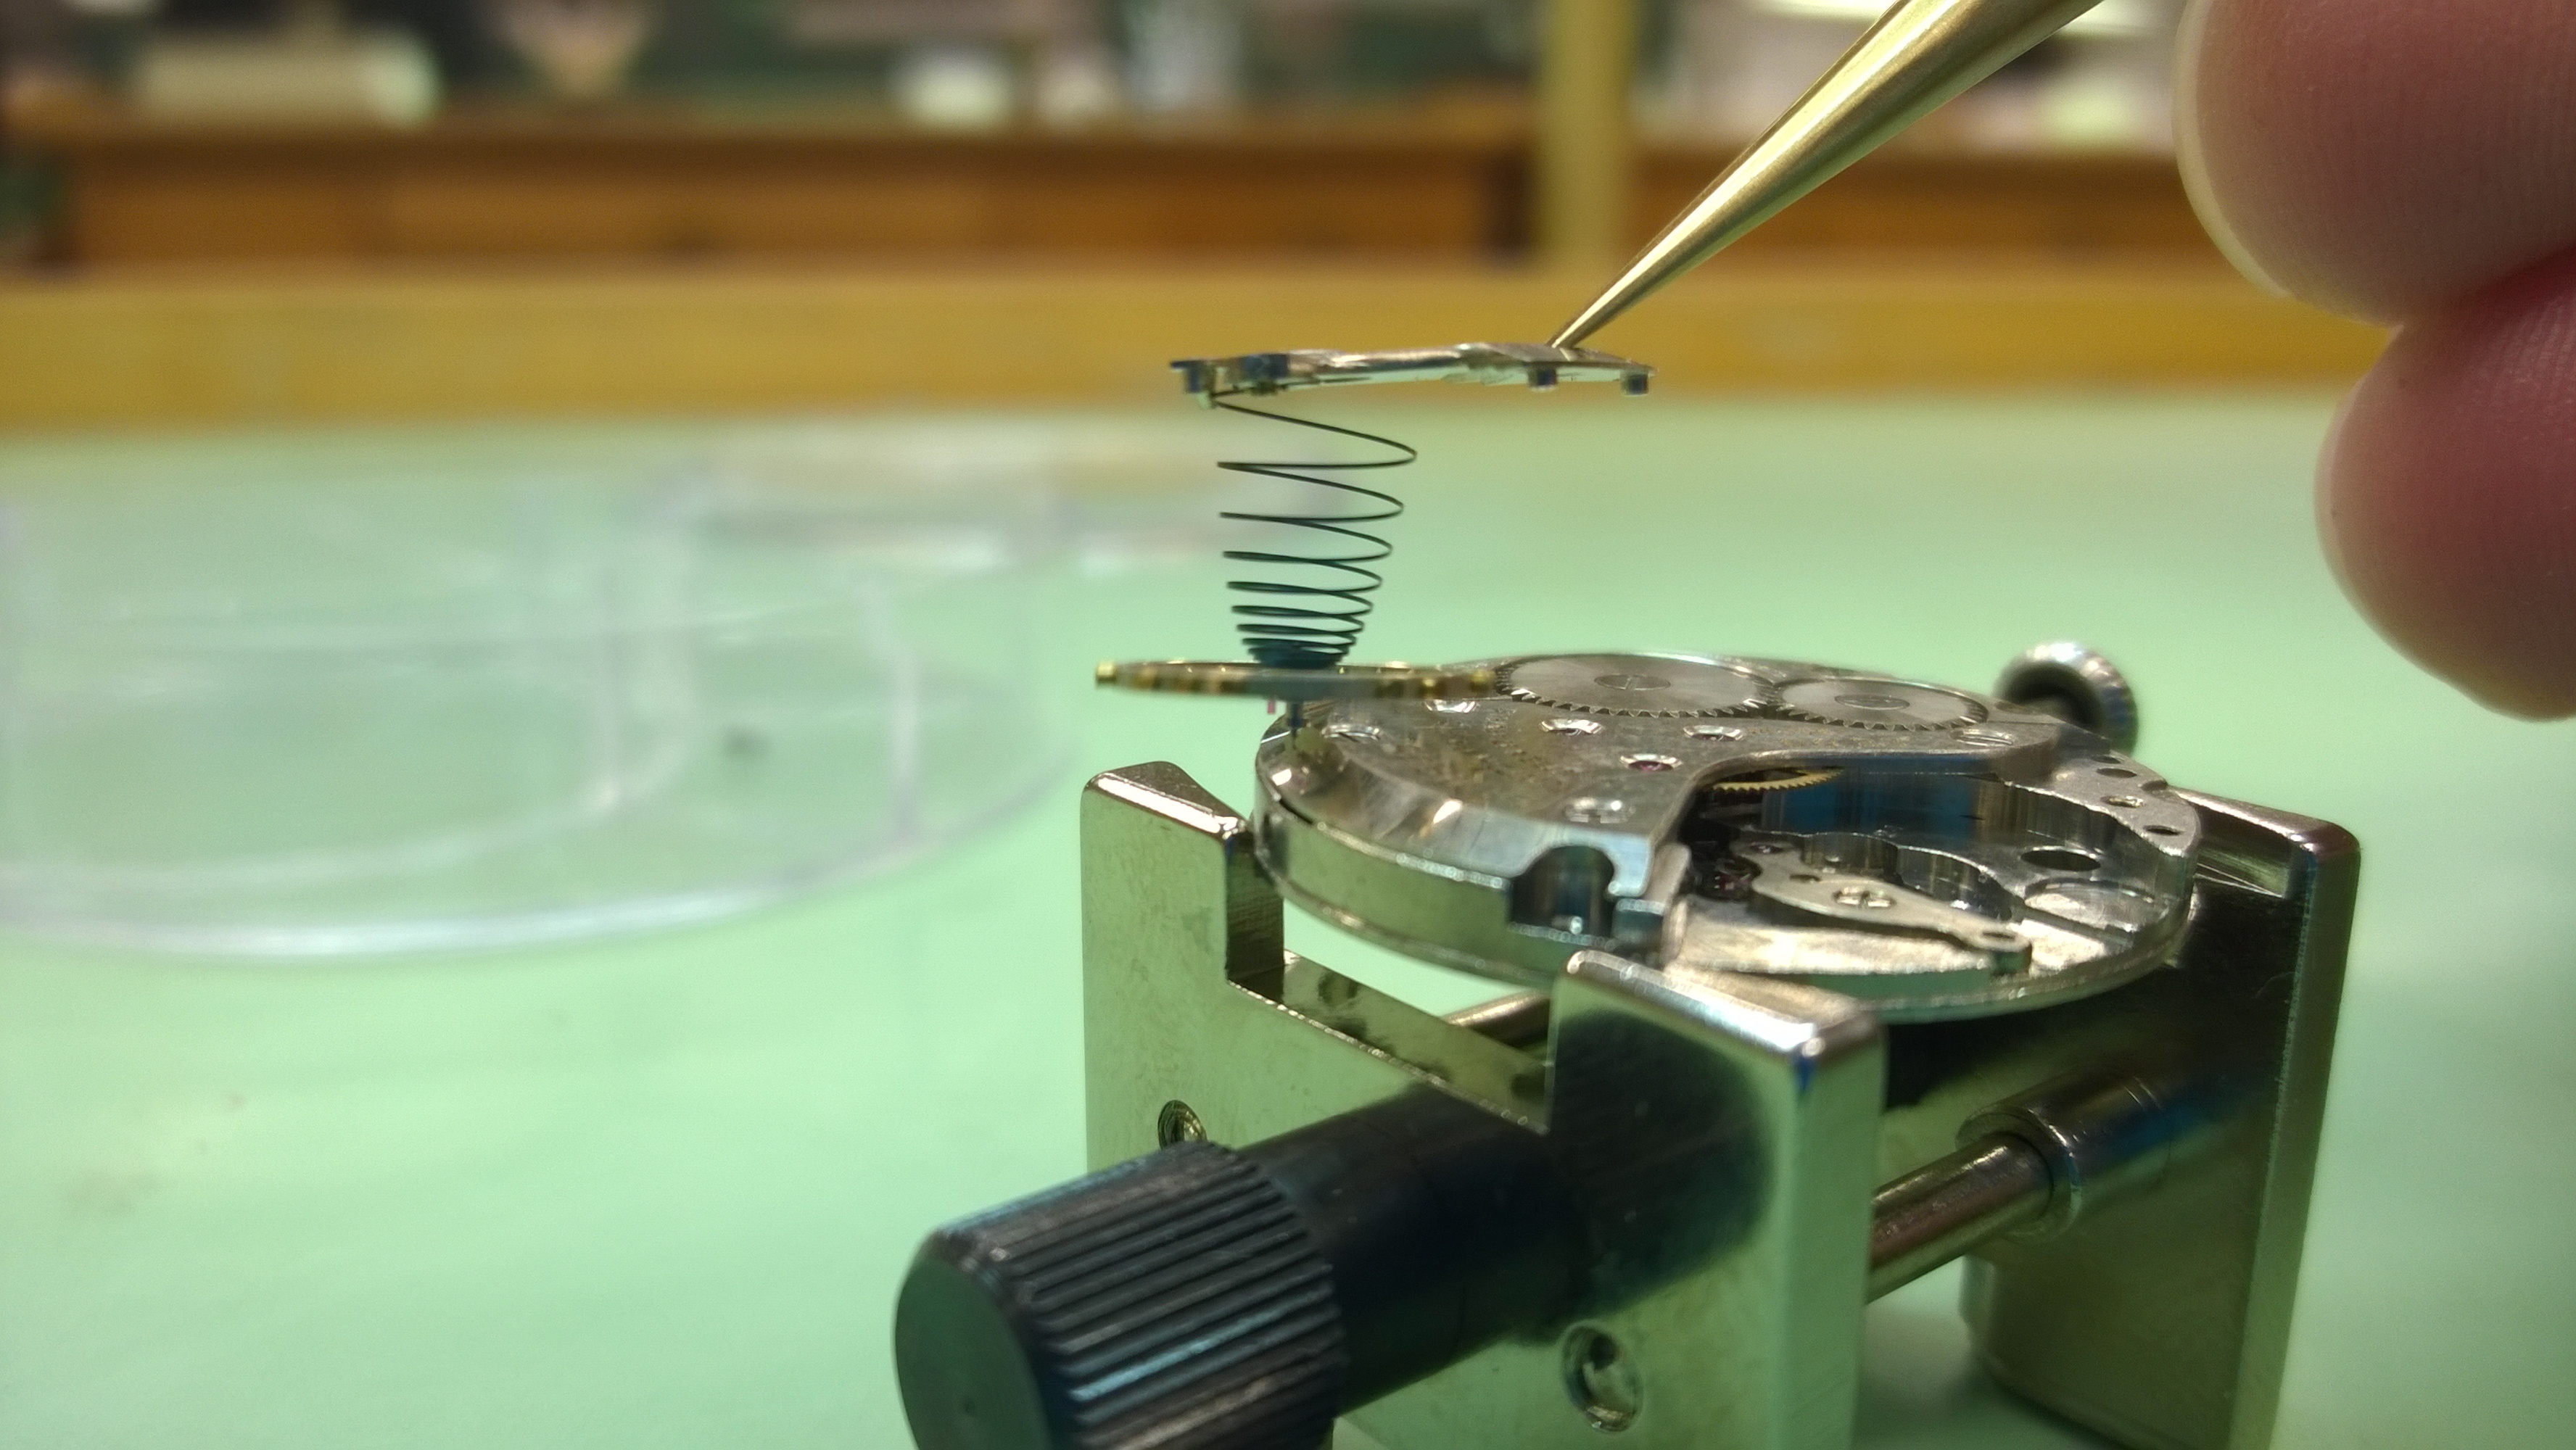
Flipping the movement over, the balance cock and balance wheel were removed. *Watch Fact*-there are two ways that wheels are held in place. You can have a bridge (a piece of metal that is secured by two screws) or a cock (a piece of metal that is secured by one screw).
The Train Wheel Bridge and wheels were removed. As was the pallet bridge and pallet.
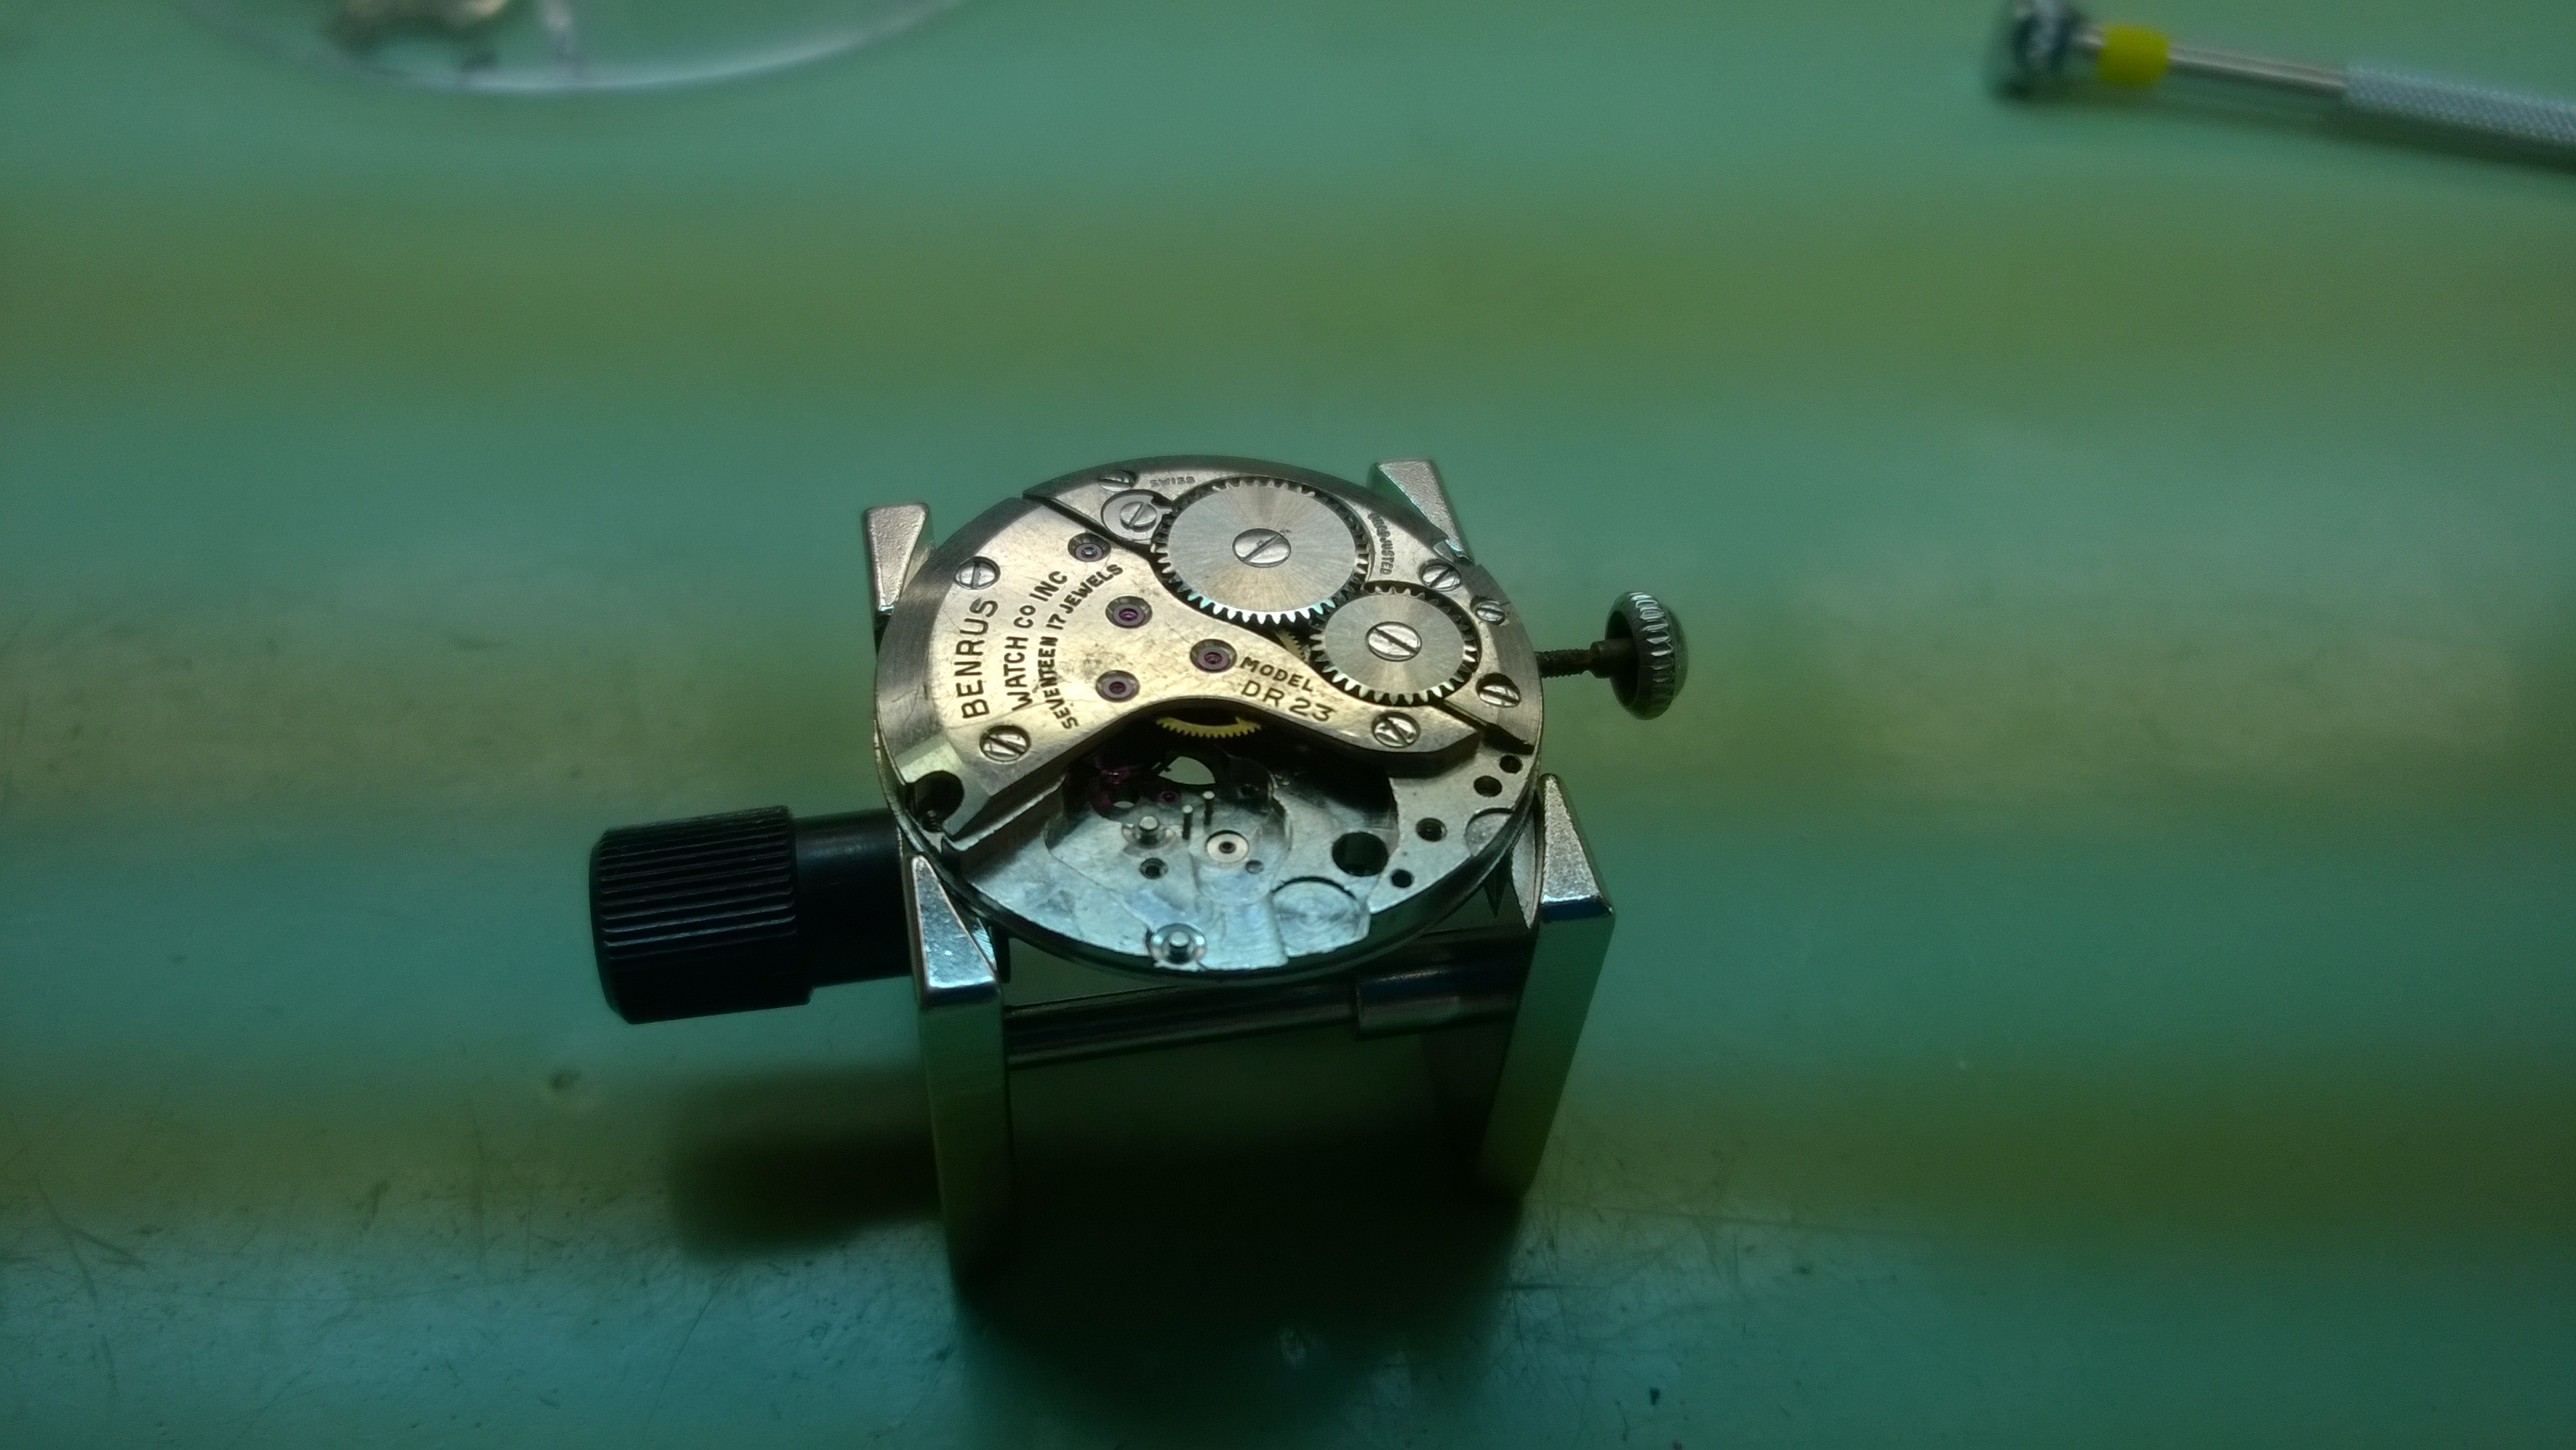
The click and click spring, the ratchet wheel, crown wheel and barrel bridge and wheel were removed.
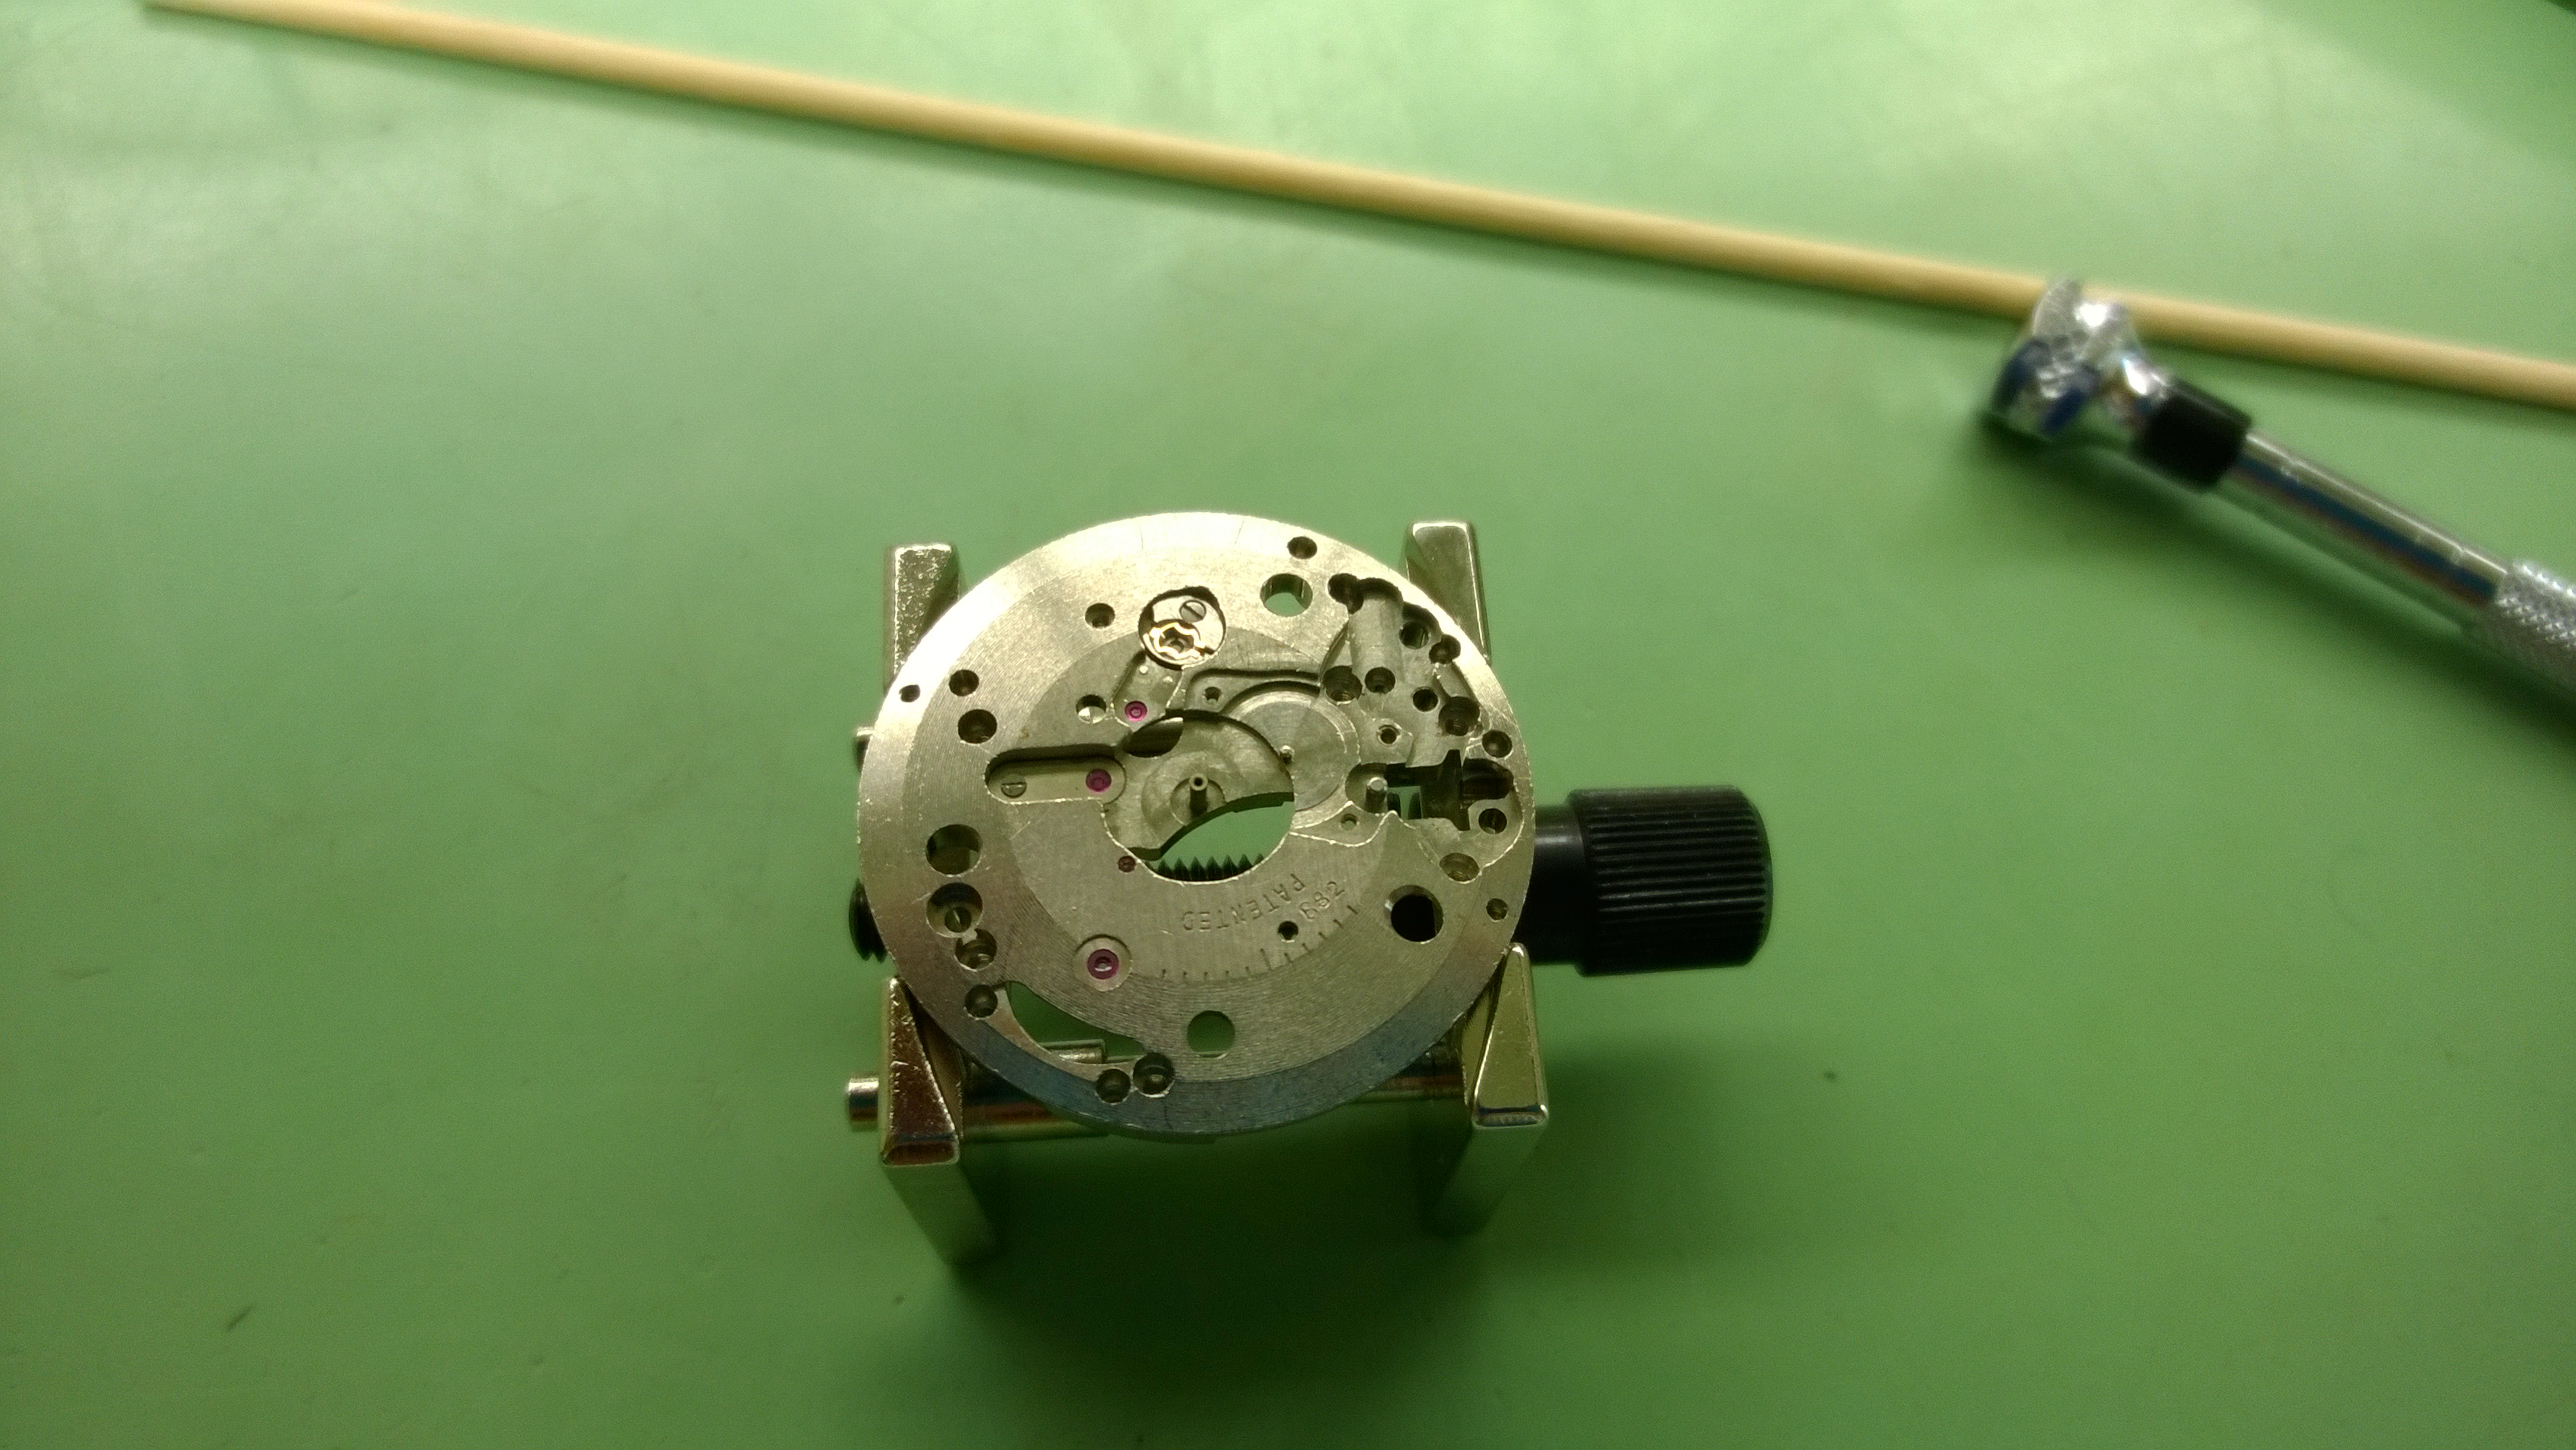
The movement was turned over and the crown and winding mechanisms were removed.

In this picture, I have re-inserted the stem as well as the winding mechanism.

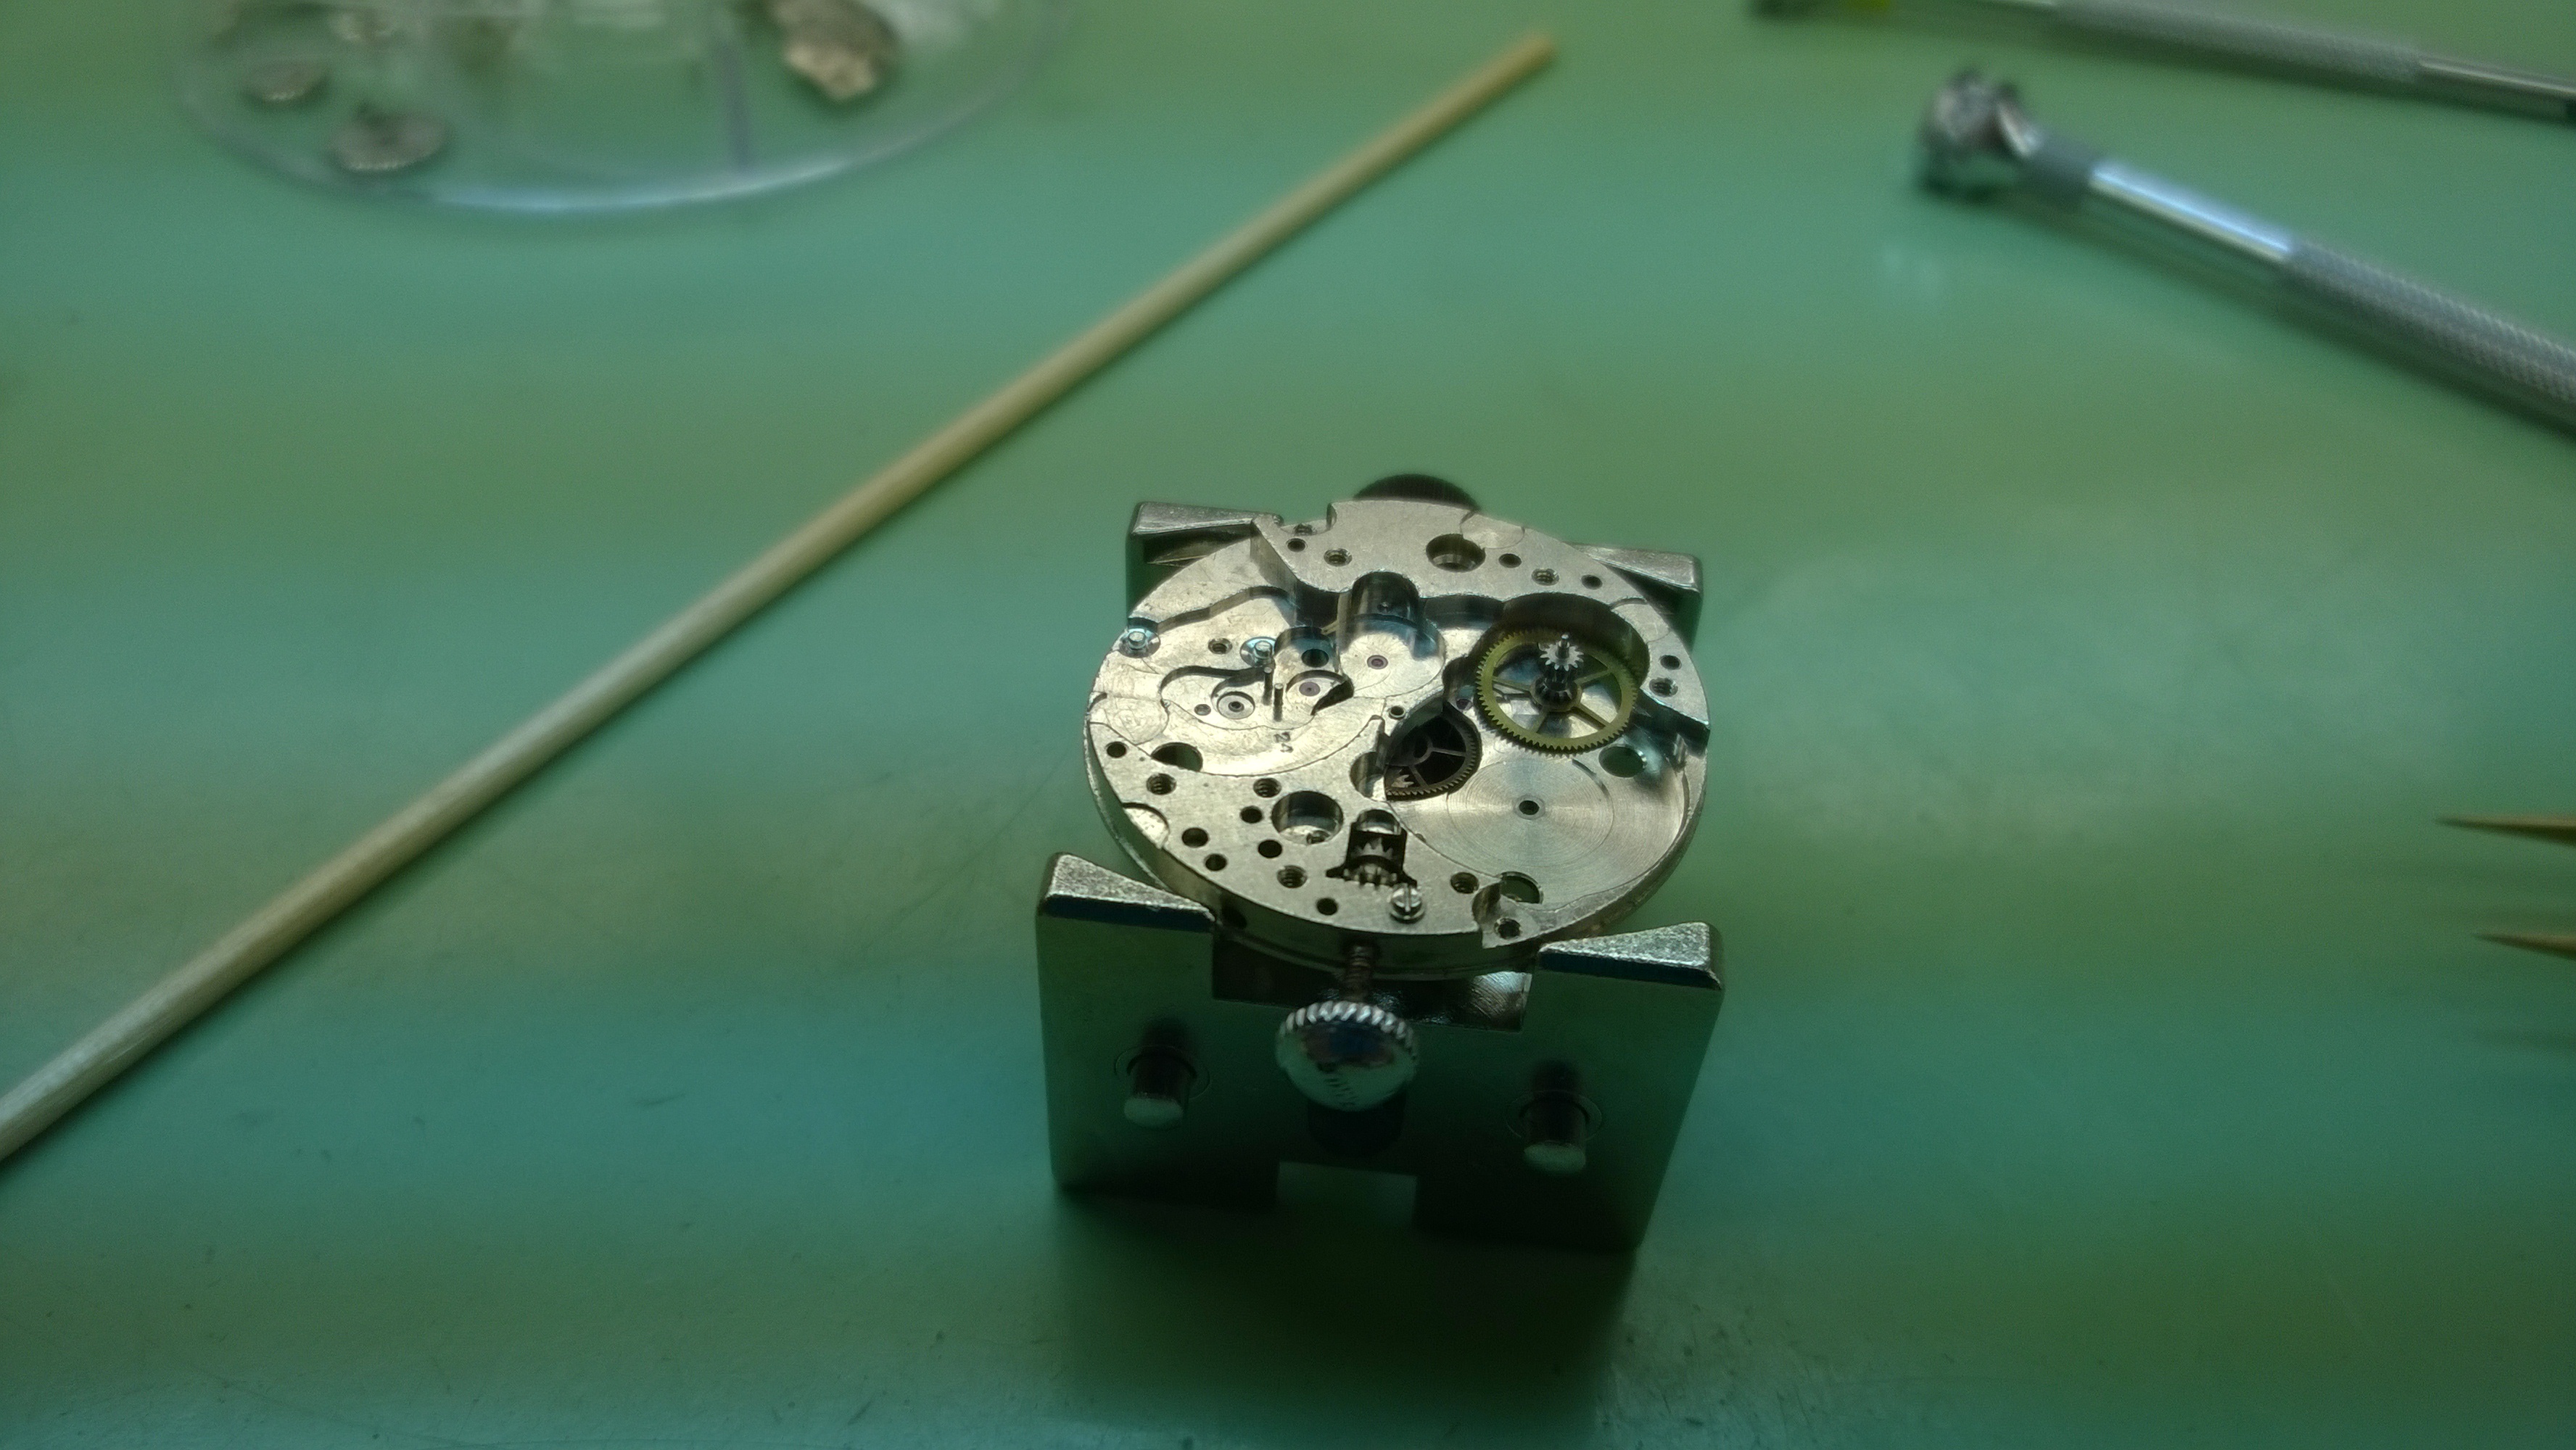
I have just installed the center wheel (in the very back), the 3rd wheel, the 4th wheel and the escape wheel. (If you are wondering where the 1st wheel is, I haven’t installed it. The 1st wheel is the barrel).
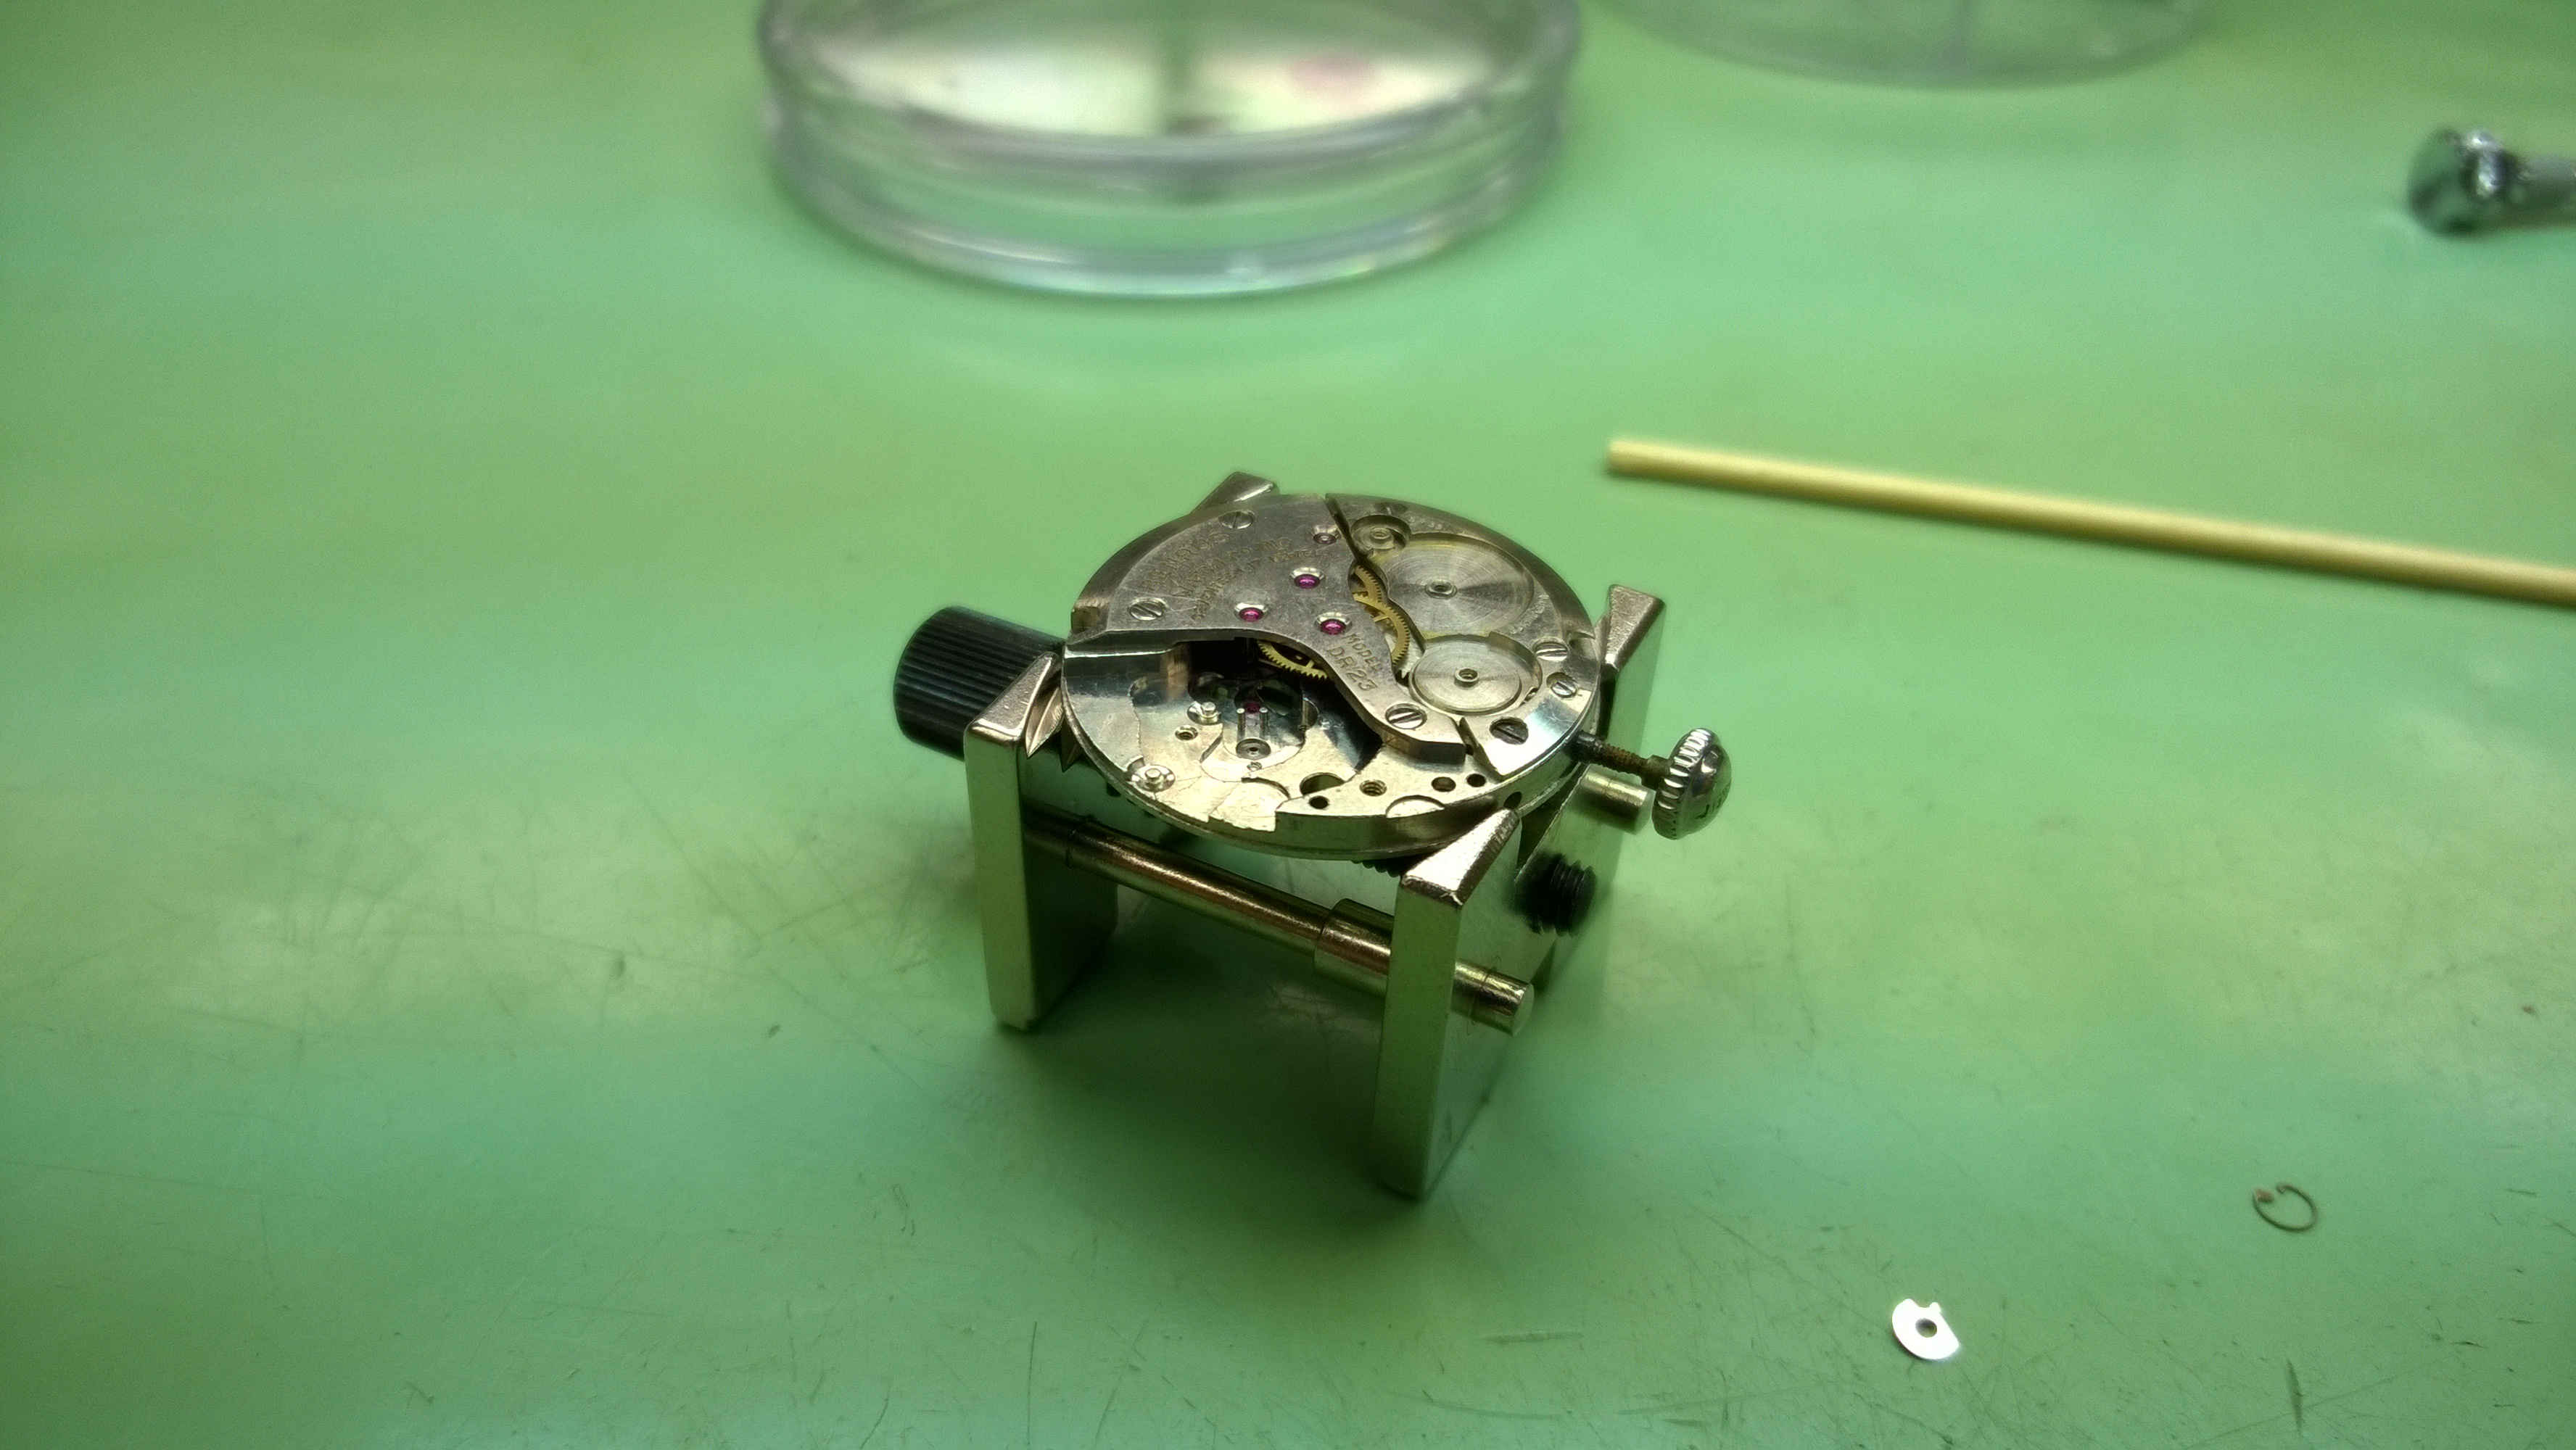
In this picture, I have installed the train wheel bridge. This was a pain because the escape wheel pivot was broken and the 2nd wheel was bent. Luckily Mr. Poye was able to straighten the 2nd wheel and I had to just get over the fact that the escape wouldn’t sit well in the plate.

After a while of fiddling (a good chunk of the day), I was able to get the watch back together. I had a heck of time getting the pallet fork in and putting the balance back together, but after that, it was pretty smooth sailing.
I have started a second movement, but wasn’t as diligent with taking pictures. If I get issued a third movement, I’m going to really slow down and take pictures of every step of the way so I can go back and reference the parts from the watch with the exploded diagrams I did yesterday.
Here is a pic of the movement I’m working on right now. You can see that it looks different from the first movement.


Hi, I want to learn to fix my watches, I hope to find more information here in Your blog, thanks
Miguel-Thanks for the comment! While my blog isn’t necessarily about how to fix a watch, hopefully there is enough stuff here to help you find answers to your questions!