
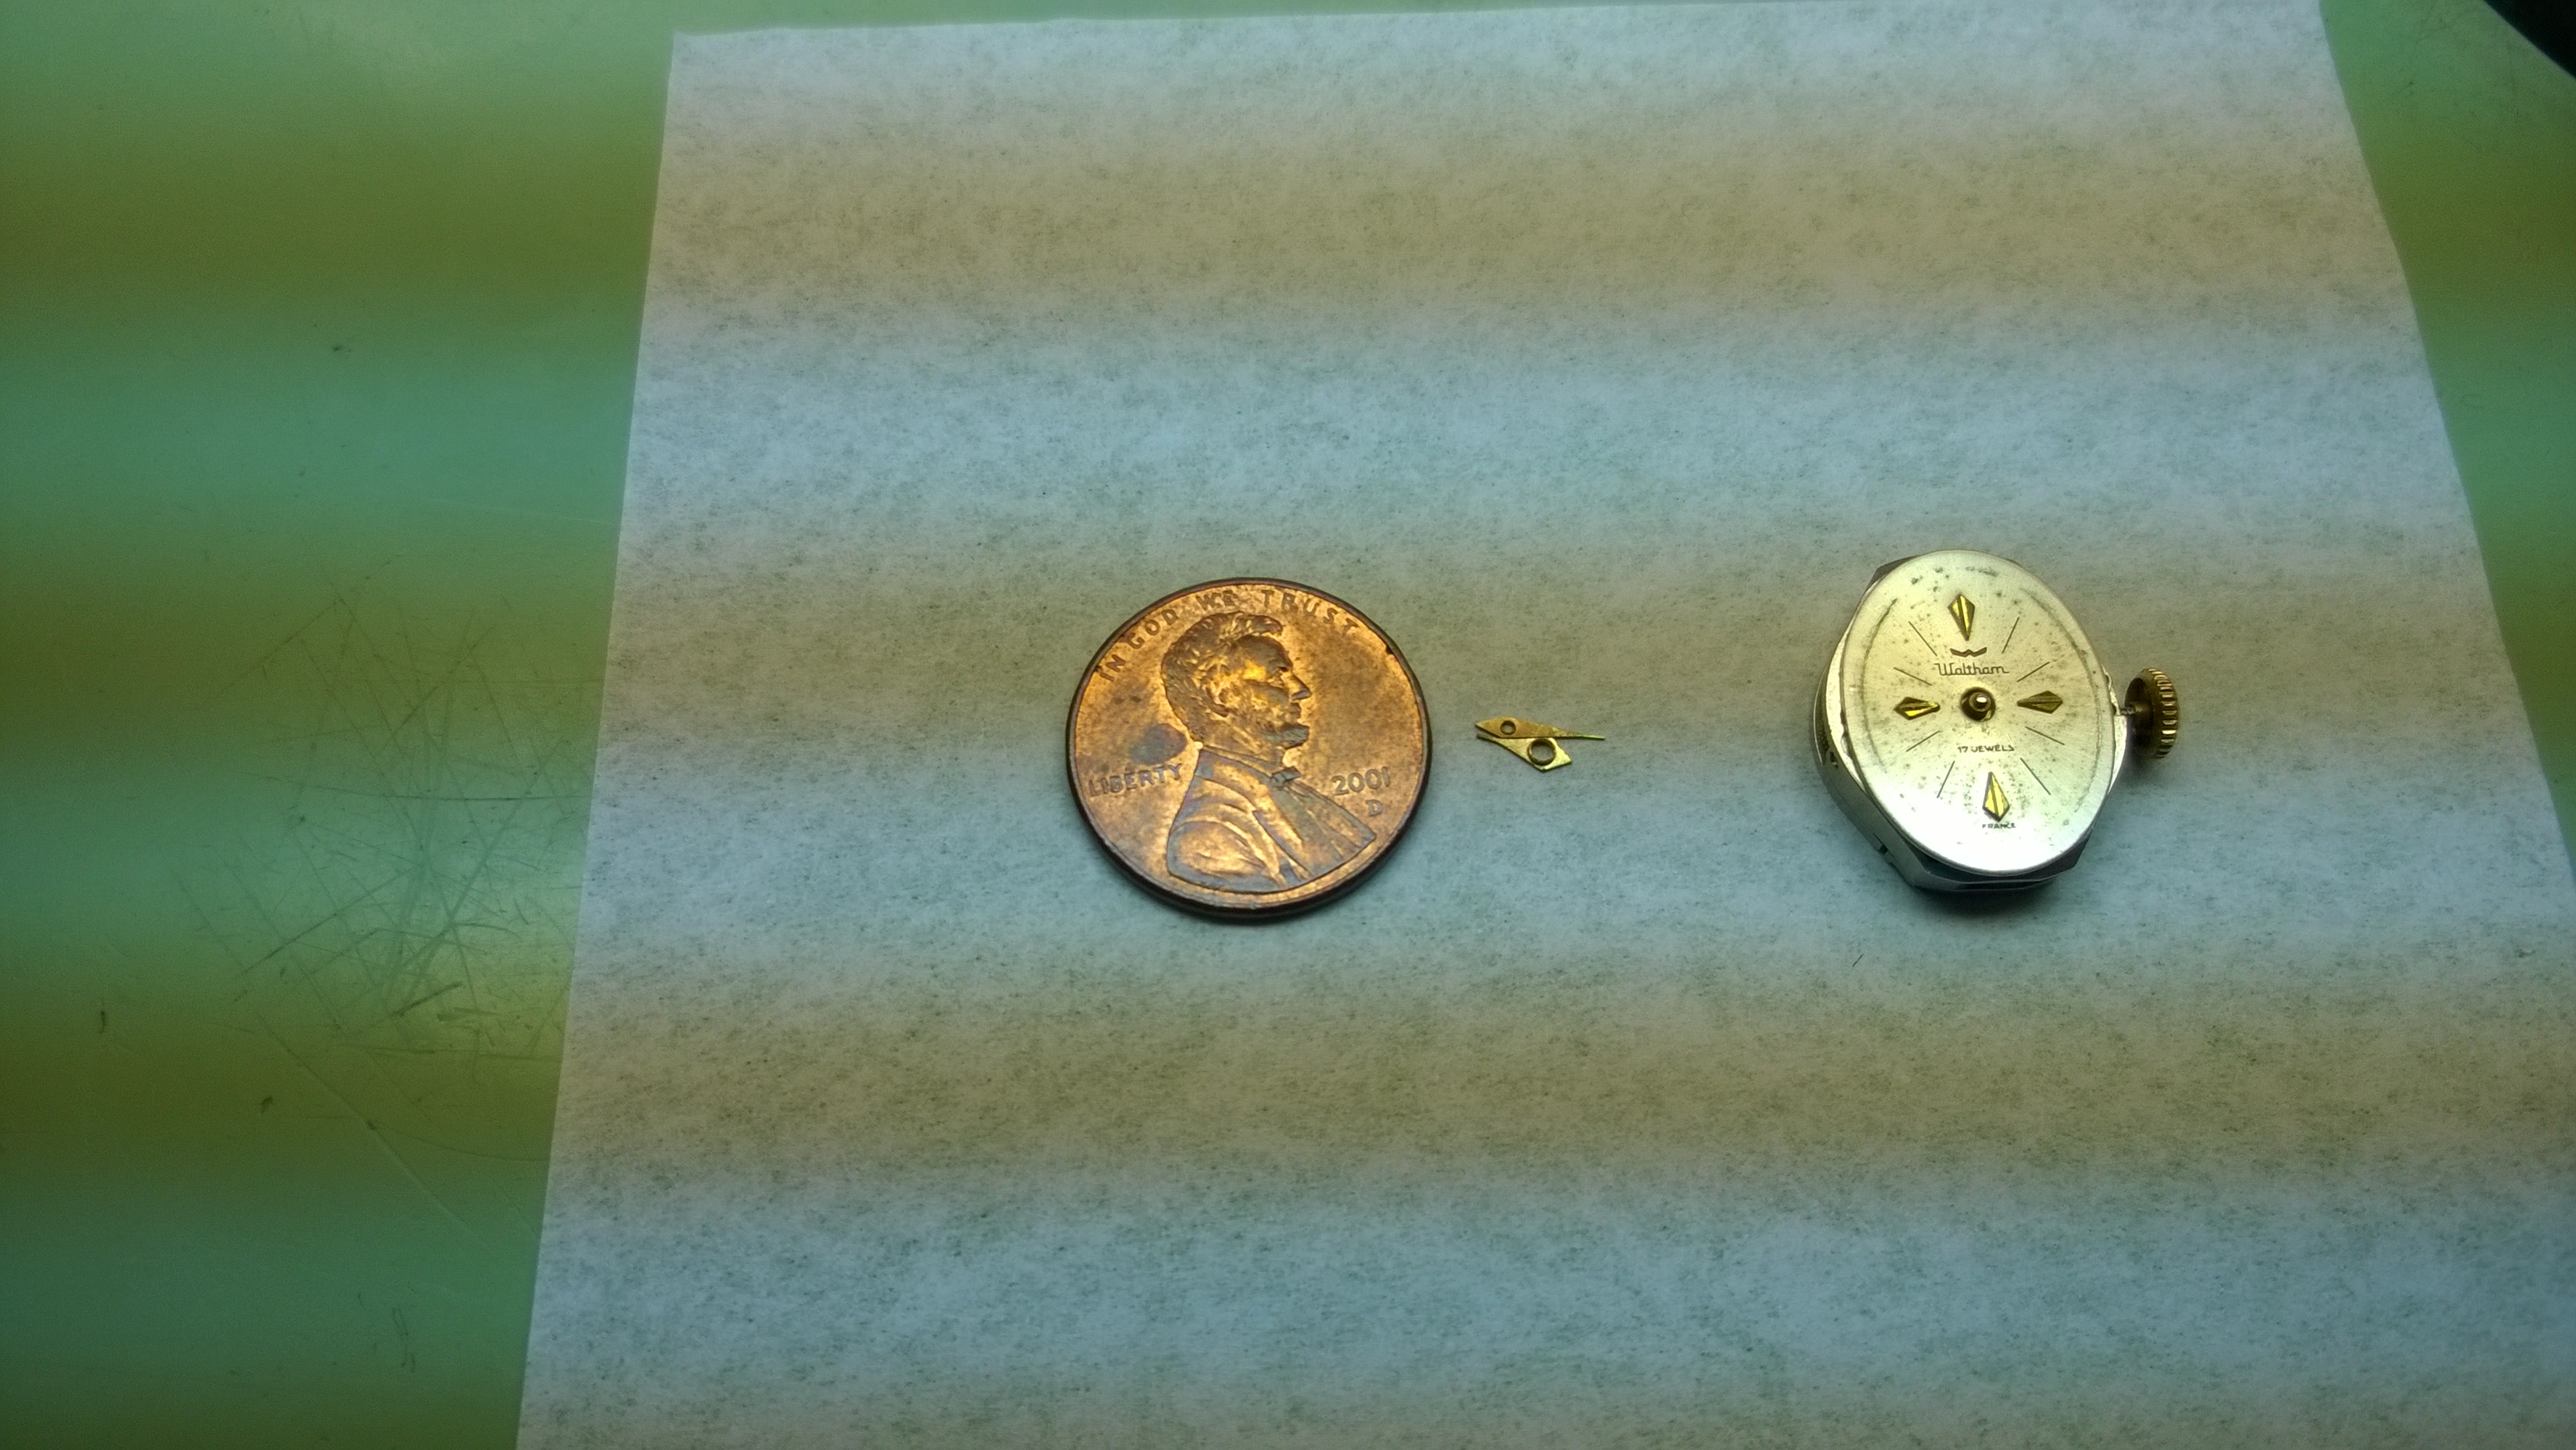
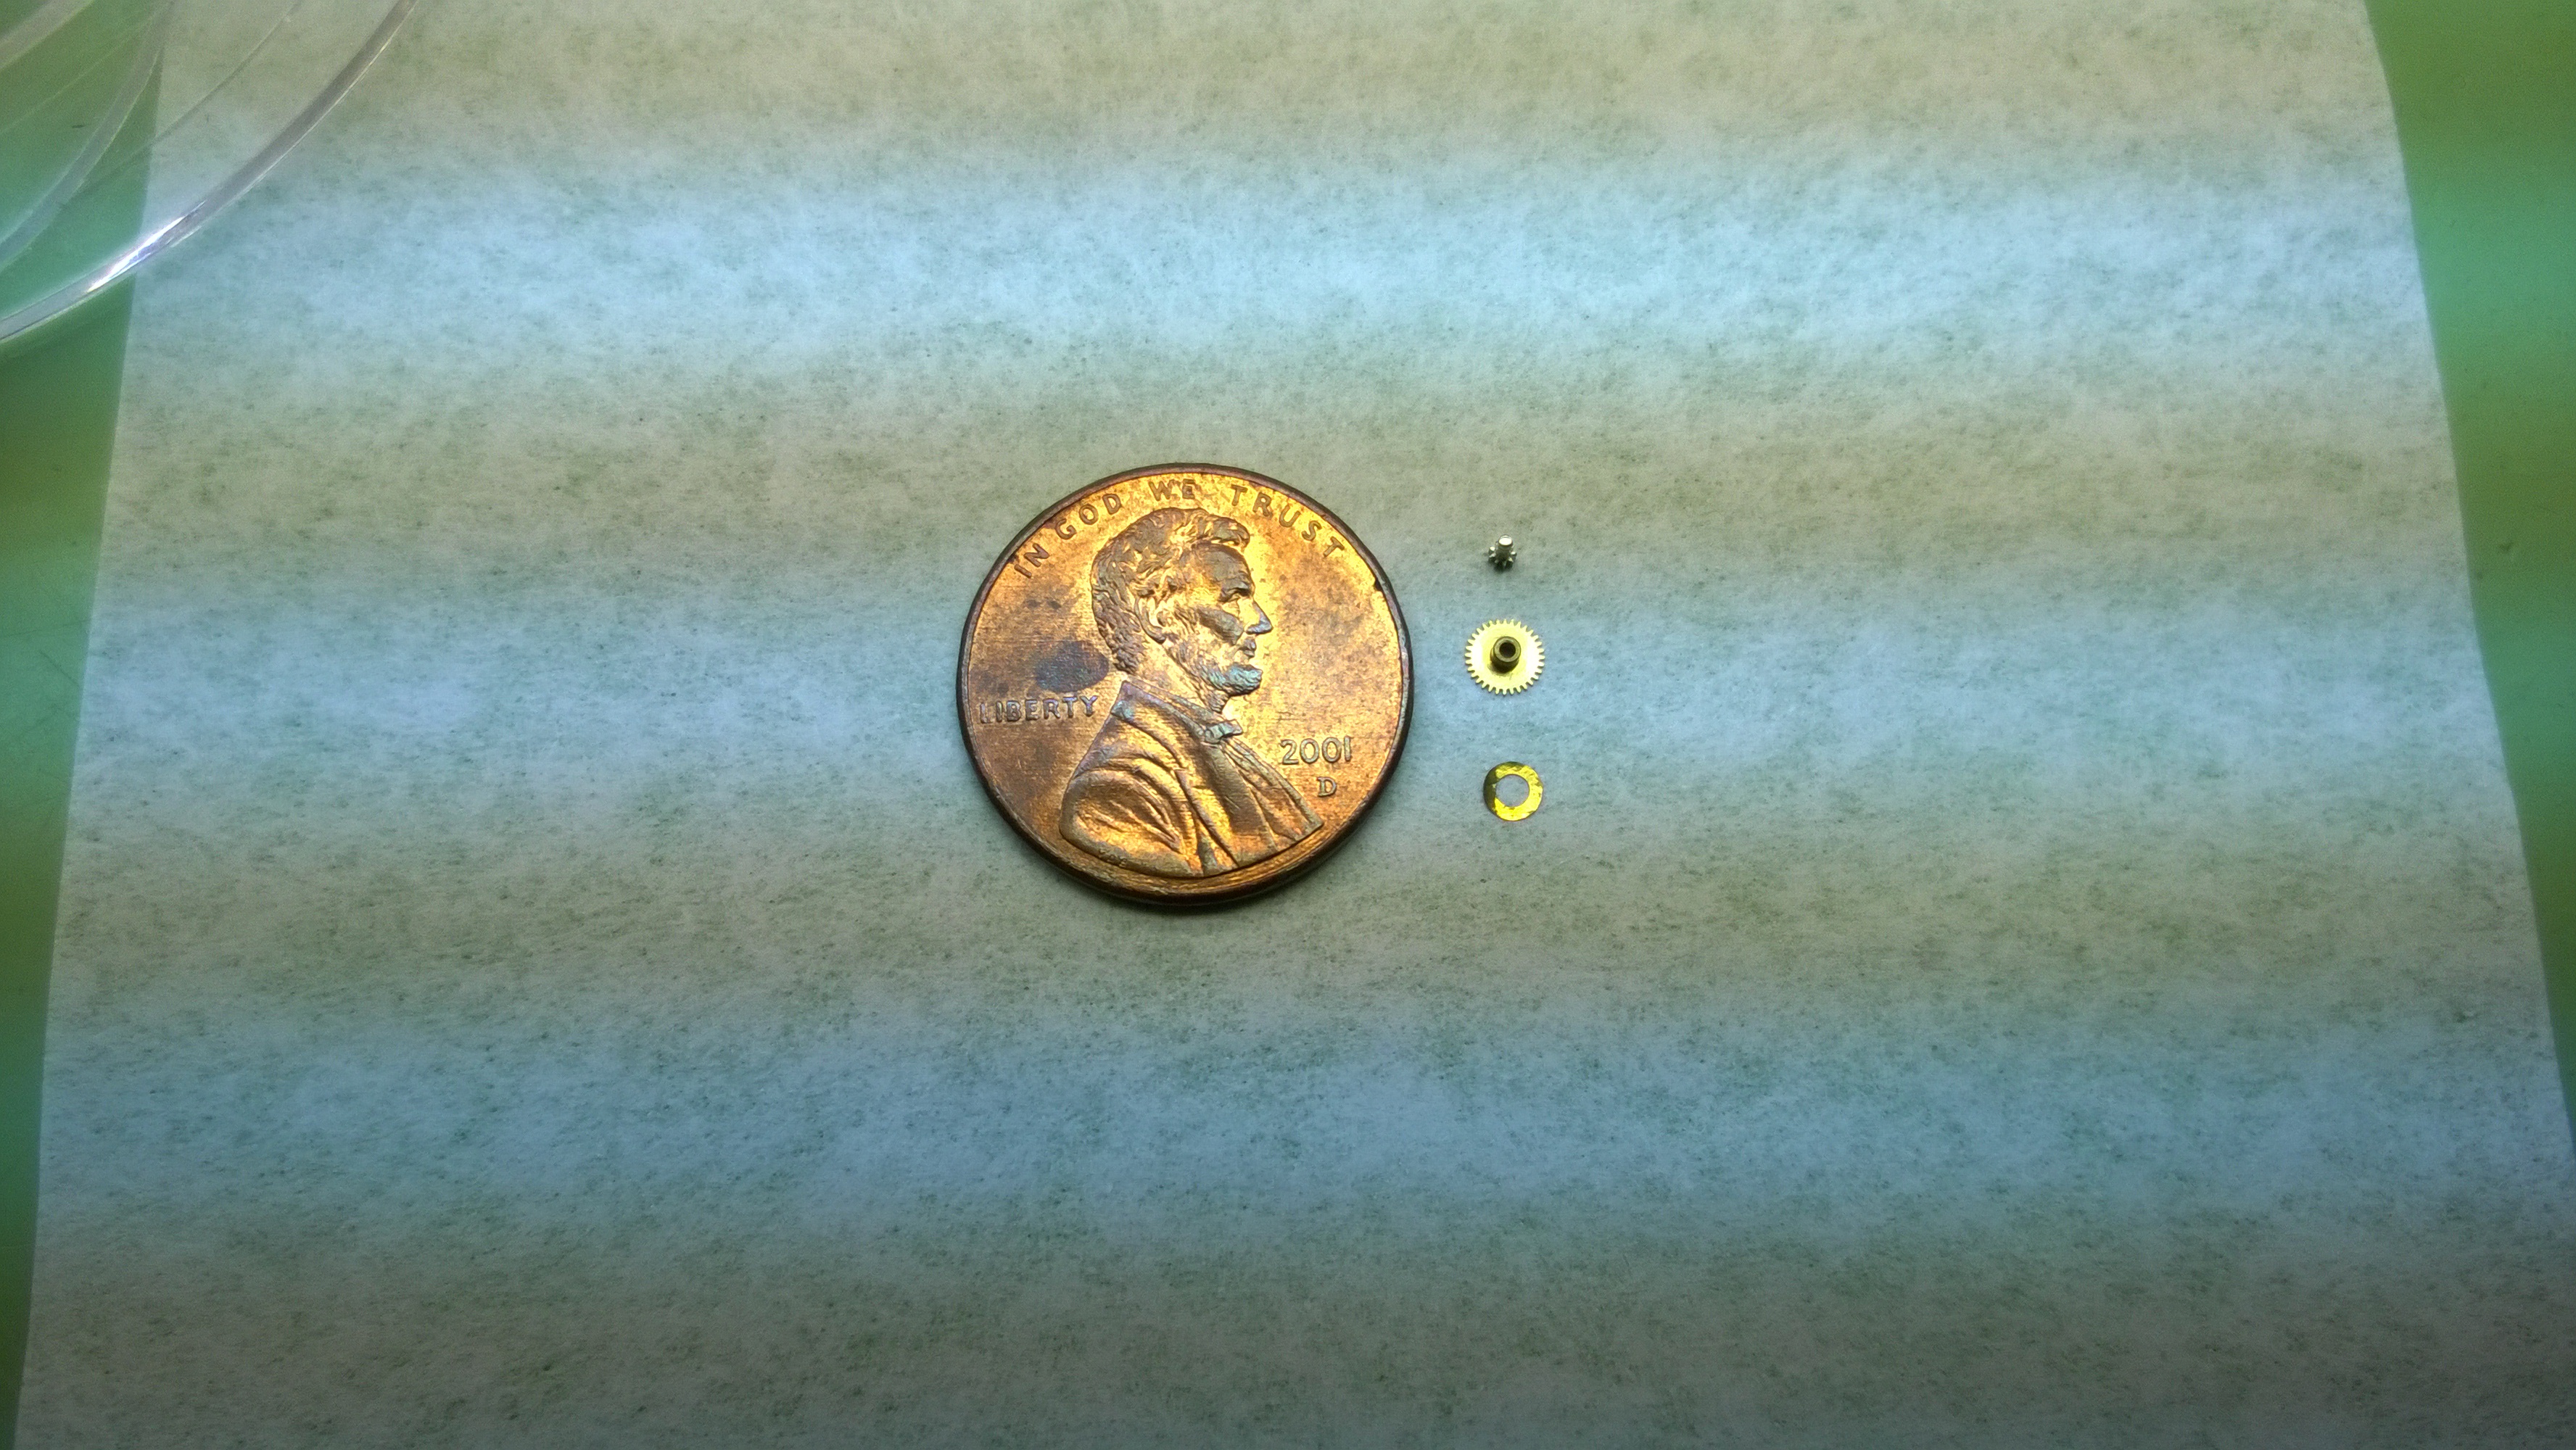
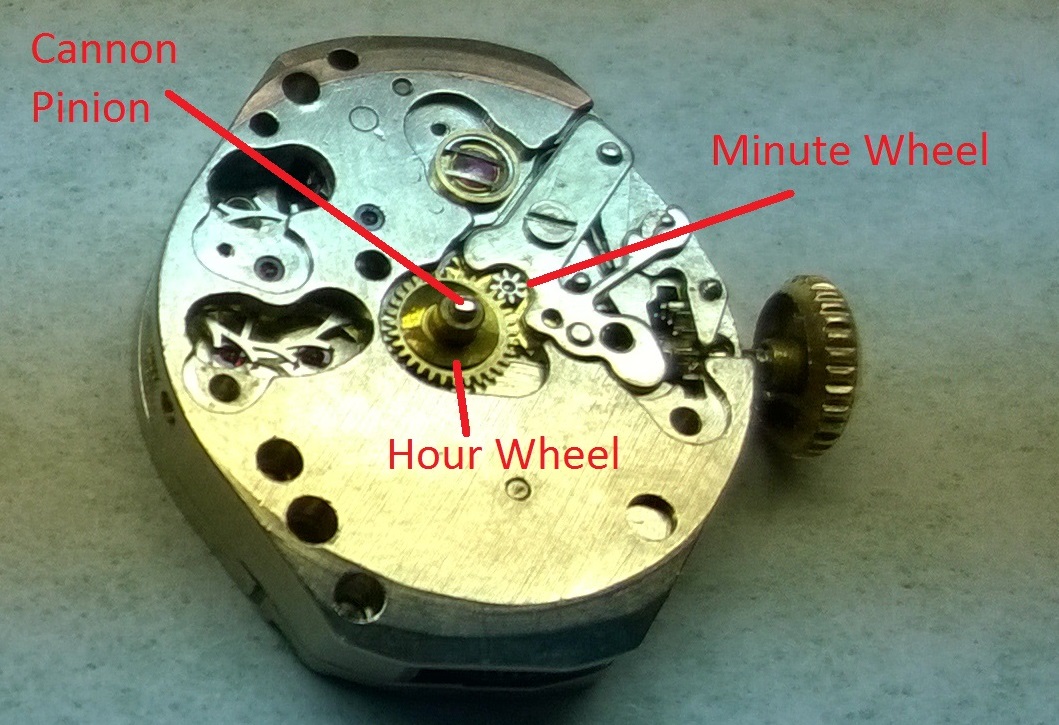
- The cannon pinion goes on the top pivot/shaft of the center wheel and works in conjunction with the minute wheel and hour wheel.
- The hour wheel sits on the cannon pinion, but doesn’t fully cover up the top of the cannon pinion.
- The hour hand go on the hour wheel, and the minute hand goes on the cannon pini0n.
- The minute wheel turns the hour wheel (1 full rotation per 12 rotations of the minute wheel-imagine the hour hand going across the dial from 12:00 to 12:00. That is one rotation of the hour wheel) and the cannon pinion, thus the hands move (the minute hand moves with the cannon pinion and the hour hand moves with the hour wheel).
- All of this is dependent on how the hands are placed on the watch. If you place the hands at any other position than exactly 12:00, everything is going to be messed up.
Hopefully that helps give a little insight to how the hands move. If it doesn’t, I can try to get a video of it in action.
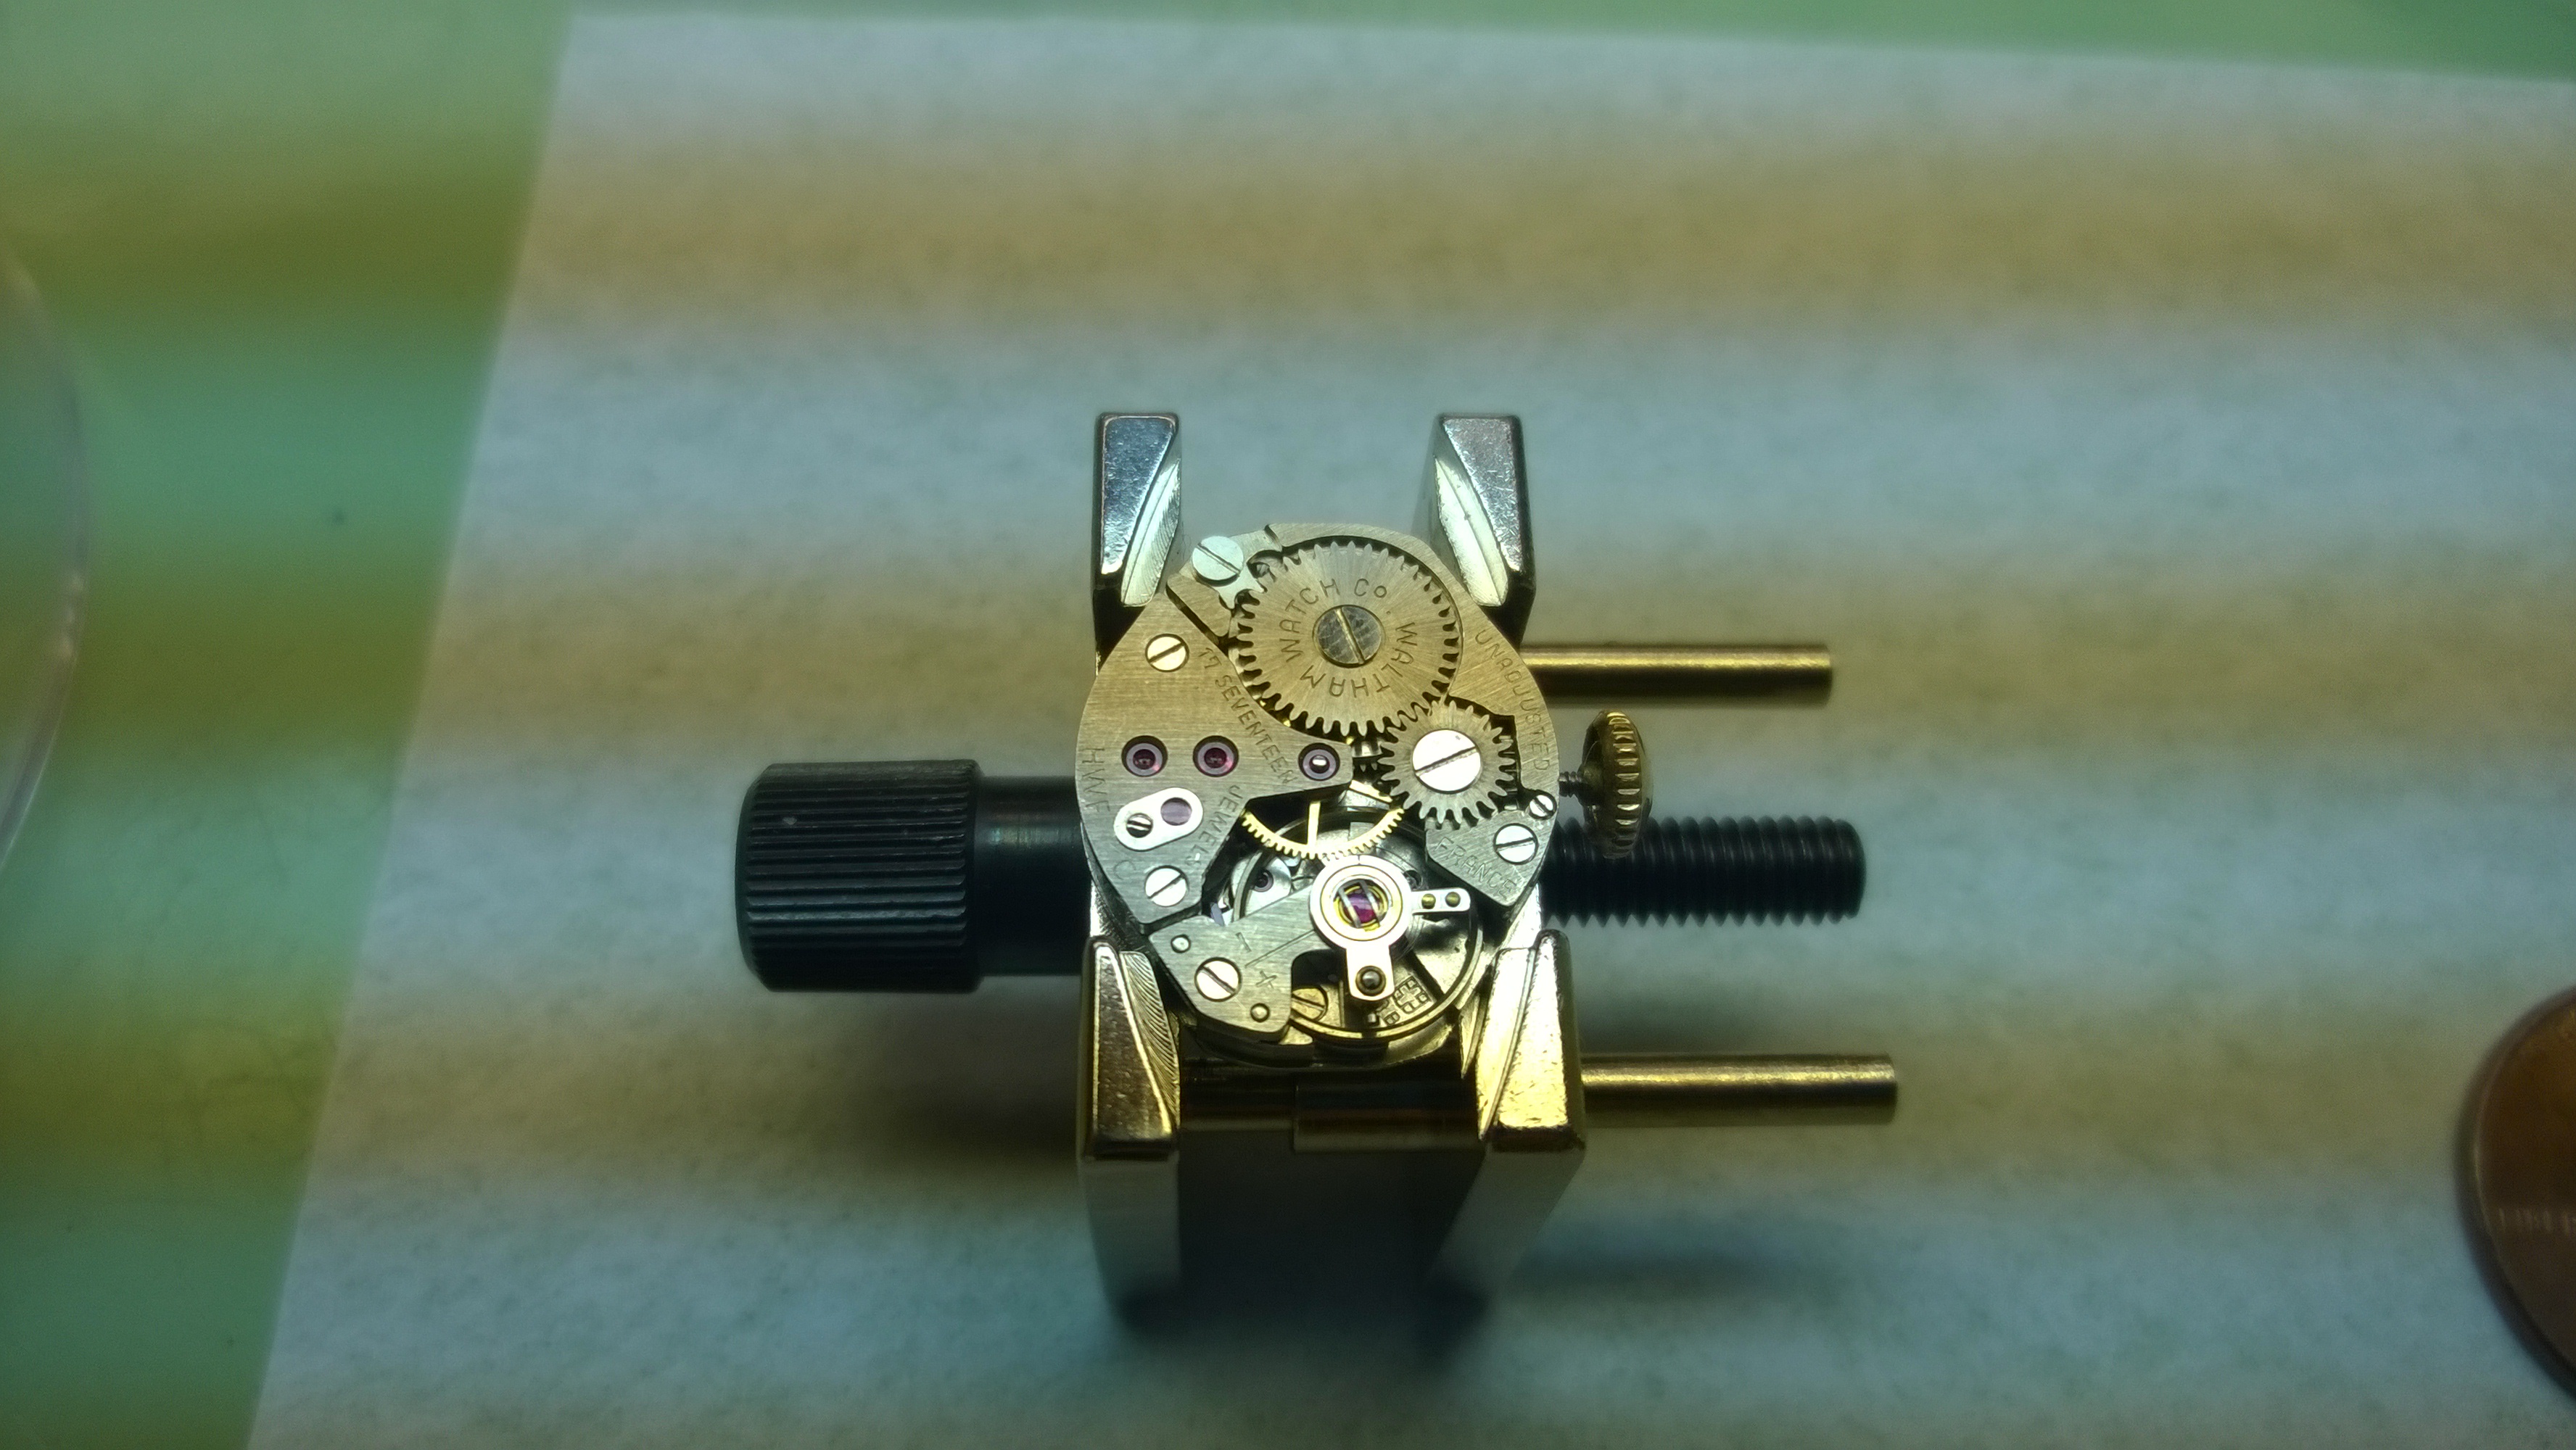
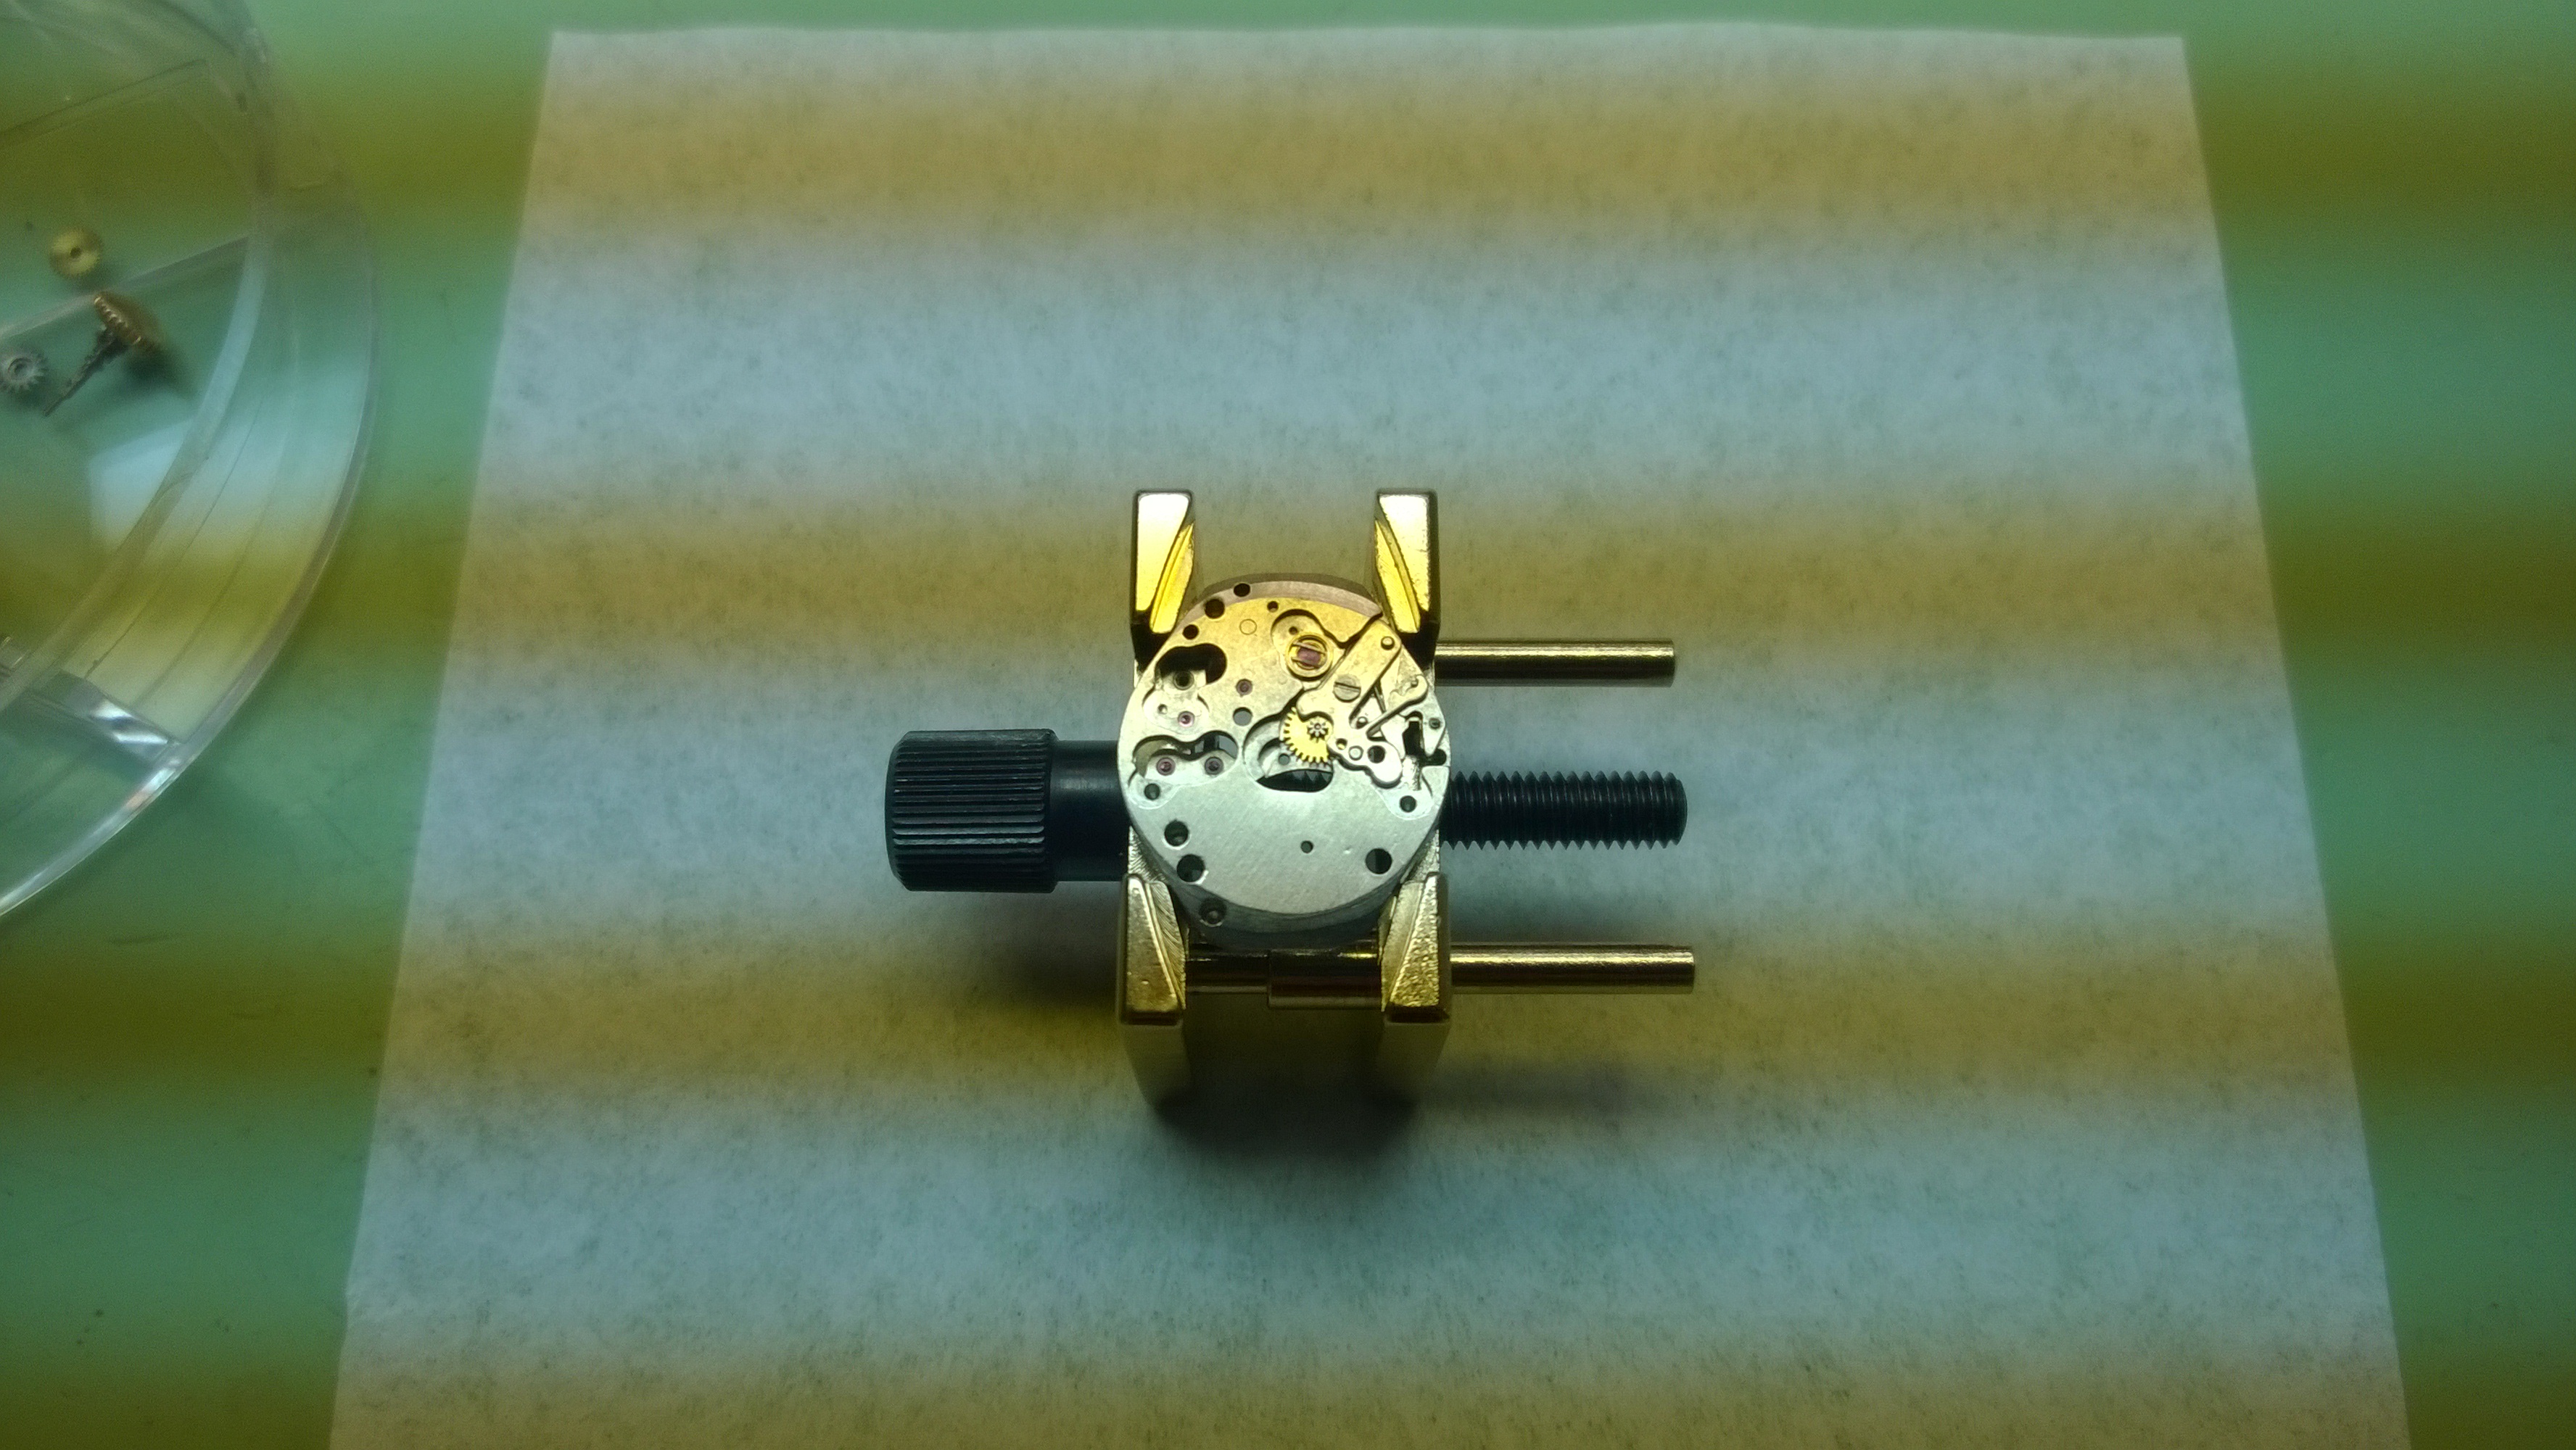
Now I’m ready to start dismantling the gear-train side of the movement. The first thing I need to do is remove the balance. The balance is the heartbeat of the watch. The wheel that you see at 6:00 that has a brassy look to it is the balance. If you look, you will notice that there are two “arms” on the balance-one pointing to 3:00 and one to 6:00. The one at 6:00 has a tiny screw that keeps a stud that is pinned to the balance and ensures that the (hair)spring of the balance doesn’t fly all over the place when it is in motion. One of my projects I’ll be doing later on in my studies is assembling a balance, including placing the stud.

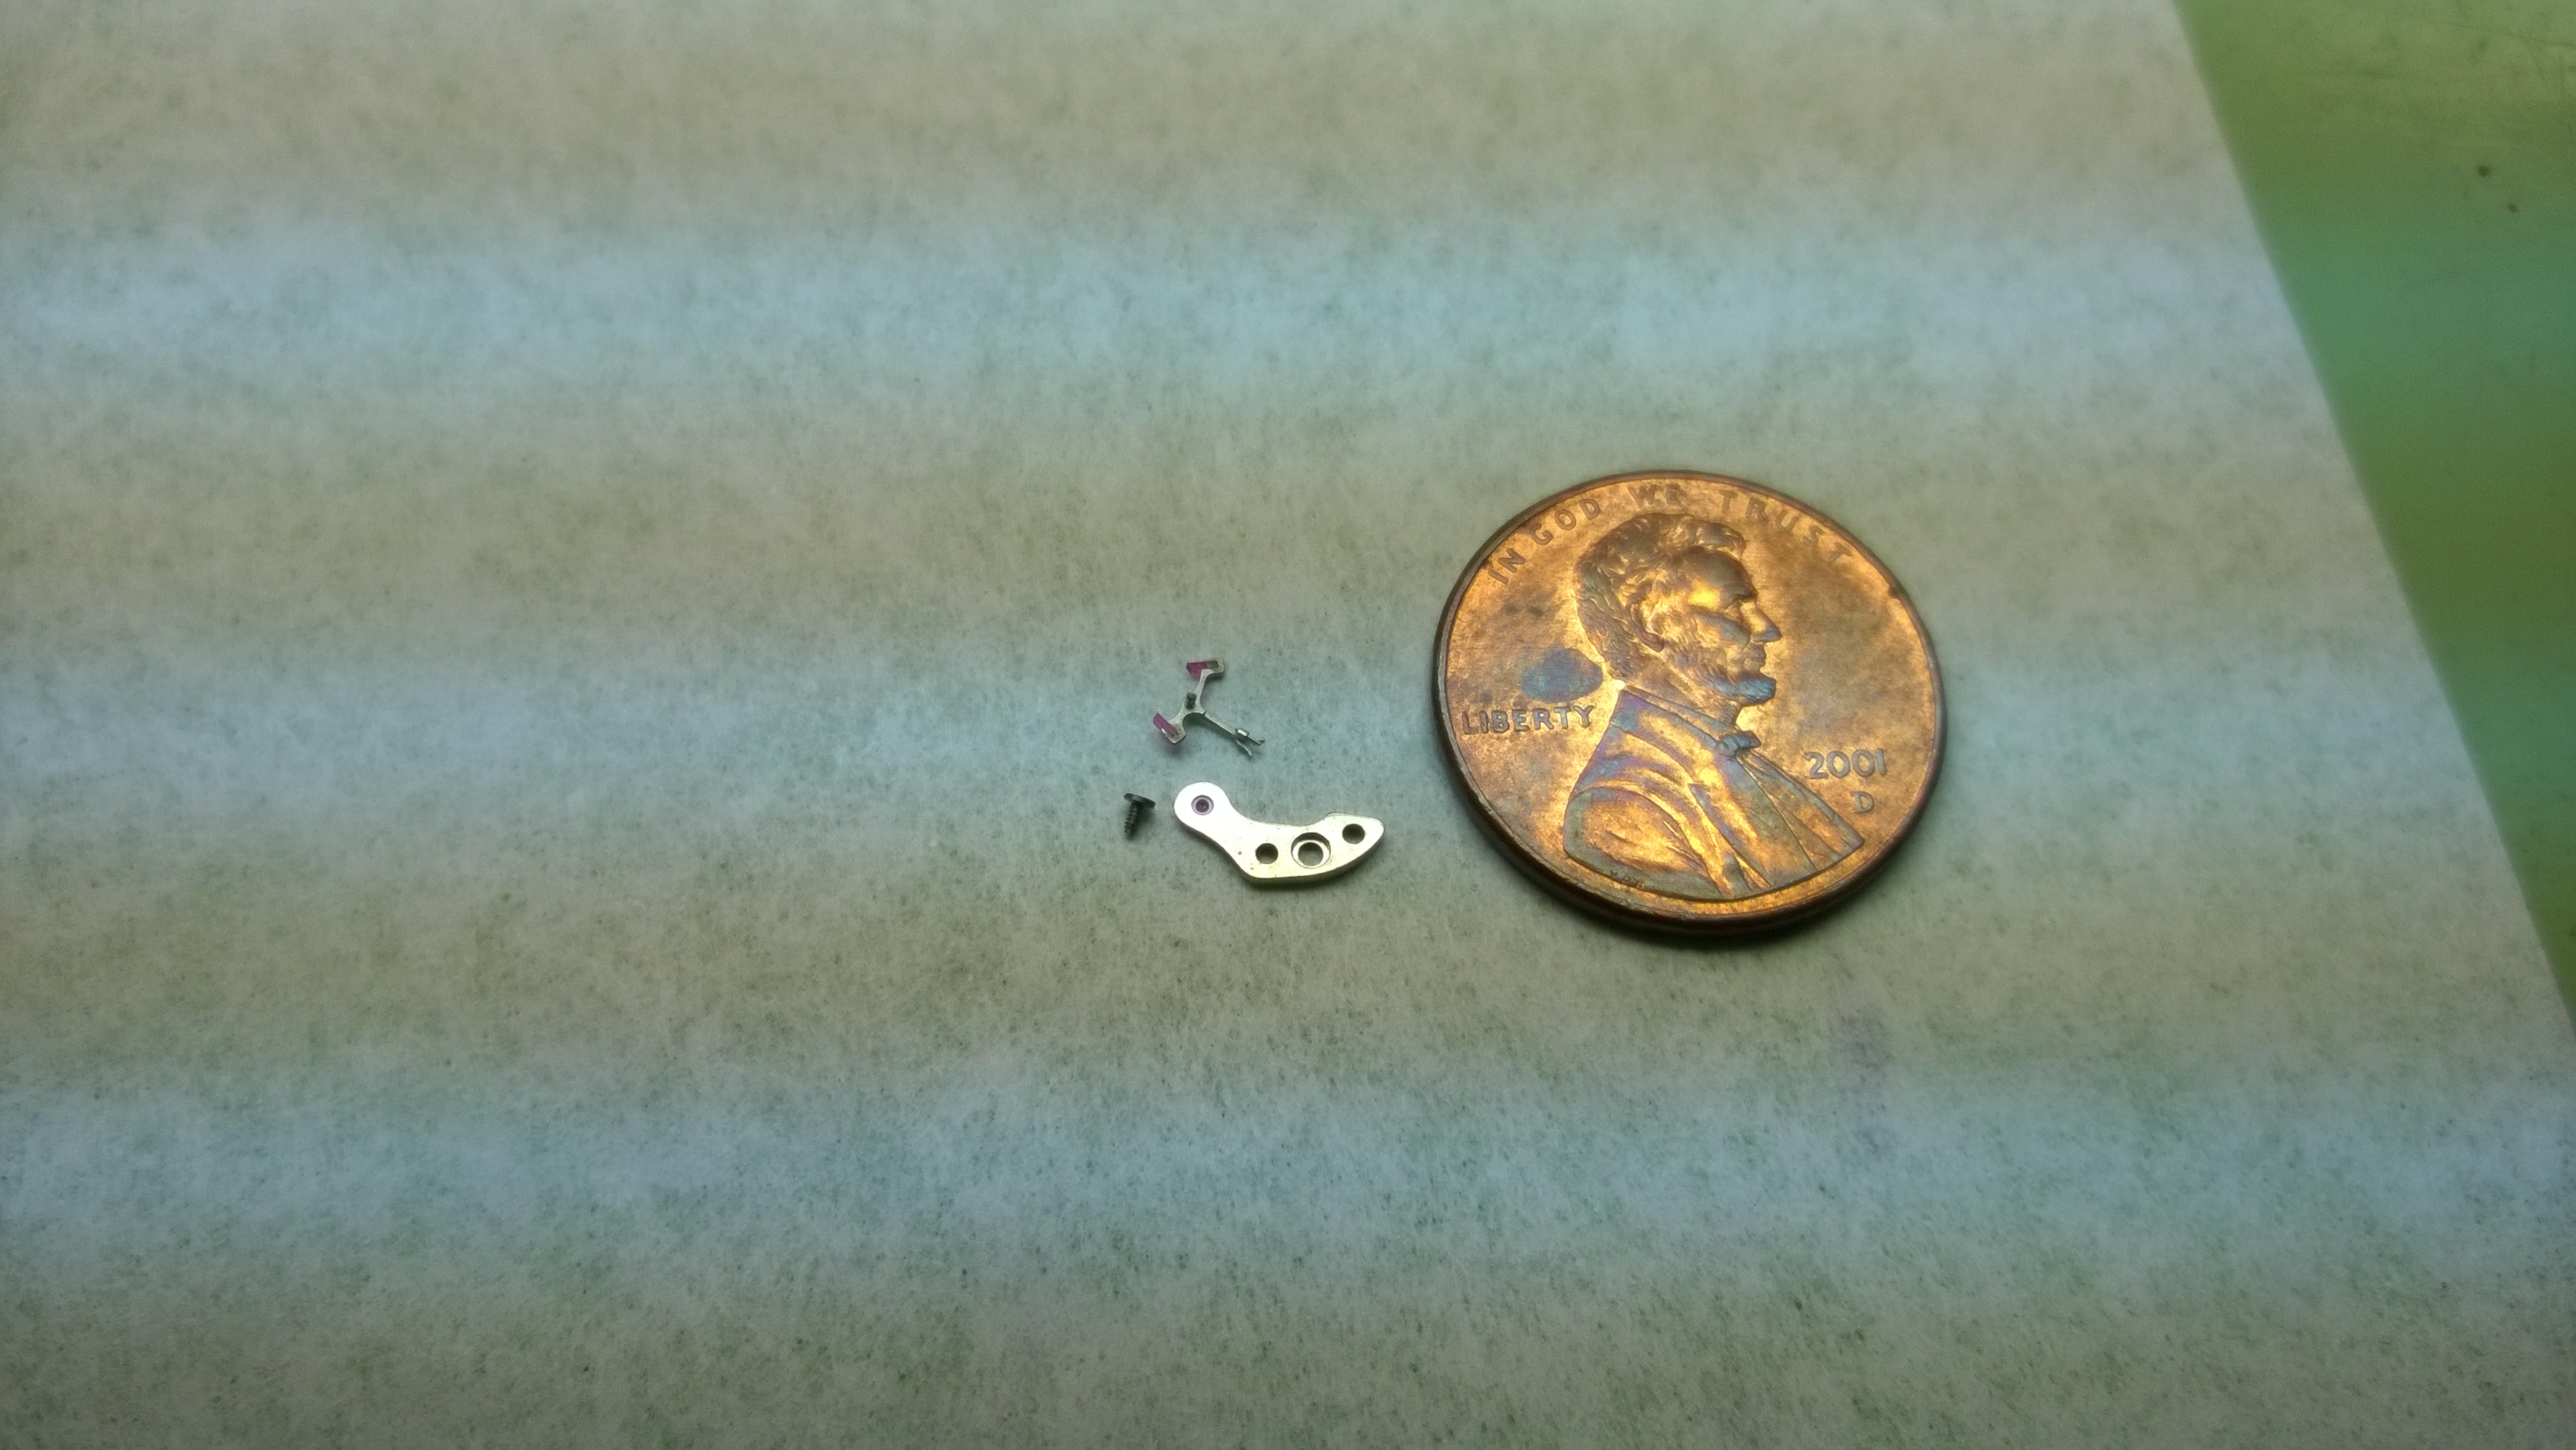
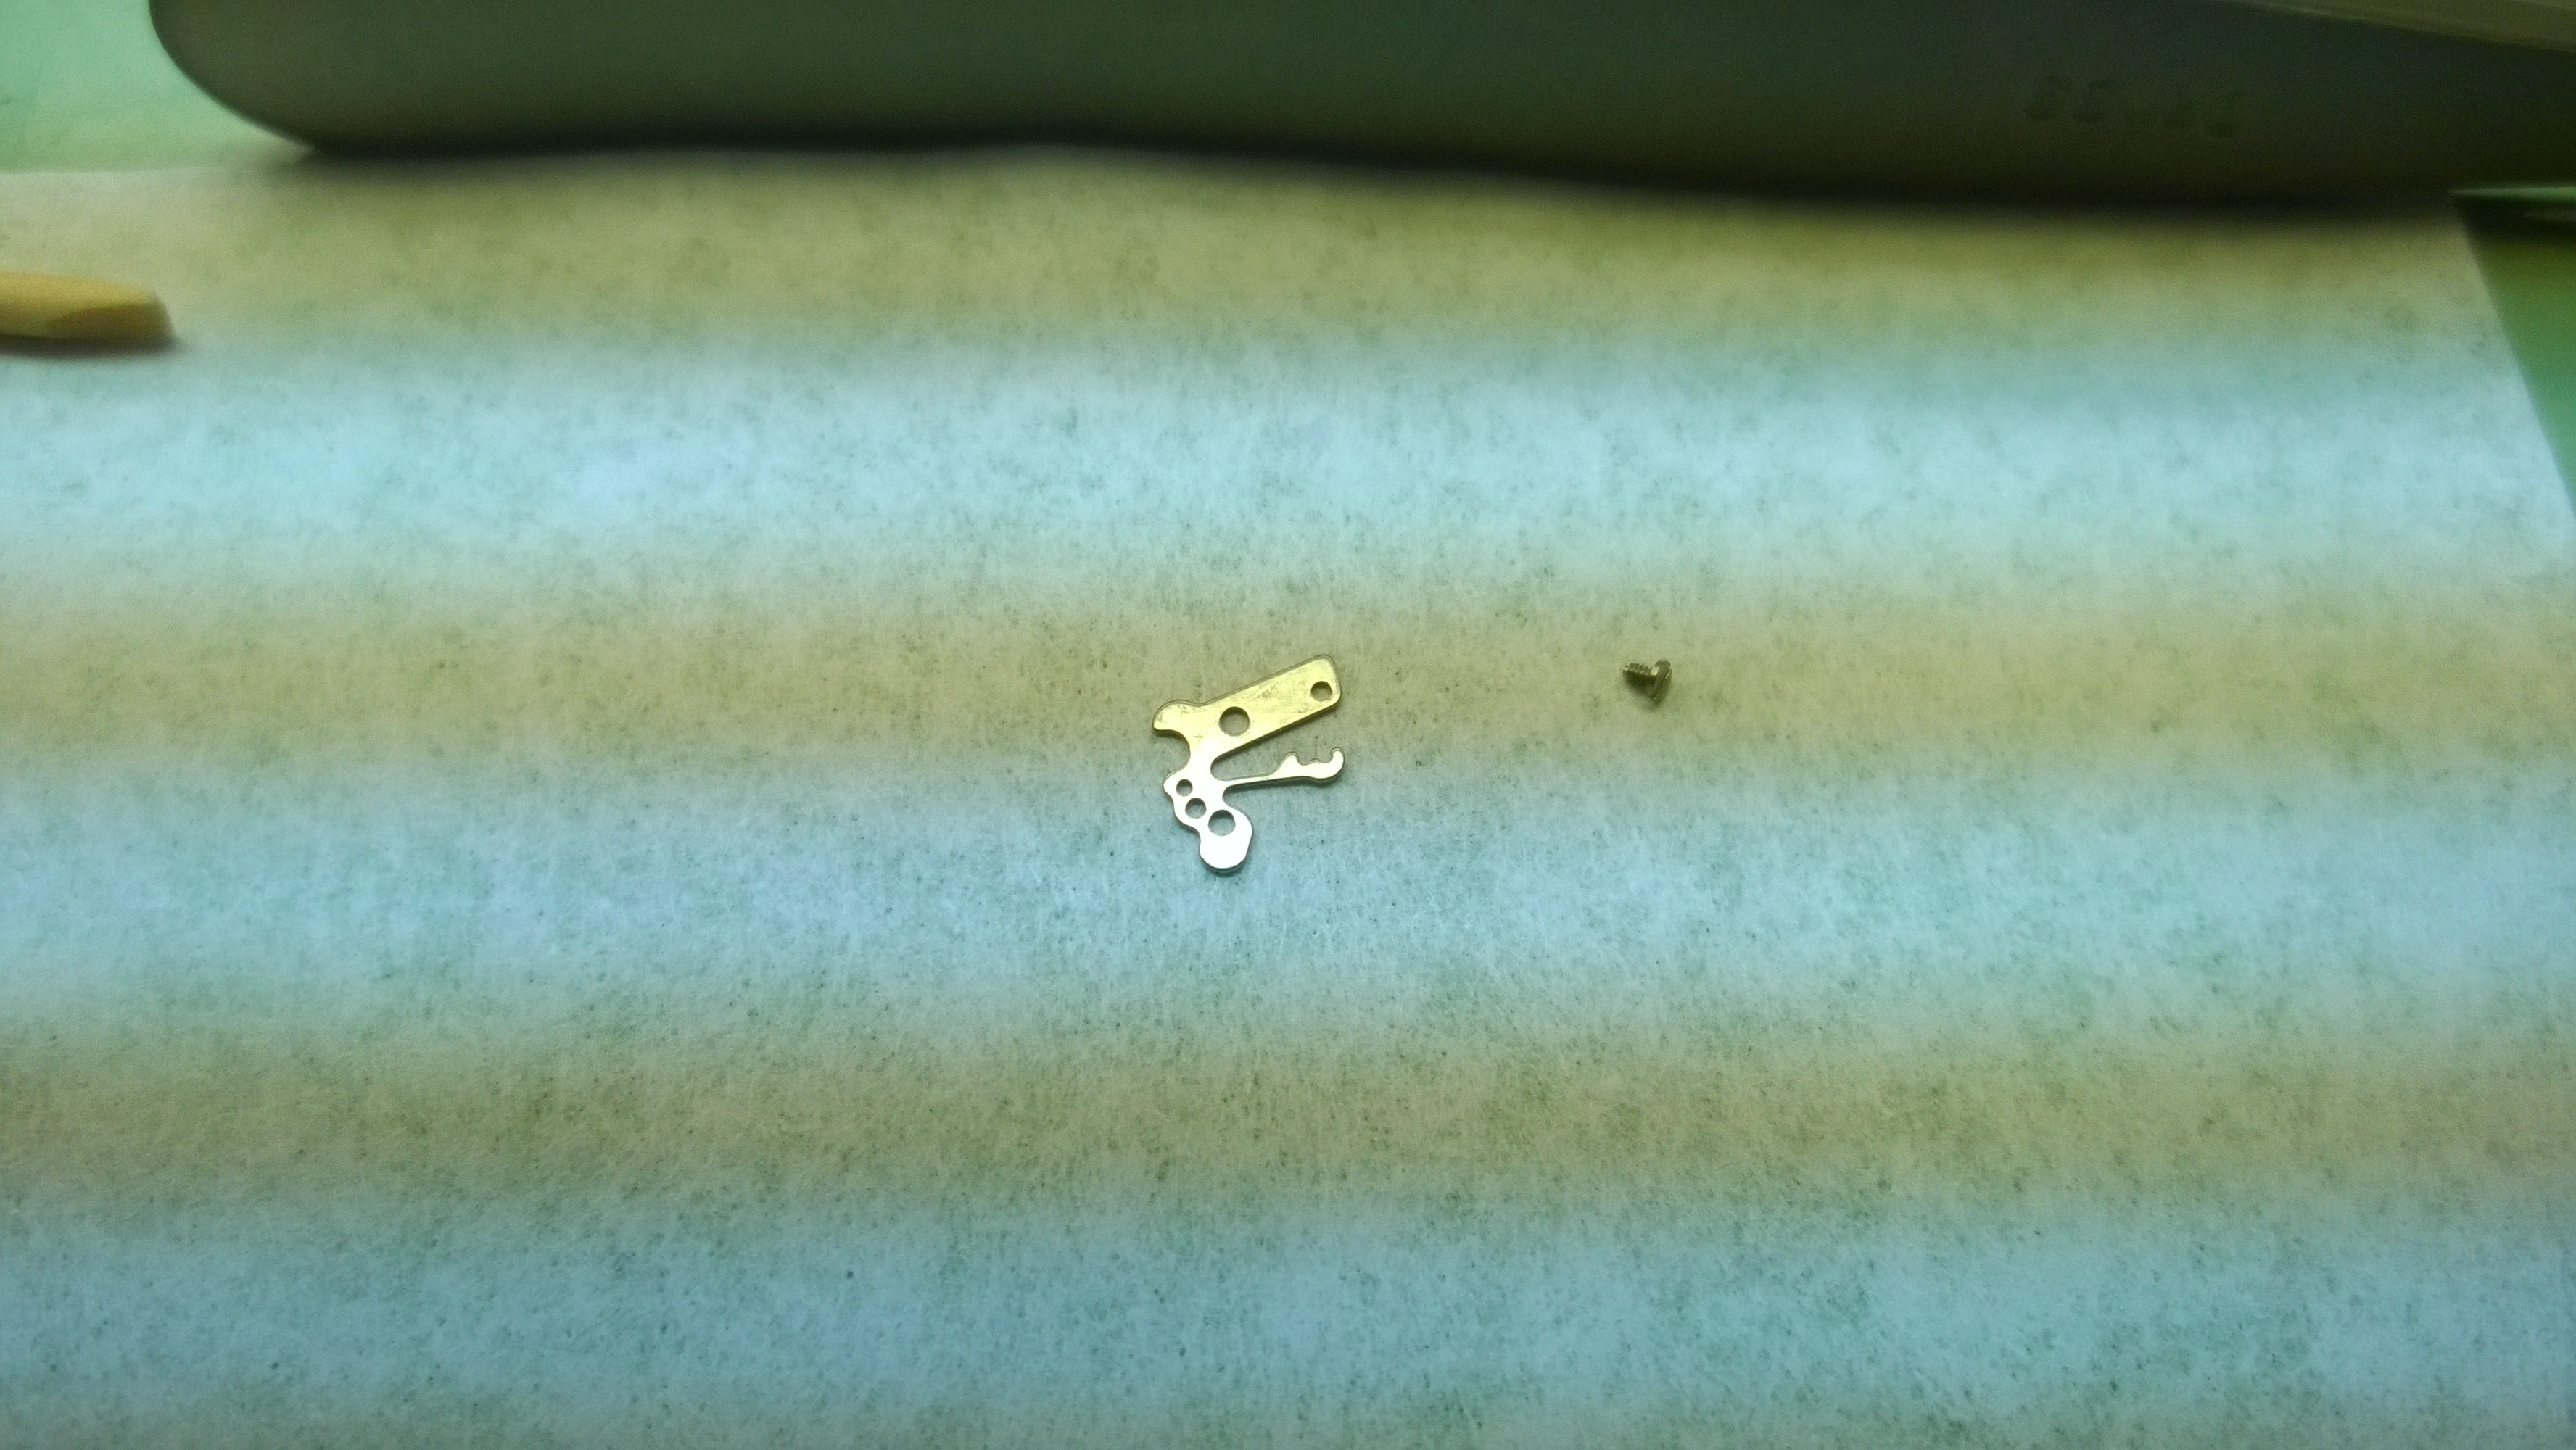
Here is a picture of the removed balance and the balance cock screw. 
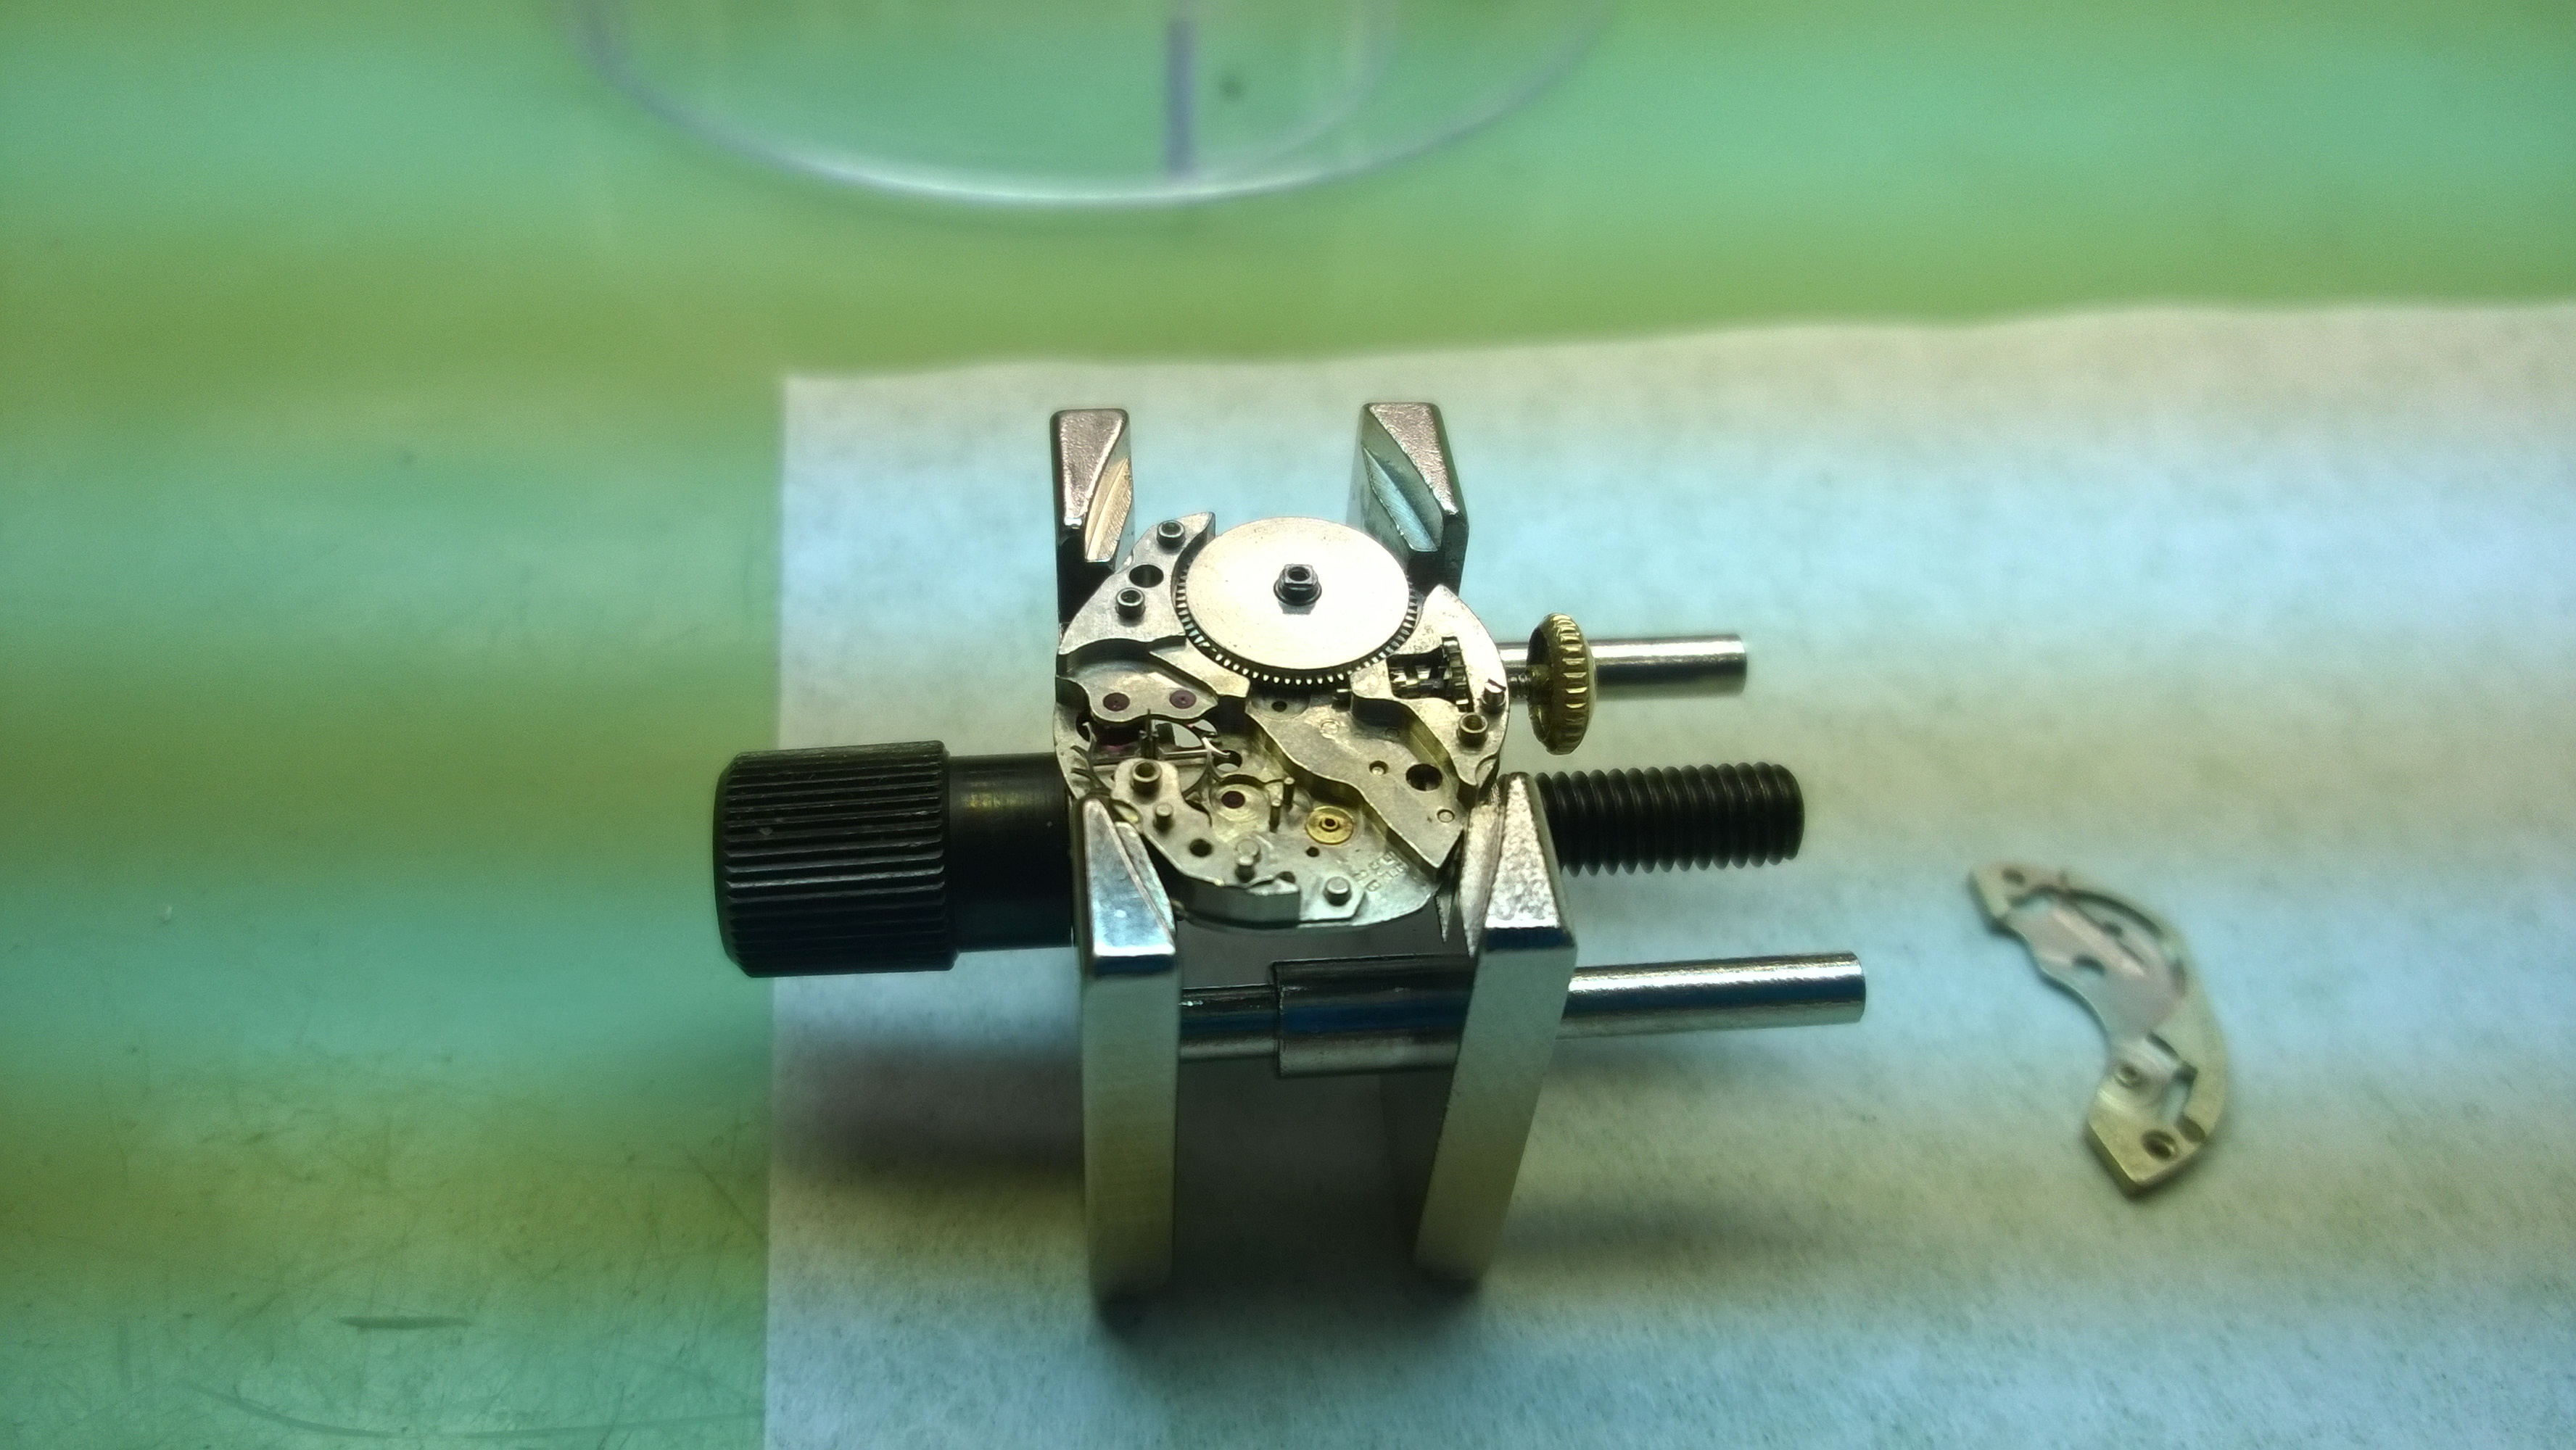
I have now removed the gear train bridge. I also need to remove the pallet fork bridge and pallet fork. Before I can remove the gears, I also need to remove the crown wheel, the click and the ratchet wheel.
Here is the pallet fork. The pallet fork interacts with two parts-it interacts with the balance wheel and the escape wheel. Those three items make up the Escapement. The escapement is the timekeeping segment of the watch. The interplay of these three parts determines how fast or slow the watch works.

In this picture I am getting ready to remove the click spring. The click spring is the thin sheppard crook looking spring up at the 12:00 position. The click spring helps to ensure the click maintains its function of ensuring the ratchet wheel can only move in one direction ensuring the proper winding of the mainspring (the power source of the watch).
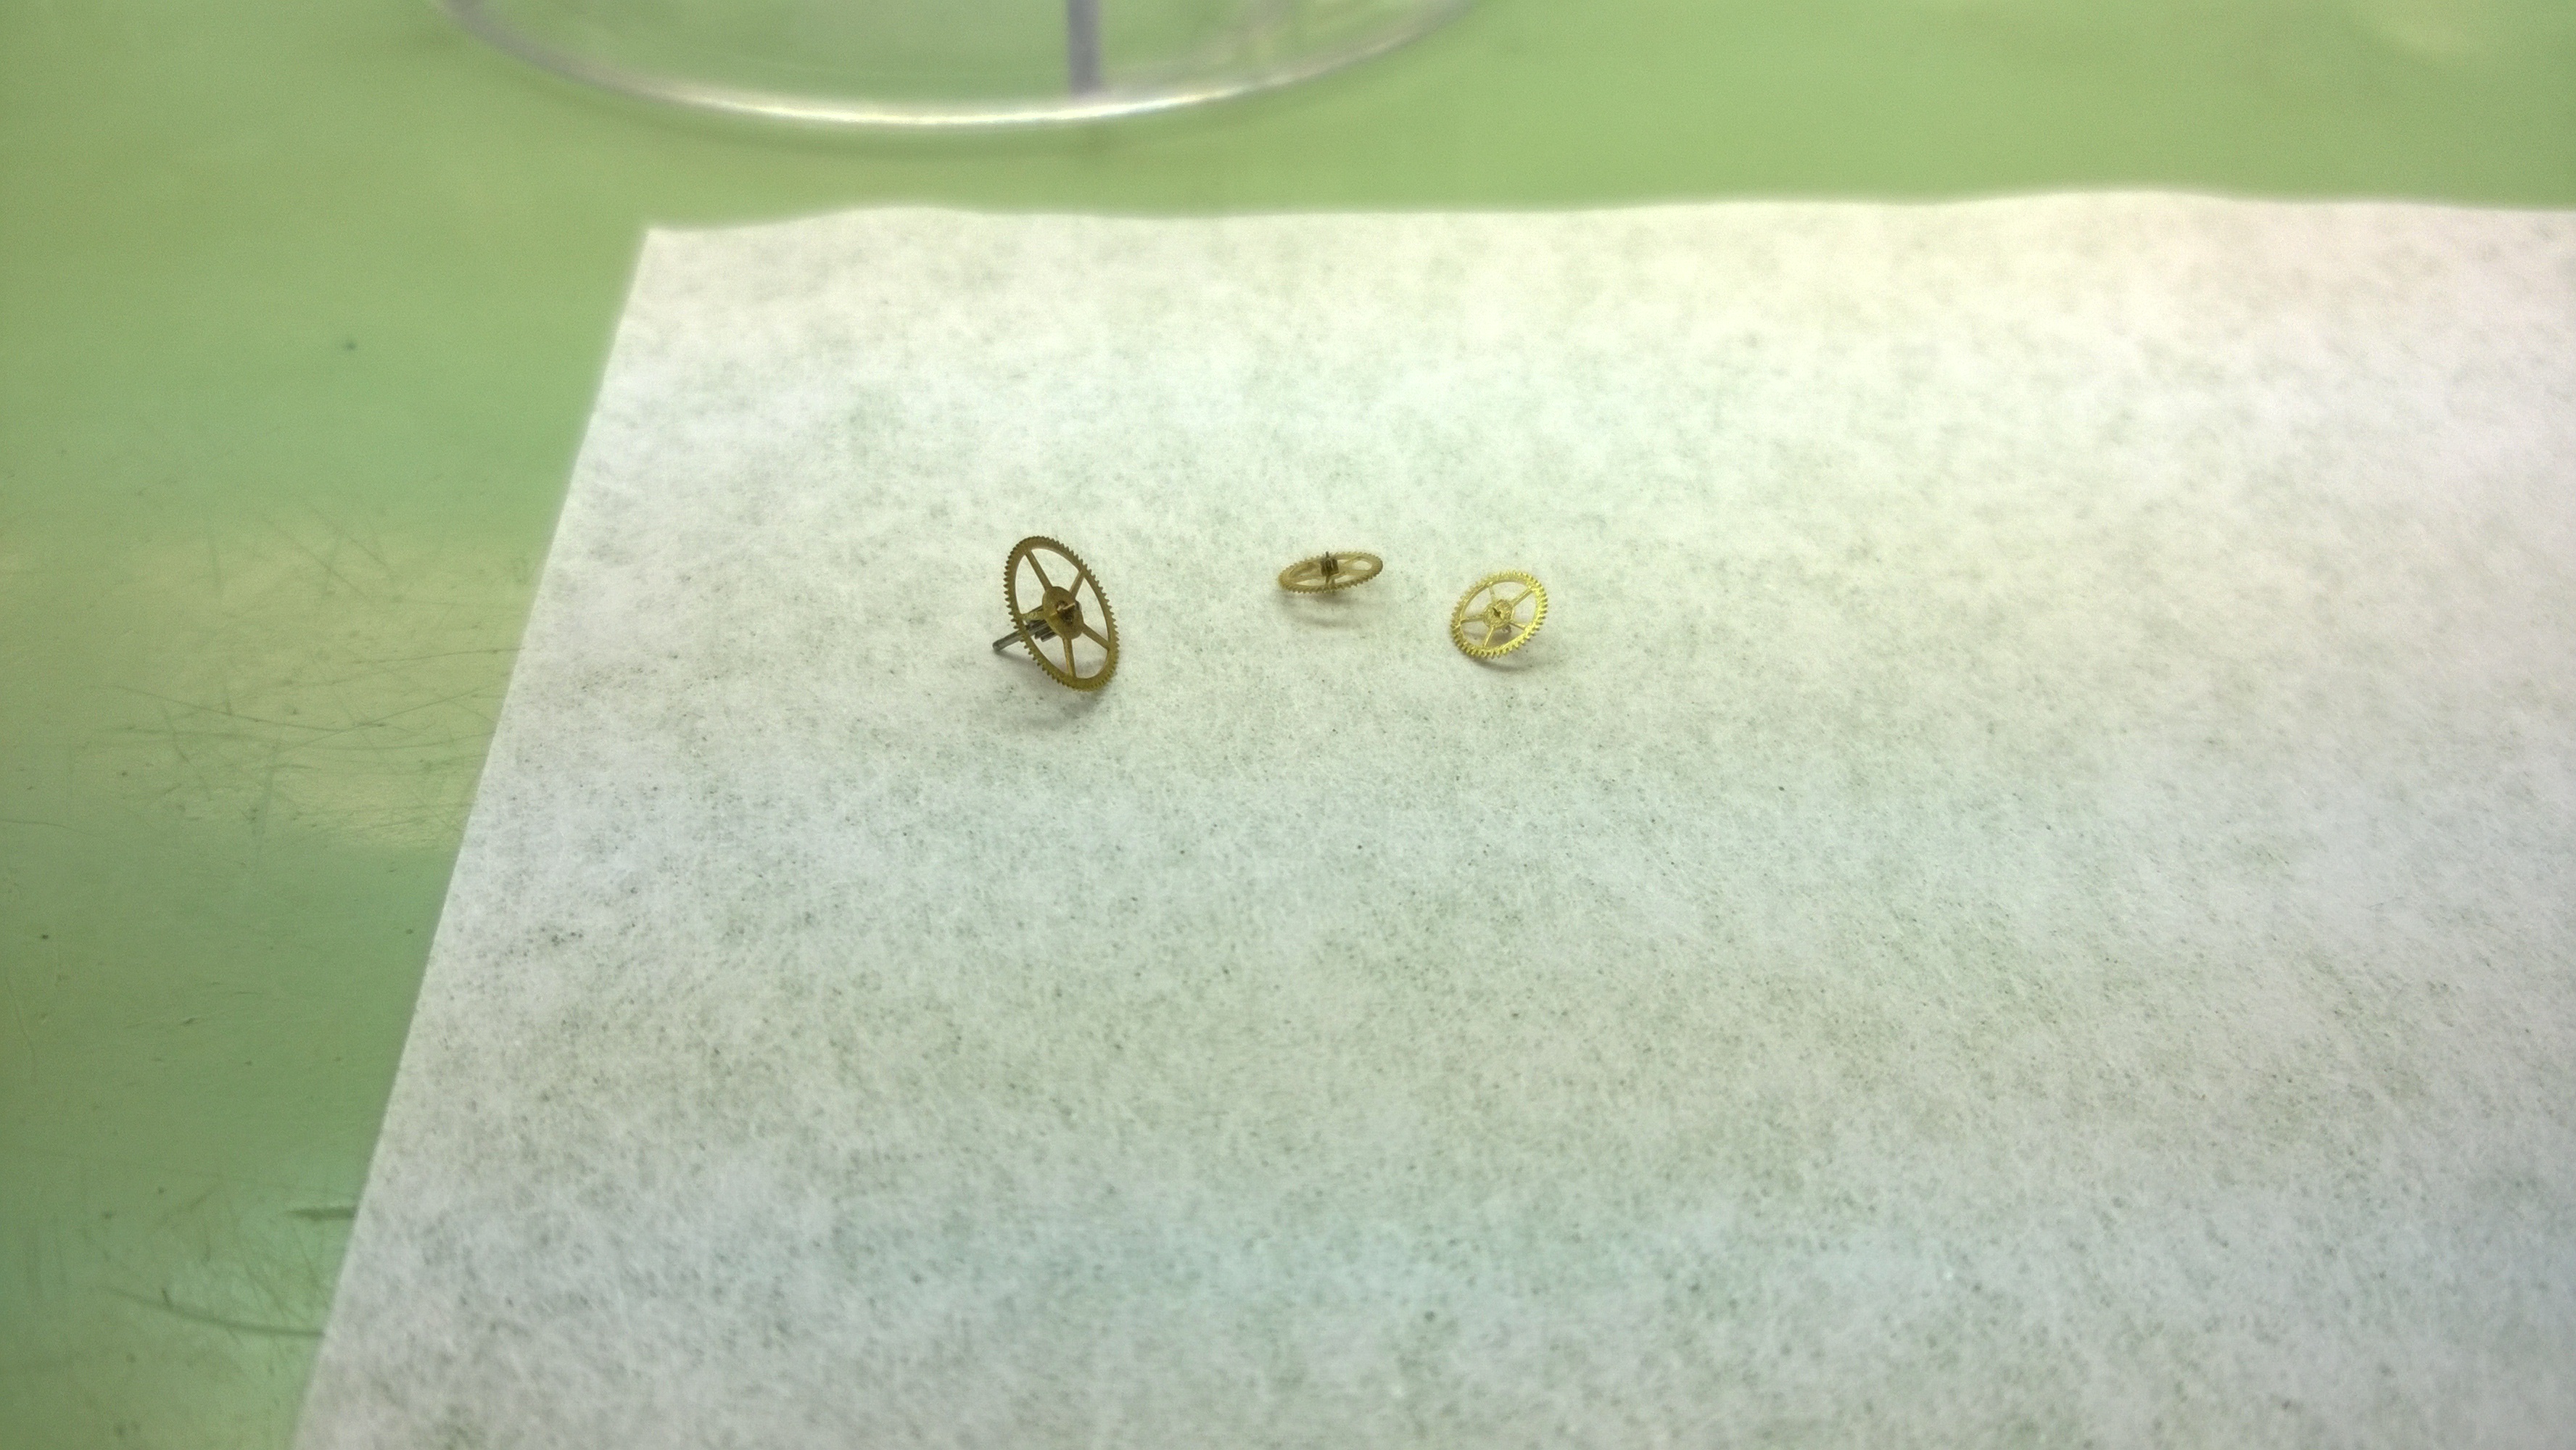
Here are the Center, 3rd and 4th wheels. These help transmit power from the mainspring down to the escapement.
Speaking of power transmission, here is the exposed mainspring barrel (and the mainspring bridge off to the right). The barrel houses the mainspring. The round part on the top of the barrel, is the barrel arbor. The mainspring attaches to the arbor by way of a hook in the spring. The arbor interacts with the ratchet wheel. When you wind the watch, the crown wheel turns the ratchet wheel which turns the arbor and that winds and adds tension to the mainspring.
All that’s left to do on this side is to remove is to remove the retaining screw to allow the removal of the crown, the clutch and winding pinion.
It’s pretty smooth sailing from here. The set lever bridge will be the first to be removed.
Rarrrr! I’m a dragon!

Now I just need to remove the set lever and spring, the detent, the setting wheel and minute wheel.
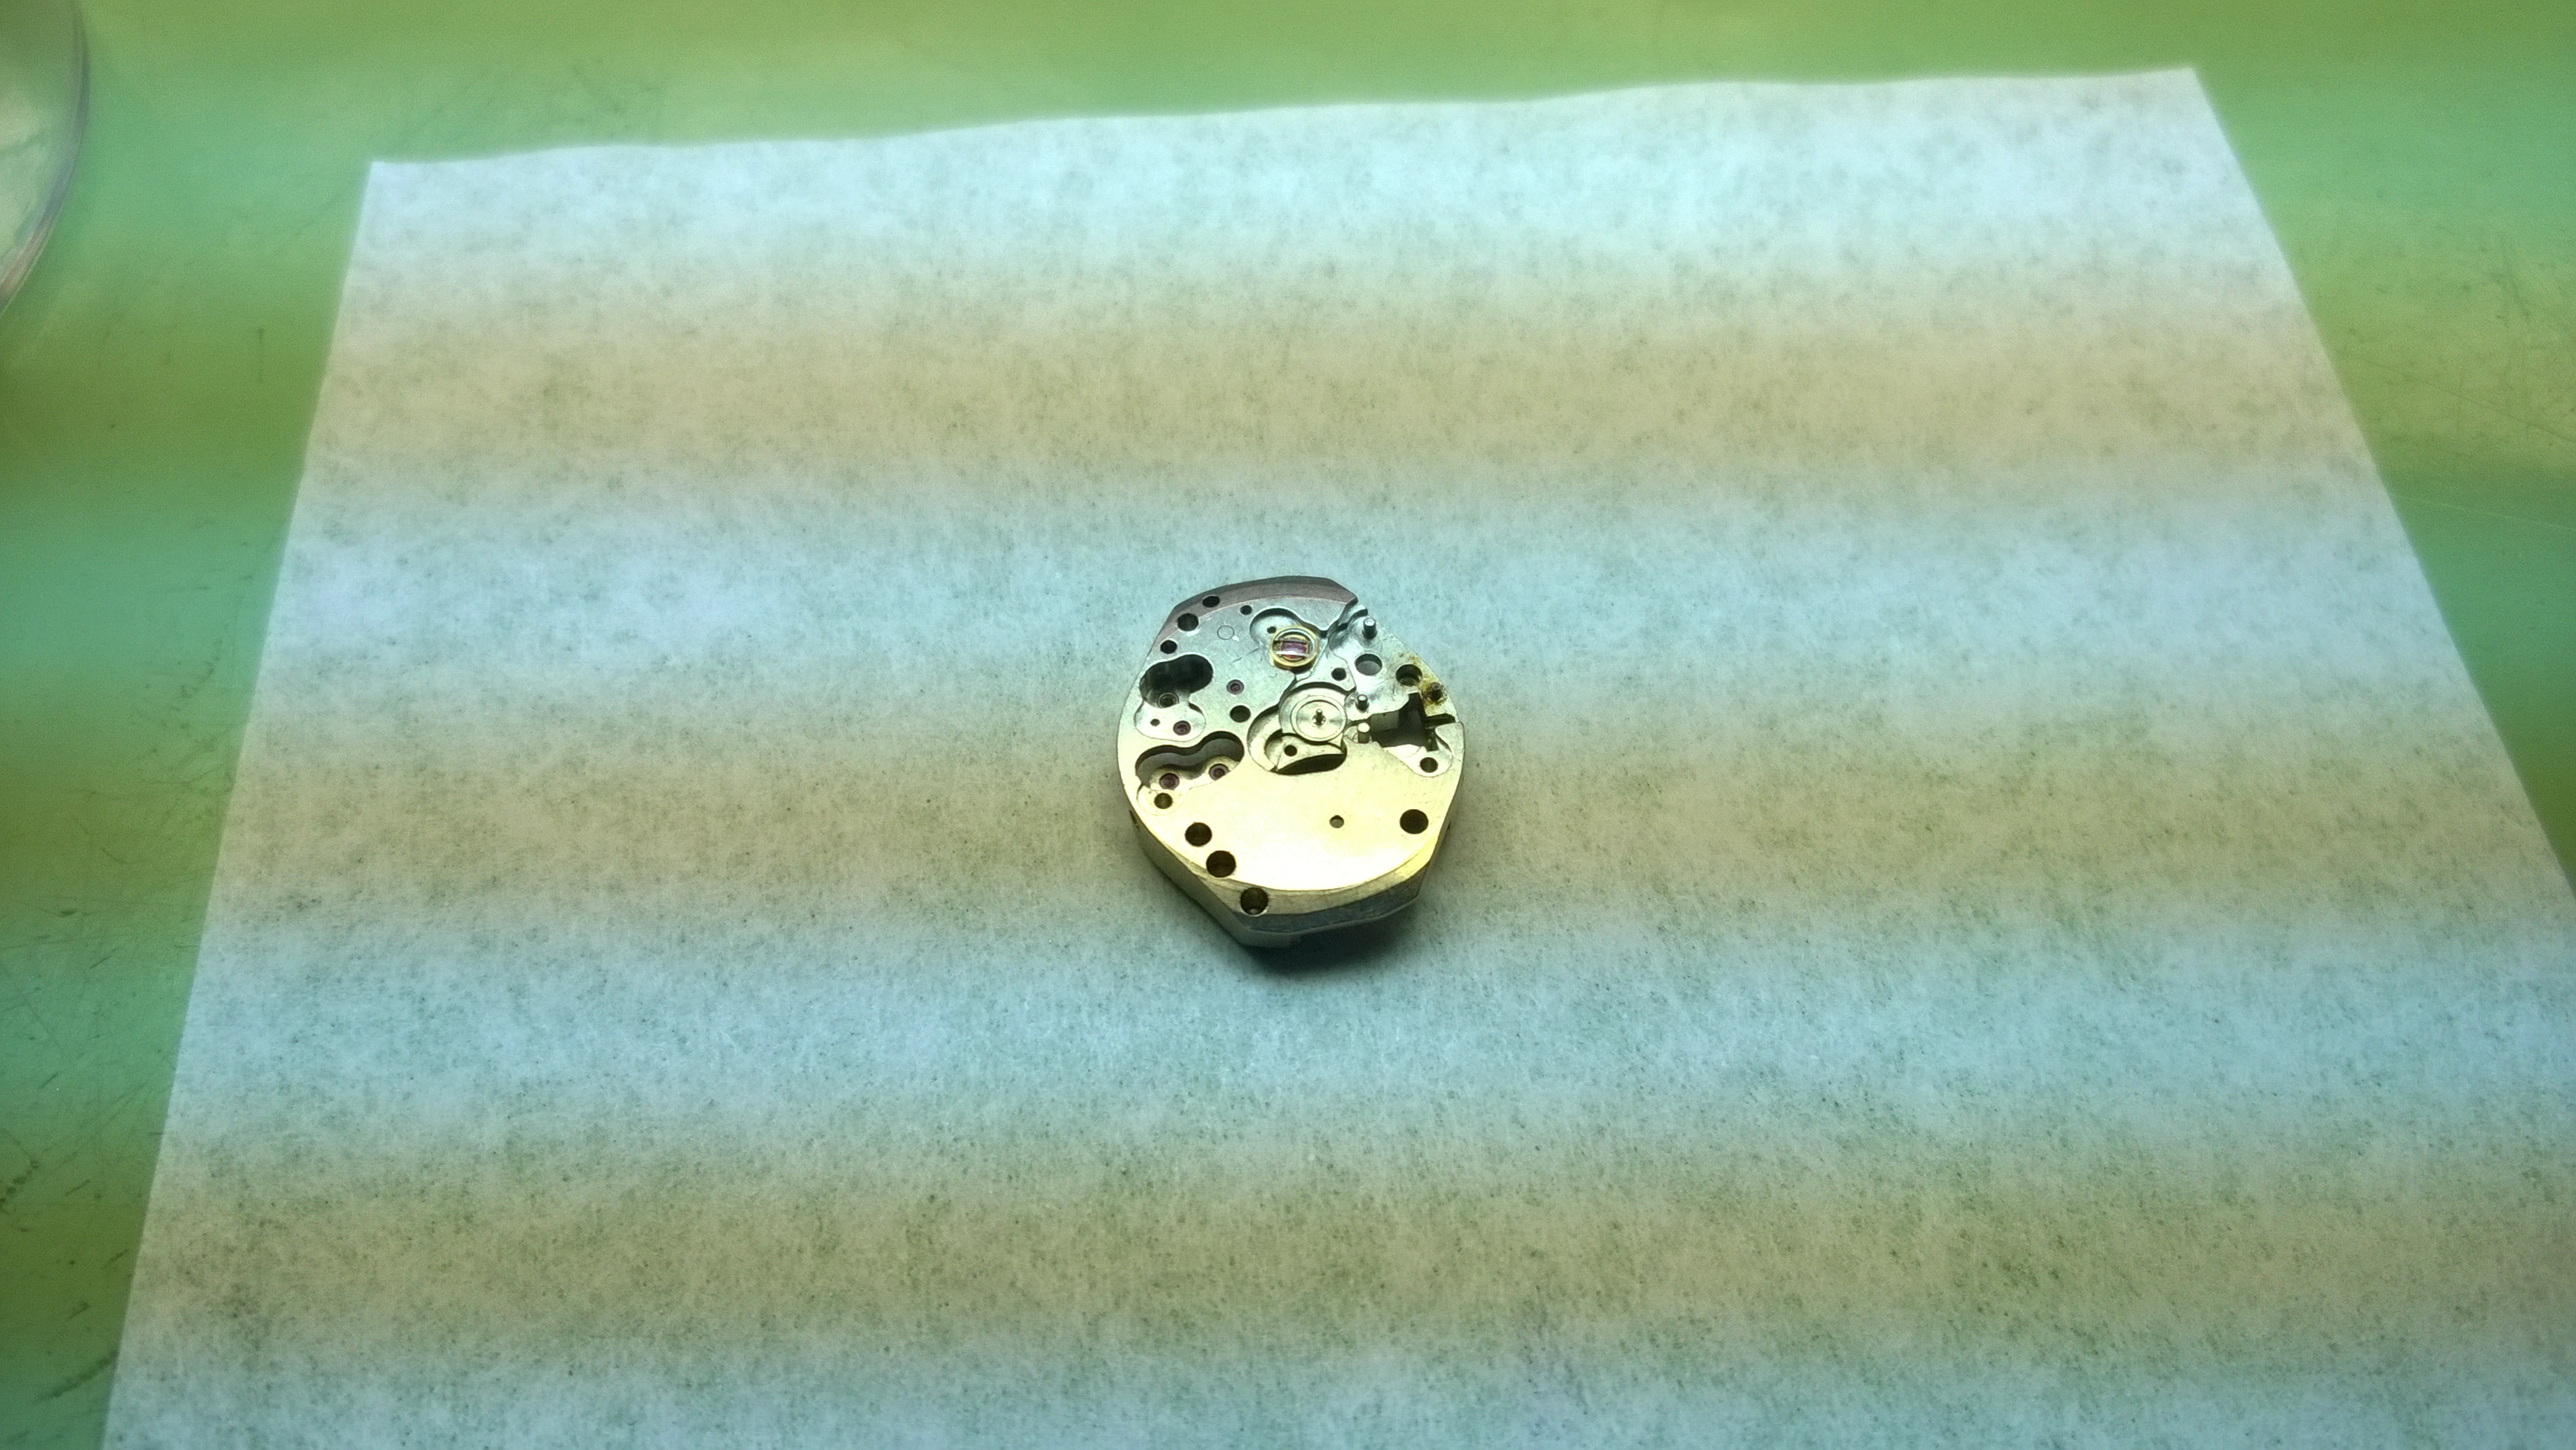
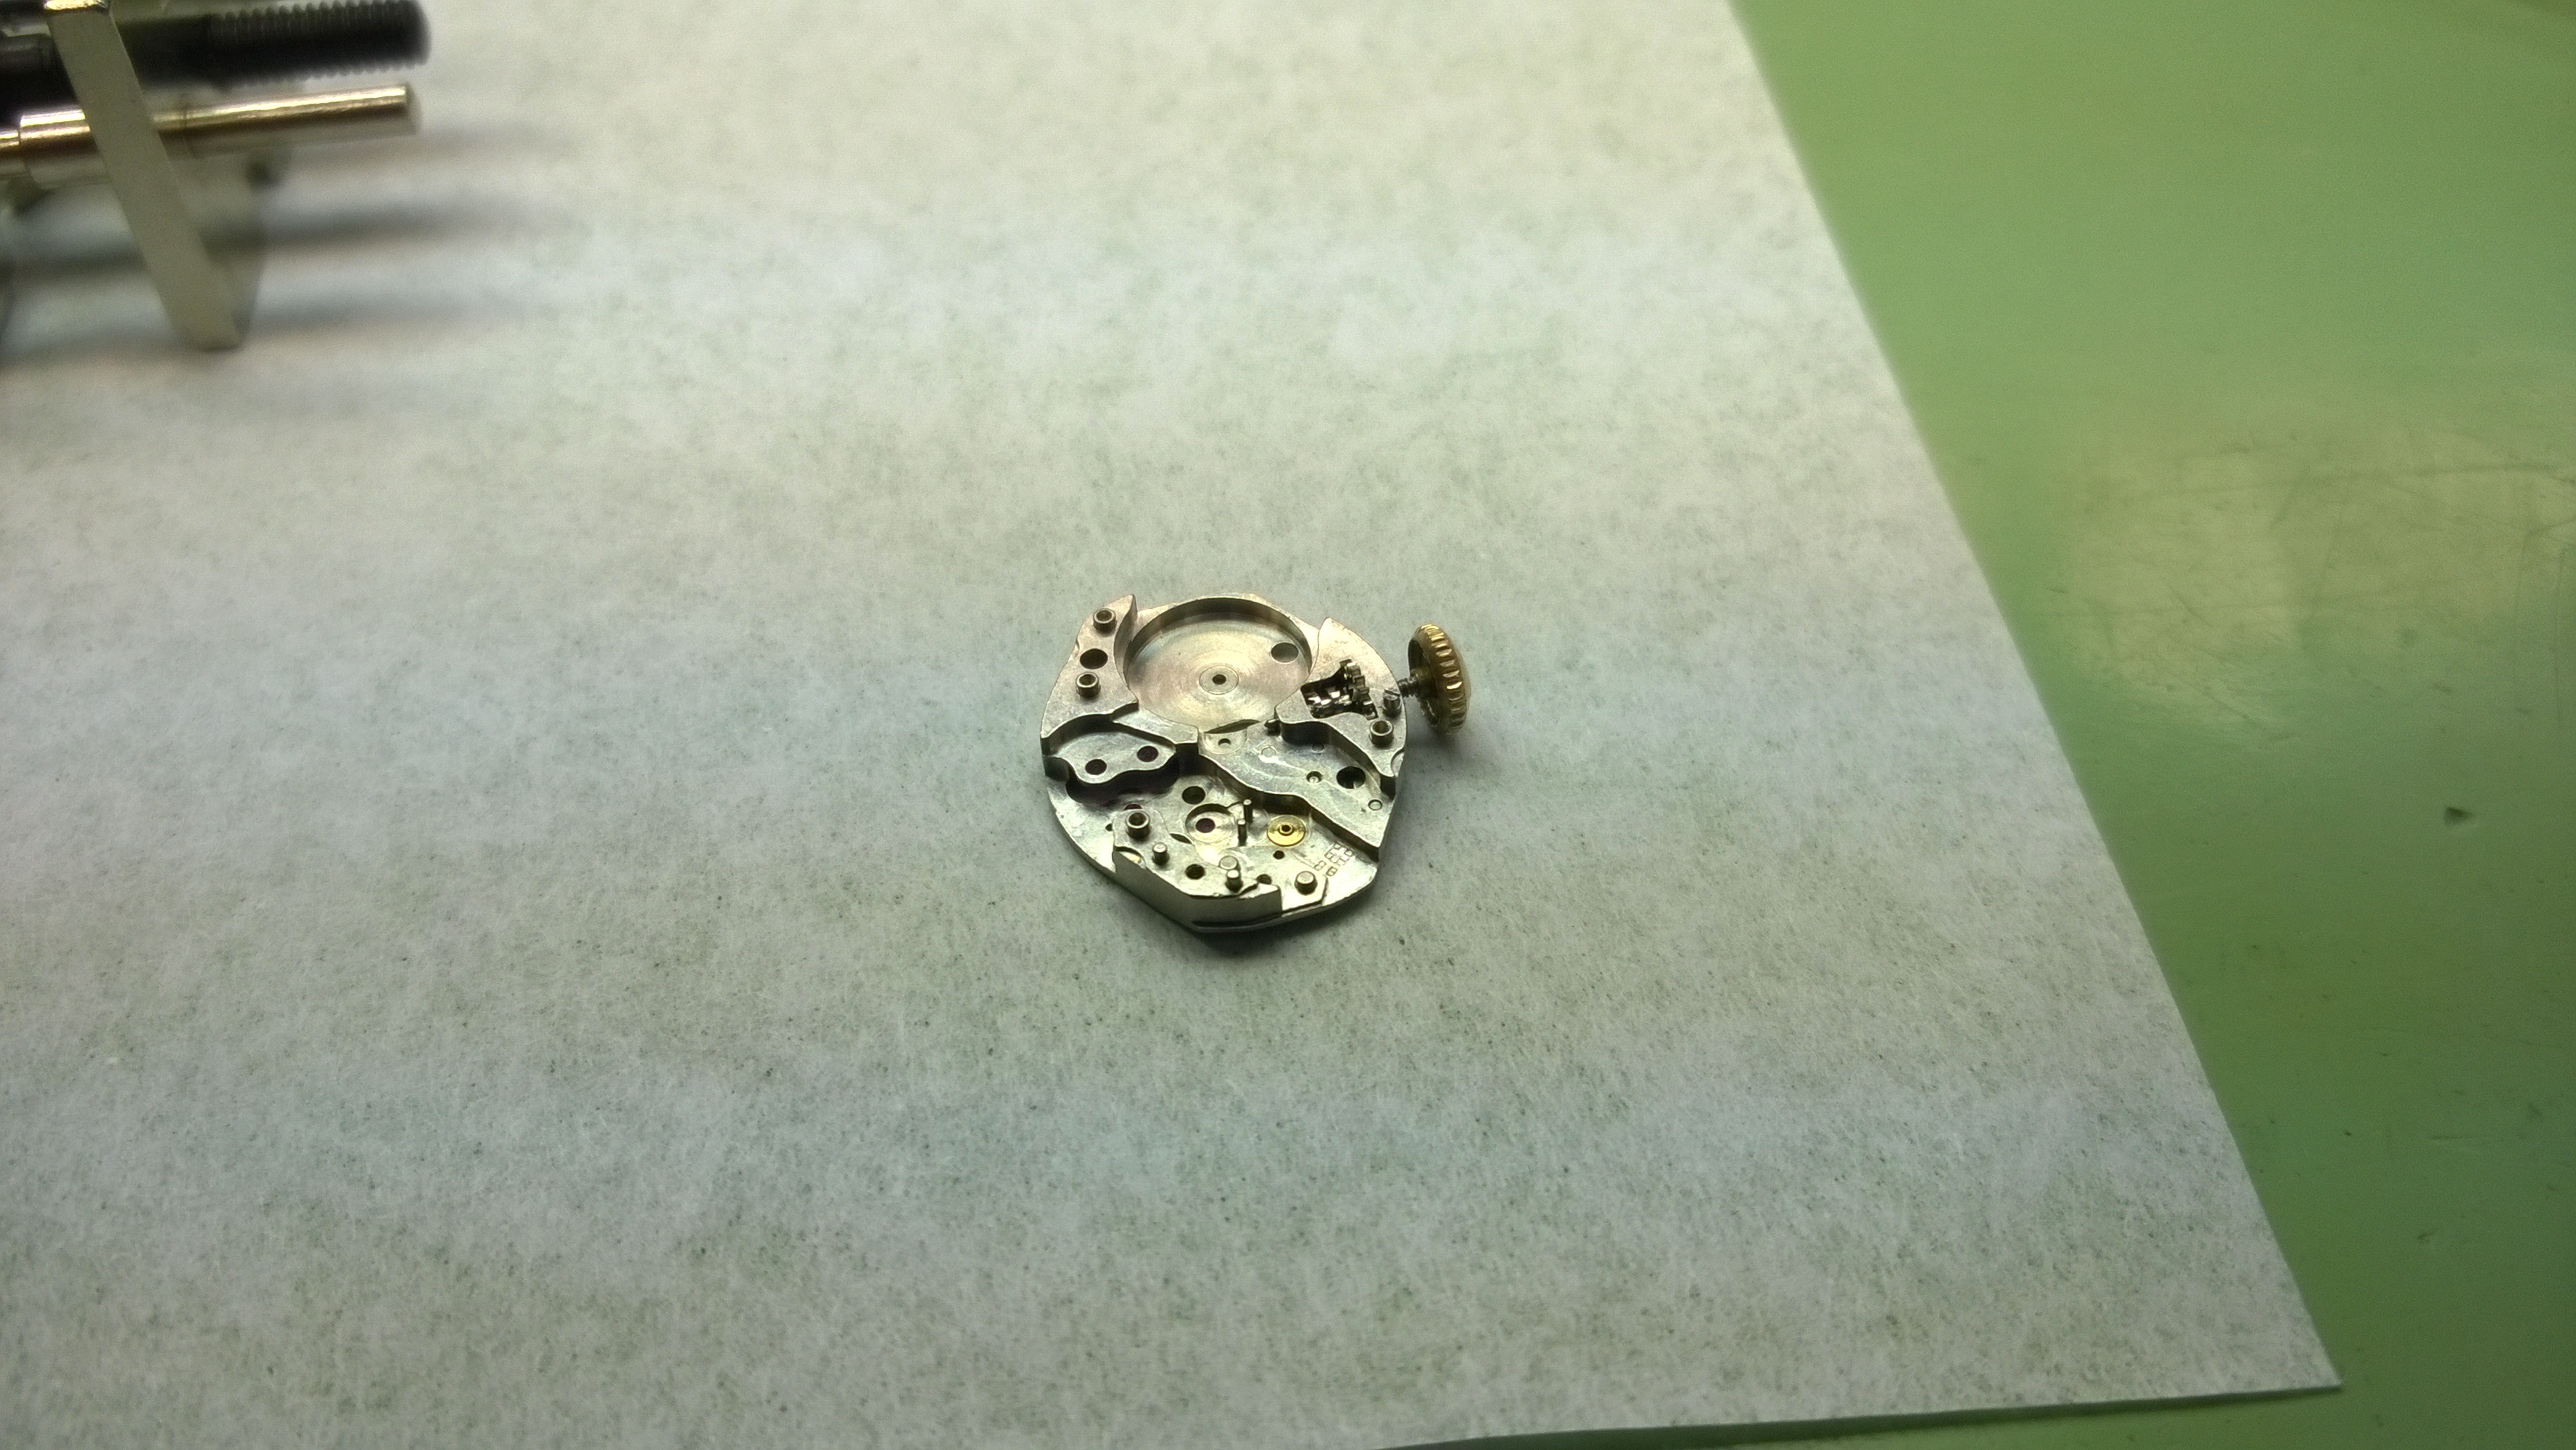
Finally! The stripped down movement. All that is left is to essentially reverse all the steps and put it back together.
With each watch I get, I am getting more and more comfortable with what I’m doing. I’m not saying that I’m perfect or awesome, but my hands are getting a bit more steady, I am tending to grab the correct size screwdriver for the screws that I need to use, and I am looking at my notes for the tear down/assembly process a little less and less. I’m excited to keep doing this, and I’m looking forward to what I’ll be doing next week.
Thanks for tuning in! If there is a picture in the Imgur Album that you would like more information about, or something that I wrote about today, let me know!
