In my last post from last week, I mentioned that we were going to be learning how to form Breguet Overcoils. Well, Wednesday and Thursday of this week was Overcoils only. I’m really glad that we spent as long as we did working with truing hairsprings because knowing how to work with Out-of-Round and Out-of-Flat bends is key to forming a Breguet Overcoil.
Before I get into the actual process of forming an overcoil, let me explain what an overcoil is.

from sinn.de (an awesome German watch company)
The image above is a hairspring that has had an overcoil put into to it. Below is a regular hairspring
The difference between the two is obviously the overcoil (the raised portion of the hairspring that comes up and across the rest of the coils).

The purpose of the overcoil is to help the watch maintain isochronism (the idea that a hairspring is able to perform each oscillation in equal time throughout the full wind of the mainspring) in its oscillations (when it expands and contracts/rotates back and forth). How does this do it? In a flat hairspring, when it is going through it’s oscillations, at its peak contraction, the coils are crowding together near the stud and the regulator pin (because the stud is anchoring the hairspring to the balance bridge, the coils are going to pull themselves towards that anchor point), and at the peak of expansion, there is a lot of force that shakes the balance wheel in its pivots. Remember, the hairspring gets its power from the mainspring (that power is transmitted through the gear train), so the watch will gain and lose time (in a flat hairspring watch) depending on the strength of the wind left in the mainspring. In a watch with a Breguet Overcoil, the hairspring is able to expand and contract evenly all the way along the length of the spring which will reduce the errors in time-keeping that are found in flat hairsprings.
There are tons of different styles of overcoils (over 200) that one can do, and the one that we learned how to do in class is called a Lossier Curve. The Lossier curve was designed by an L. Lossier (as best I can find) based off of the works of a Professor M. Phillips. Phillips published his ideas after reading the theories of Abraham Breguet.
The Lossier curve has five sections (and corresponding degrees associated with those sections) that are distinct to it. I will detail the step-by-step process with the pictures I took.
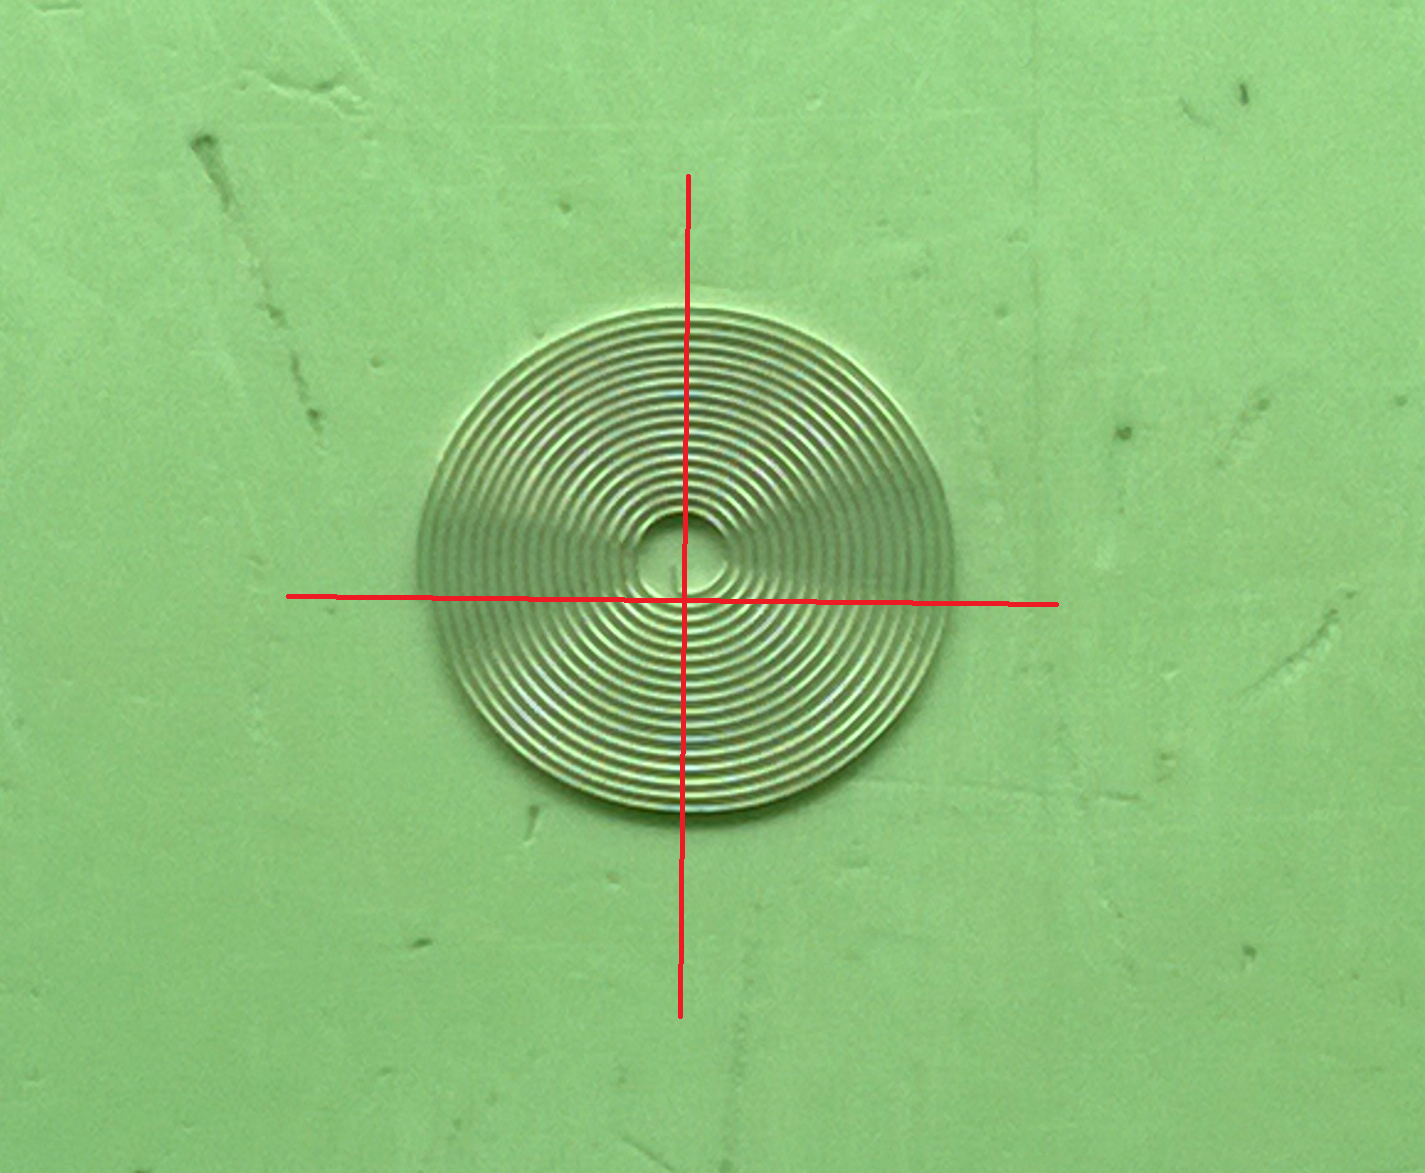
First, you start with a flat hairspring. I have divided the spring into 4 sections (not perfectly, but enough to illustrate the process). Starting at the free-end (on the left), you travel 270° clock-wise (or anti-clockwise depending on the direction of the spring) and that is the point of the first bend.
 Grasping the spring at that point with a pair of tweezers, you press it down into the bench-top or a block of soft wood and apply gently pressure to get a curve of about 30°.
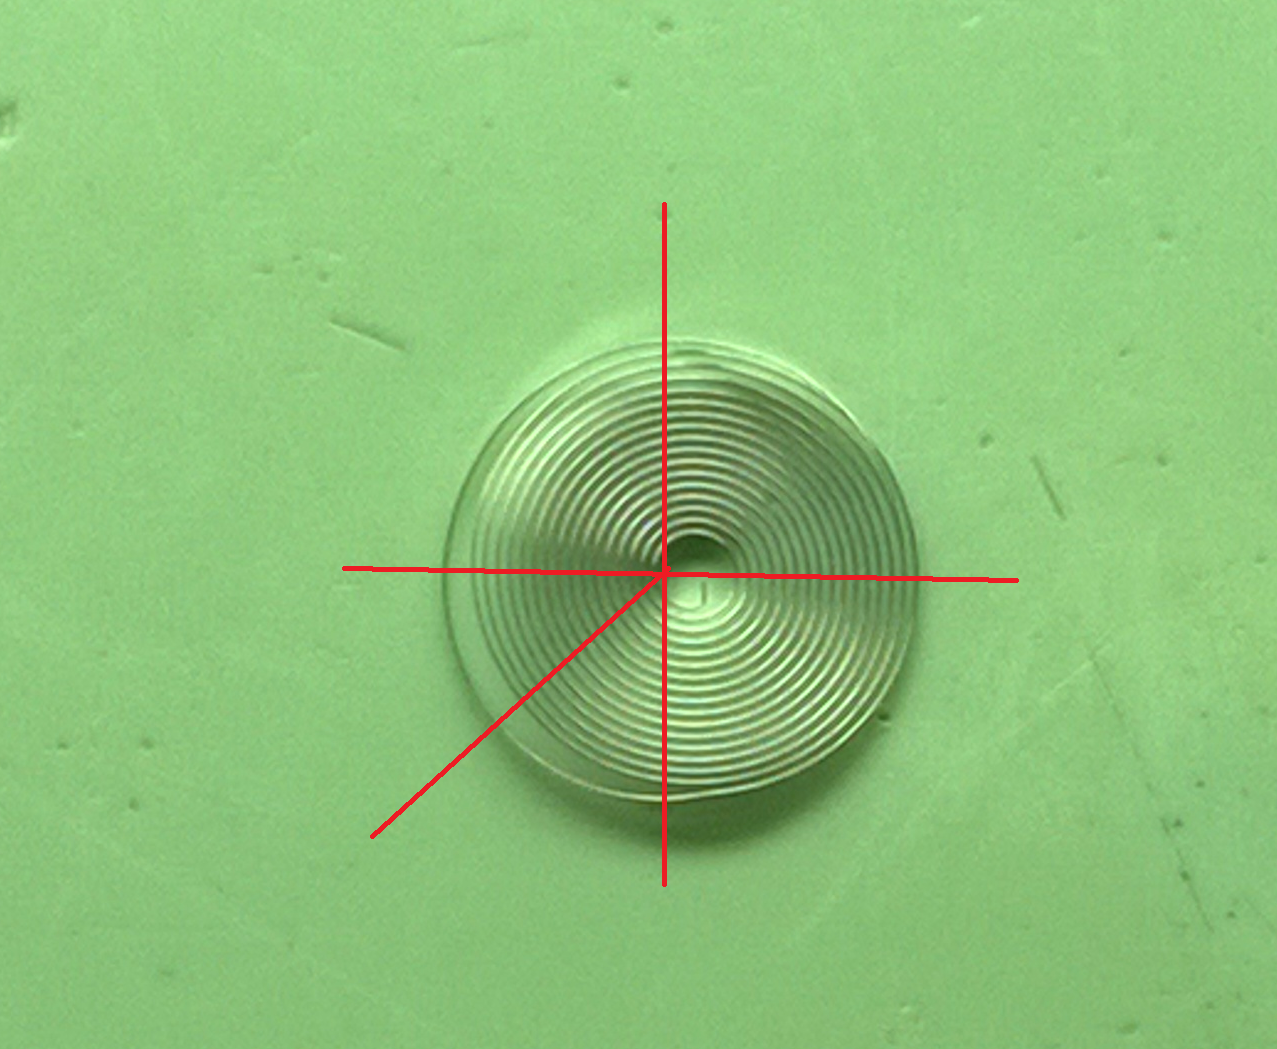 You turn the spring over, and travel from that first bend 45° along the spring. That 45° point is where the second bend will be. This will be the spot where the spring levels off.
 Overcoming the parallax effect is important when working with overcoils. While it doesn’t look fully parallel, I can guarantee you that the spring is indeed parallel and level.
 Using the skills that I worked on and started to develop over the past couple of weeks, I formed this coil by going along the spiral for about 22° before I started shaping the coil inwards. The goal is to get the free end (where the stud will be) as close to the first curve as possible creating a new 360° coil (from curve to end). To do this, I had to slowly add a bunch of out-of-round bends to get it closer and closer inwards (while doing the opposite if I adjusted it too much).
We aren’t going to spend a lot of time right now with overcoils, this was just the introduction, but it gave some good insight as to some of the different things watchmakers do in the pursuit of accuracy. I really enjoyed this process and look forward to doing it some more in the future.
Next week, we are supposed to start learning how to overhaul a watch, which I believe is cleaning and oiling. I’m pretty psyched about that.

Thanks, I learned quite a bit how a mechanical watch works by following your blog. This horology field is fascinating, squeezing such tiny parts to make a whole movement!