I don’t have much to say about this past Monday. More strip-downs, cleaning/polishing and re-assembly. Mr. Poye did give me an interesting movement to work on-it was a Chinese made one. It was missing its set lever screw, so that made things a little complicated. The set-lever interacts with the winding stem (and crown) and helps engage the winding stem with the clutch. There is a screw that holds it into place, and in turn keeps the stem in place. A lot of watches are designed where you need to remove the stem before you can remove the movement. By loosening the set lever screw, you are able to release the tension that keeps the lever engaged with the stem. When the screw is missing, it poses some difficulty with the assembly, but not enough to make it impossible. The real issue is you aren’t able to go between the winding and setting position with the stem.
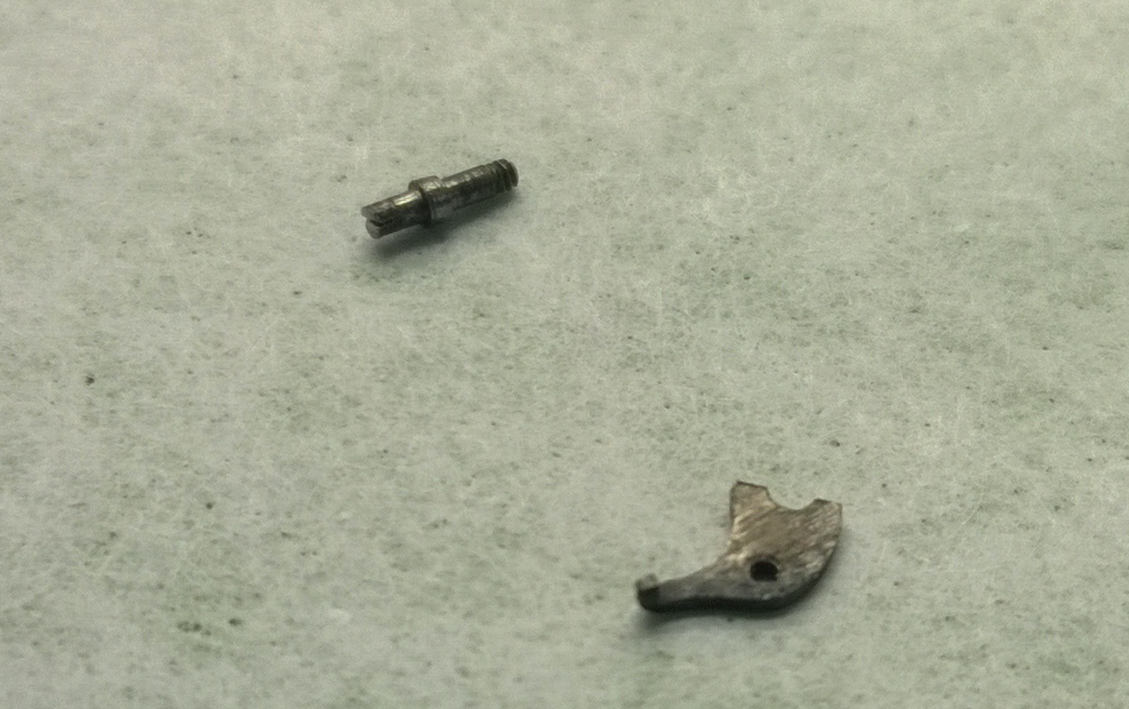 Here is what the set lever and screw looks like. The notch that you see on the left of the lever sits in a spot in the stem. When the stem slides between positions of winding and setting the lever rotates around the screw and engages the setting mechanism. Here are a few pictures from the watch tear down.
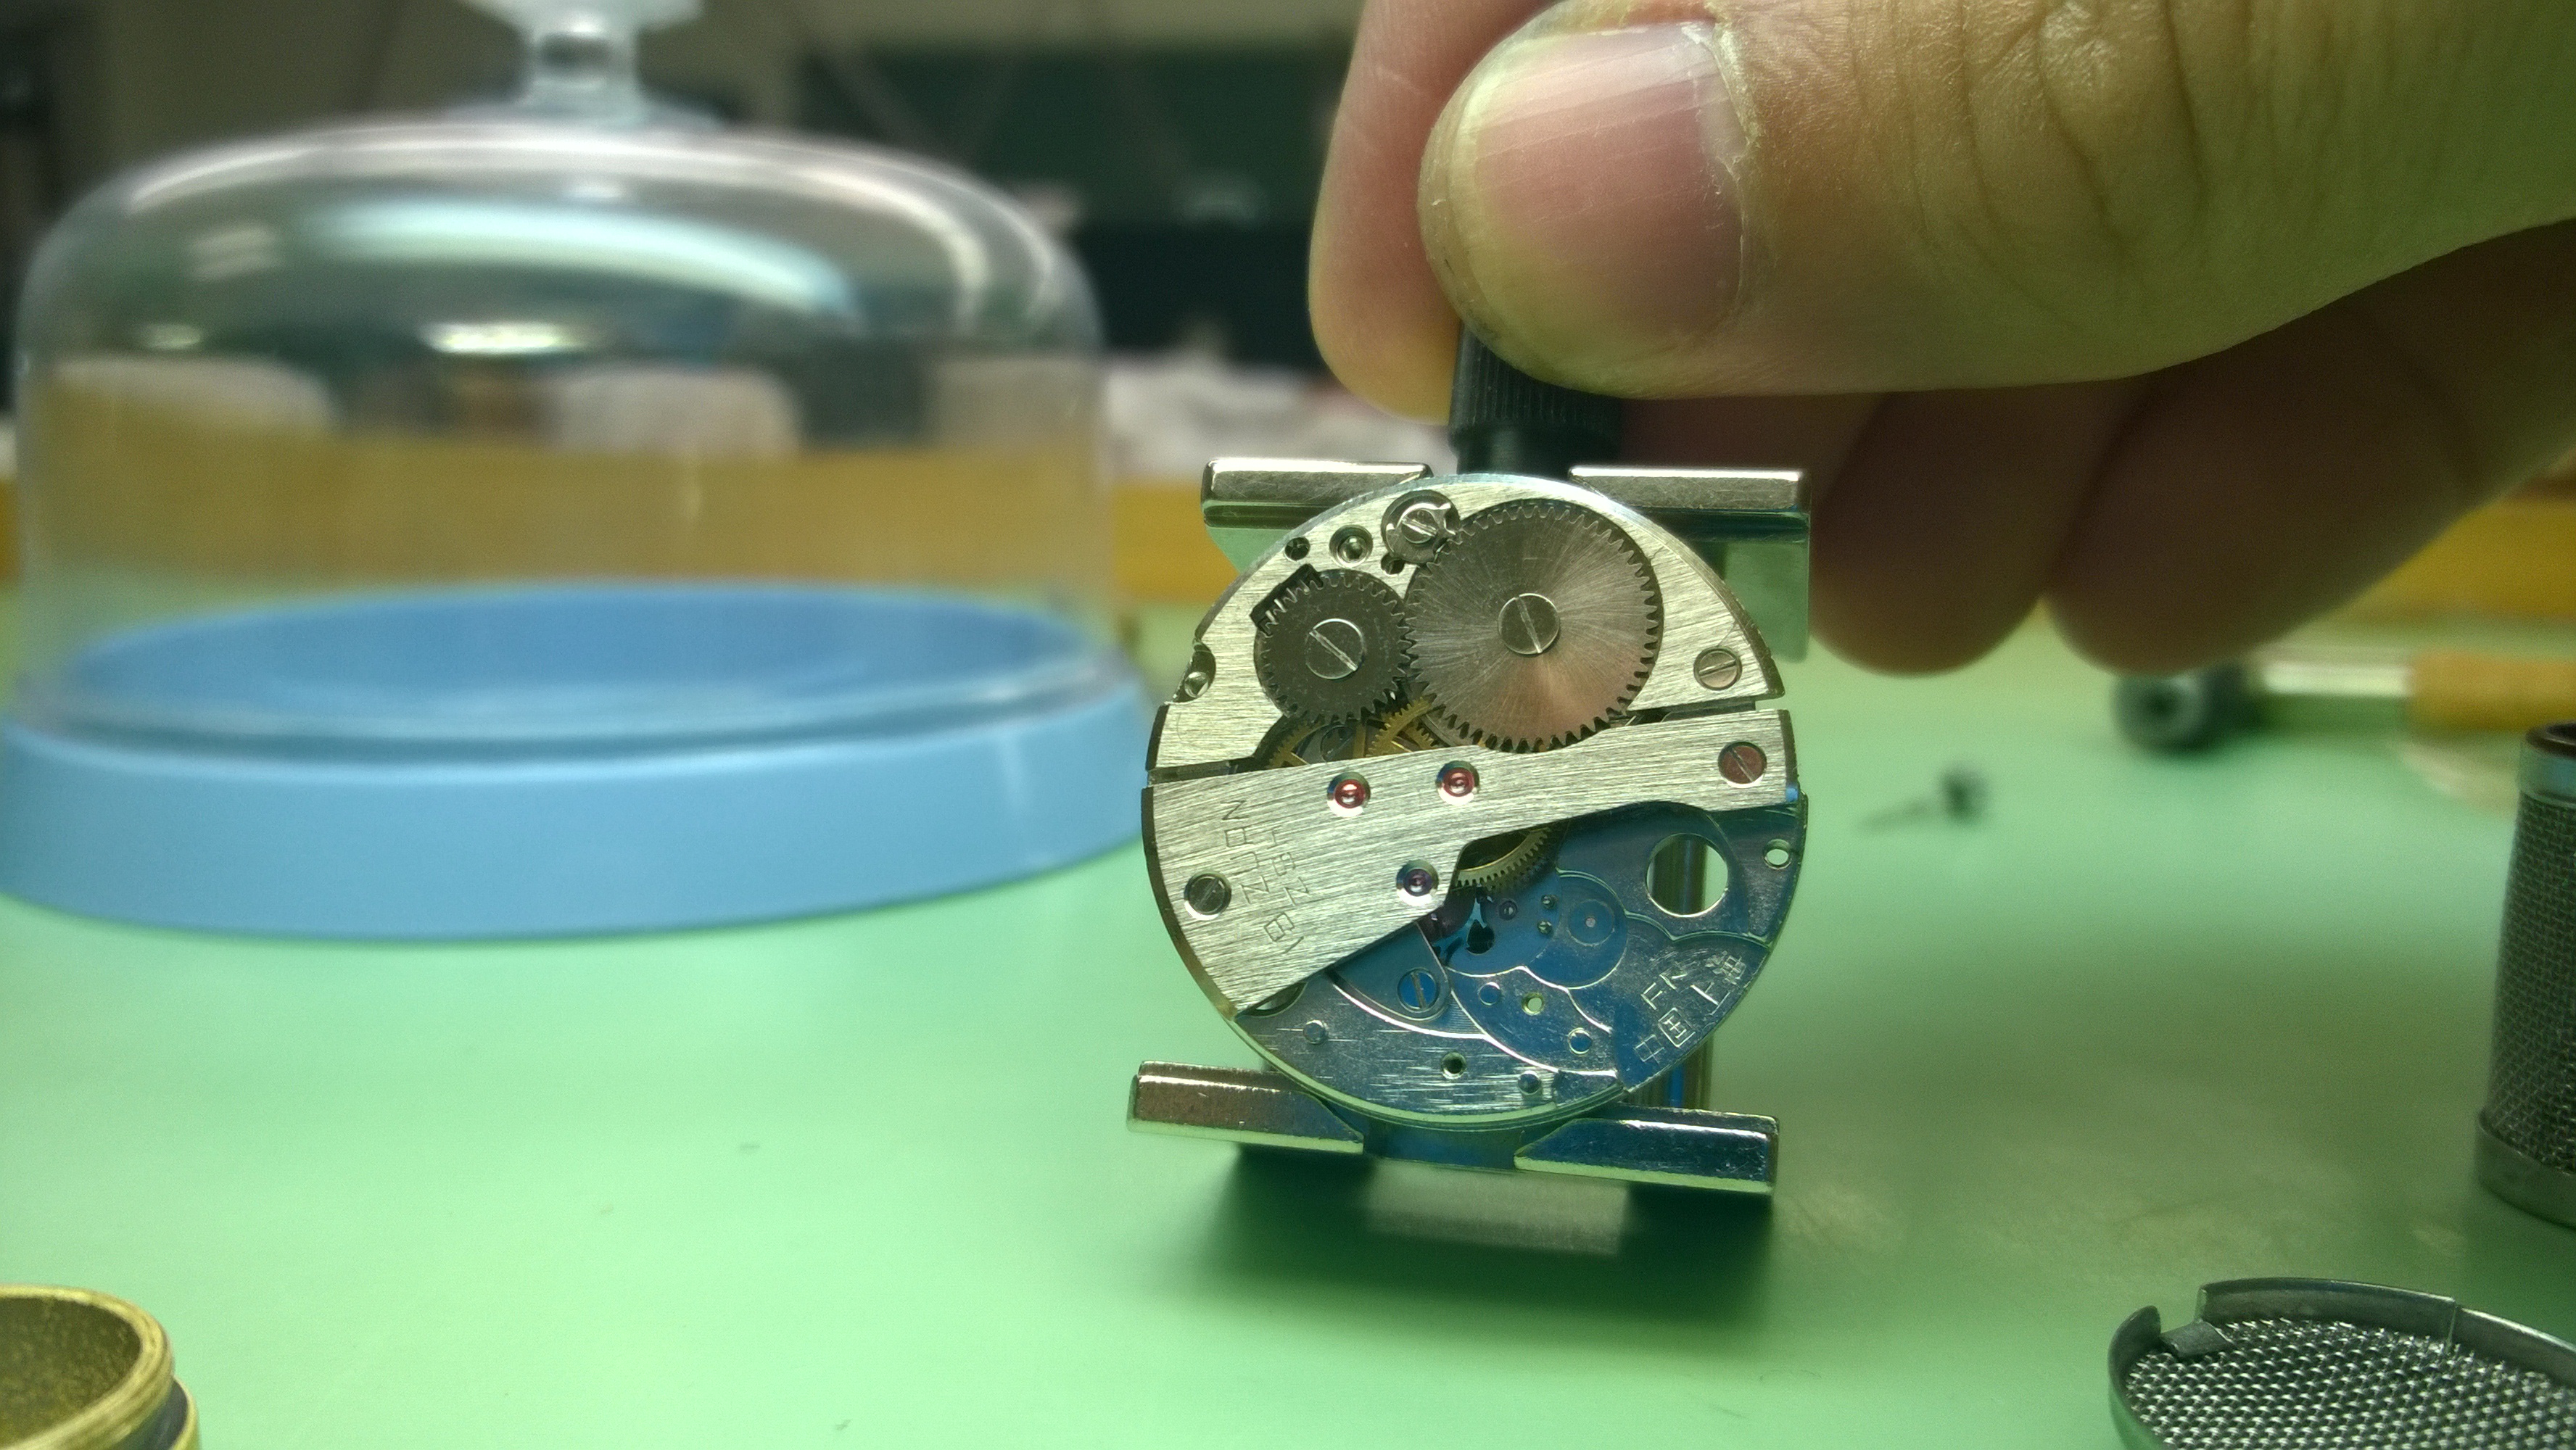
Here is a picture of the movement with the balance bridge and pallet removed. On the gear train bridge, you can see that it says 19 Zuan. That is the same way as saying 19 Jewels. 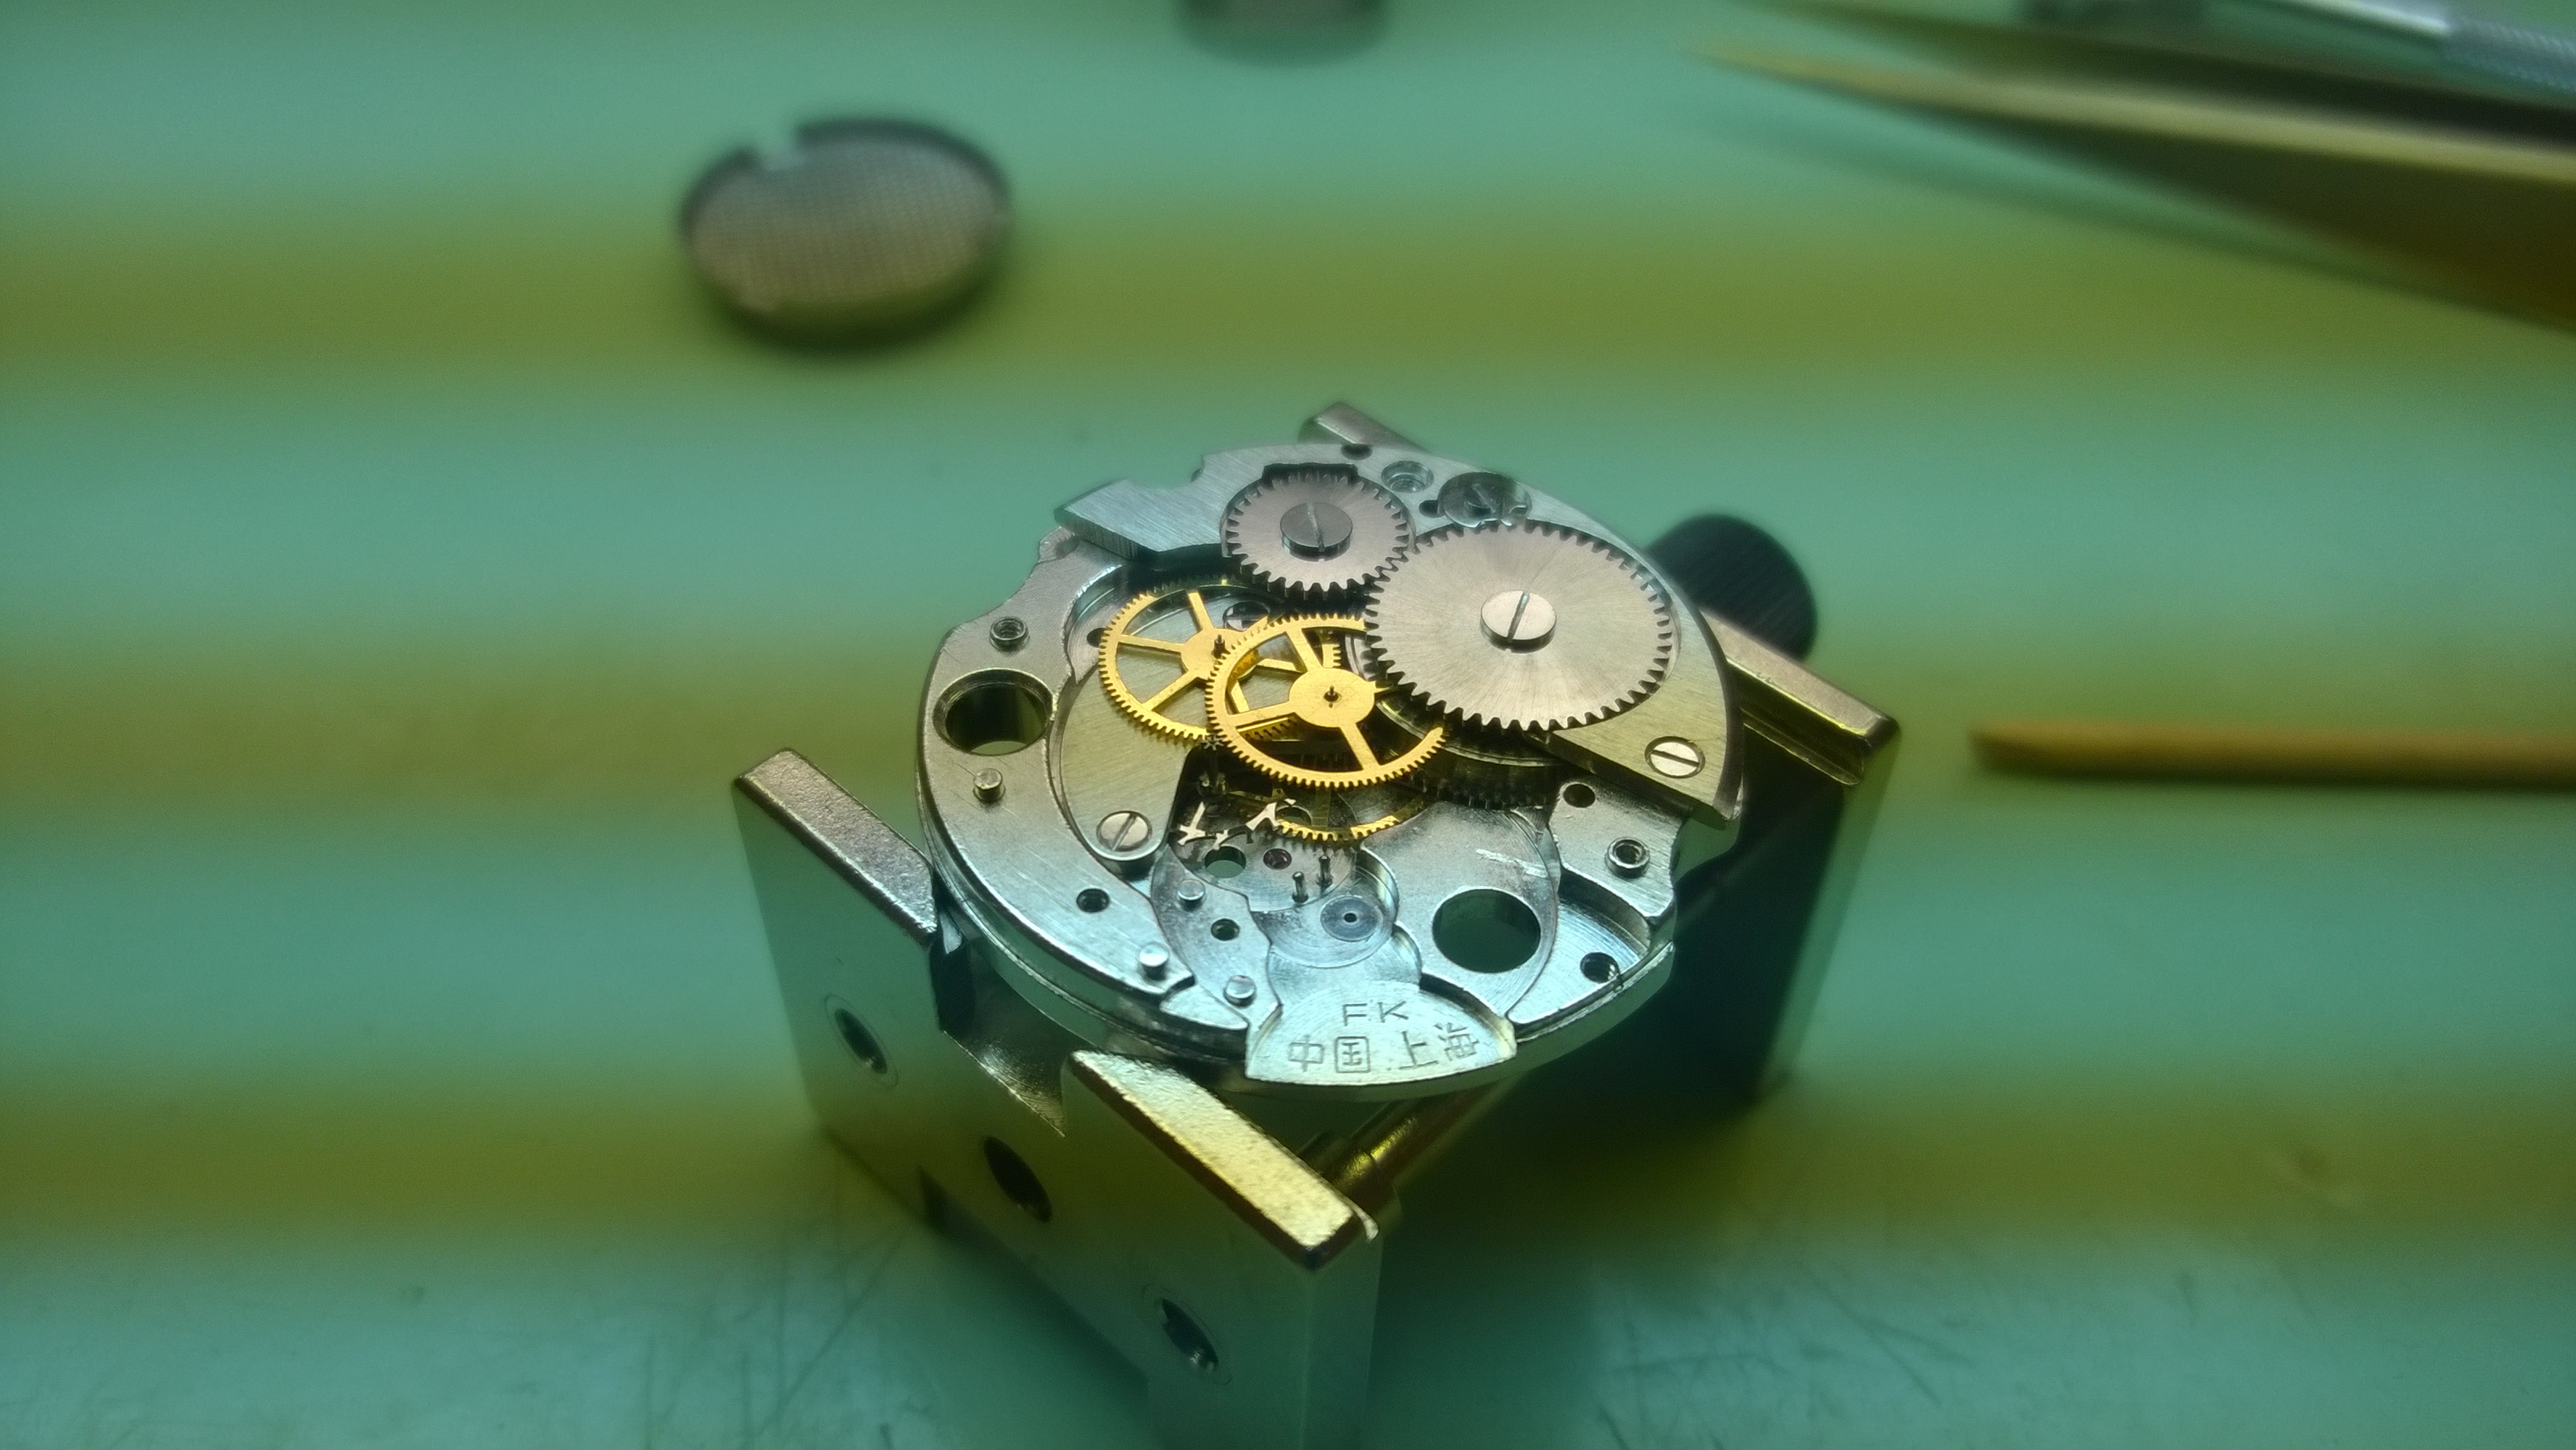
An interesting architecture for this movement. This watch had a center sweep seconds hand, so the 4th wheel staff goes through the center wheel so the seconds hand has something to ride on. The 4th wheel is between the ratchet wheel and barrel. 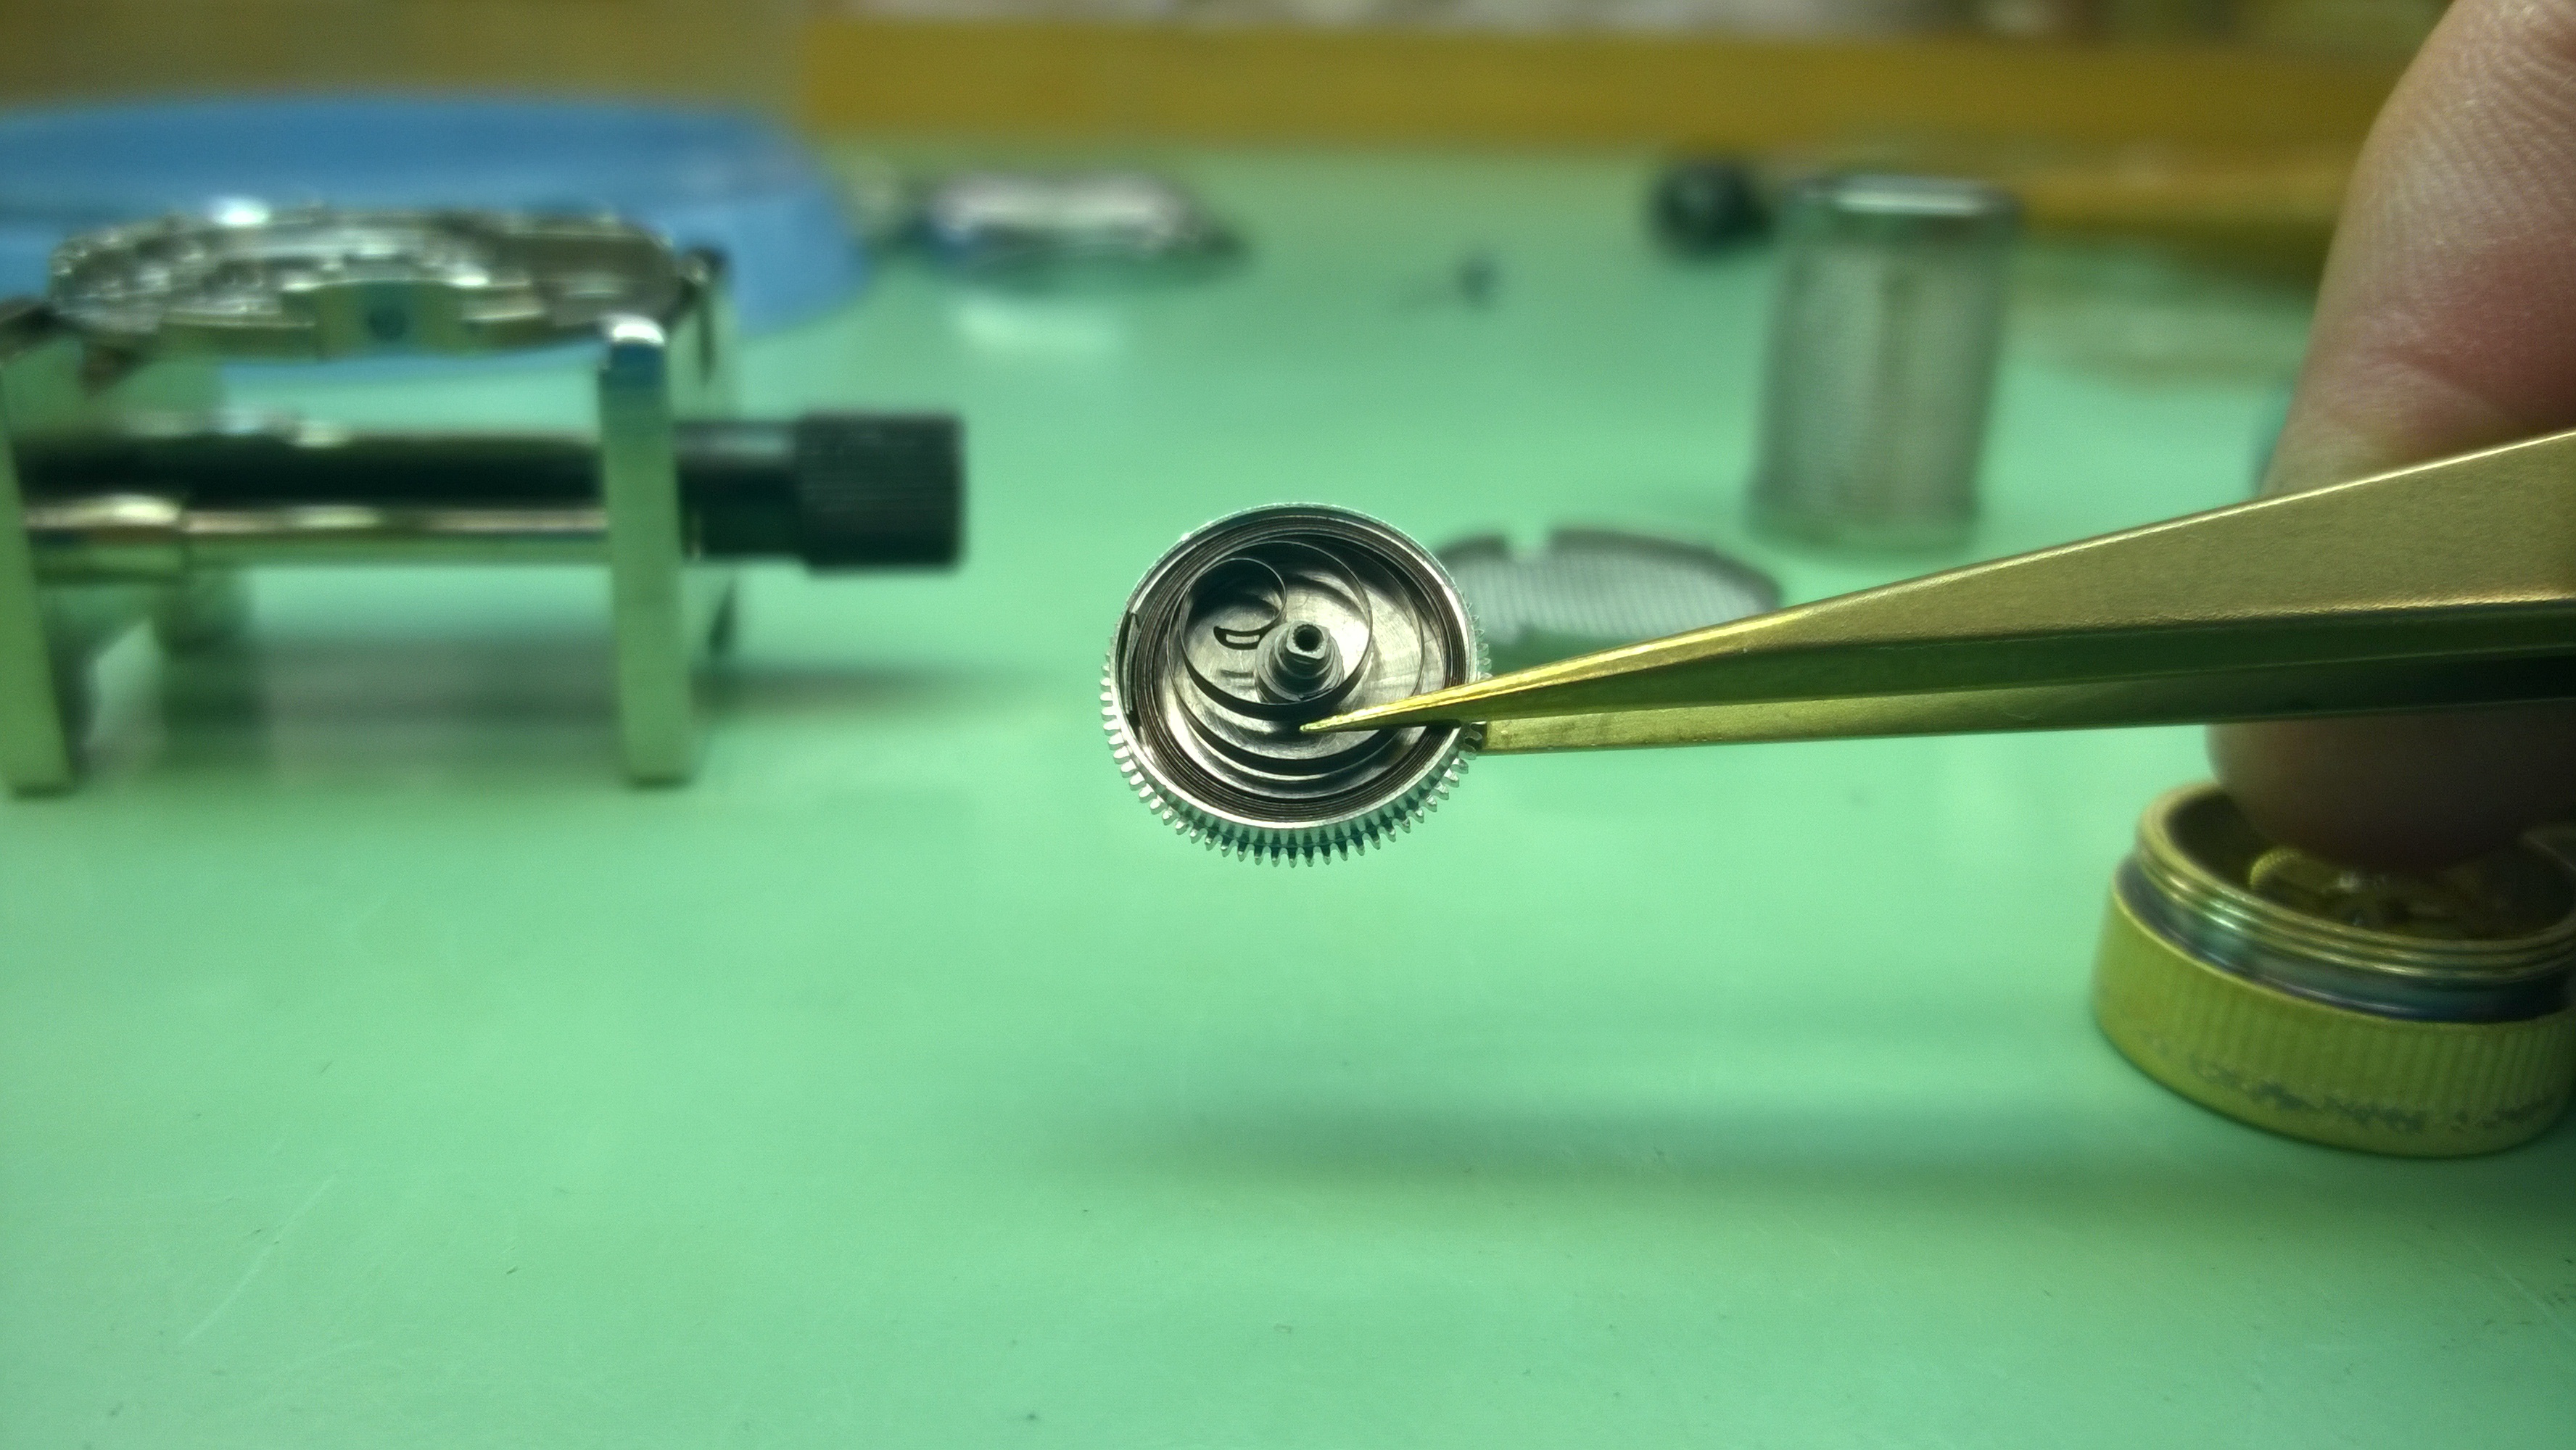
Another issue the watch had was that it wasn’t holding a wind. The mainspring was put in incorrectly so the arbor kept slipping out.
Today was pretty awesome. I got the opportunity to make a couple of tools that I will be using when working with balance wheels. The first tool that I made is designed to be used to lift the collet up along the balance staff. The second tool is designed to fit into a slot in the collet and rotate it around as needed.
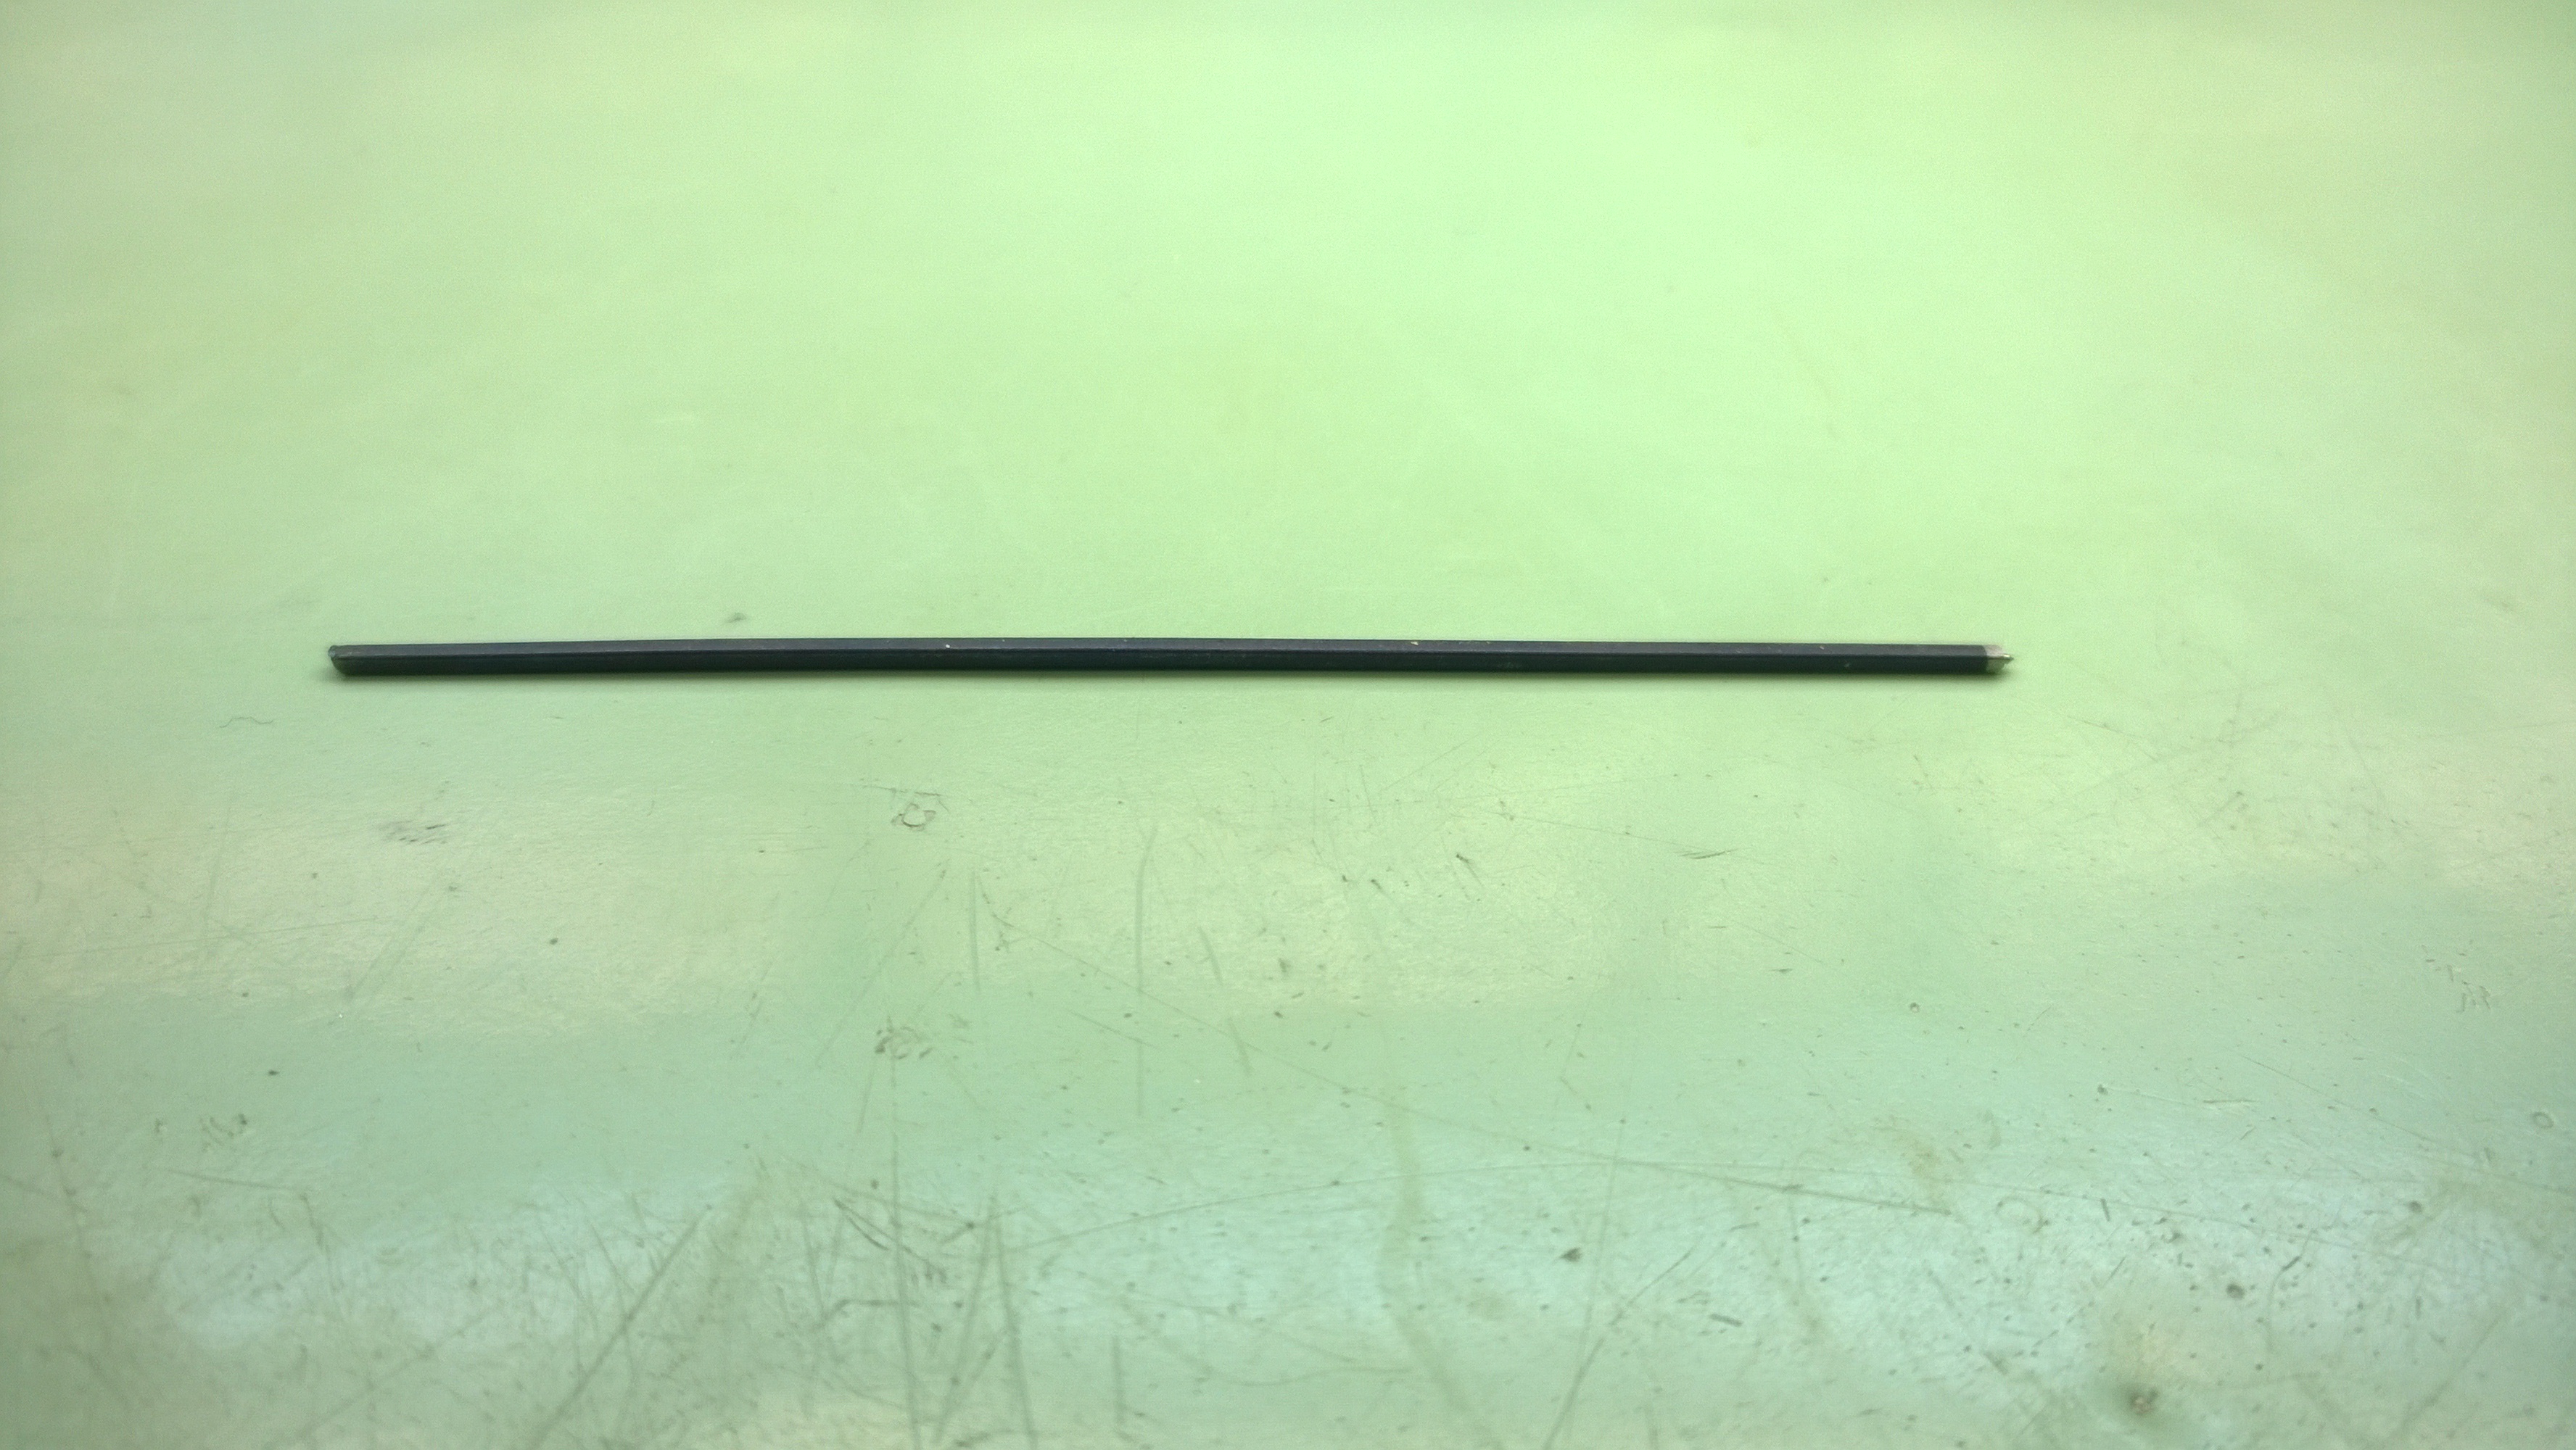
To make the first tool, I had to take this square steel rod and file it to two different shapes on each end. 
The rod on top was what I was aiming for in terms of shape and length. 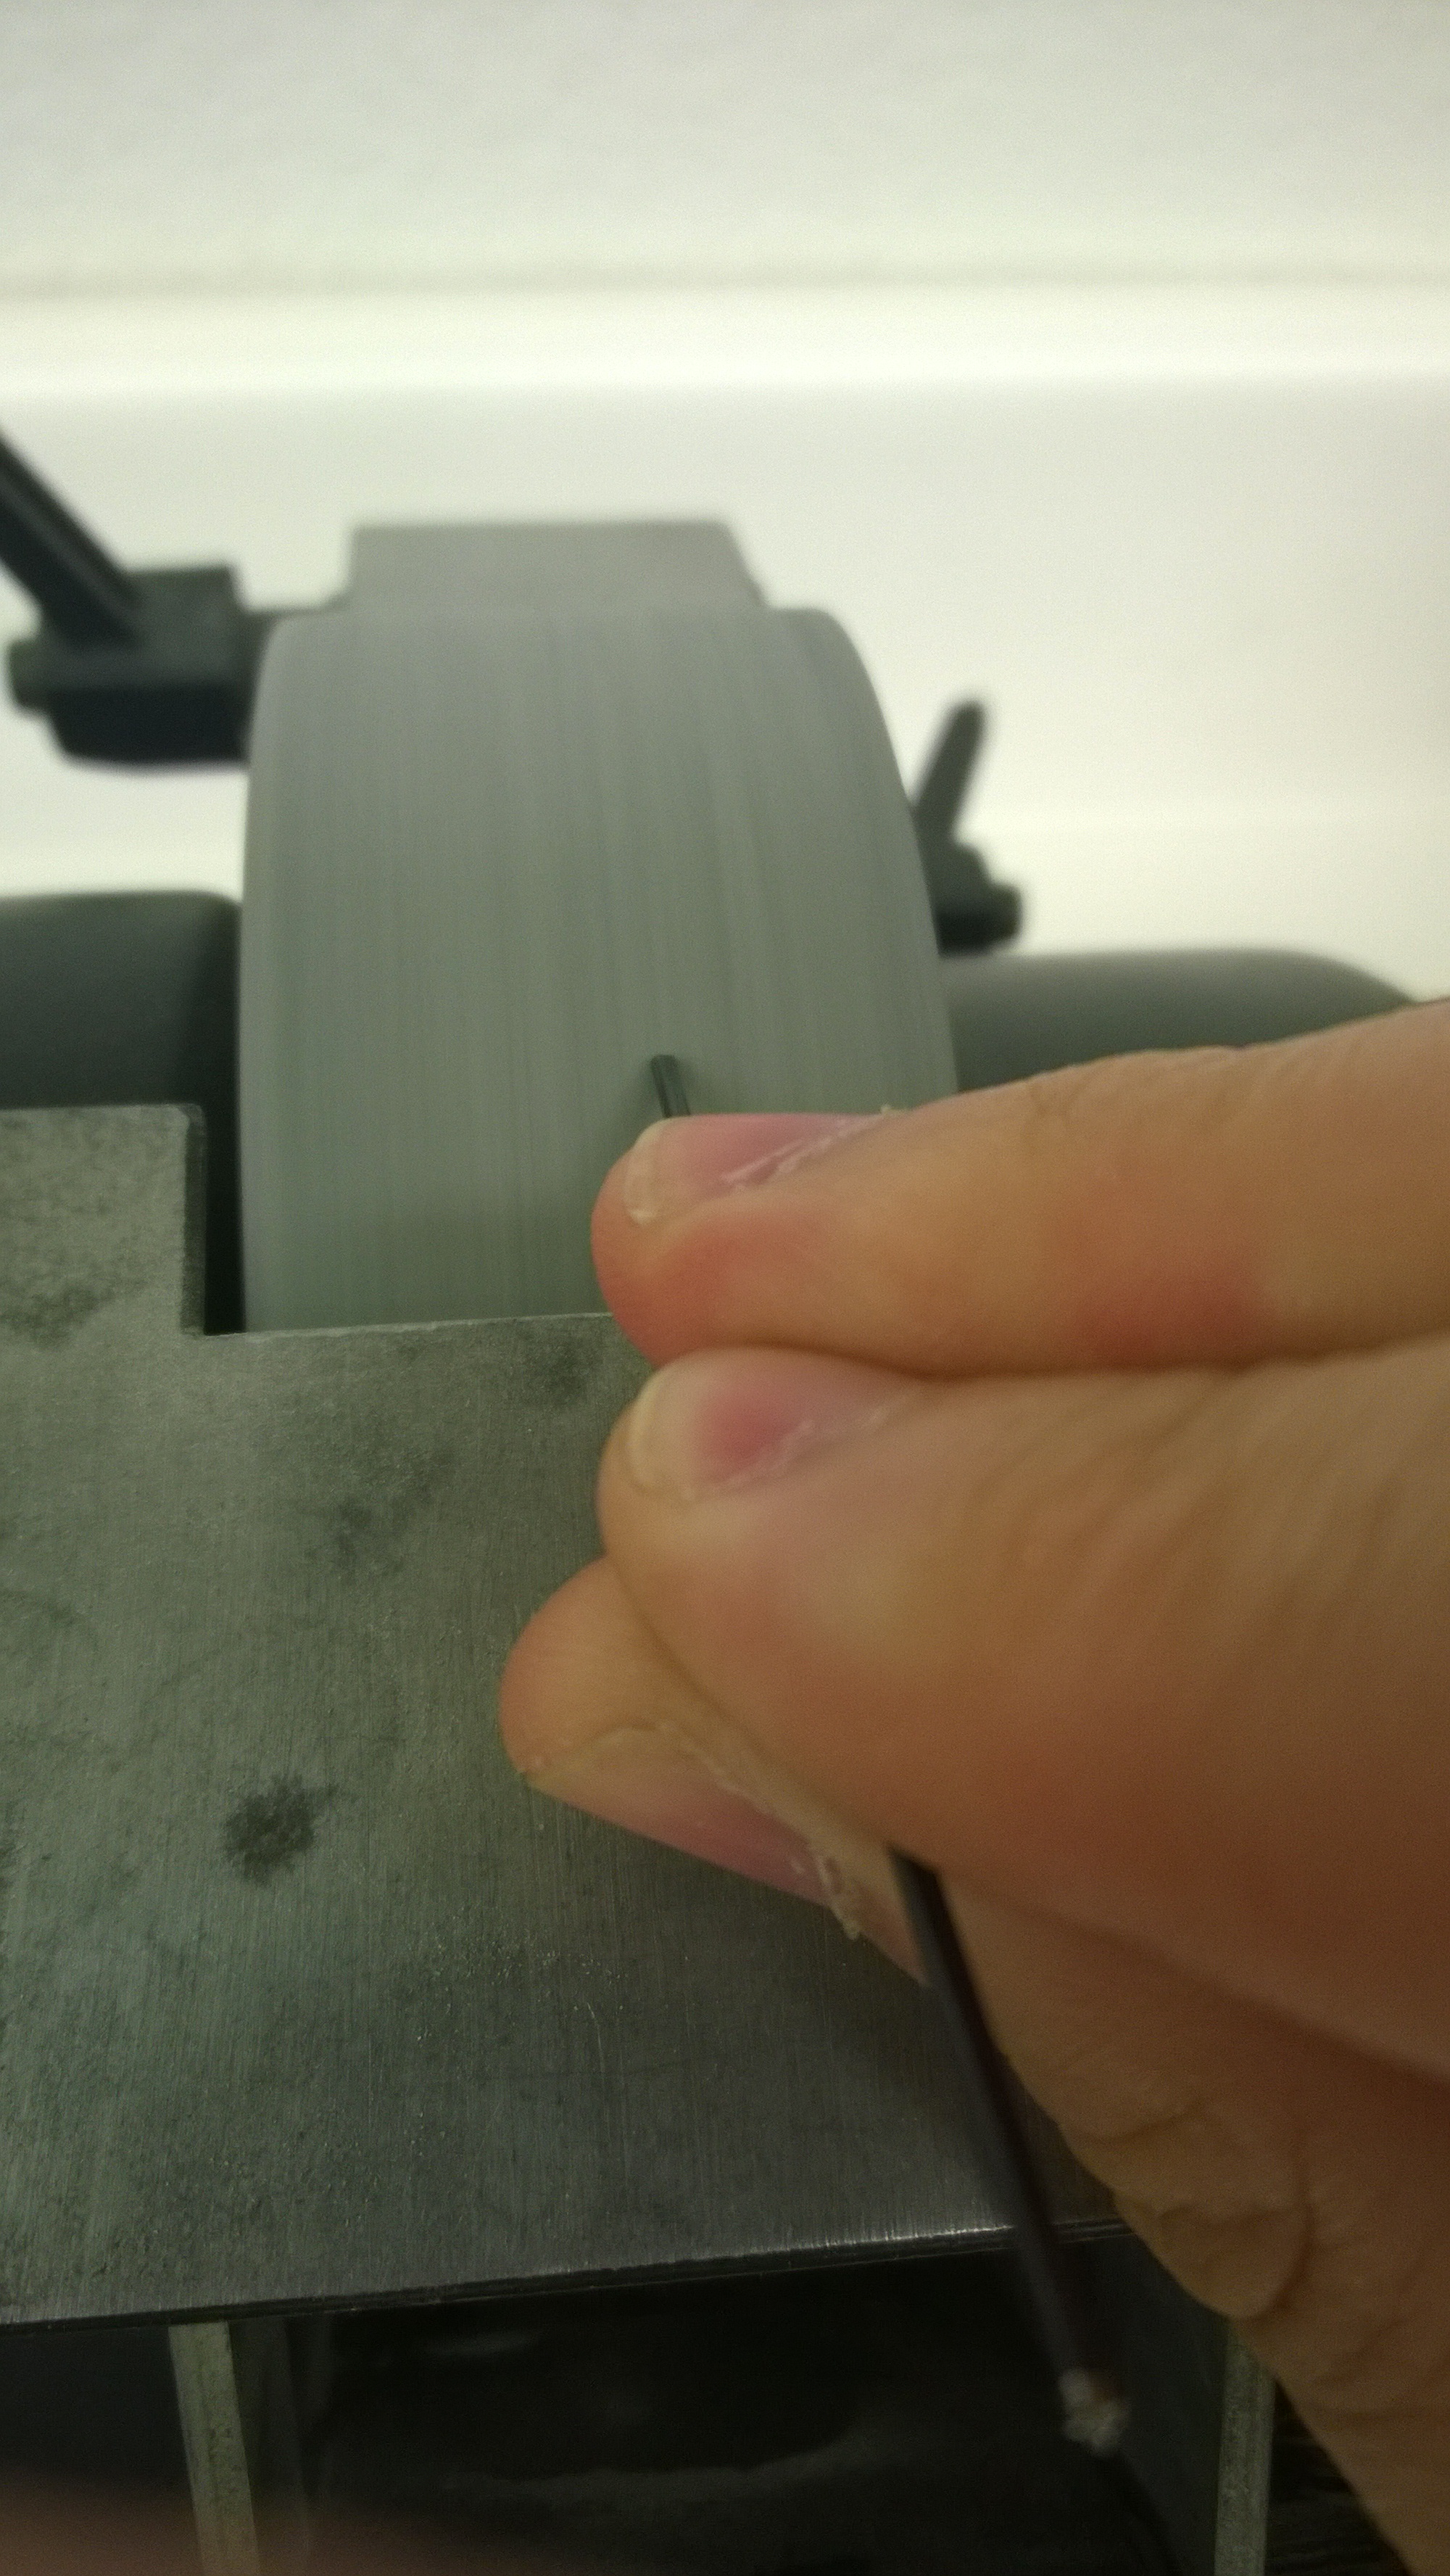 To get the rough shape and length I used a grinding stone.
 One end of the rod had to be turned into a drill. Once the basic profile was made with the grinder, I finished it up on an India stone.

To get the drill profile, you hold the tip of the blade on the stone, angle towards you about 15-20°, then to the right another 15-20° and drag it across the stone. After making a few passes, you rotate the rod around 180° and drag it across again. If you did everything right, you will have a sharp tip that is angled in opposing directions. It gets finished off on some emery polishing paper.
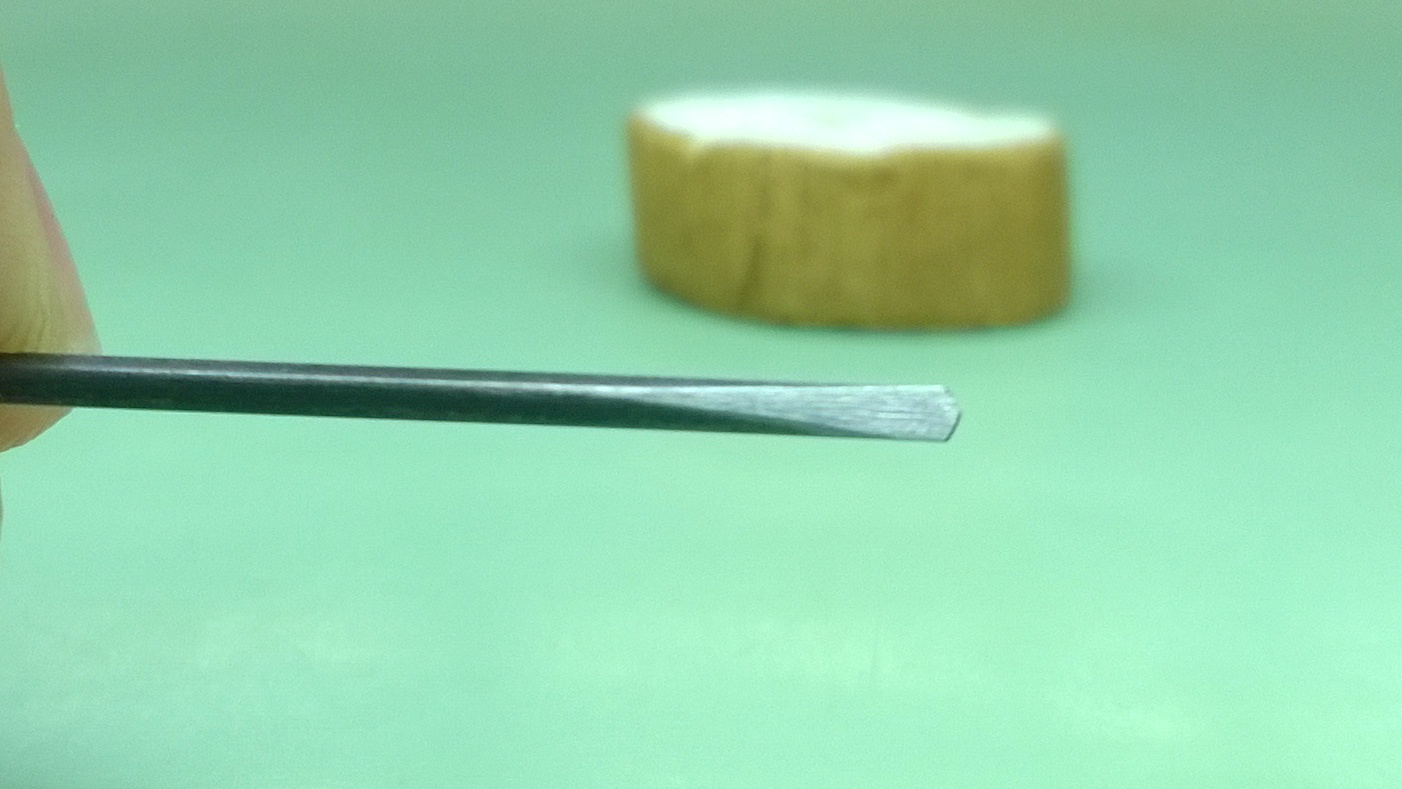 I wasn’t able to get a good shot of the tip from straight on, but here is the profile of the drill side.
The other side of the rod was ground flat on one side and had a slight sloping angle on the other. This was pretty much pure grinding work with a little bit of India stone and emery paper to put the finishing touches on it.
 Obviously the angled part is what slides underneath the collet and is used to work the collet up.
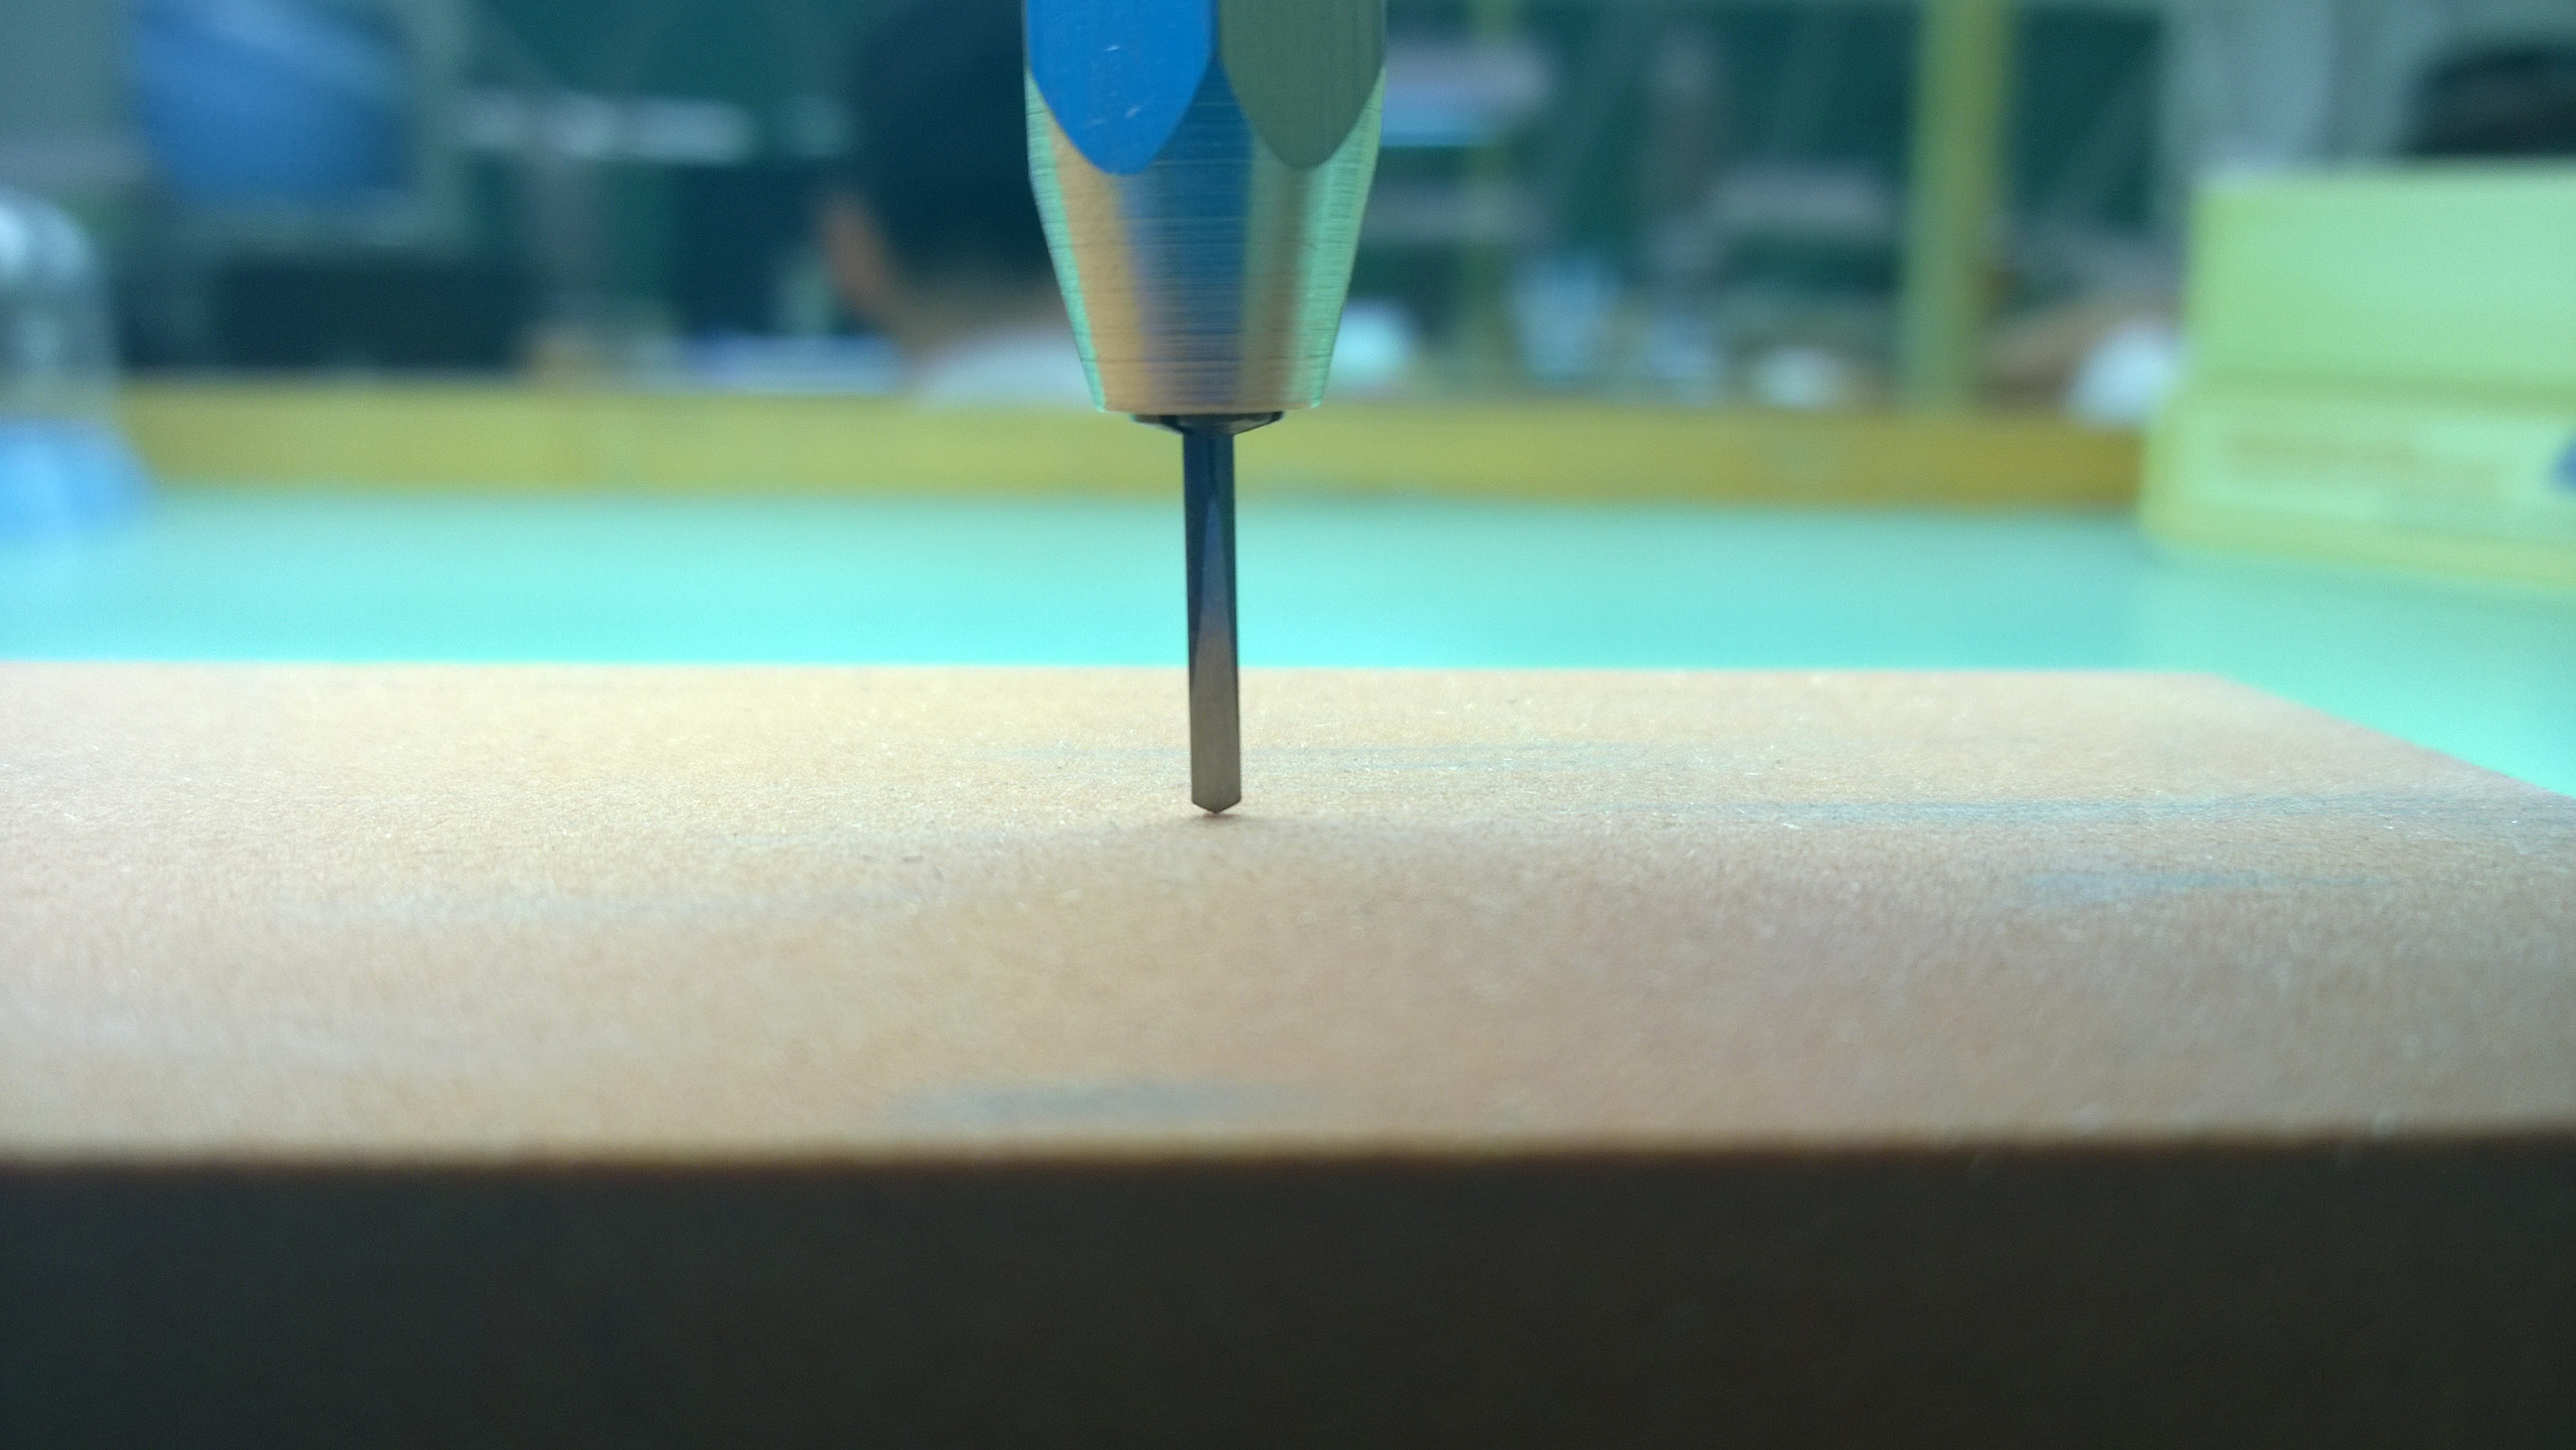
Once I finished the rod, Mr. Poye gave me a sewing needle and told me to make a wedge. A very thin wedge.
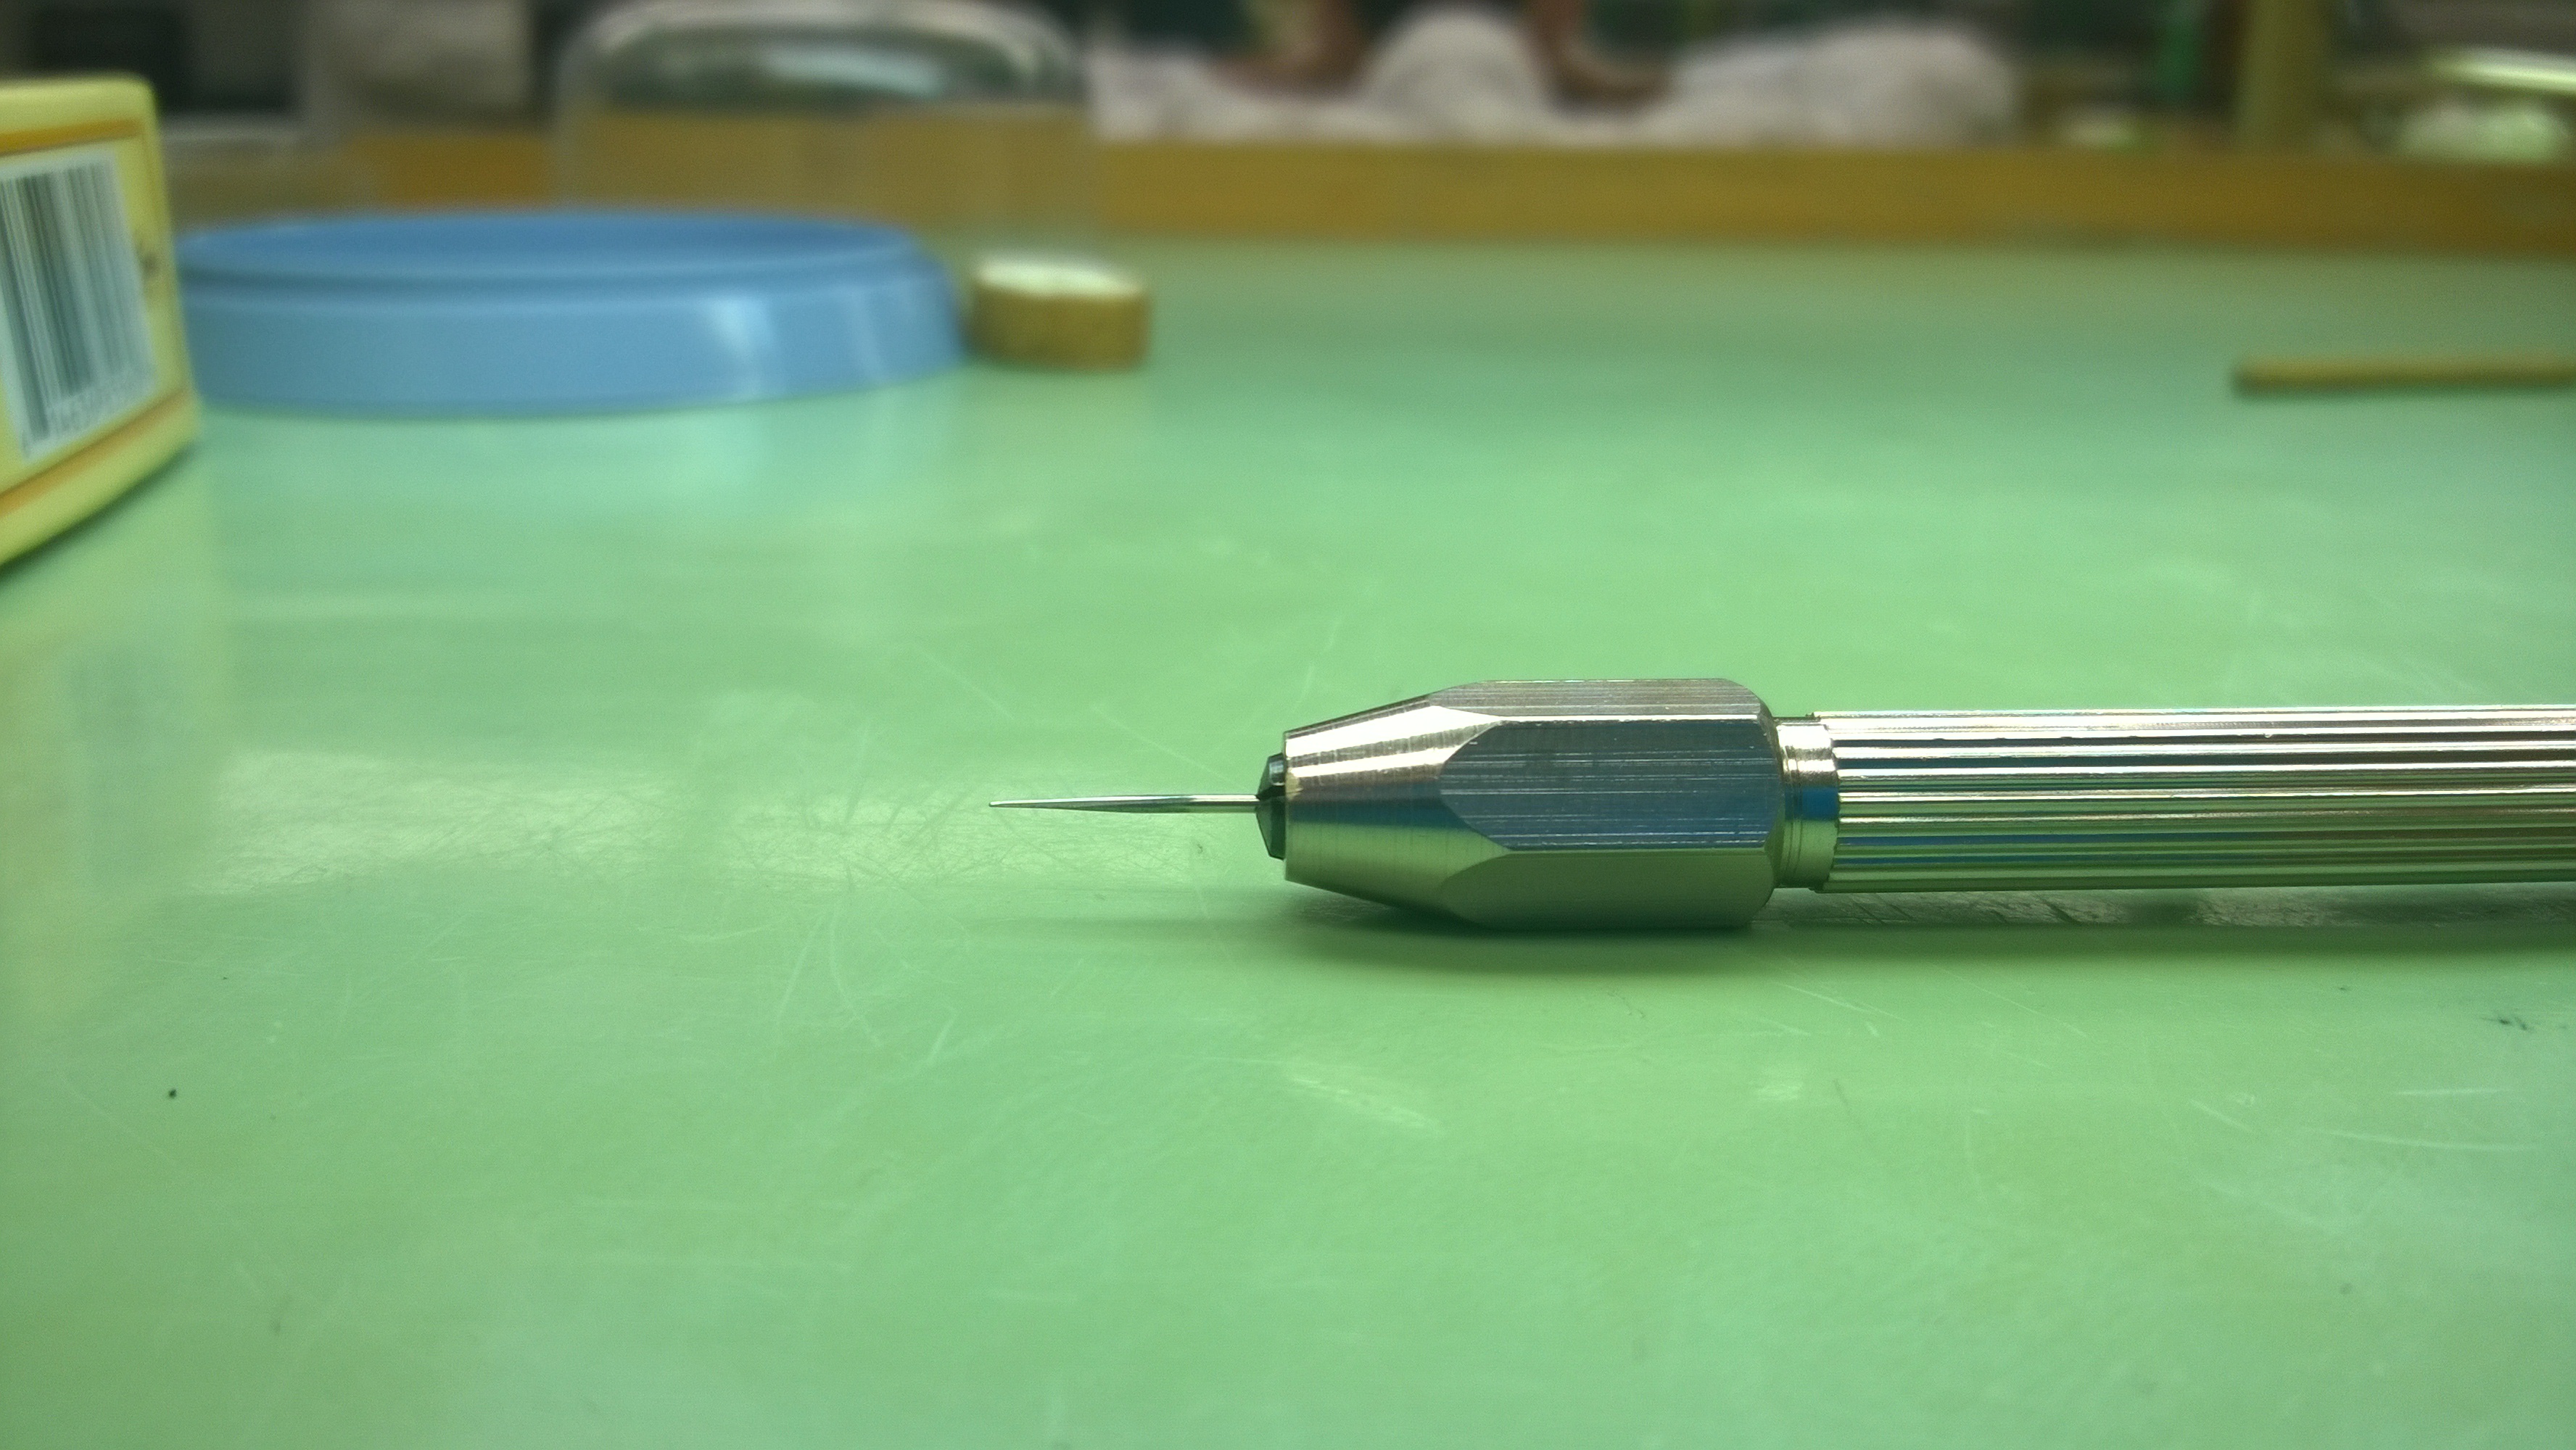 I used my pin vise to hold the needle while I went to town on it with the India stone. I had to grind down two sides flat and thin. Once I got the needle thin, I had to flatten out the sides so it wouldn’t have any overhang when in the collet (if it is too wide, it will mess with the hairspring).
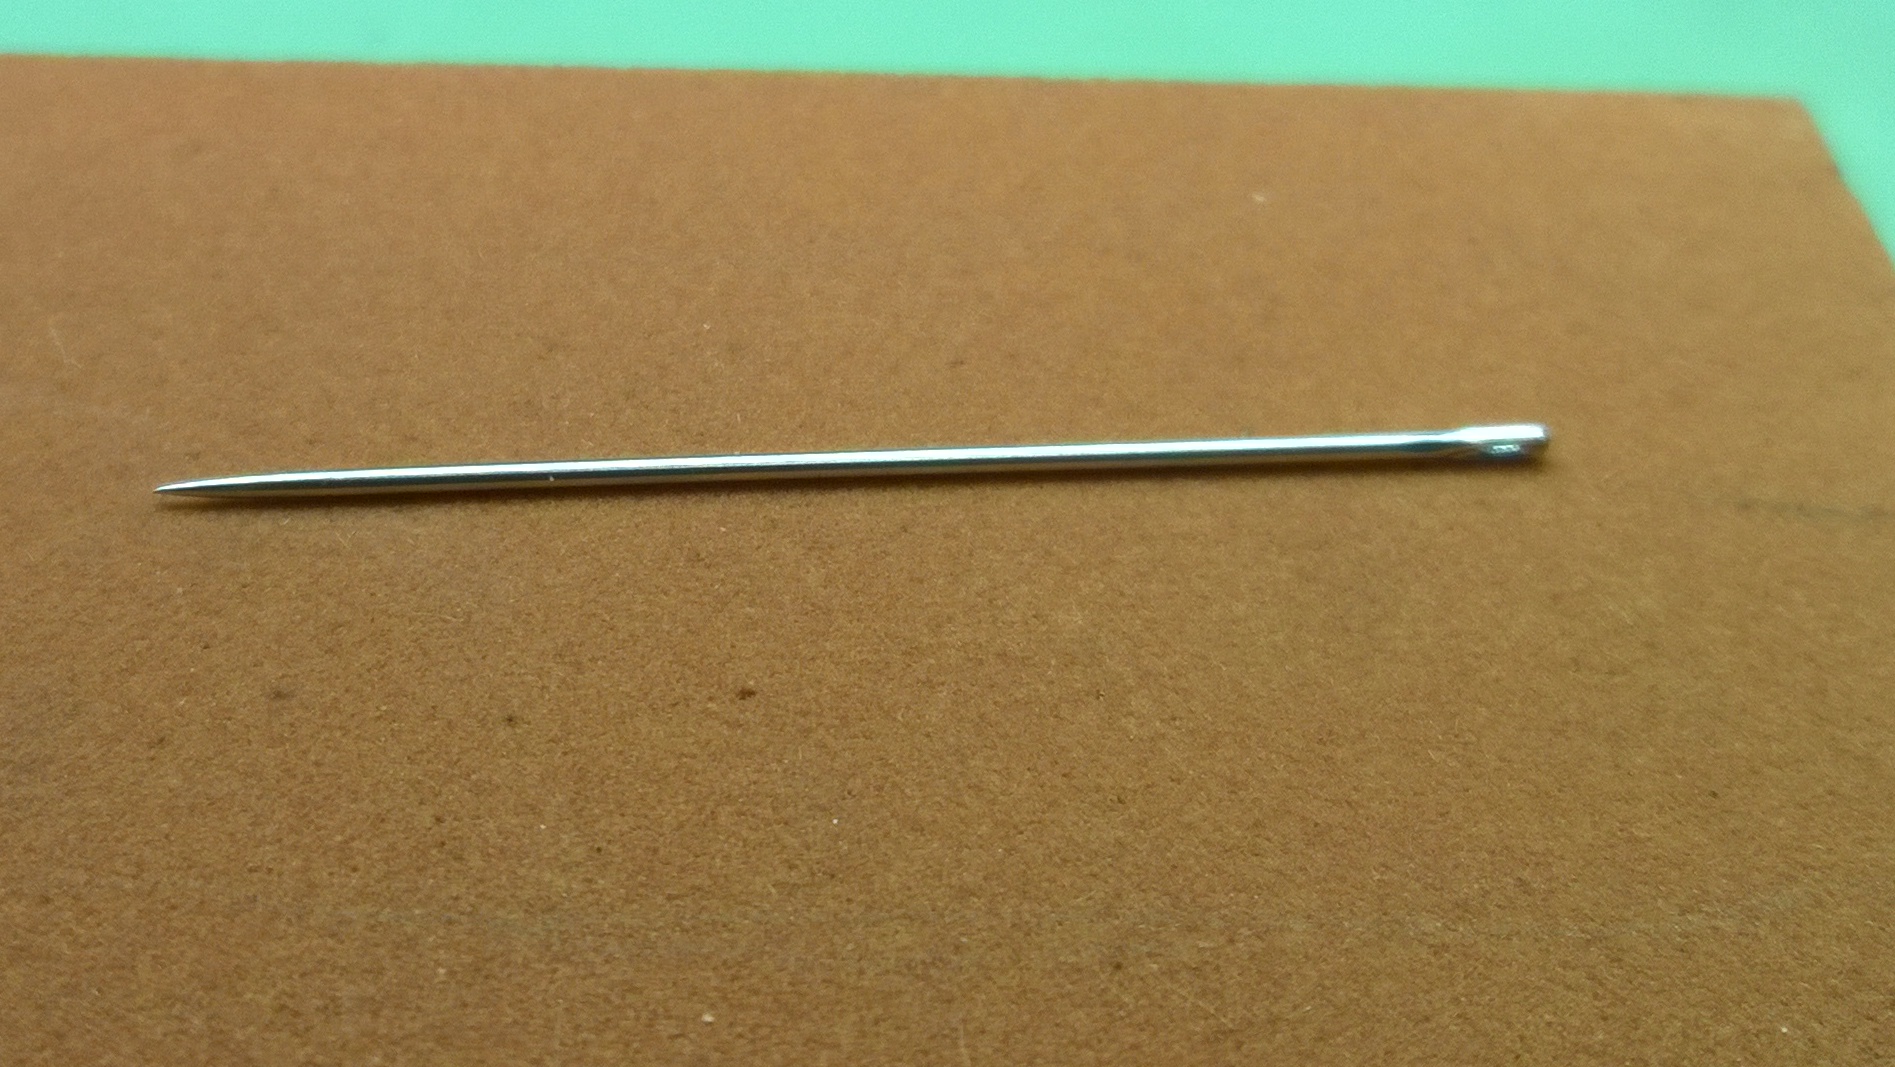
 Here is what the needle looked like once I was finished with it. Once it received the okay from Mr. Poye, he snipped the thread end of the needle and told me to put a drill end on it. That was a lot harder than steel rod due to the size difference.
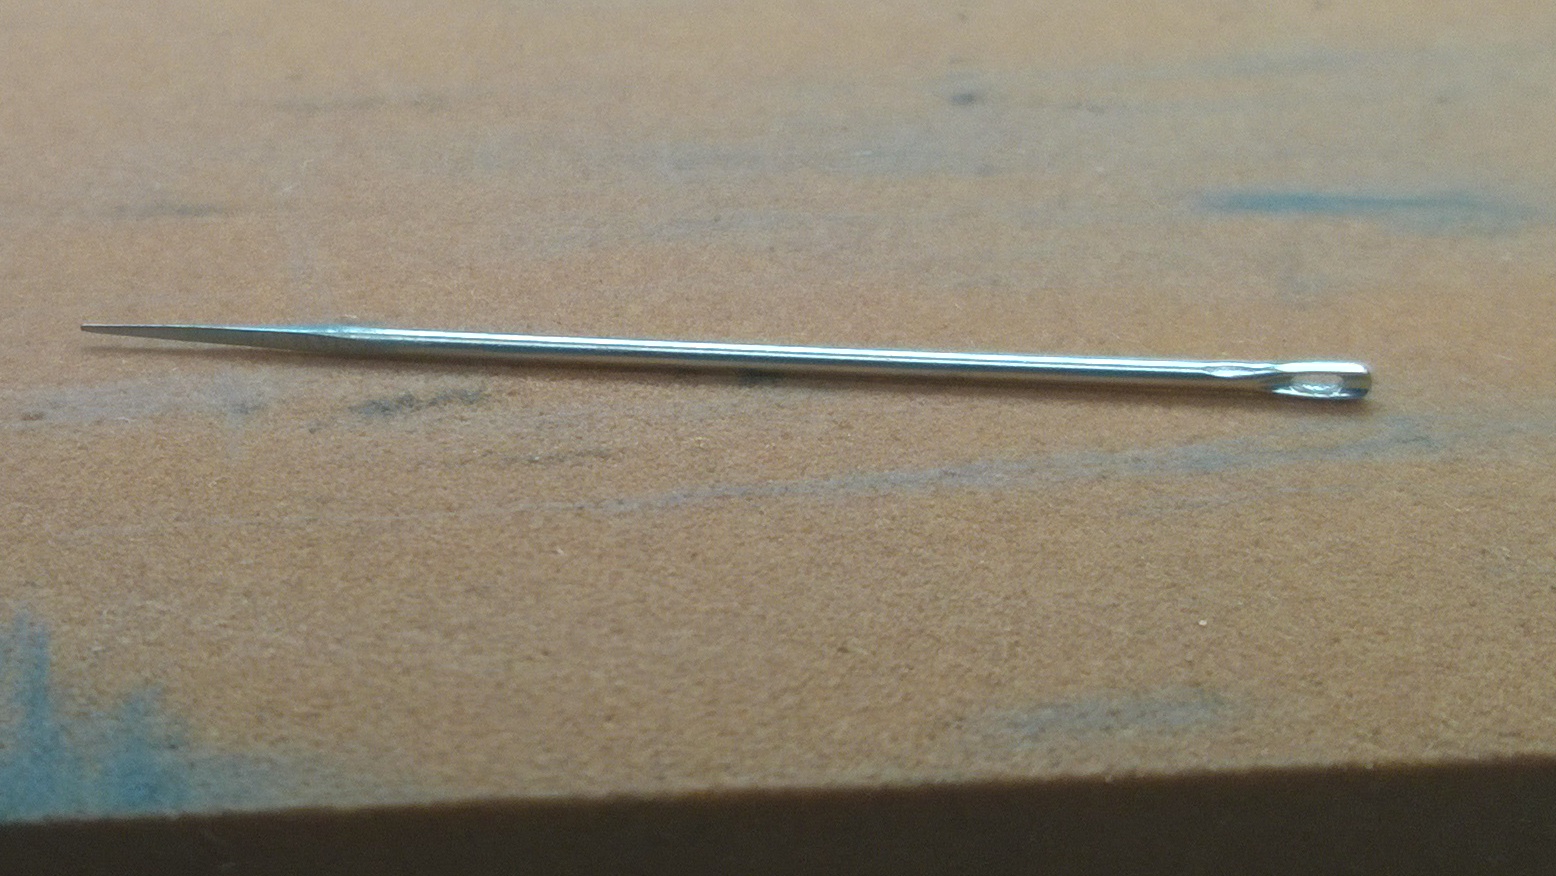
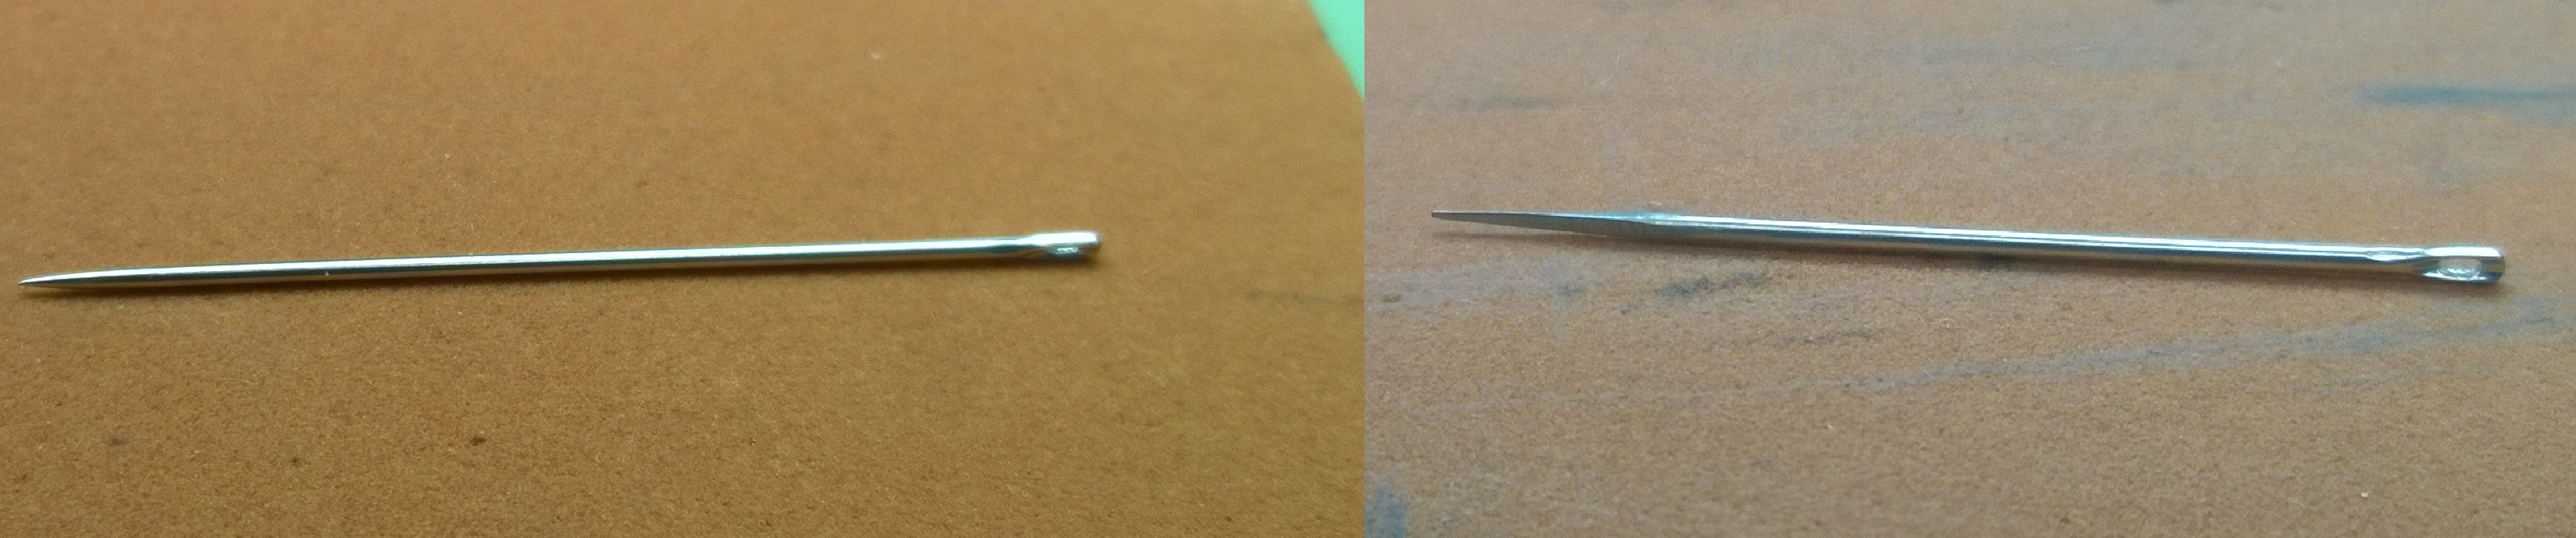 Here is a comparison of the needle before and after I got done creating the wedge profile. Once I got the drill end finished, Mr. Poye sunk it into a piece of pegwood.
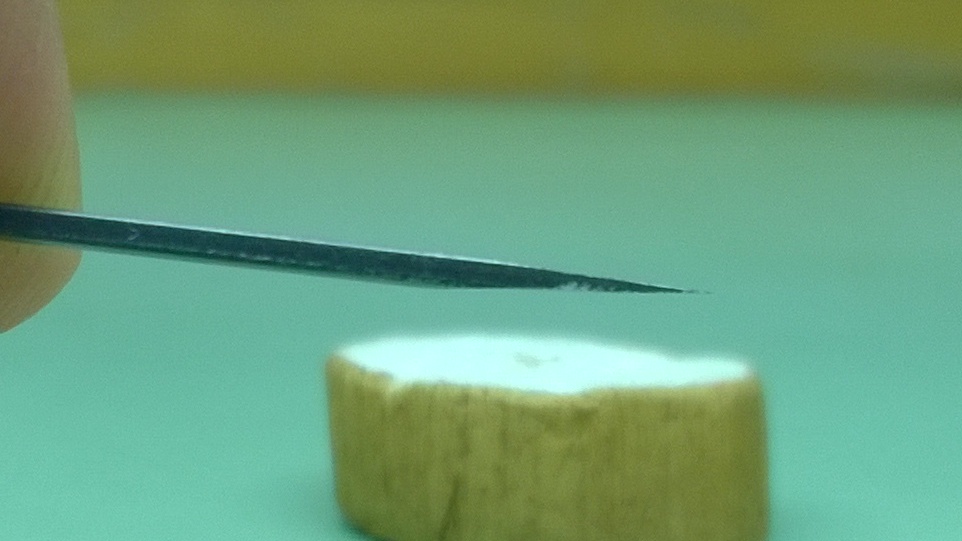
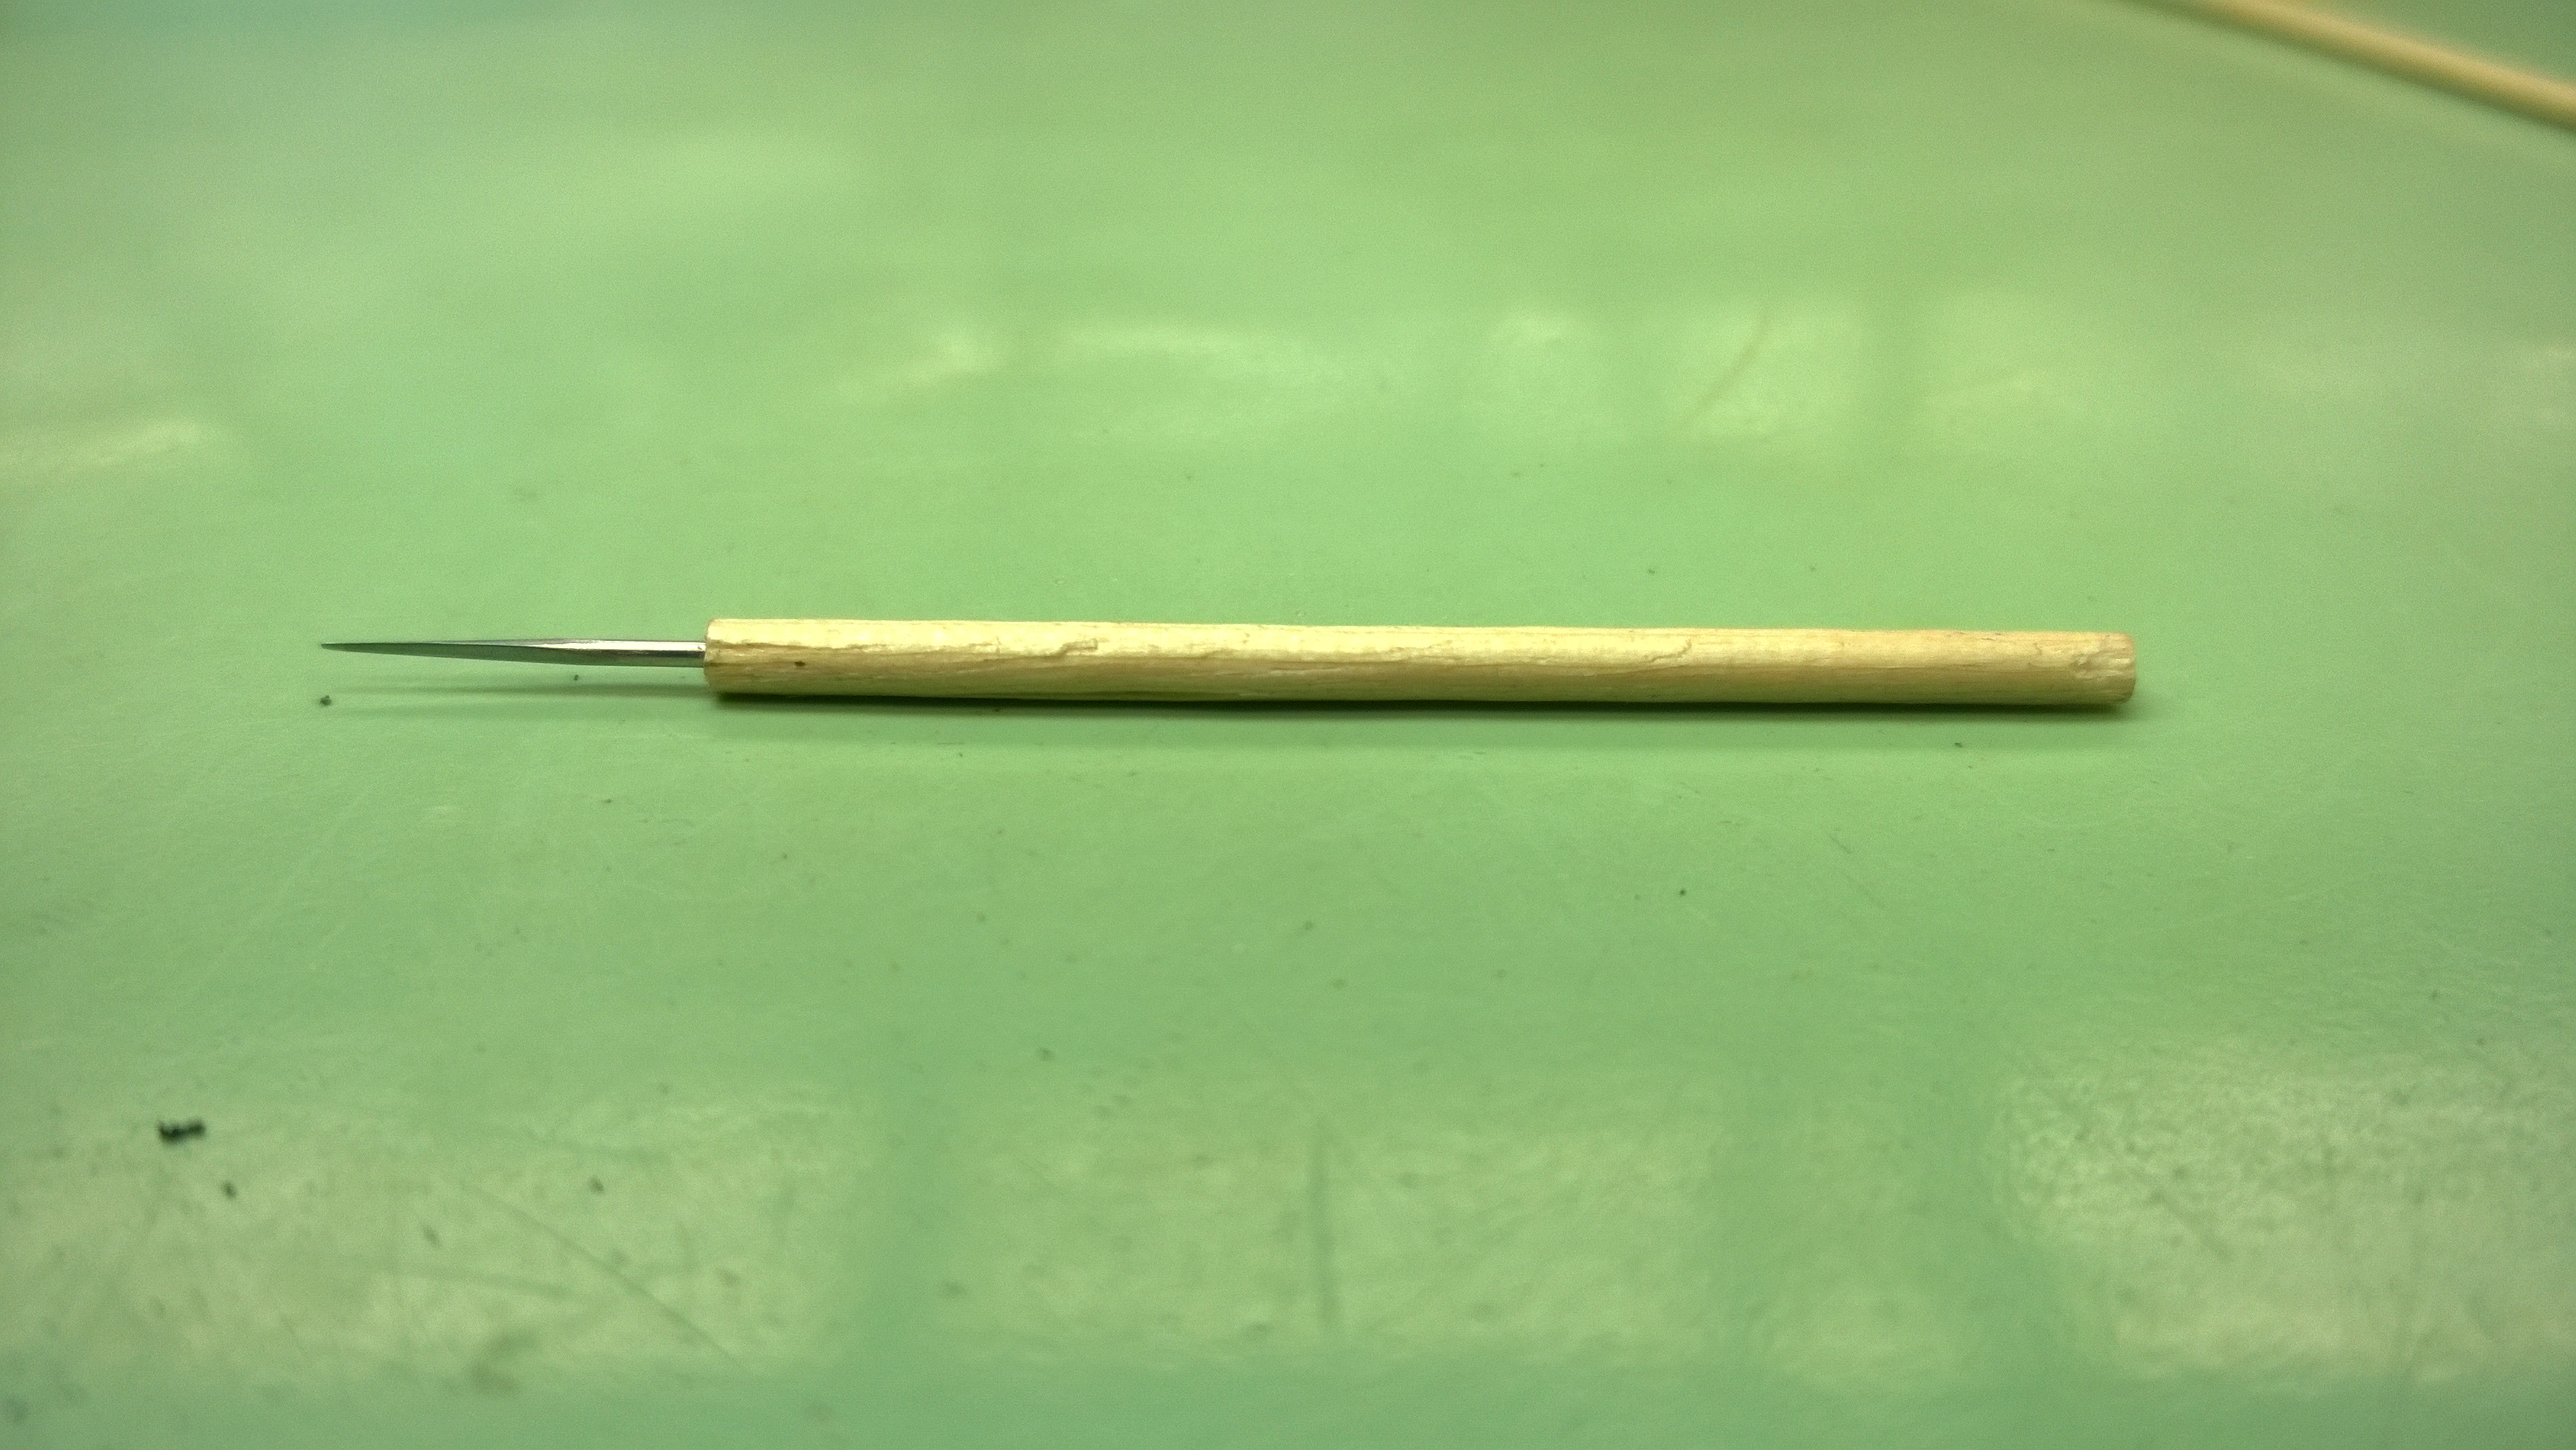 Bam! I made that.
Over the next two days, we are going to start working on truing gear train wheels.

Pingback: Week 8, Days 3 & 4 (Staffing and Truing Balance Wheels) Very Picture Heavy | watchmaking journey·
Pingback: Week 9, Days 1 & 2 (Poising Balance Wheels-Image Heavy) | watchmaking journey·