I ended my last post talking about how I received my staking set, and that I was going to be using it for staffing balance wheels (at least for now). I finished up organizing my set on Wednesday.  I roughly have it ordered by the punch type and in size from largest to smallest. Each type of punch in there has a specific purchase.
- Round face solid punches can be used for
- closing pivot holes
- closing minute hand holes
- burnishing top of old style-jewel settings
- closing holes in rollers

- Taper Mouth Closing Punches can be used for
- Closing holes in sockets of hour and second hands
- spreading friction fit jewel settings
- closing tips of sleeves

- Flat Face Hole Punches can be used for
- Final staking of balance staffs
- final staking of train pinions
- pressing hairspring collets on balance wheels
- used as stumps

- Round Face Hole Punches can be used for
- Spreading undercut of staffs and pinions before finishing

- Flat Face Solid Punches can be used for
- closing holes
- adjusting end shake of train bushings
- riveting where a hole punch is not required
- use as stumps
Will add picture on Monday
- Triangular Pointed Punch can be used for
- Tightening roller tables
- Roller Punches/Staking Punches can be used for
- staking double rollers
- Driving single or impulse double rollers on balance staffs
The most important part of the staking set is the stake grabbing tool. Without it, your fingers are going to slip around the heads of the stakes, your fingernails are going to get sliced up, and you are going to waste more time trying to get the stakes out than you will working with them.
 The polished end goes around the head of the stake and slides down. The very end section of the knurling slides up when you grab the stake you need so you can push it out easily.
Will Add Picture on Monday
Staffing a Wheel
After getting our staking sets organized, Mr. Poye took us through the process of completely disassembling a balance wheel, including removing the staff (and of course how to staff the wheel and reassemble it). Most of the time, when you are working with a watch, you do not need to replace the staff.
 The only times that you would replace the staff are if the pivots are broken, rusted, deformed, or if the staff itself was broken. The process for removing the staff is pretty straight-forward.
 Before you get started, there are a couple things that need to be taken into consideration, specifically the directionality of the hairspring stud and the roller jewel. When you replace the roller table and the hairspring, you want them in the same position that you took them off so everything lines up properly with the pallet fork and balance bridge. Looking for landmarks on the wheel help a lot (which screw is the roller table pointing towards? Which arm is the stud screw on?) Once you have those figured out, you can start disassembling things.
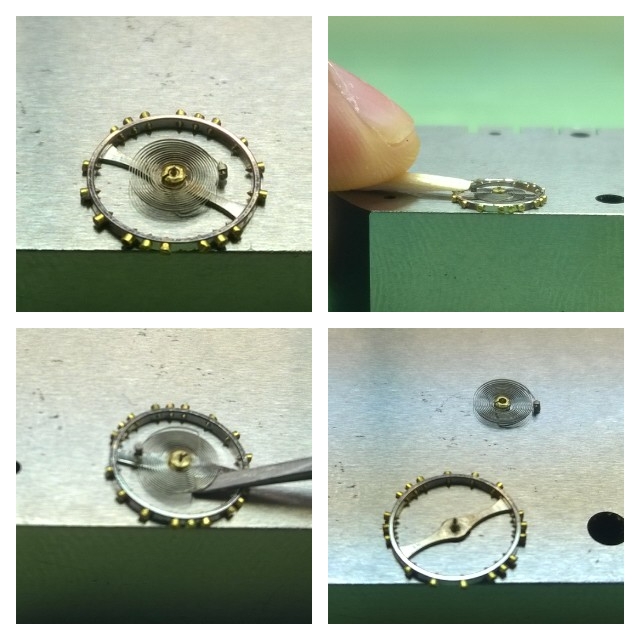
Taking the balance complete, you pick an appropriate size hole on your bench block that will accommodate the roller table of the balance wheel-you don’t want it super-tight or loose (Top left picture). From there, using some peg-wood and the one of the tools that I made last week, you gently work the collet up and off of the wheel (top right, bottom left). Once you are done, you will have the hairspring and balance separated.
Once you have removed the hairspring, you need to remove the roller table. This is where the base of the staking set comes into play.
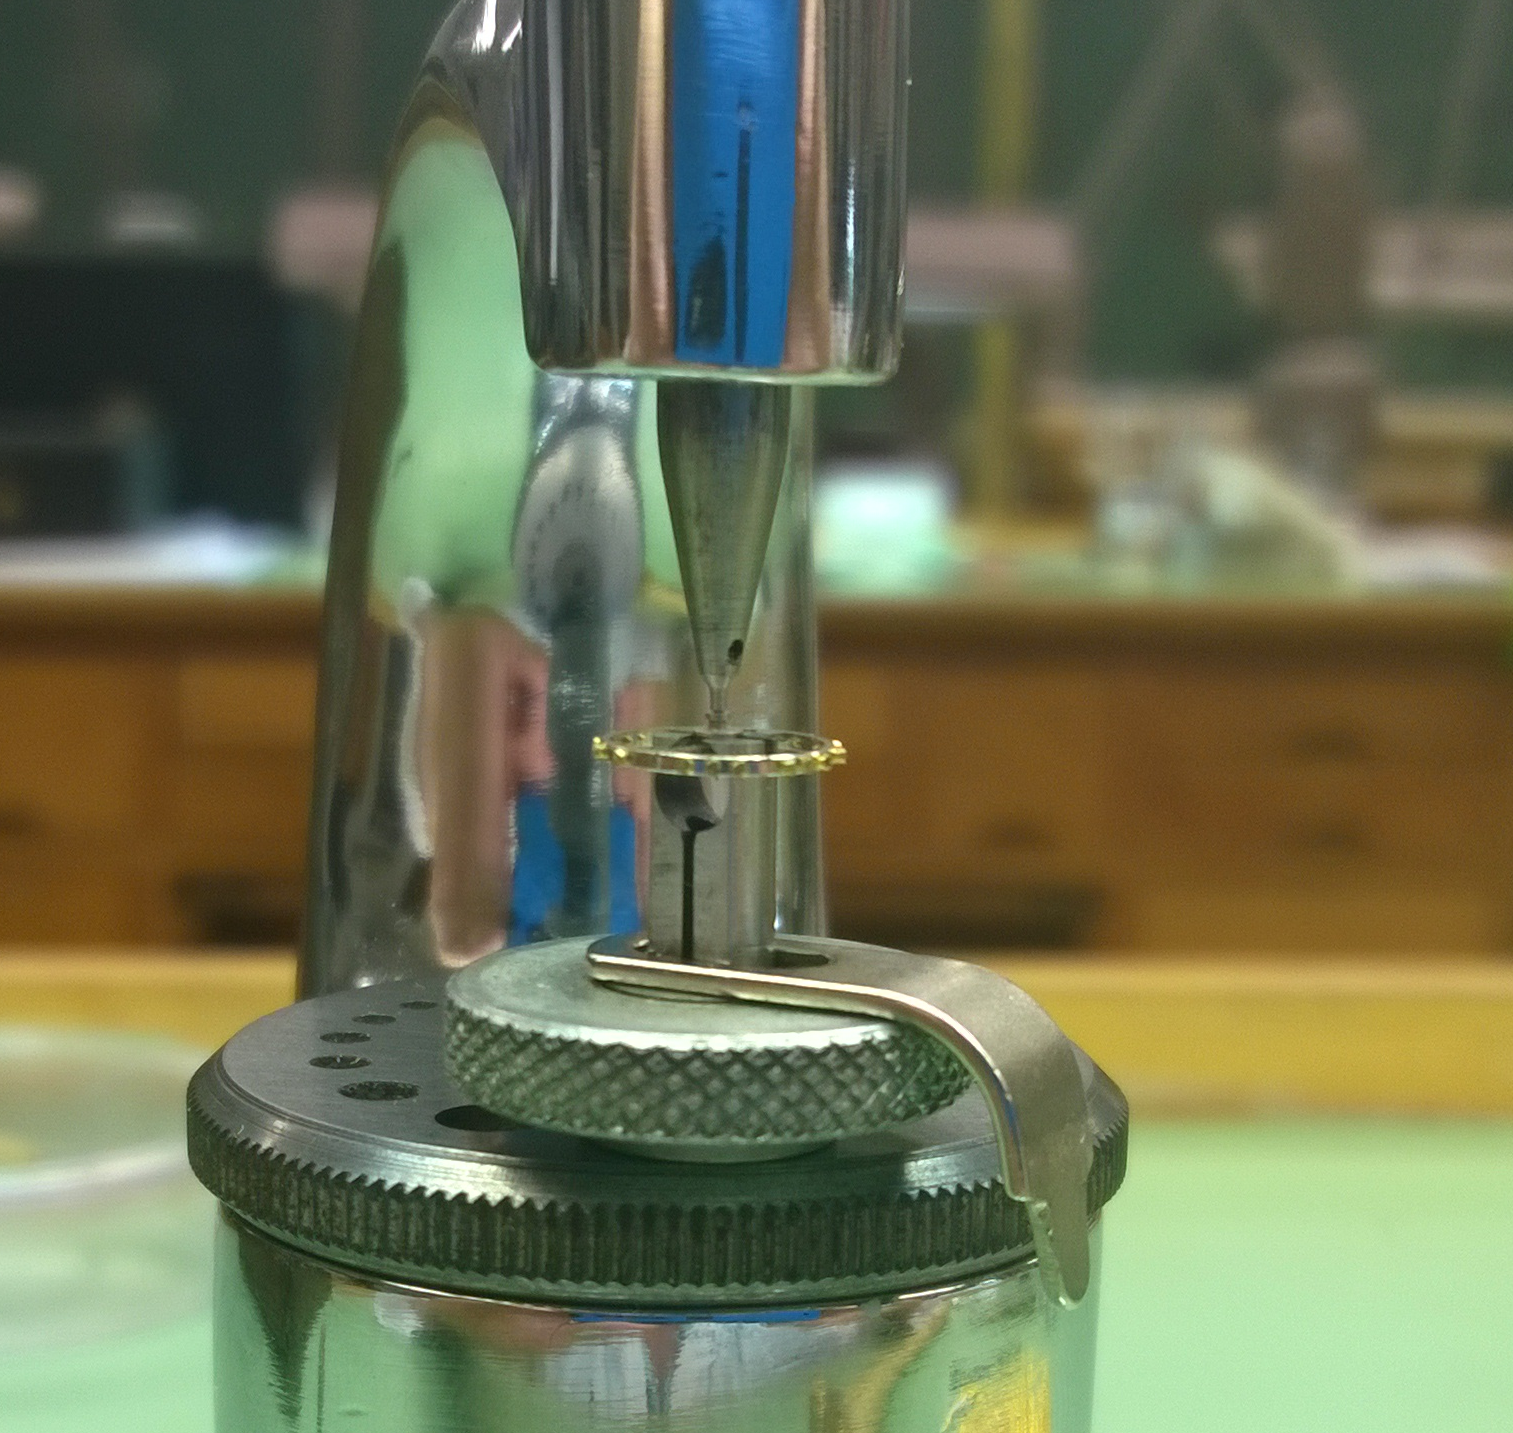
 This first tool that I am using is called a centering punch. The circular plate on the base rotates around and also has a degree of lateral movement. When you select which hole you are going to use, you slide the centering punch through the top of the staking tool and down into the hole that you selected. You then move the circular plate around until it is flush against either the tip of the punch (if you are using a small hole), or the body of the punch if you are using the largest hole. This will guarantee that whatever on the hole will be centered with whatever stake you are using-otherwise you can scratch, bend or gouge the piece. Once you get the plate centered, you use a roller removing punch set-up.
The way this stump works is similar to a C-Clamp. It has two small jaws that open and close. You open the tool enough to slide the roller table over the jaws, and then you tighten it. (Definitely click on this picture for a larger version to see the jaws in action)
 You then use a punch to go down over the staff and rest on the roller table. You hold the stake firmly between your index finger and thumb (you’ll see a picture in a bit), and give it a nice solid tap with hammer. If you did it right, the balance wheel and roller table will separate.
The wheel will fall down into the gap of the roller removing stump, and the roller table will still be between the jaws. Sometimes though, the roller table is a little tight, and if you are in the process of learning how to do this, you might think that you have to hit it a little harder. Don’t do this.
 Otherwise you will destroy the roller table. If this happens on an old watch where spare parts aren’t available, you have just cost yourself a lot of time (searching for a replacement) and that is never good for the customer. There are ways to loosen the roller, or other tools that can be used in that situation.
Once the roller table has been removed, you need to remove the balance staff. To do this, you need to use a balance staff removing set-up.
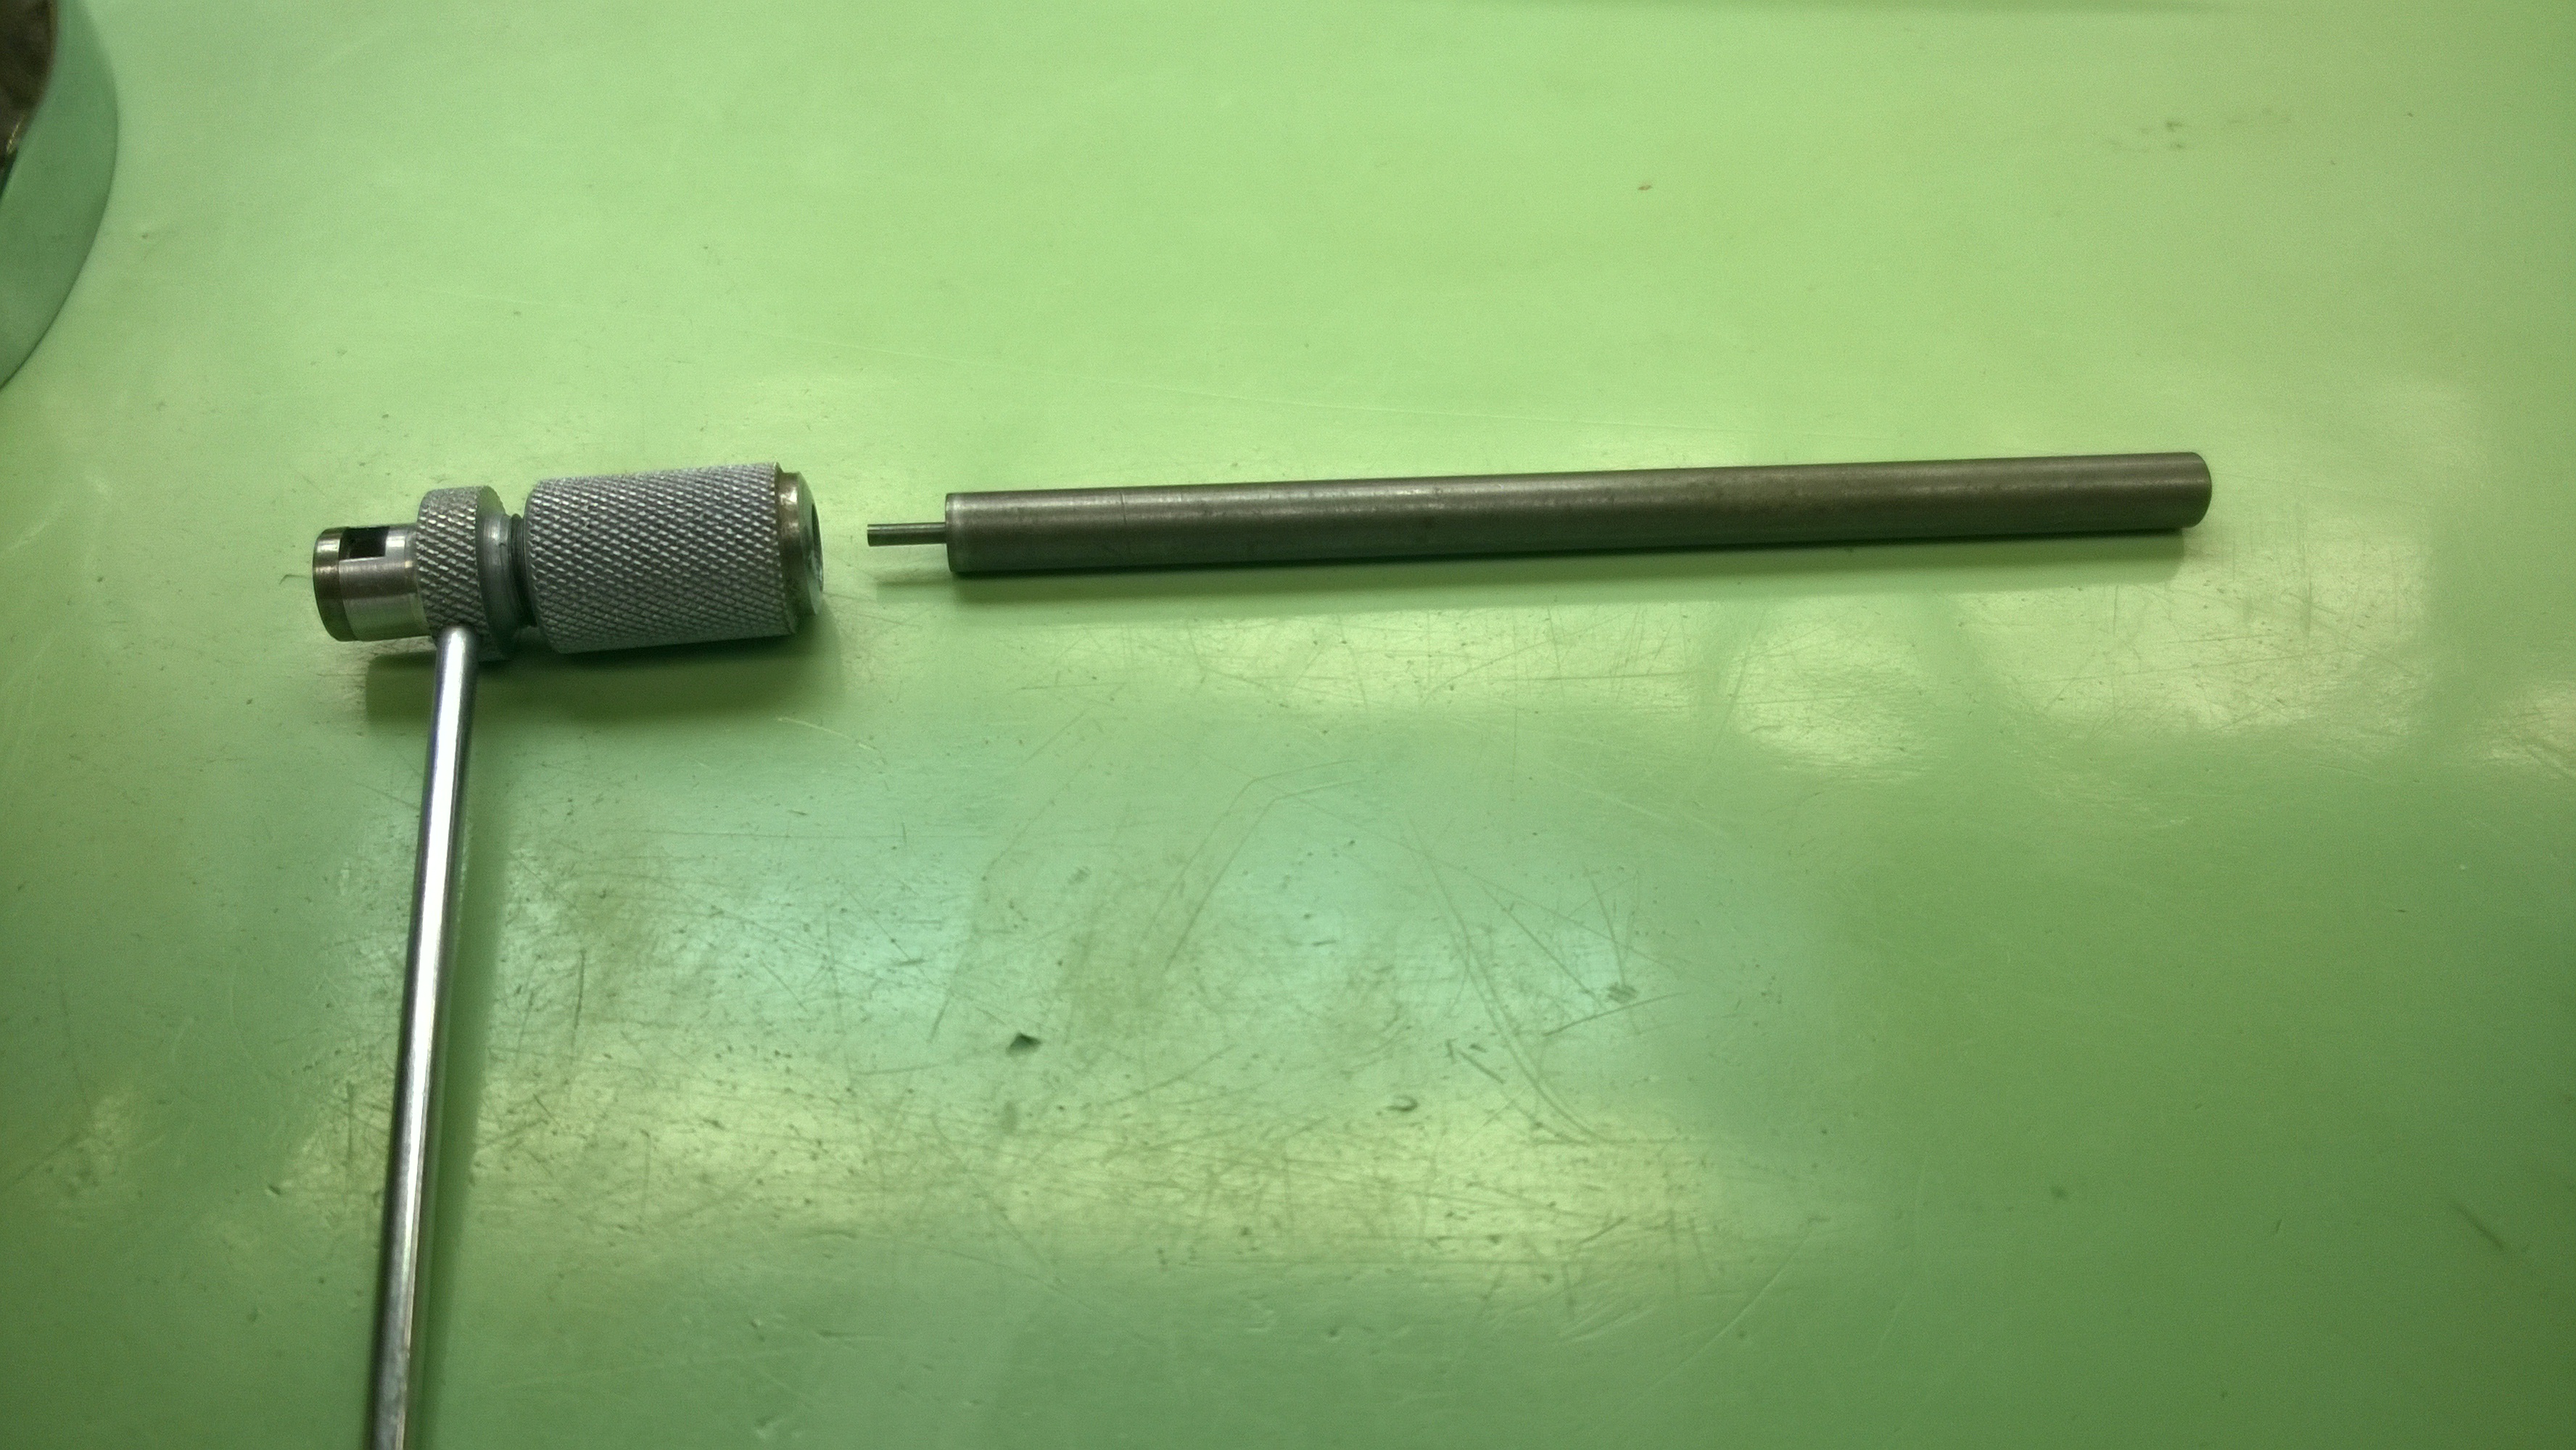 These are the tools that you use to remove the balance staff (in addition to the staking base). The part on the right is the stake that will be removing the staff, and the part on the left goes around the balance wheel and keeps it steady during the removal procedure.
Similar to when removing the collet, you will place the the balance on one of the holes of the base plate. You want it snug with a little bit of wiggle. If it is too tight, when you are driving the staff out, it could distort the center and then you would be in the position of trying to fix that or replacing the wheel.
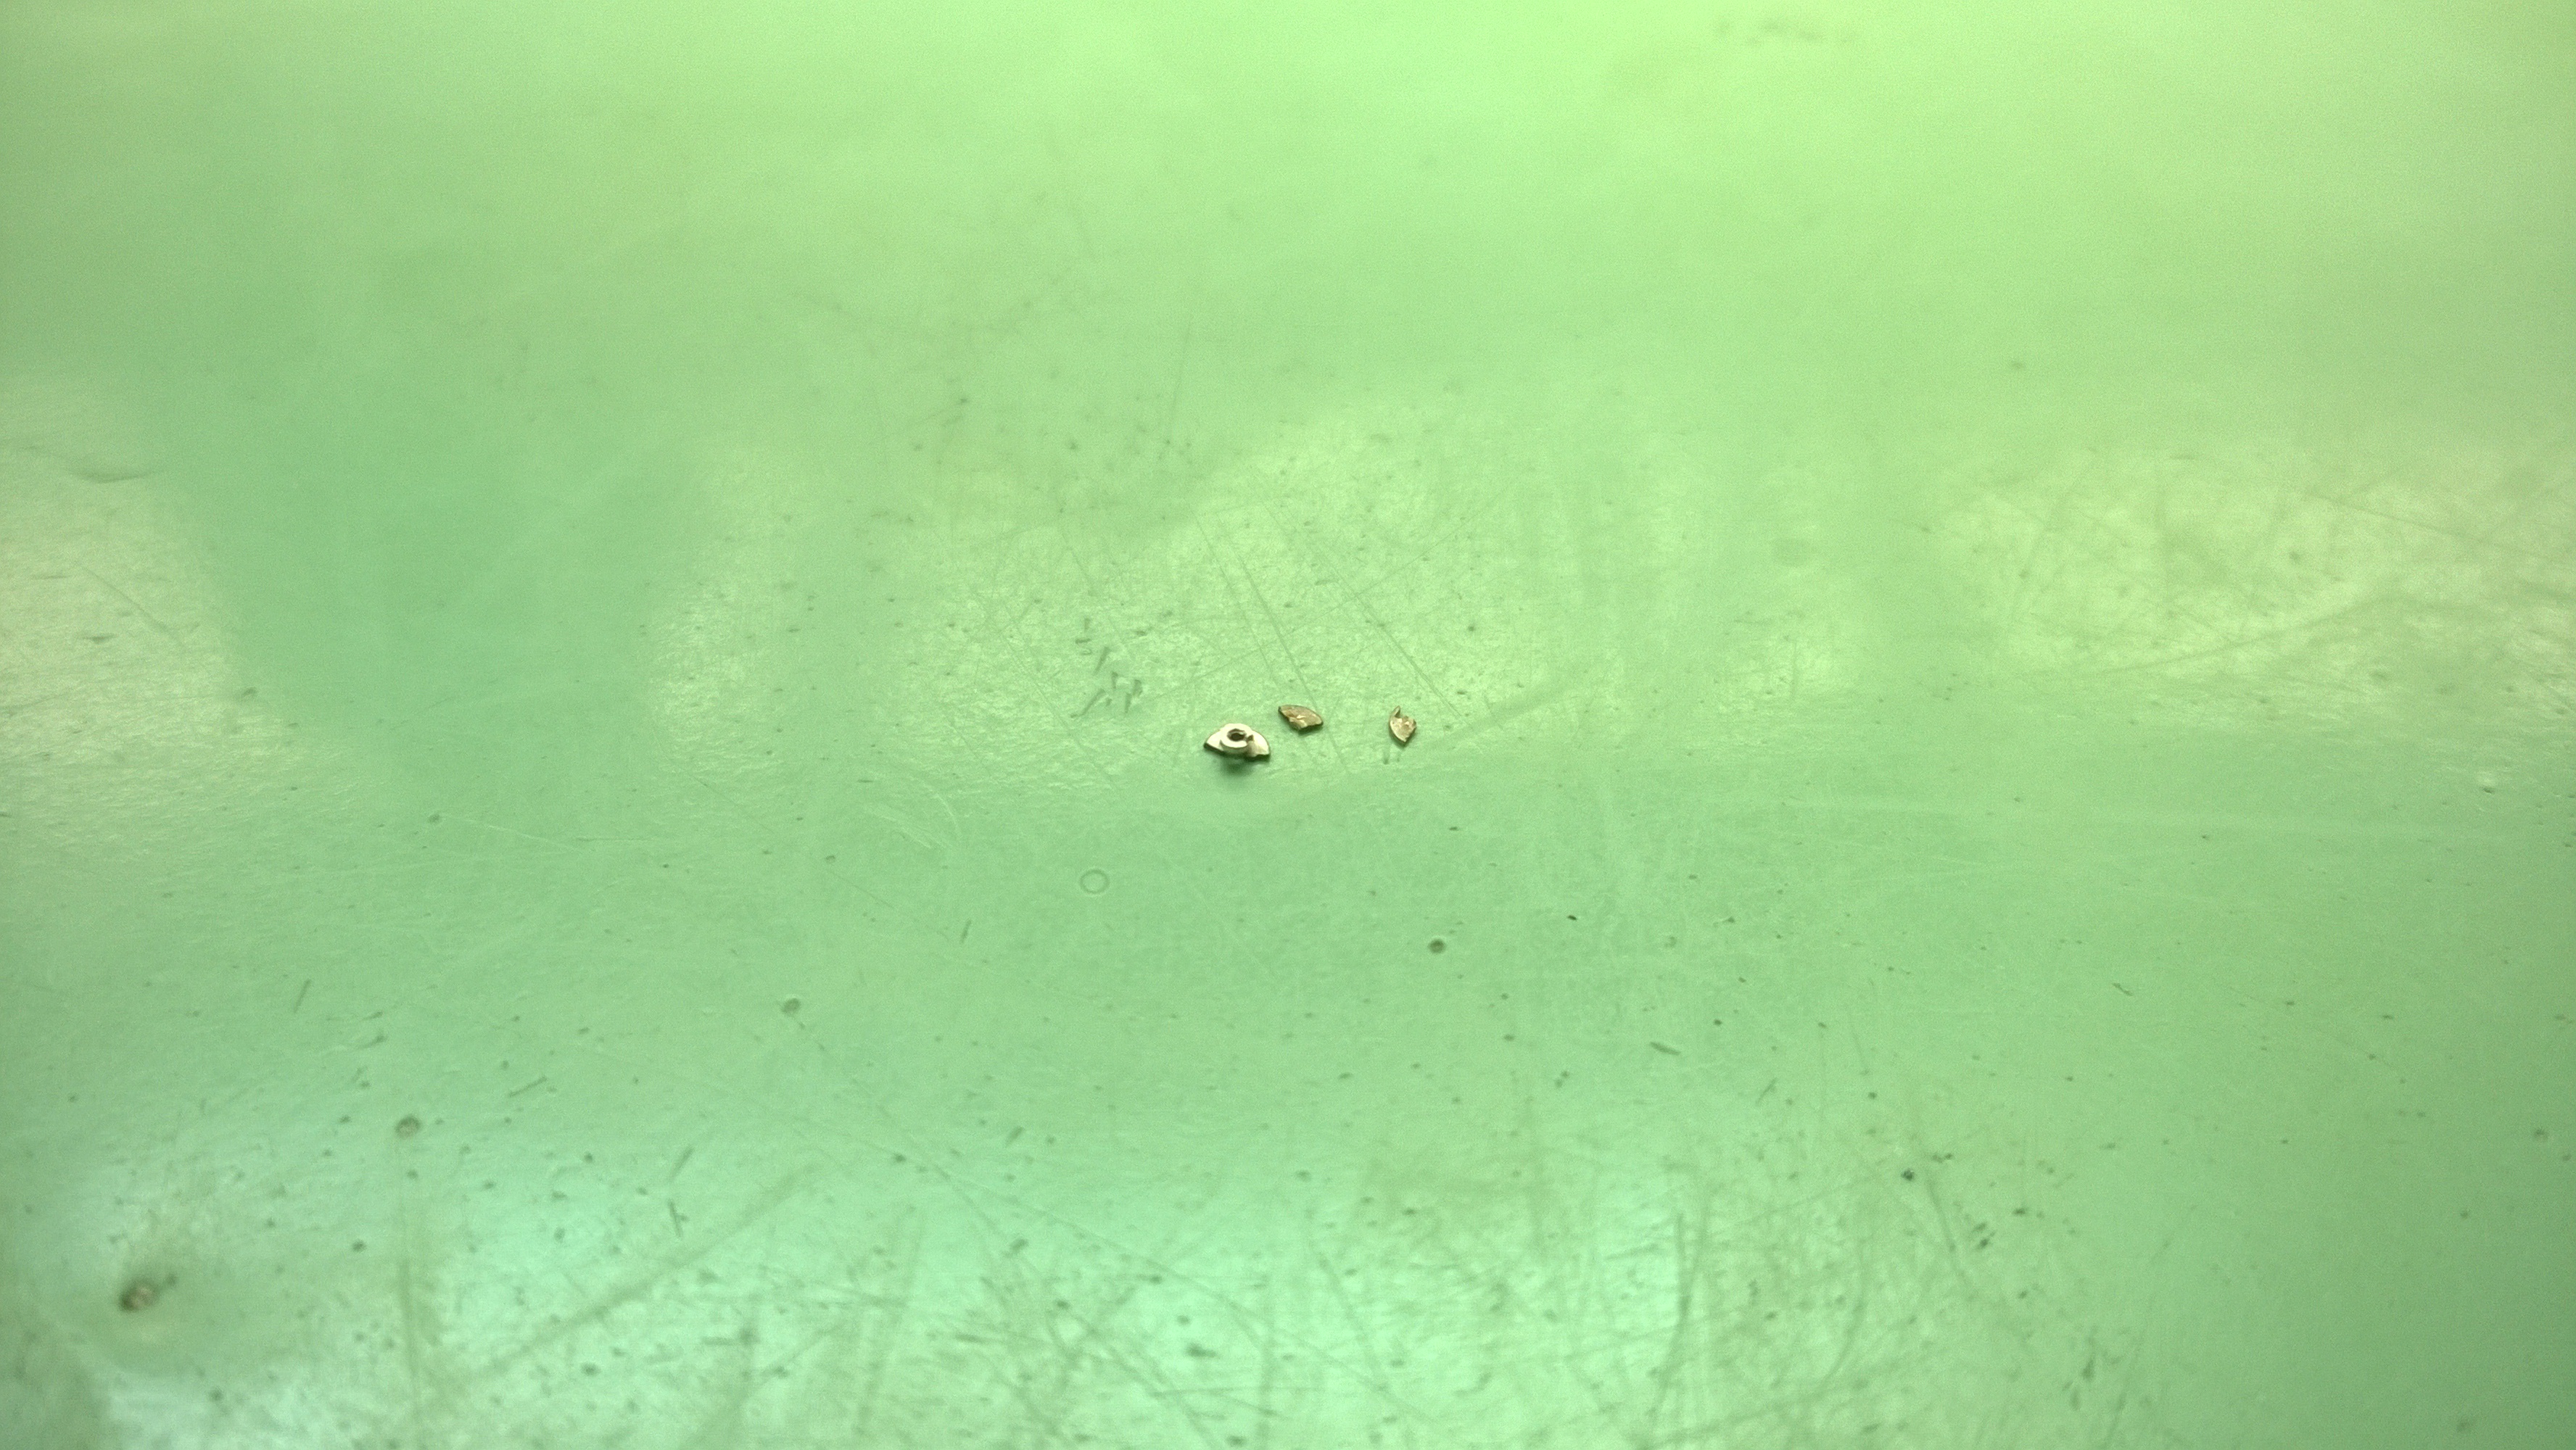
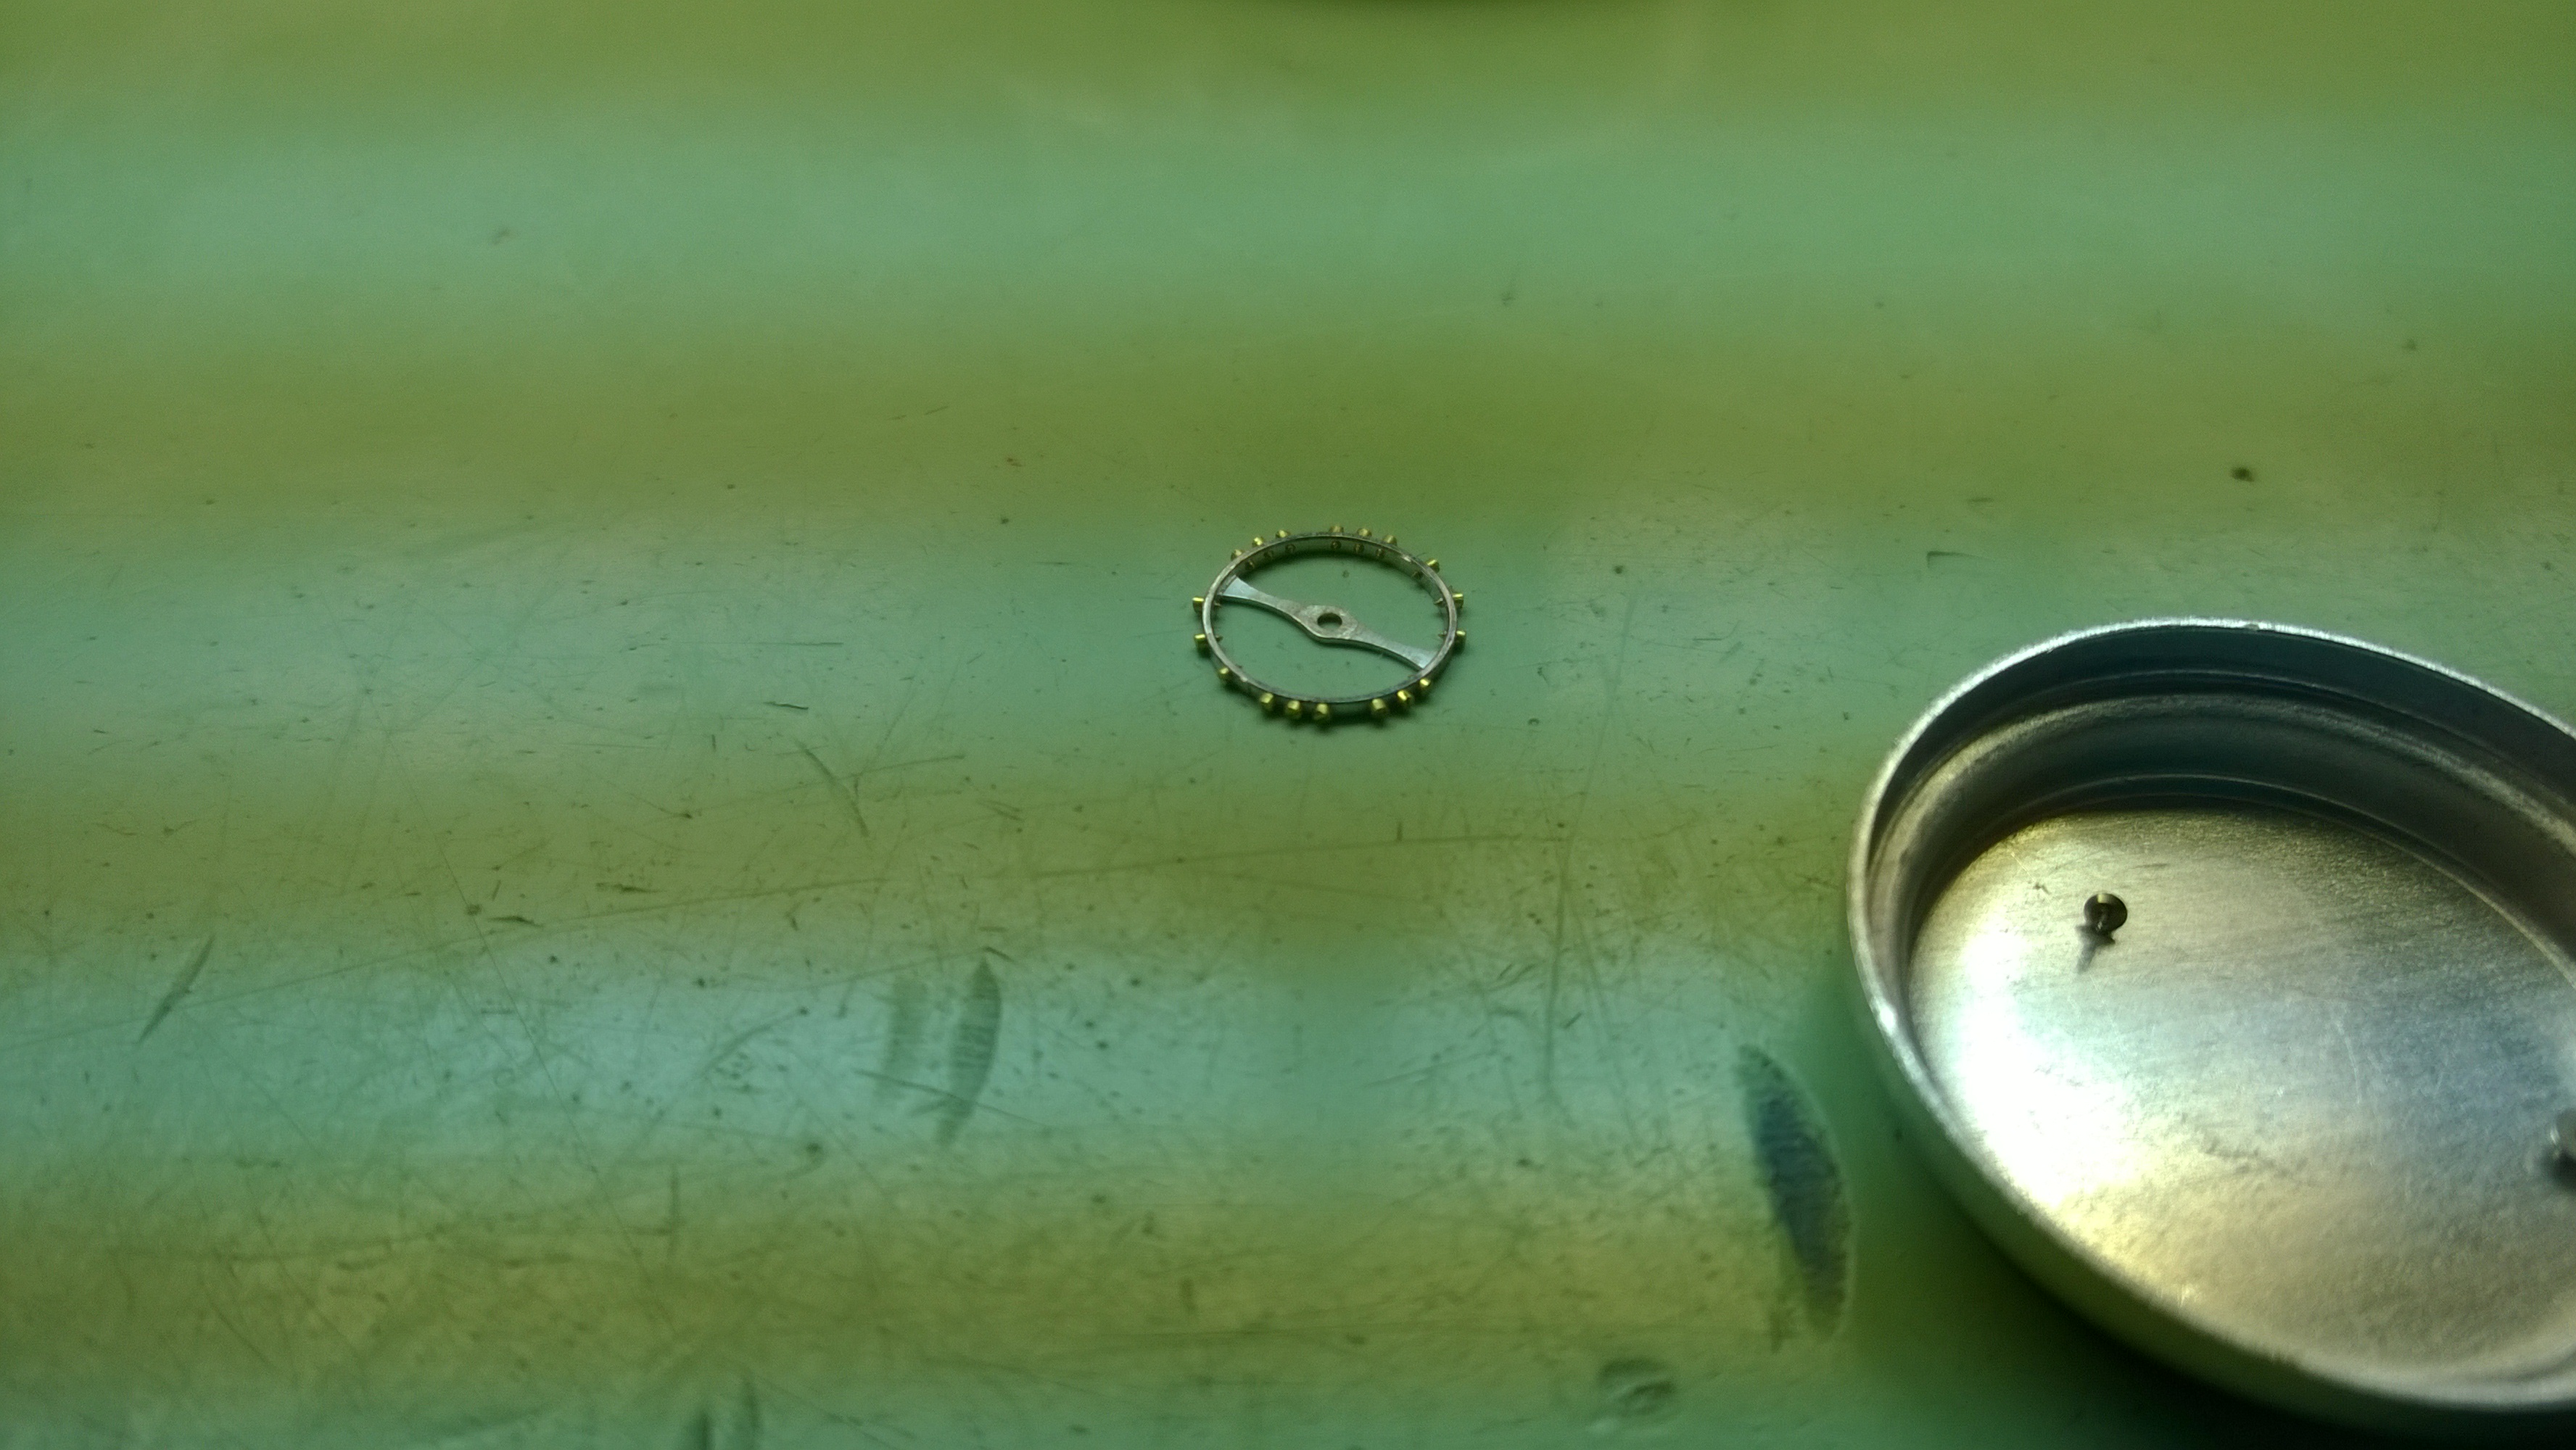
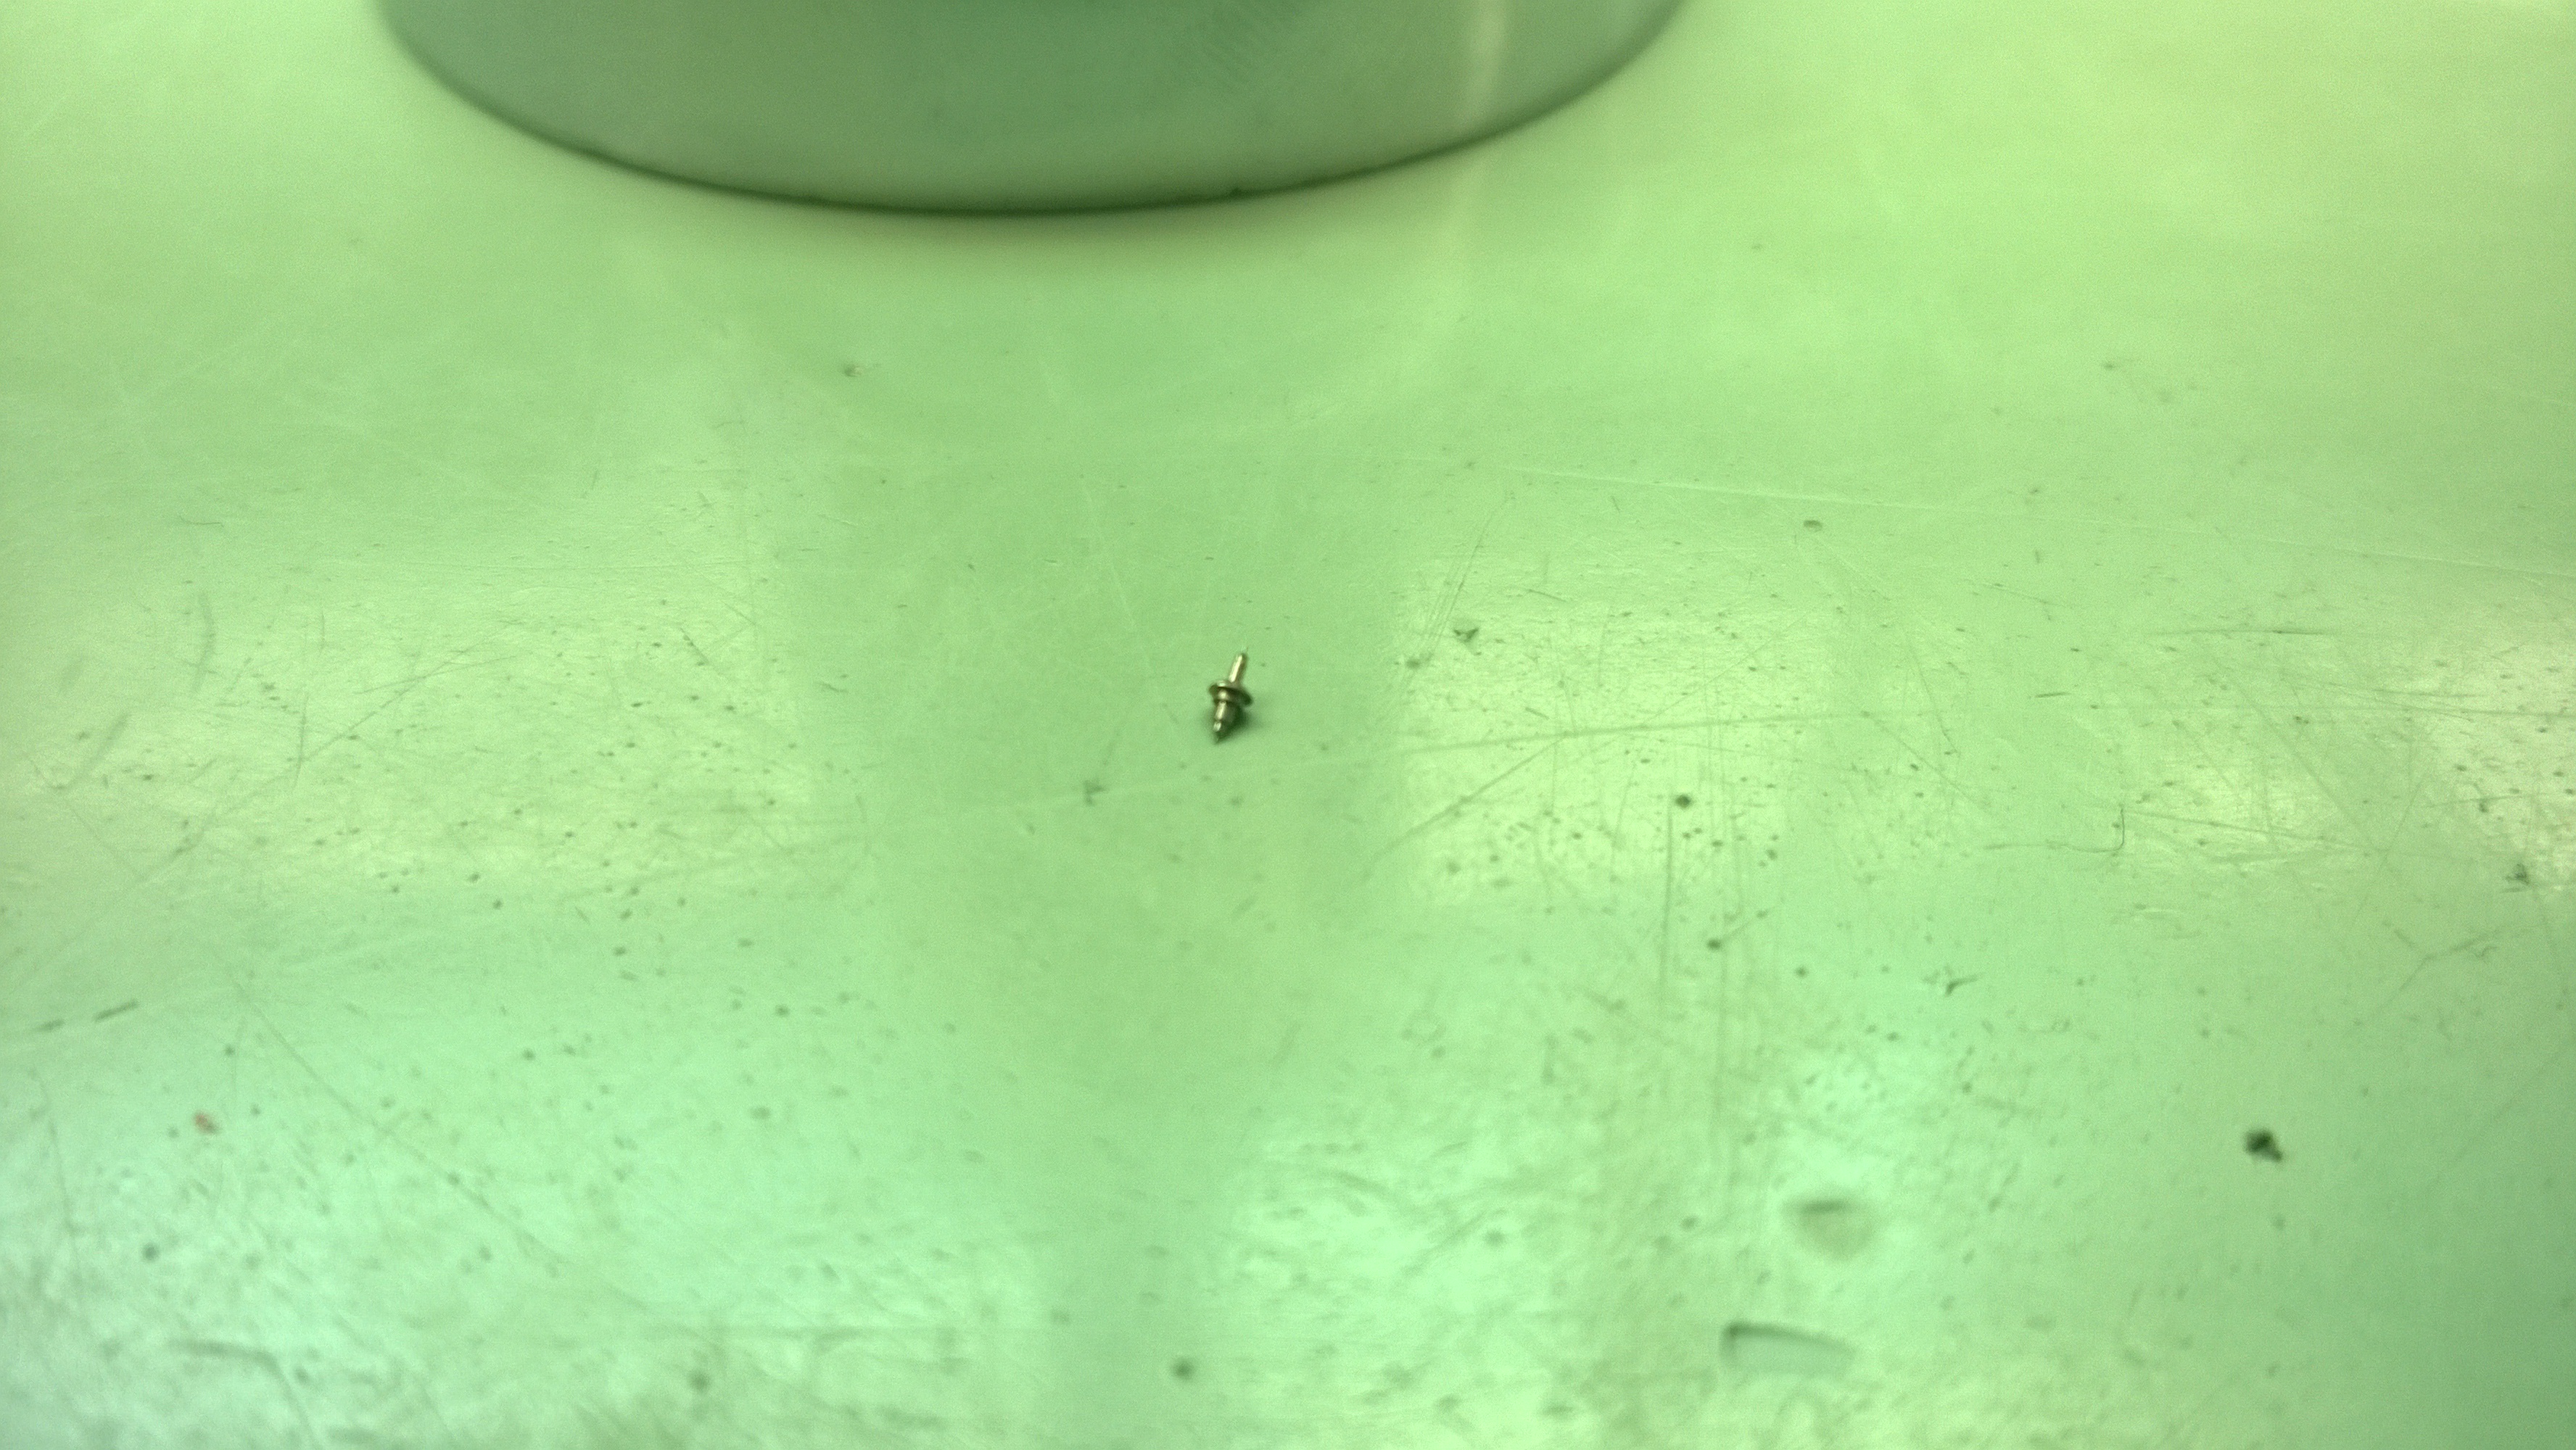
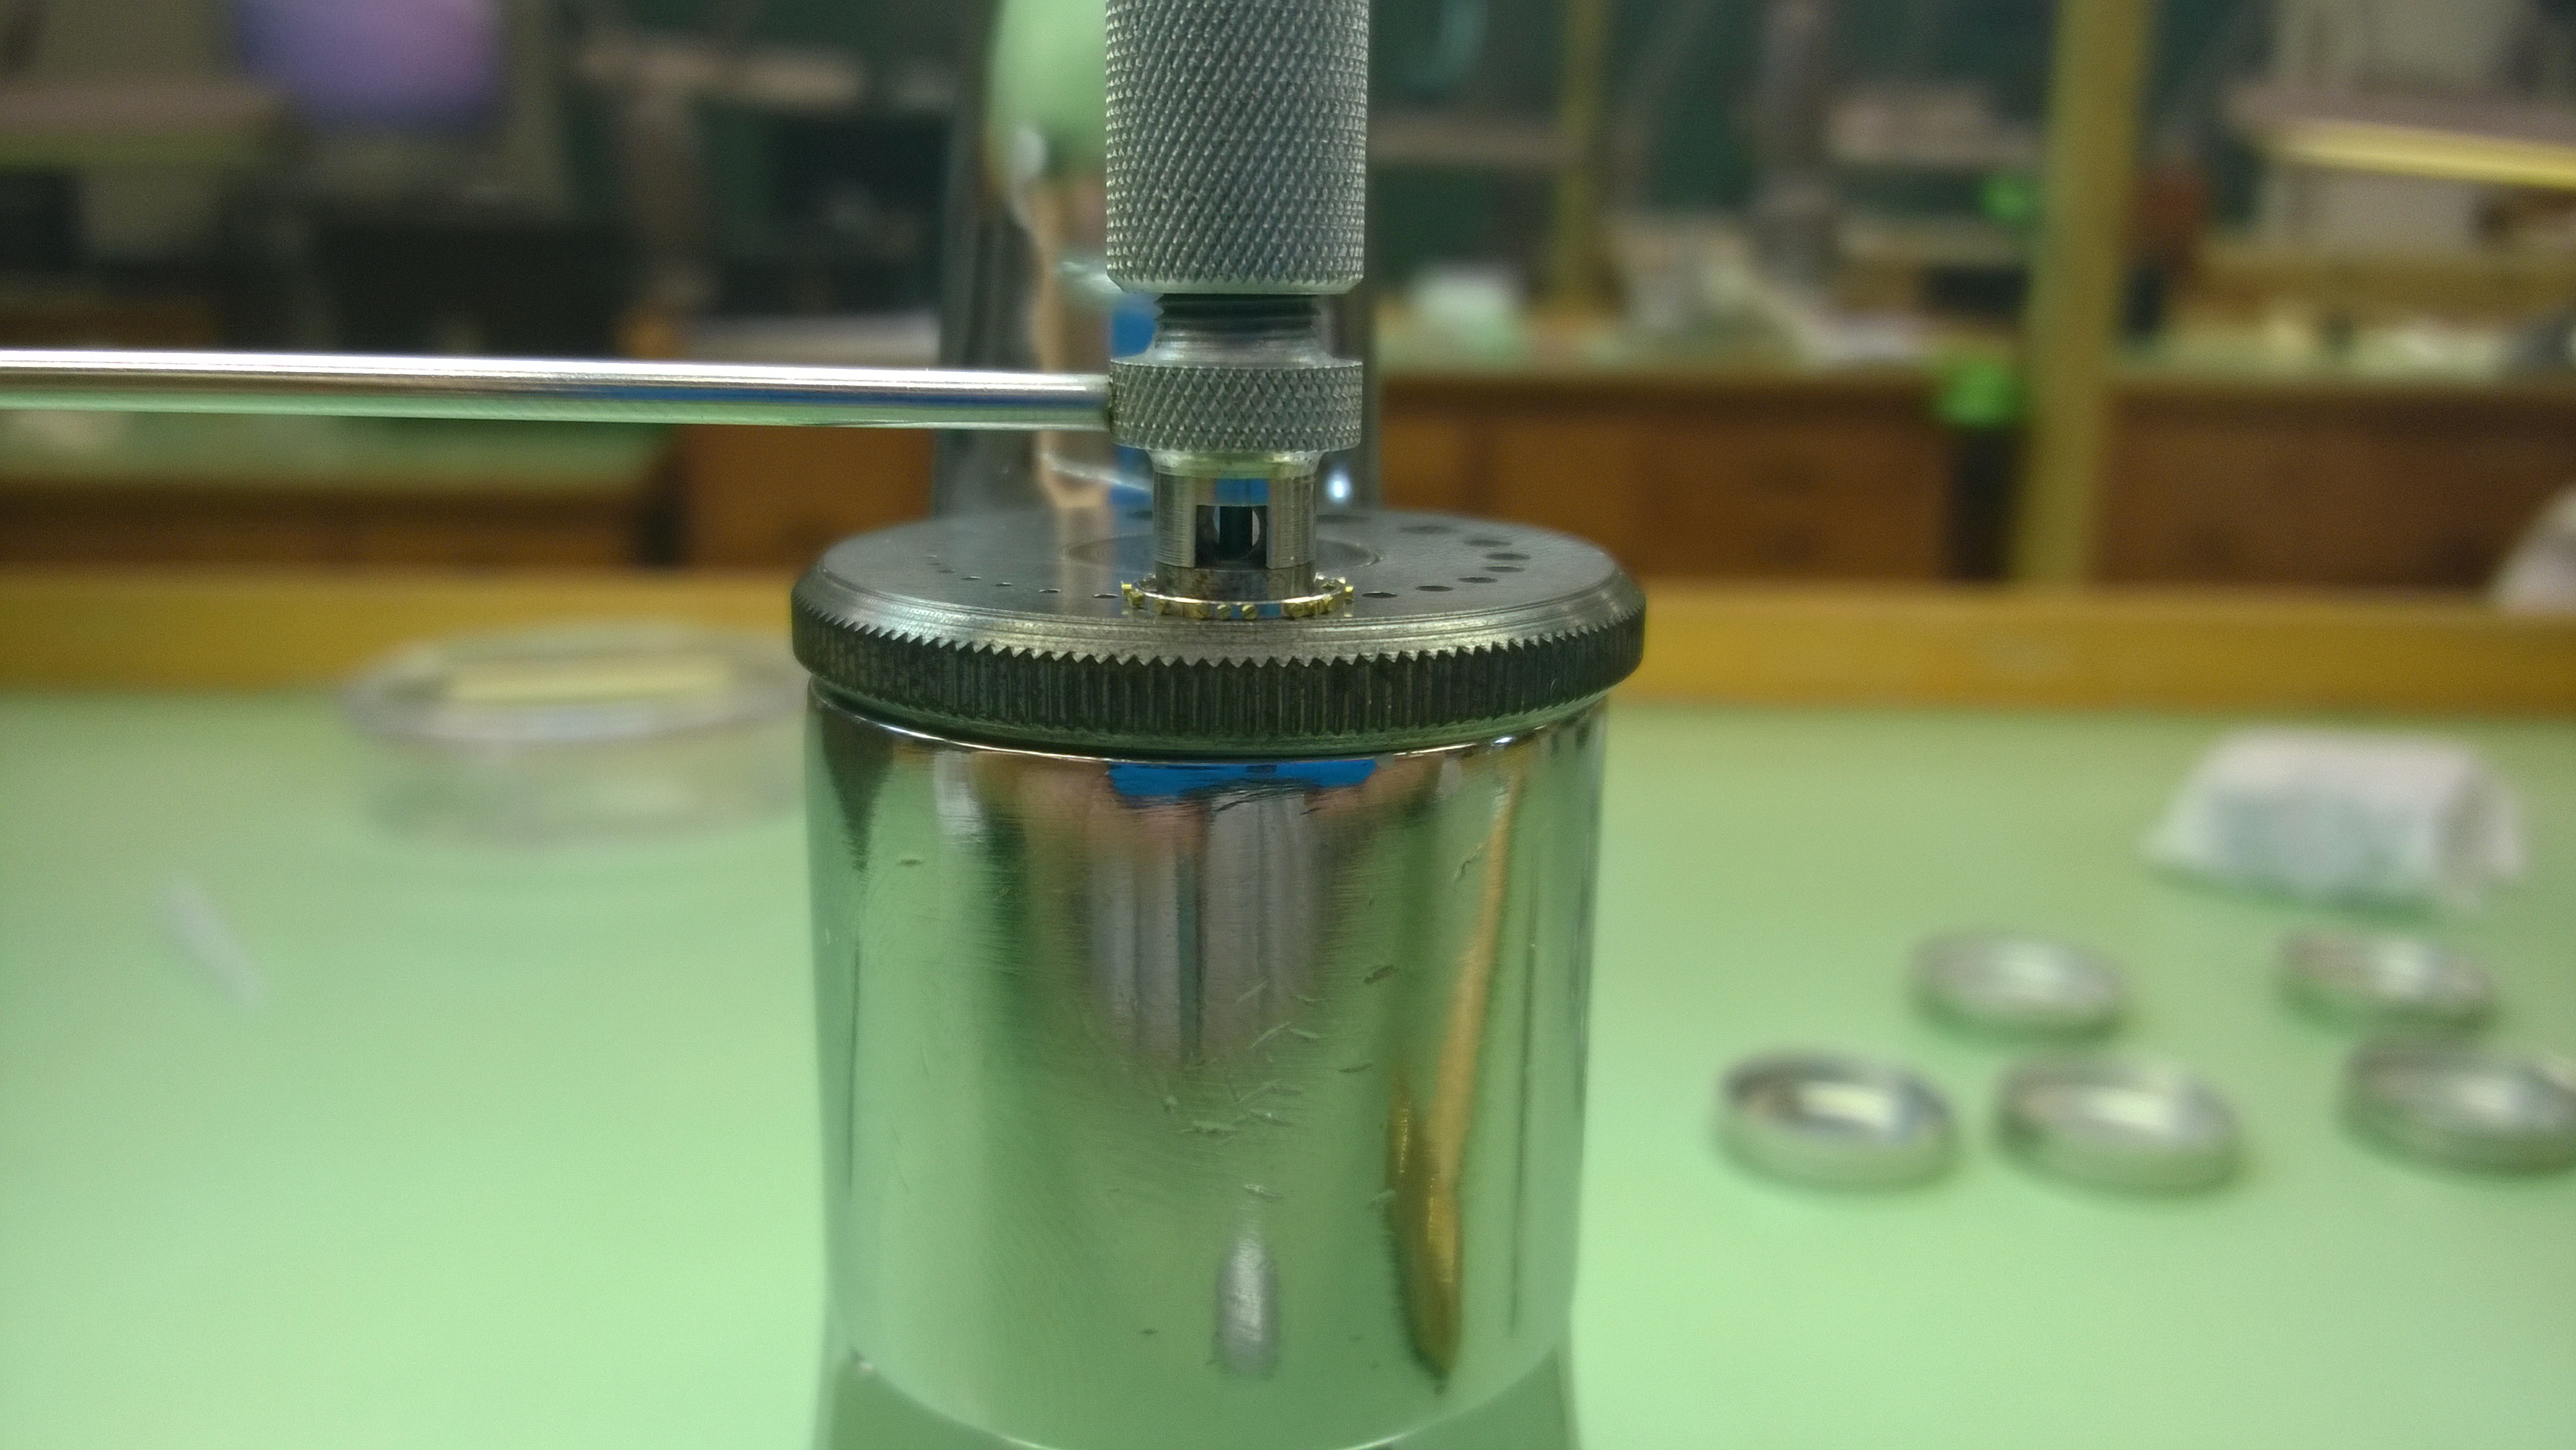 Another tap with the hammer and the staff will drop through the staking tool and you will now have a useless staff and a balance wheel that is ready to be staffed.
 To staff the wheel, you need three punches-two flats and a round. You need to pair one flat with the round (remember how I said they come in different sizes?). The flat/round pair need to be large enough to slide over the hairspring shoulder of the staff and the other flat (which will serve as a stump) needs to be large enough to go over the roller shoulder of the staff. A lot of balance staffs are made to be riveted into place on the balance wheel. In order for this to work, you use the round face punch to spread the part of the staff that forms the rivet, and follow it up with the flat face to smooth out the rivet.
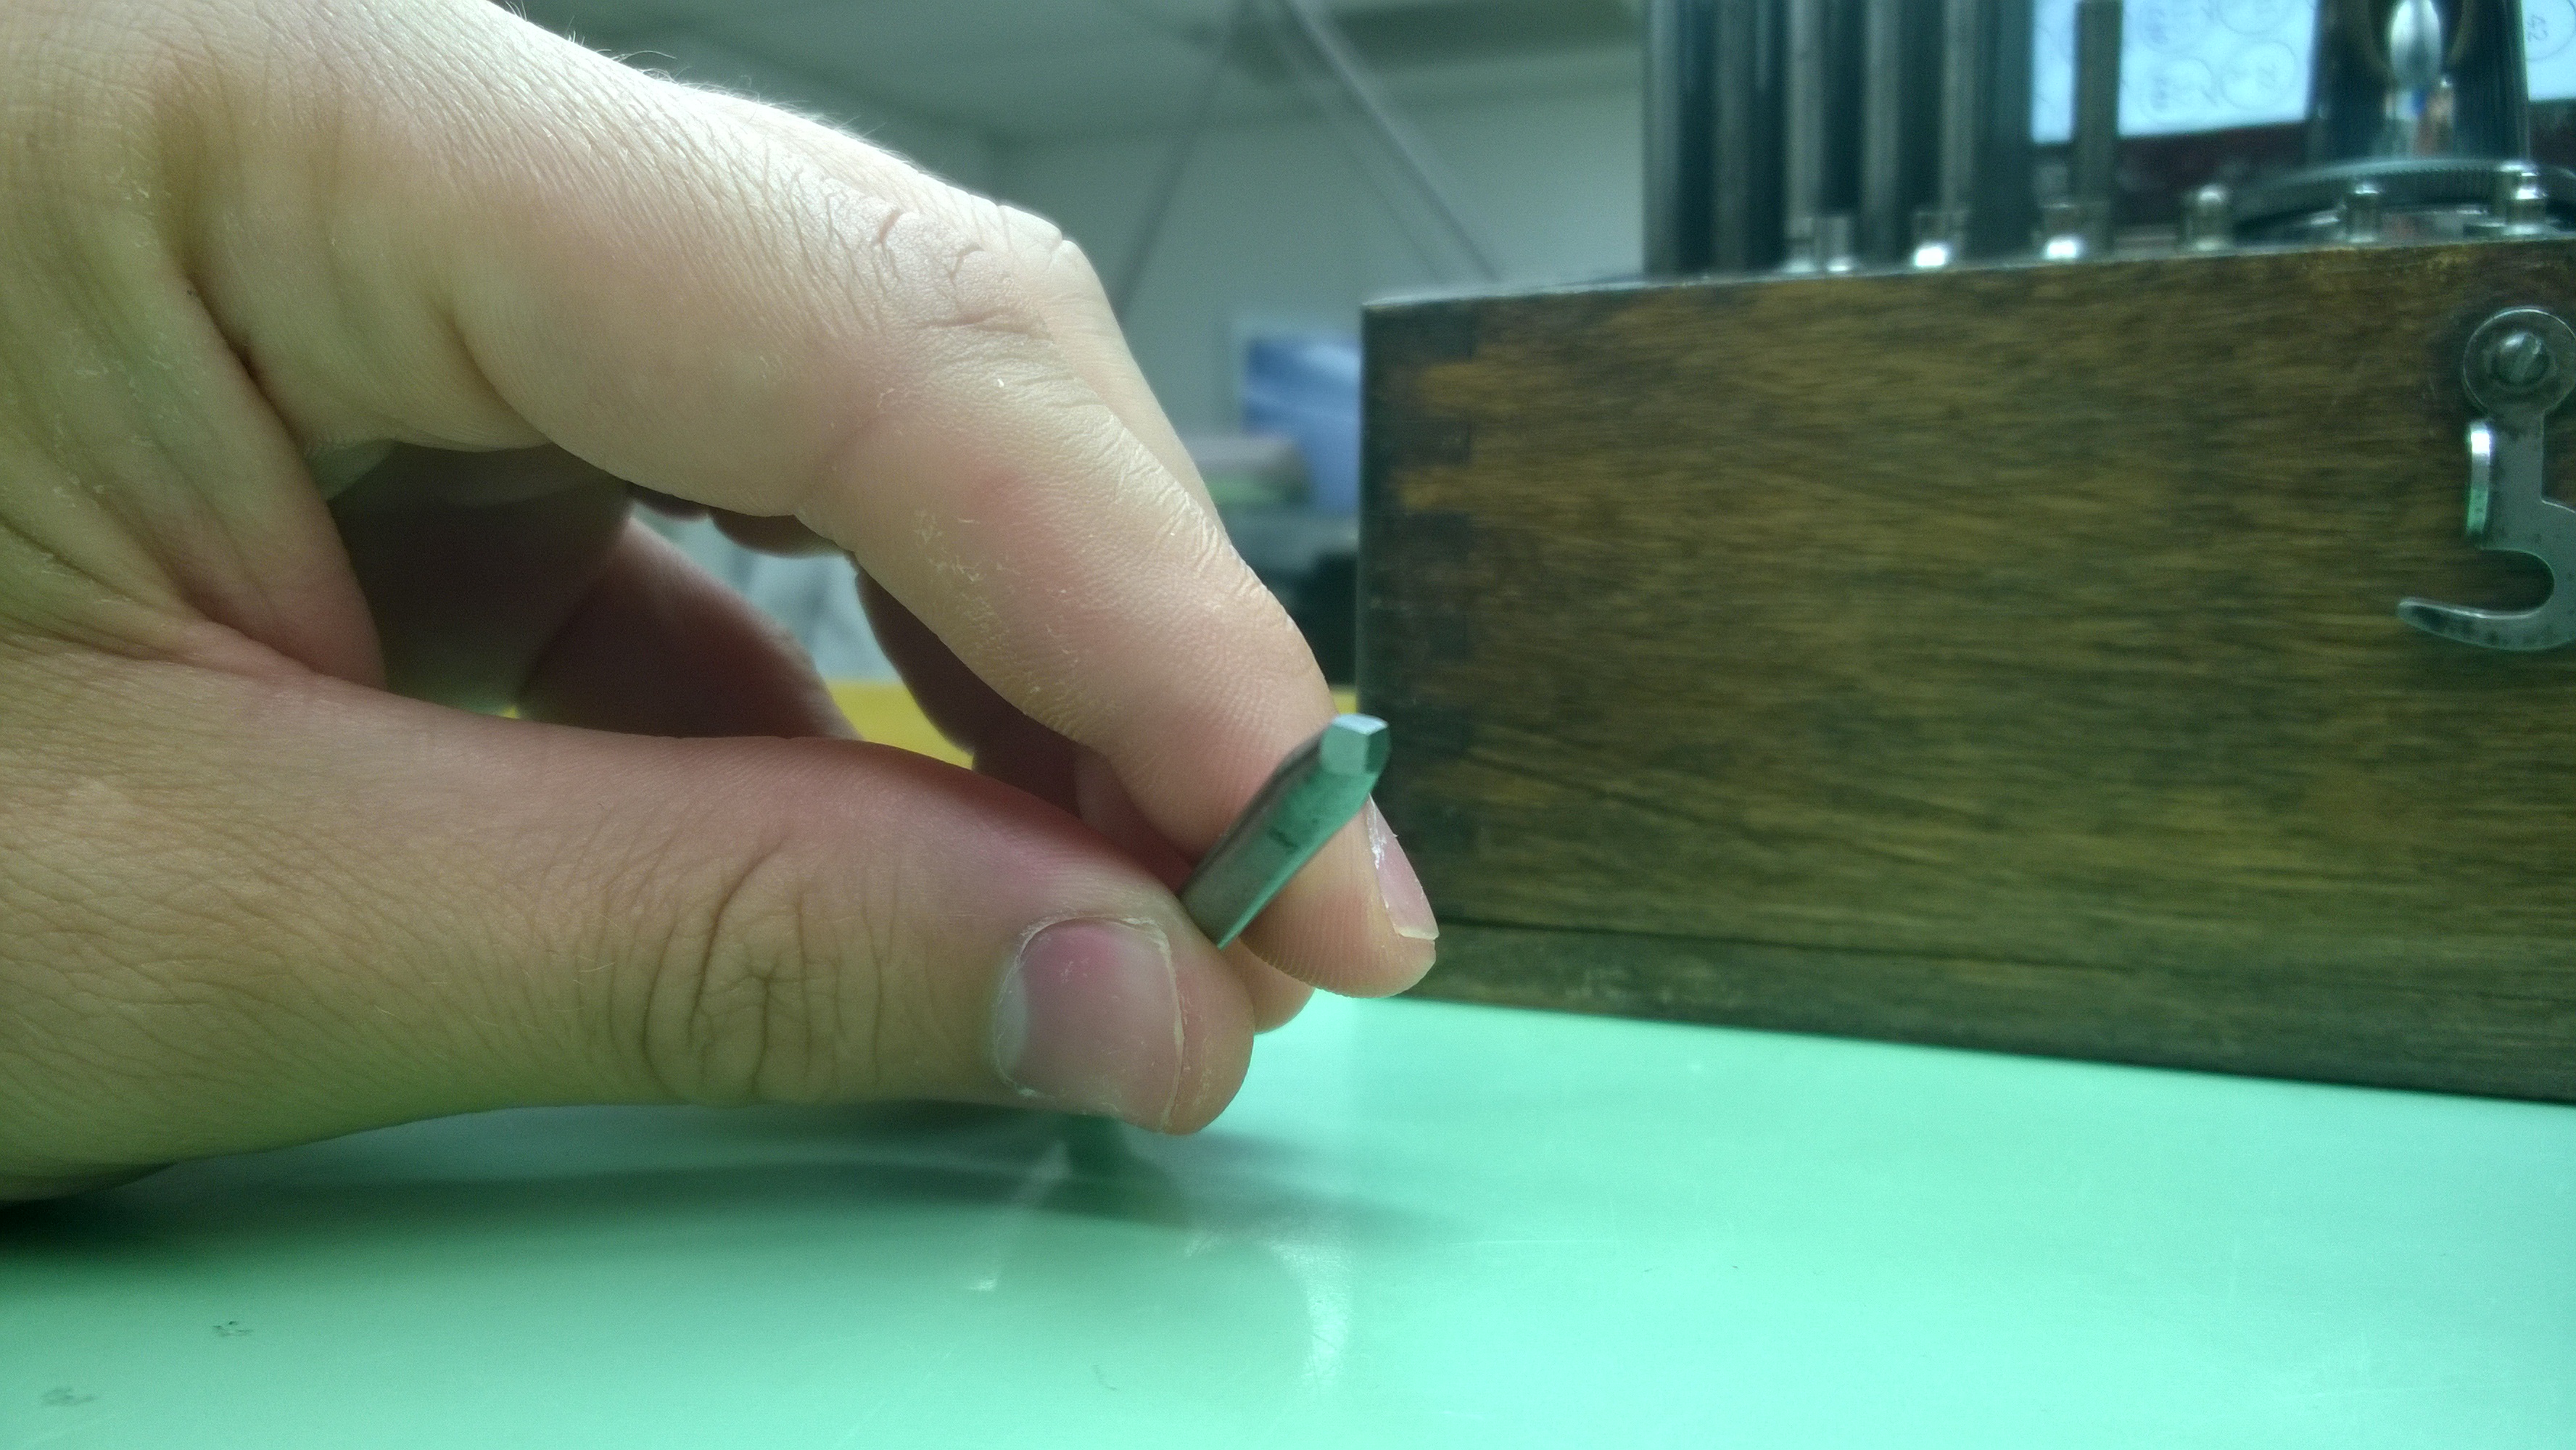
 The single punch, as I said, serves as a stump. You place the balance staff on the punch, the flat side of the wheel over that, and then put the round face punch over the staff. You then pick up the whole set-up and hold it while you are hammering it (any time you are hammering, you hold the stake between two fingers like I am in this picture).
 When hammering, I would do a few taps, rotate the wheel 90°, give it a few taps, rotate, tap, rotate, tap. After the final tap, I rotated it 45° and tapped it, then went back to 90° rotations until I had done it four times. To check and see if the rivet is done properly, you set everything back down and apply downward pressure to the round punch and try to spin the wheel. If the wheel resists when spinning, it is secure. If it spins freely, you need to keep working it. After you get the rivet secure, you switch to the flat punch and smooth everything out.
To replace the roller table, you will flip the wheel over (so the flat side is up), set the table on the wheel (aligning it to the landmarks you chose at the beginning of the process), and use a flat punch to gently friction press the roller table on.
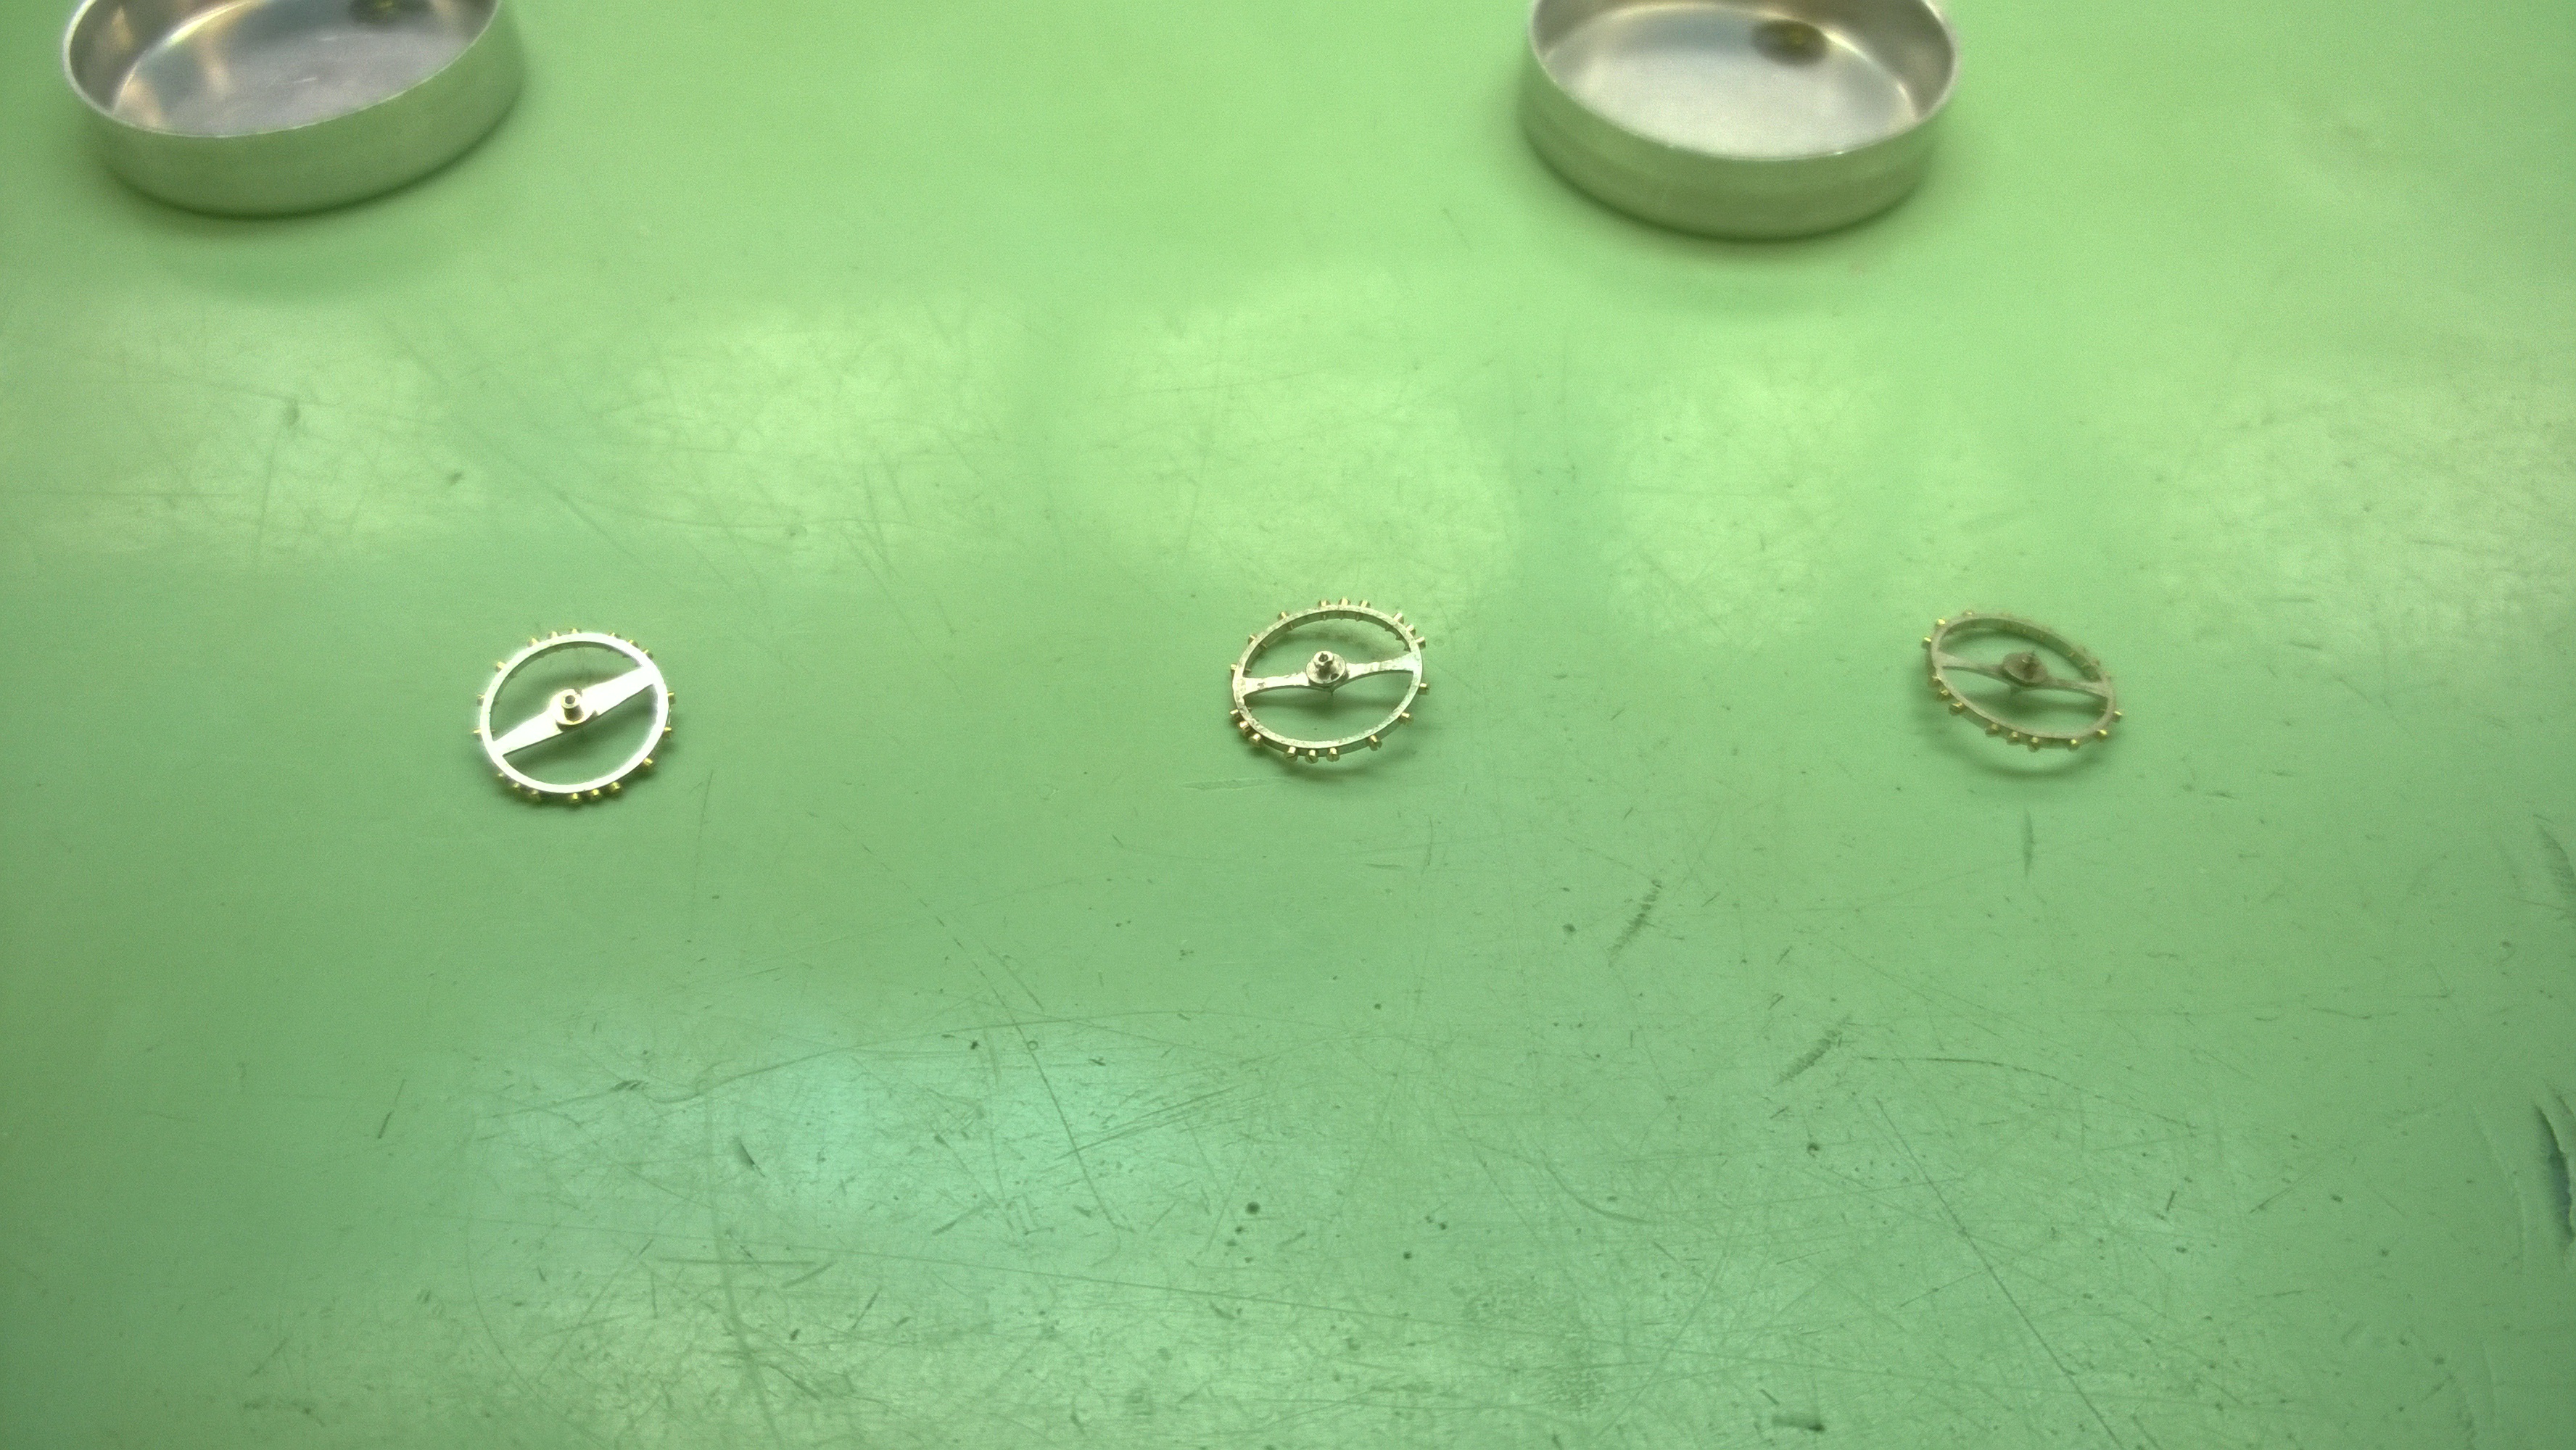
I did this process three times (was given three wheels, we’ll be doing 9 total). Before moving on to the roller table part, Mr. Poye bent the balance wheels and I had to true them. It was similar to truing the wheel train gears, but instead of using peg-wood for correcting the bends, I used the staking set since steel is harder than brass. Once I got them true, I put the roller tables on and then had an introduction to poising.
The next step after staffing is poising. Poising deals with working with the screws in the balance wheels to add or remove weight to the wheel to where there aren’t any heavy spots that will cause the wheel to have positional errors while in a watch. We had the introduction to the lecture right before class ended.

Pingback: Week 9, Days 1 & 2 (Poising Balance Wheels-Image Heavy) | watchmaking journey·