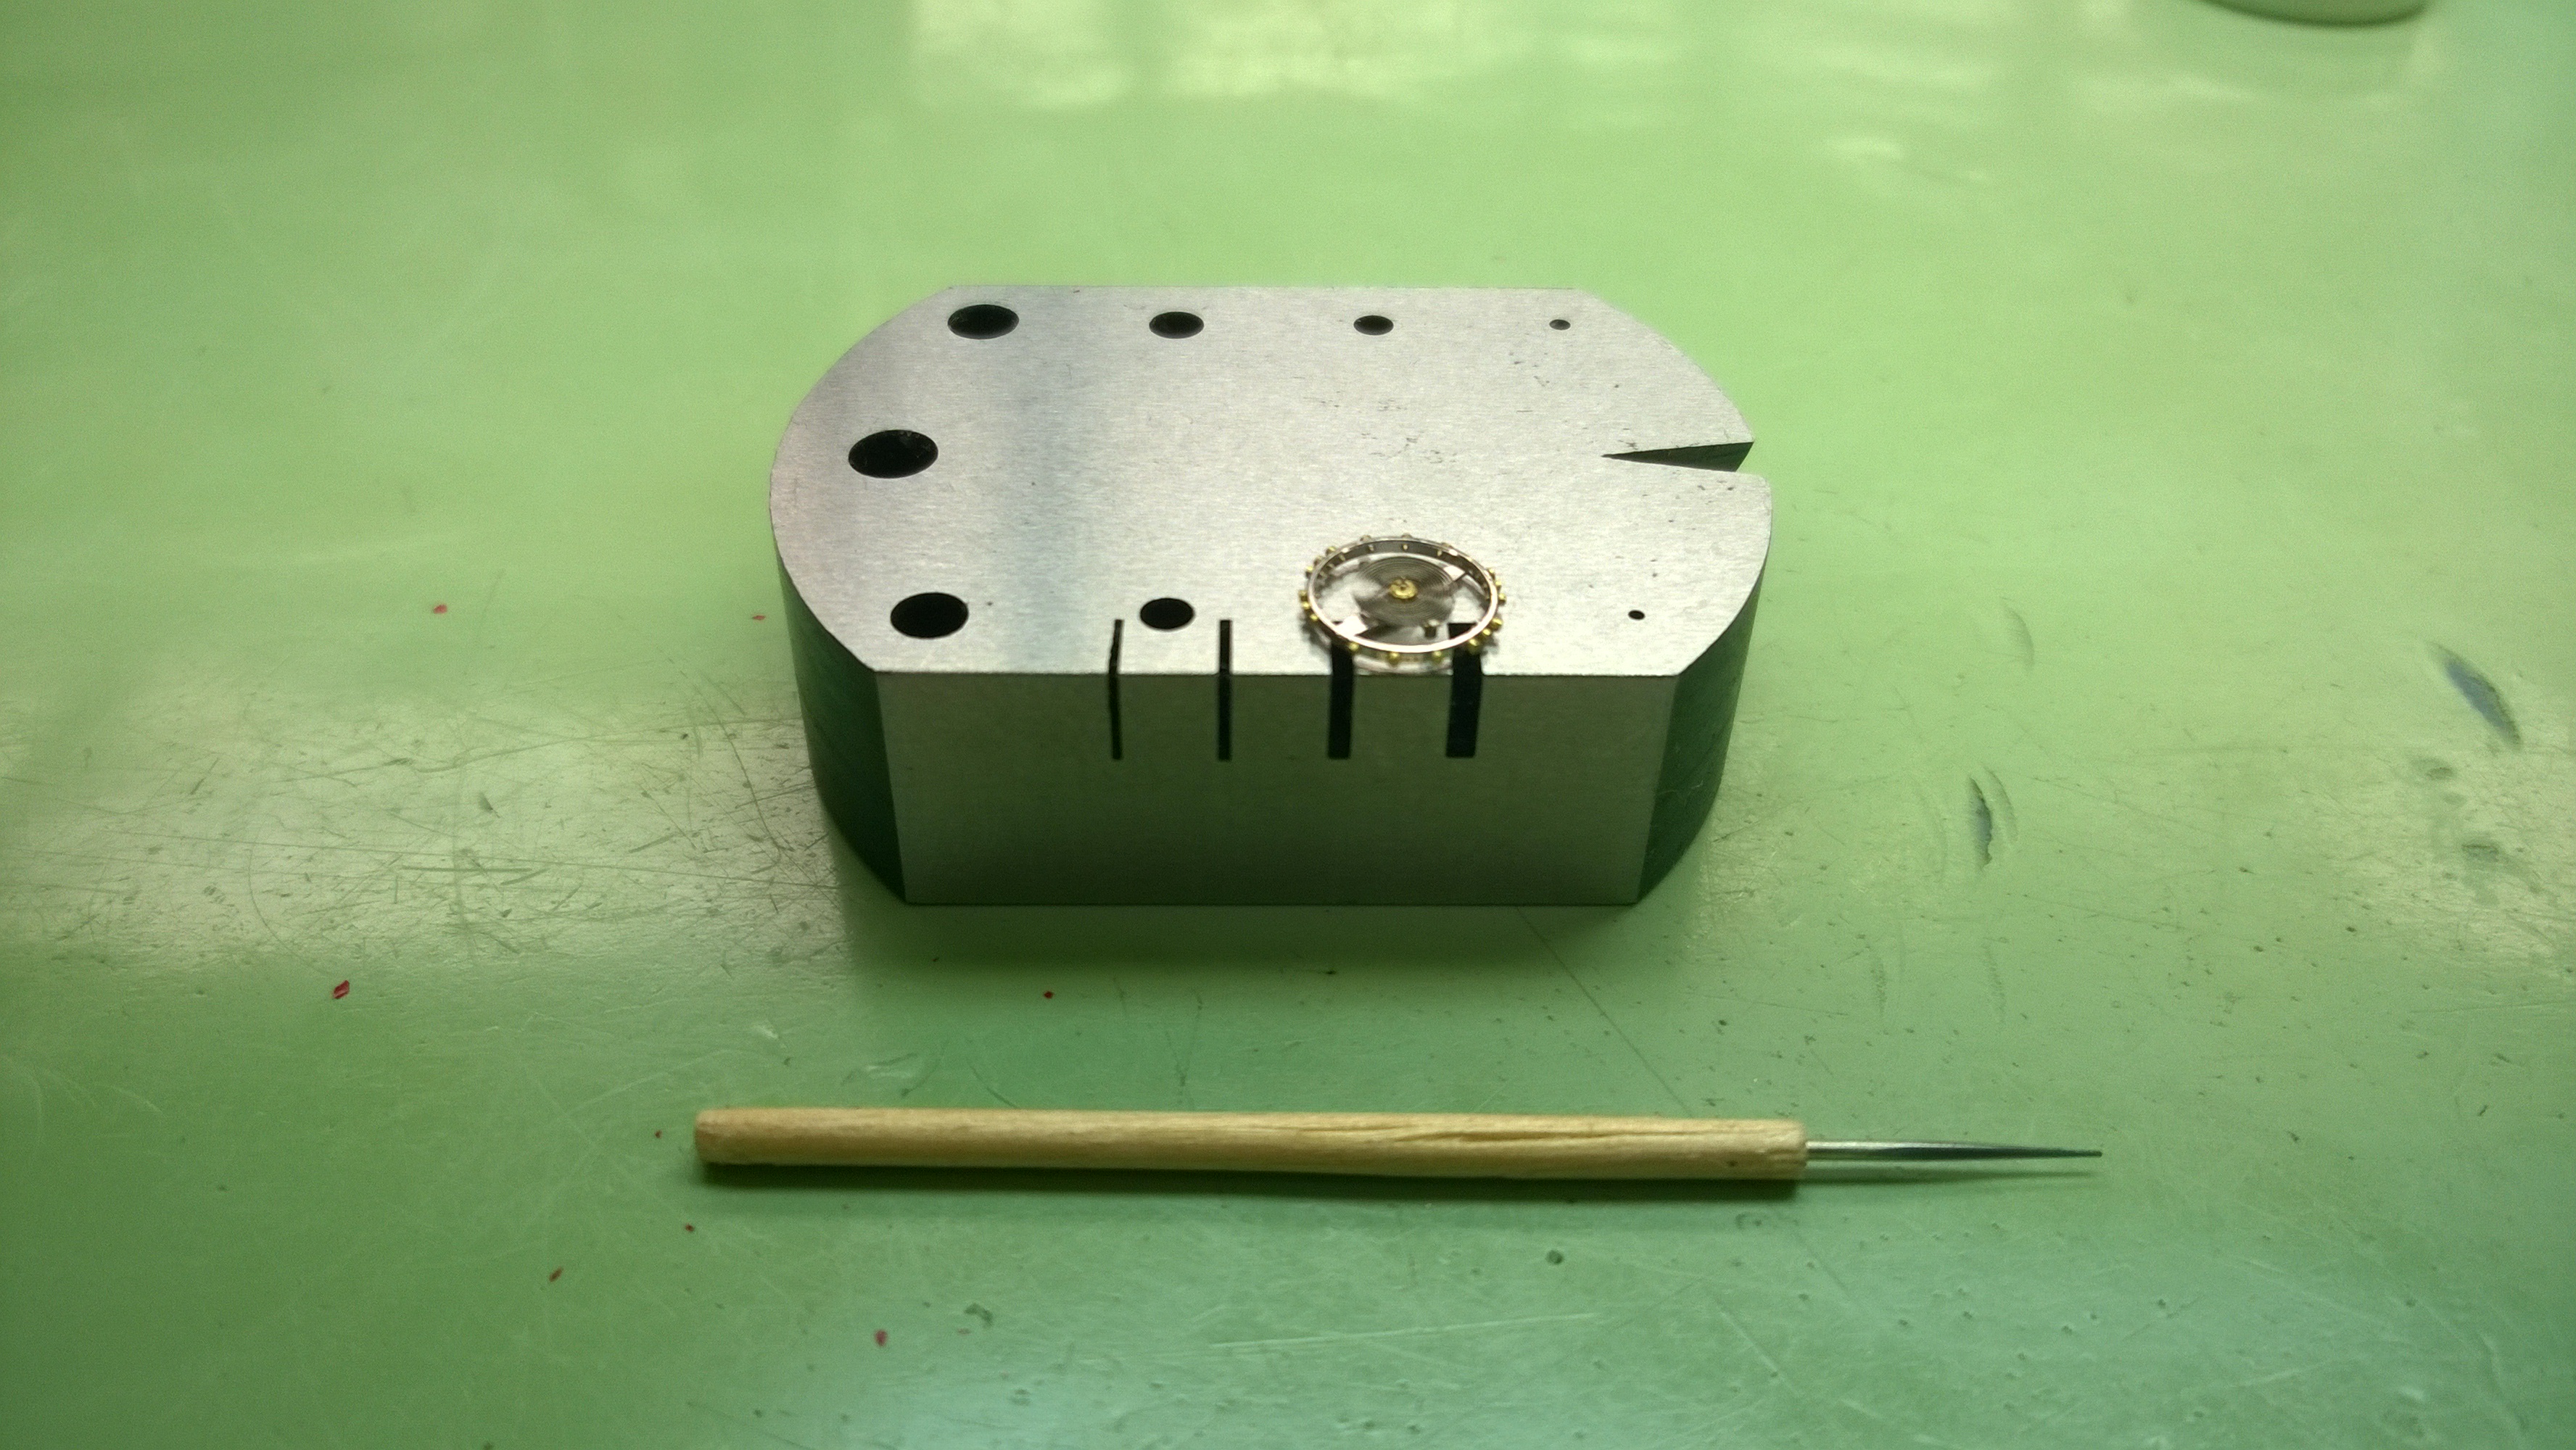
I got my final balance wheel poised Wednesday morning. After you finish poising a wheel, you need to put the hairspring back on. It is a relatively straightforward and simple process.
 Using the bench block, you need to place the balance wheel roller side down to have the “empty” staff pointing up. You then set the spring down on the staff. At this point, you don’t need to worry about the direction of the stud, you are just trying get the spring positioned so when you put it on the staking set, you are able to press it on smoothly.
 All it takes at this point is a very gentle press with the staking set to get the balance spring seated. At this point, you will most likely need to get the hairspring stud aligned with whatever landmarks you picked out before you removed everything. A few weeks ago, I made a couple tools for this process. One of them I used earlier this week to remove the collet from the hairspring. The other one is used to twist the collet around so the stud of the spring is where you need it.
 This tool has been ground flat and thin at its point. It slides into the slot in the collet and then you are able to rotate the collet around until the stud is in place.
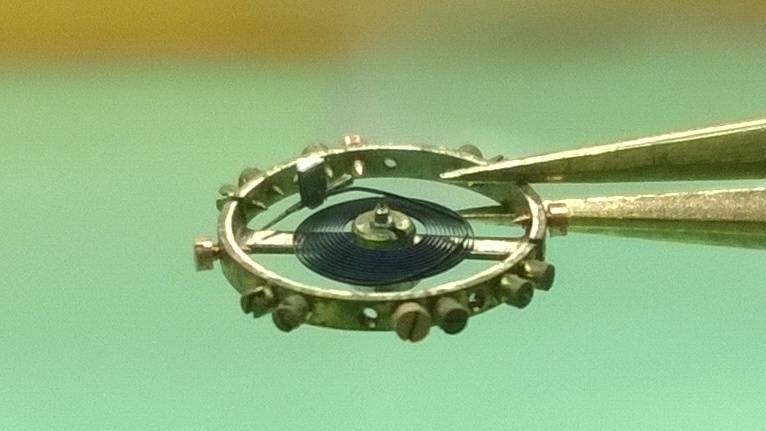 This is a good picture that shows what the slot in the collet looks like.
After getting all three springs back on, Mr. Poye collected the three balance completes from me and gave me three more. This time, I used a different process for removing the roller table and the staff. In my student tool kit, I was issued a roller remover tool
 and a balance staff remover that is to be used in a staking set-up.
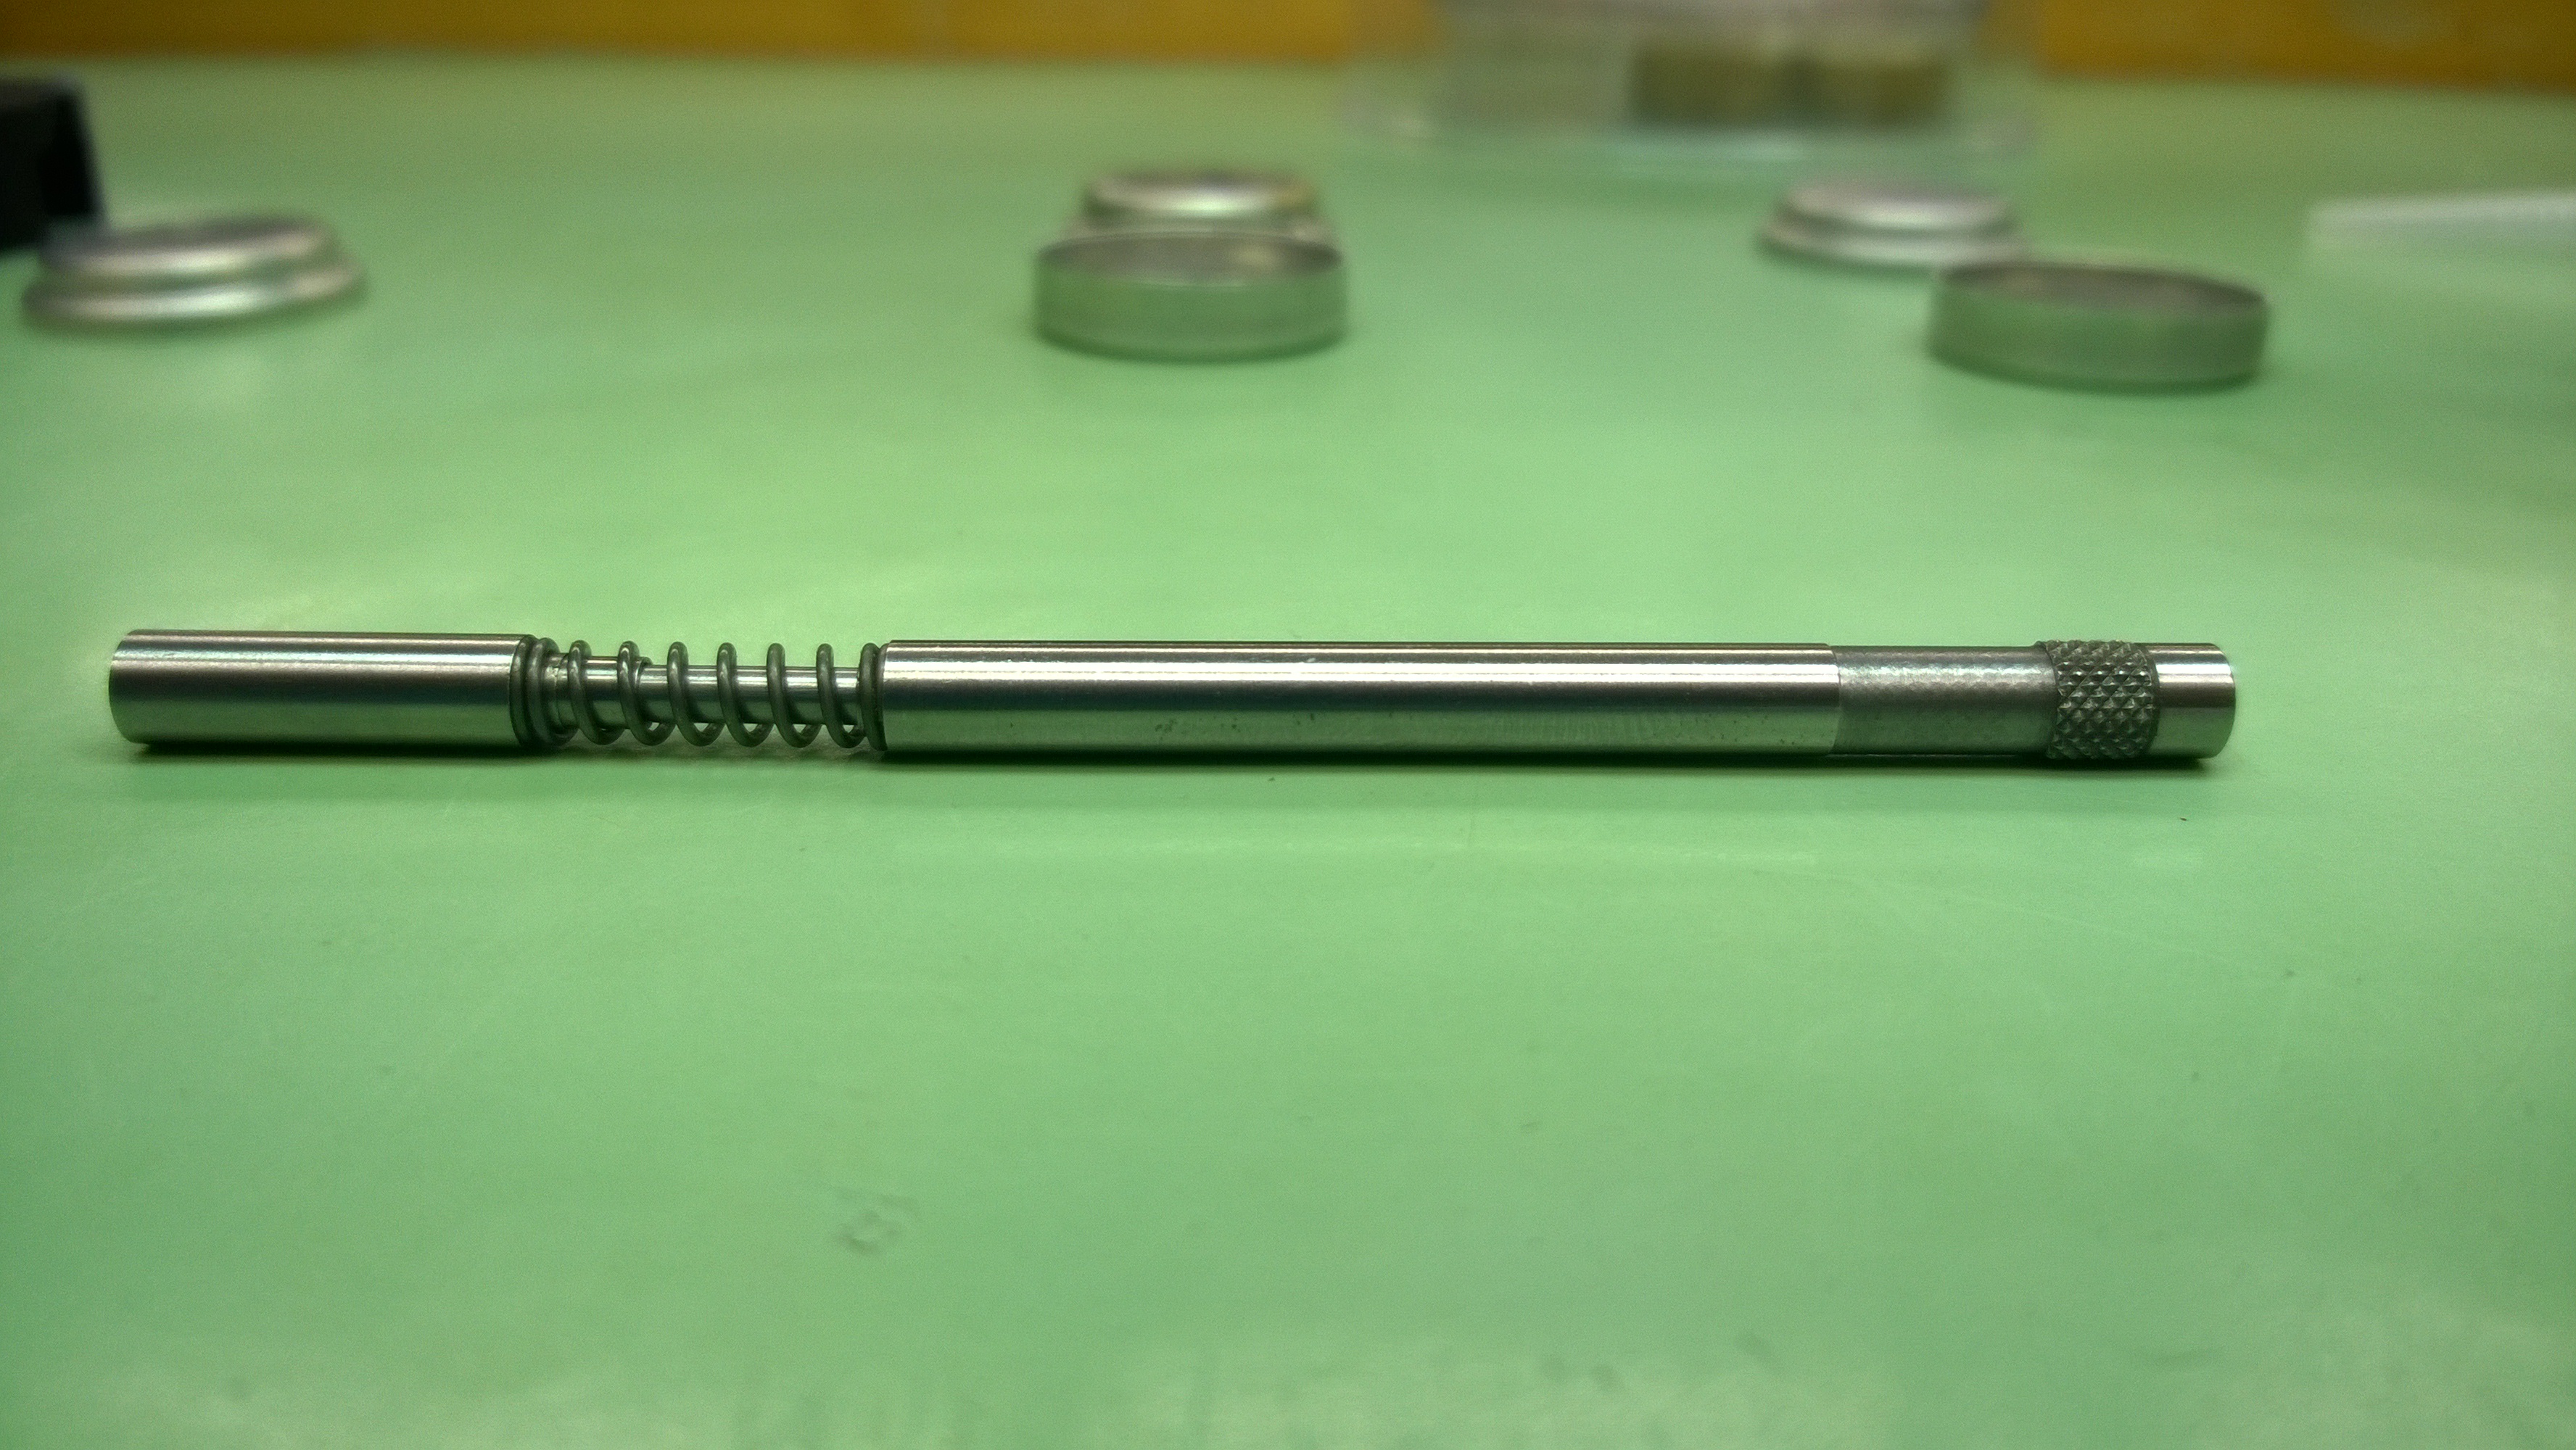 To use the roller remover tool:
- Place the balance (with the spring removed) below the jaws with the roller on top of the jaws.
- Squeeze the handles (on the left in the picture) gently and then let up on the pressure.
- Move the balance a little further up the tool and squeeze again. Let up the pressure and move the wheel.
- Repeat this until the roller is removed.
 The reason I wanted to used this tool is because the staking set roller removing set-up isn’t ideal for balances with more than two spokes. And to be honest, after doing this process, I don’t think I will use the staking set to remove the roller again. This was a lot easier and I felt like I had more control over the process. It was very quick and fool-proof.
To remove the staff with the staff removing tool, you use the staking set and just use that tool instead of of the staking set tools. The way the tool works is pretty simple. The end of the tool slides up and down a shaft and spring provides tension to keep tension on the staff. You use the hammer again to tap the tool to pop the staff out. Definitely not a fan of this tool. It was difficult to maintain tension on the staff so I could tap it with the hammer. The staking set set-up was definitely a lot easier to use and has a lot more control.
Staffing was done the exact same way as earlier this week. Truing the wheels took less time than I was expecting, so I was luckily able to spend a good amount of time on poising the wheels. After spending half a day on a wheel, I found out that the pivot on one of my wheels was bent. I went ahead and replaced it, and after about 20 minutes got it poised. I spent the rest of my time working on my second wheel.
Once I get done with this group of three, I’ll have a third practice group of wheels before I move onto pinning studs and collets on hairsprings.
