I finished up my pallet arbors on Thursday. The process for doing that is relatively straight forward, in that you just need to reverse the process. You place the now empty pallet fork on the stump of the jeweling tool.
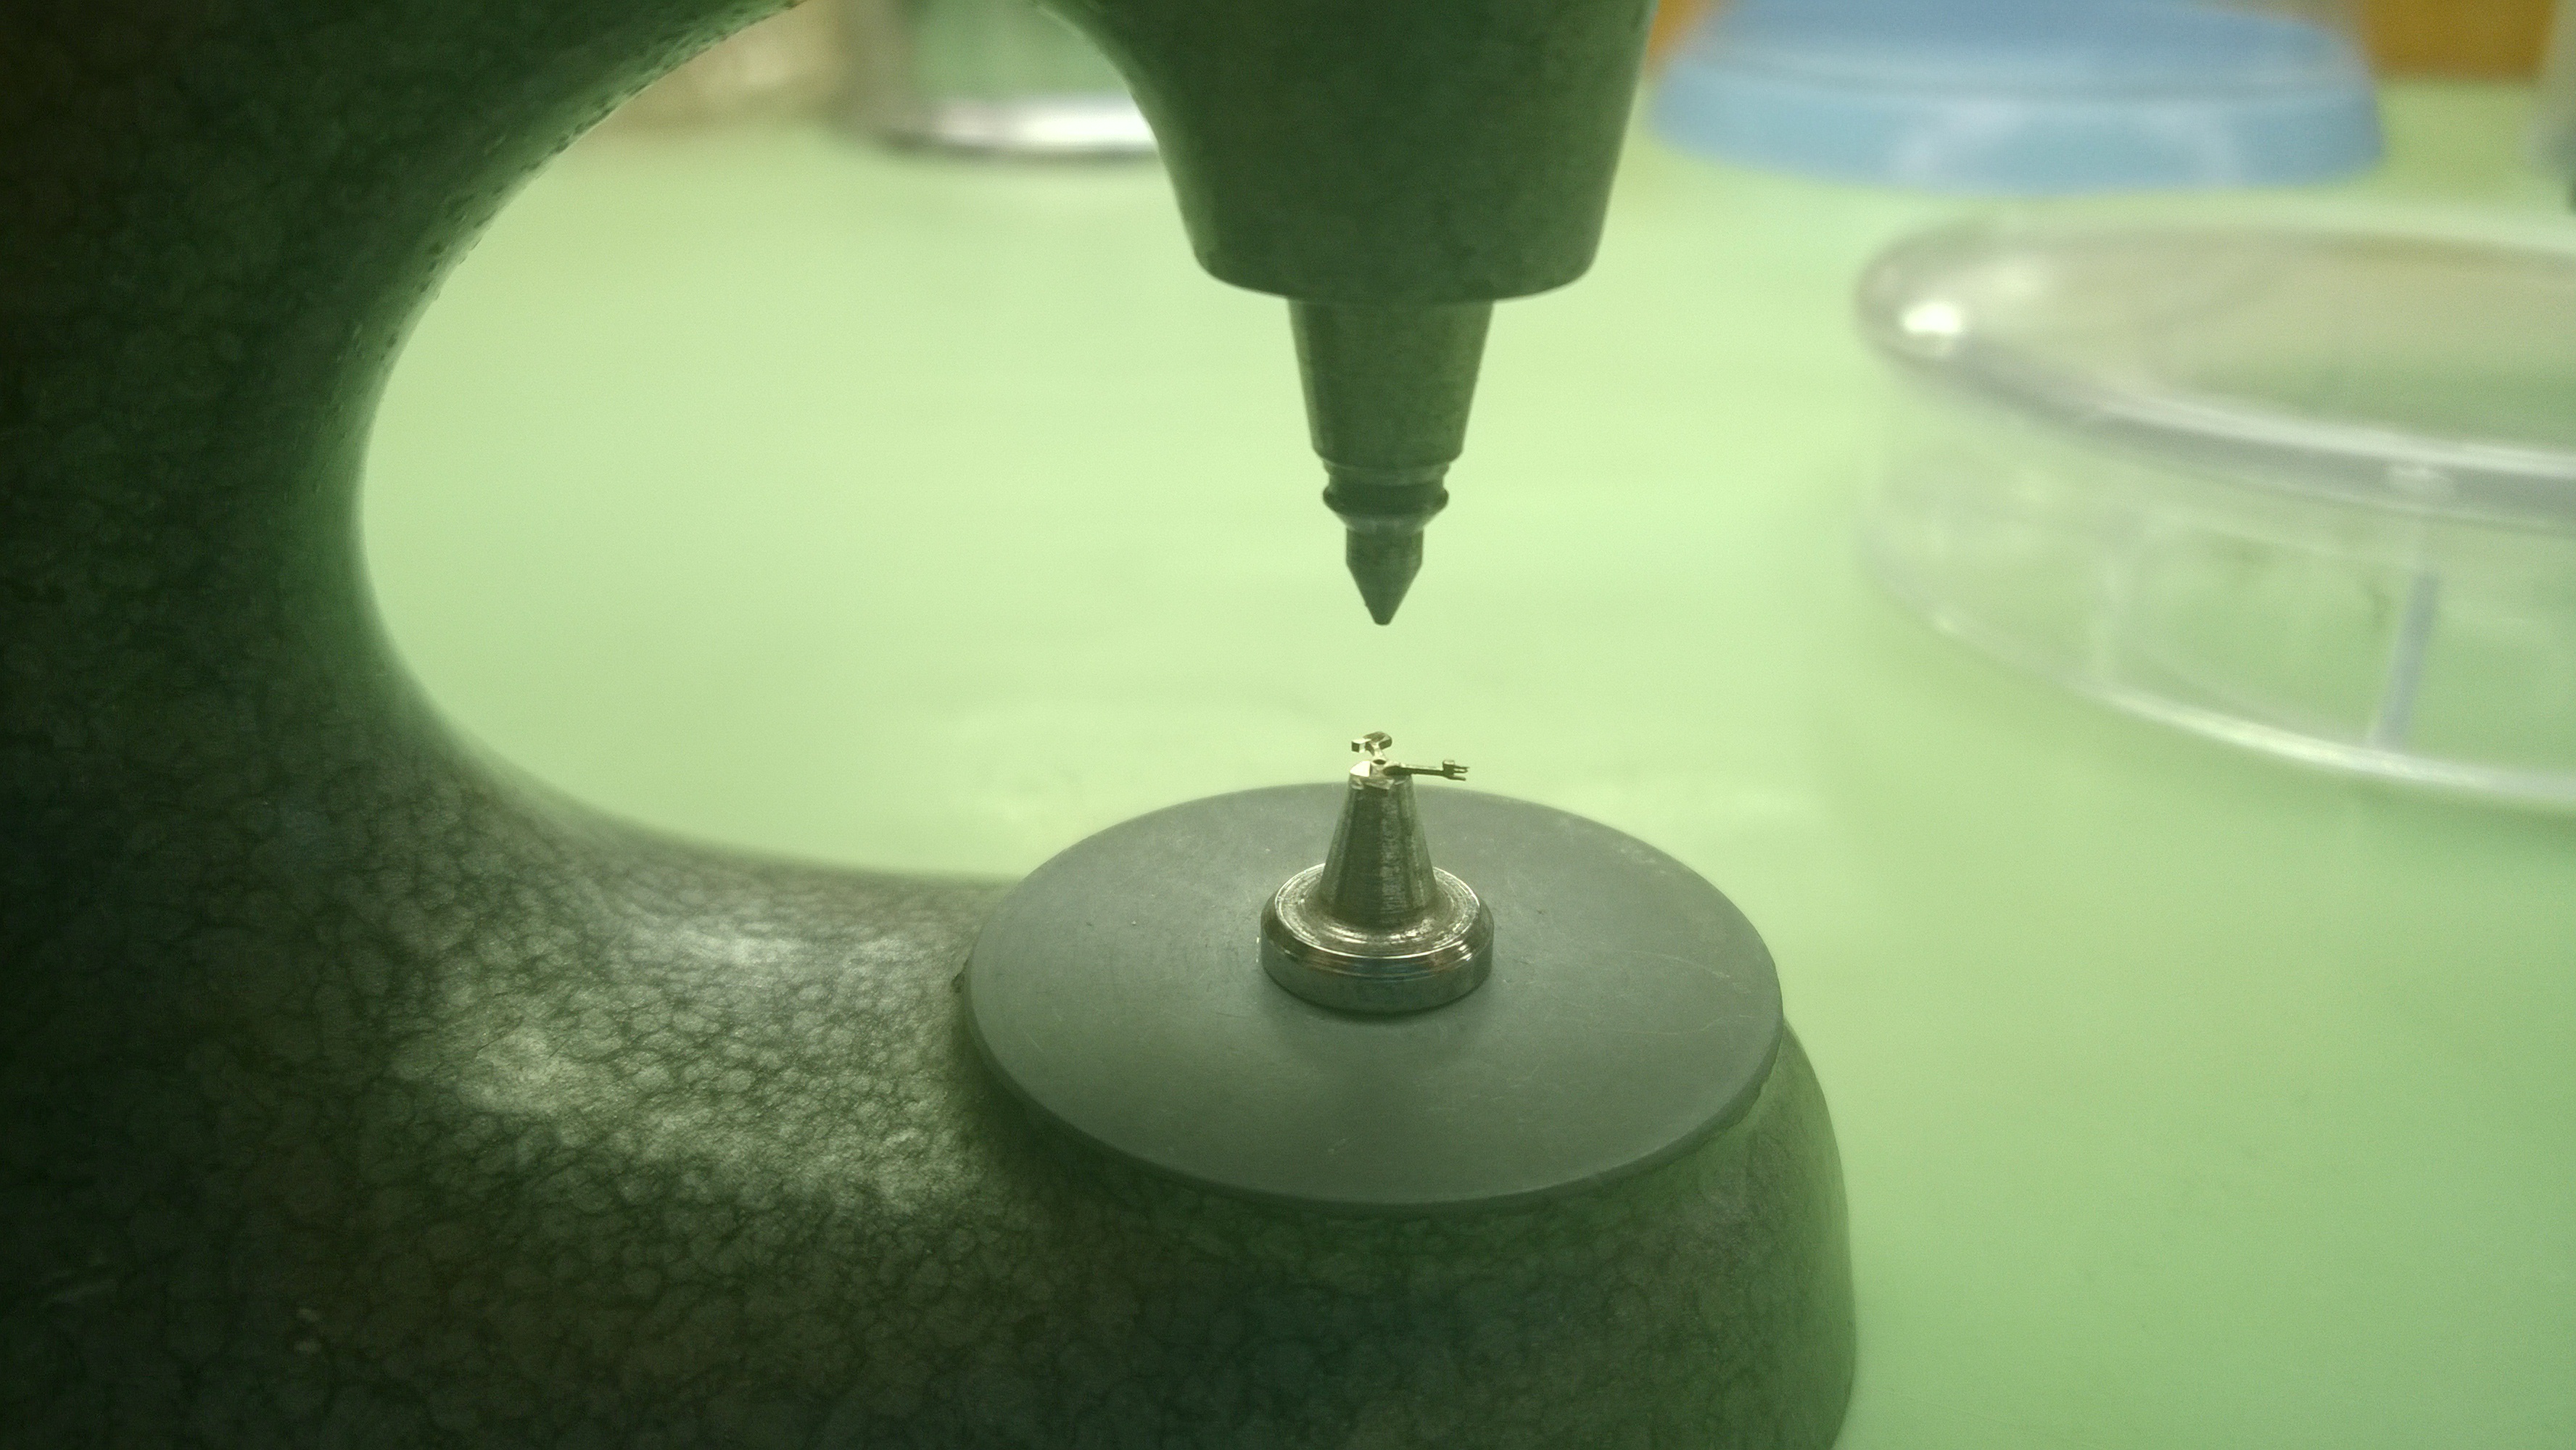 Using a pair of tweezers, take the pallet arbor and place hold it over the empty hole and slowly lower the punch until it is just above the the arbor.
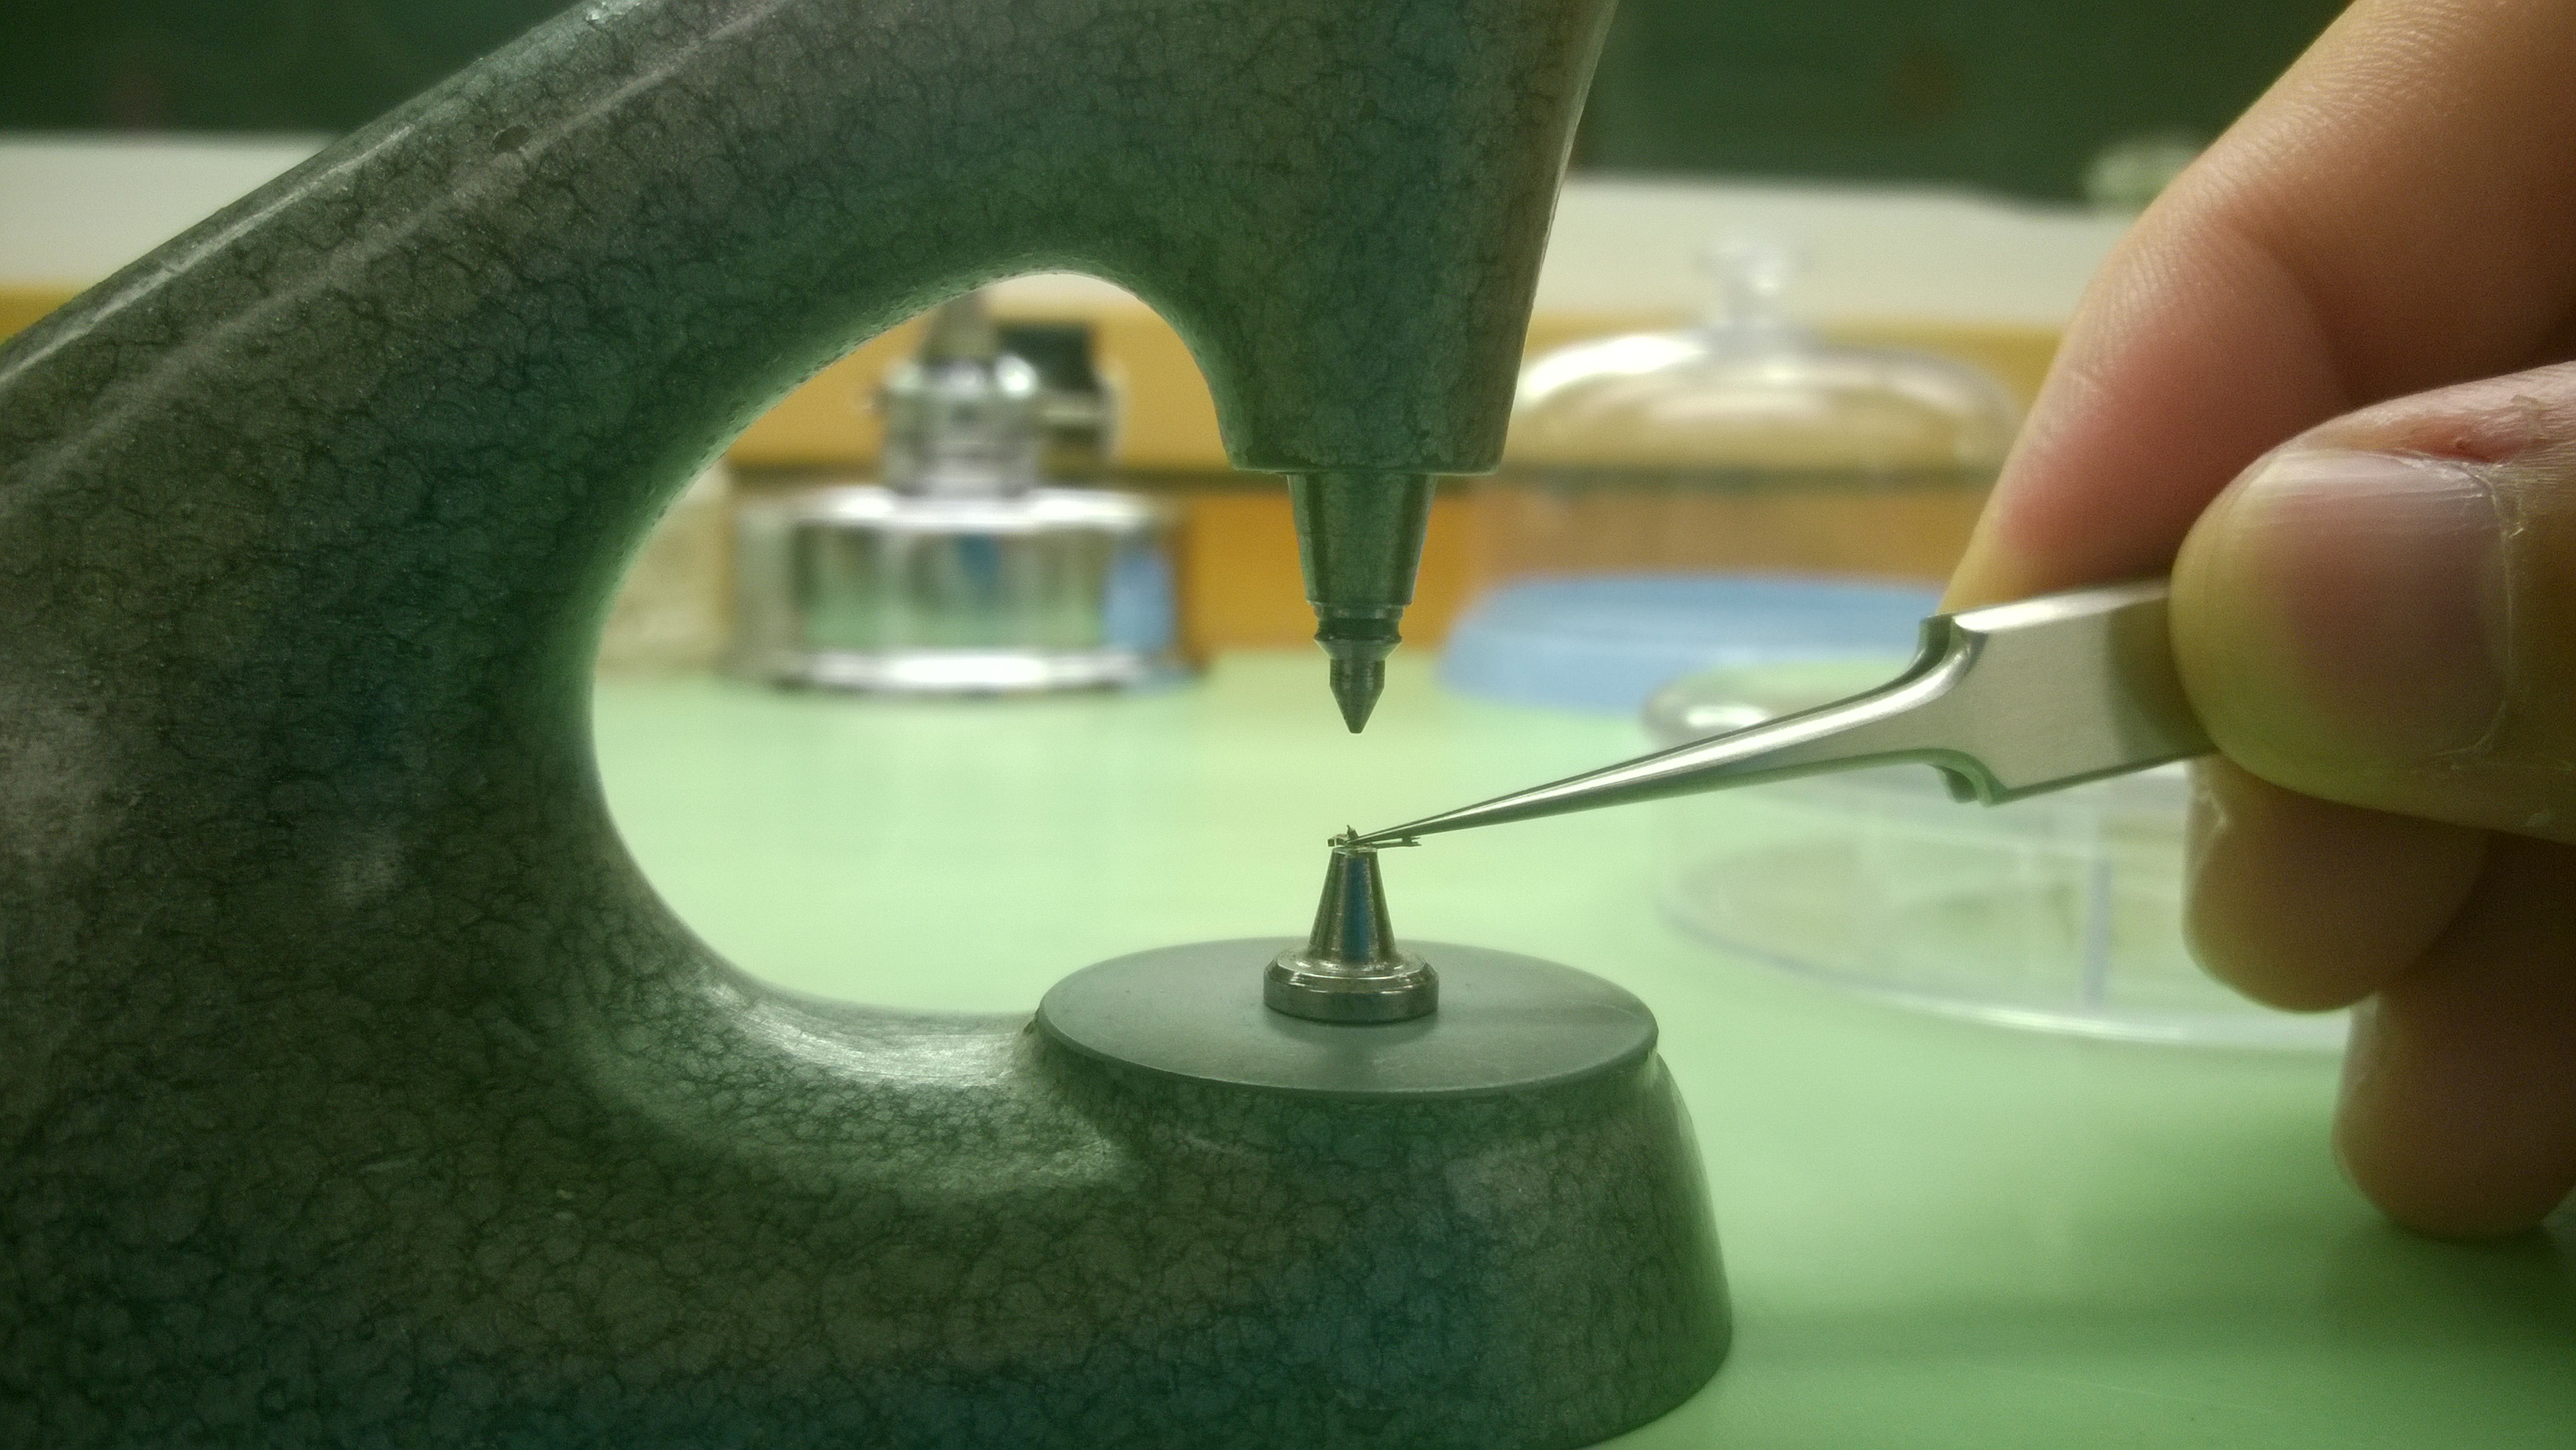 Continue lowering the punch to press the arbor into place.
 At this point, remove the pallet fork and check to make sure you pressed it in the right distance as it was originally. If you pressed too far, you can flip the fork and and press it back in the opposite direction.
Here is a video that shows how the jeweling tool works regarding the micro-adjustments to lower the punch.
After I turned in my forks and jeweling tool, I got my introduction to what we fondly called the Crib Toy.
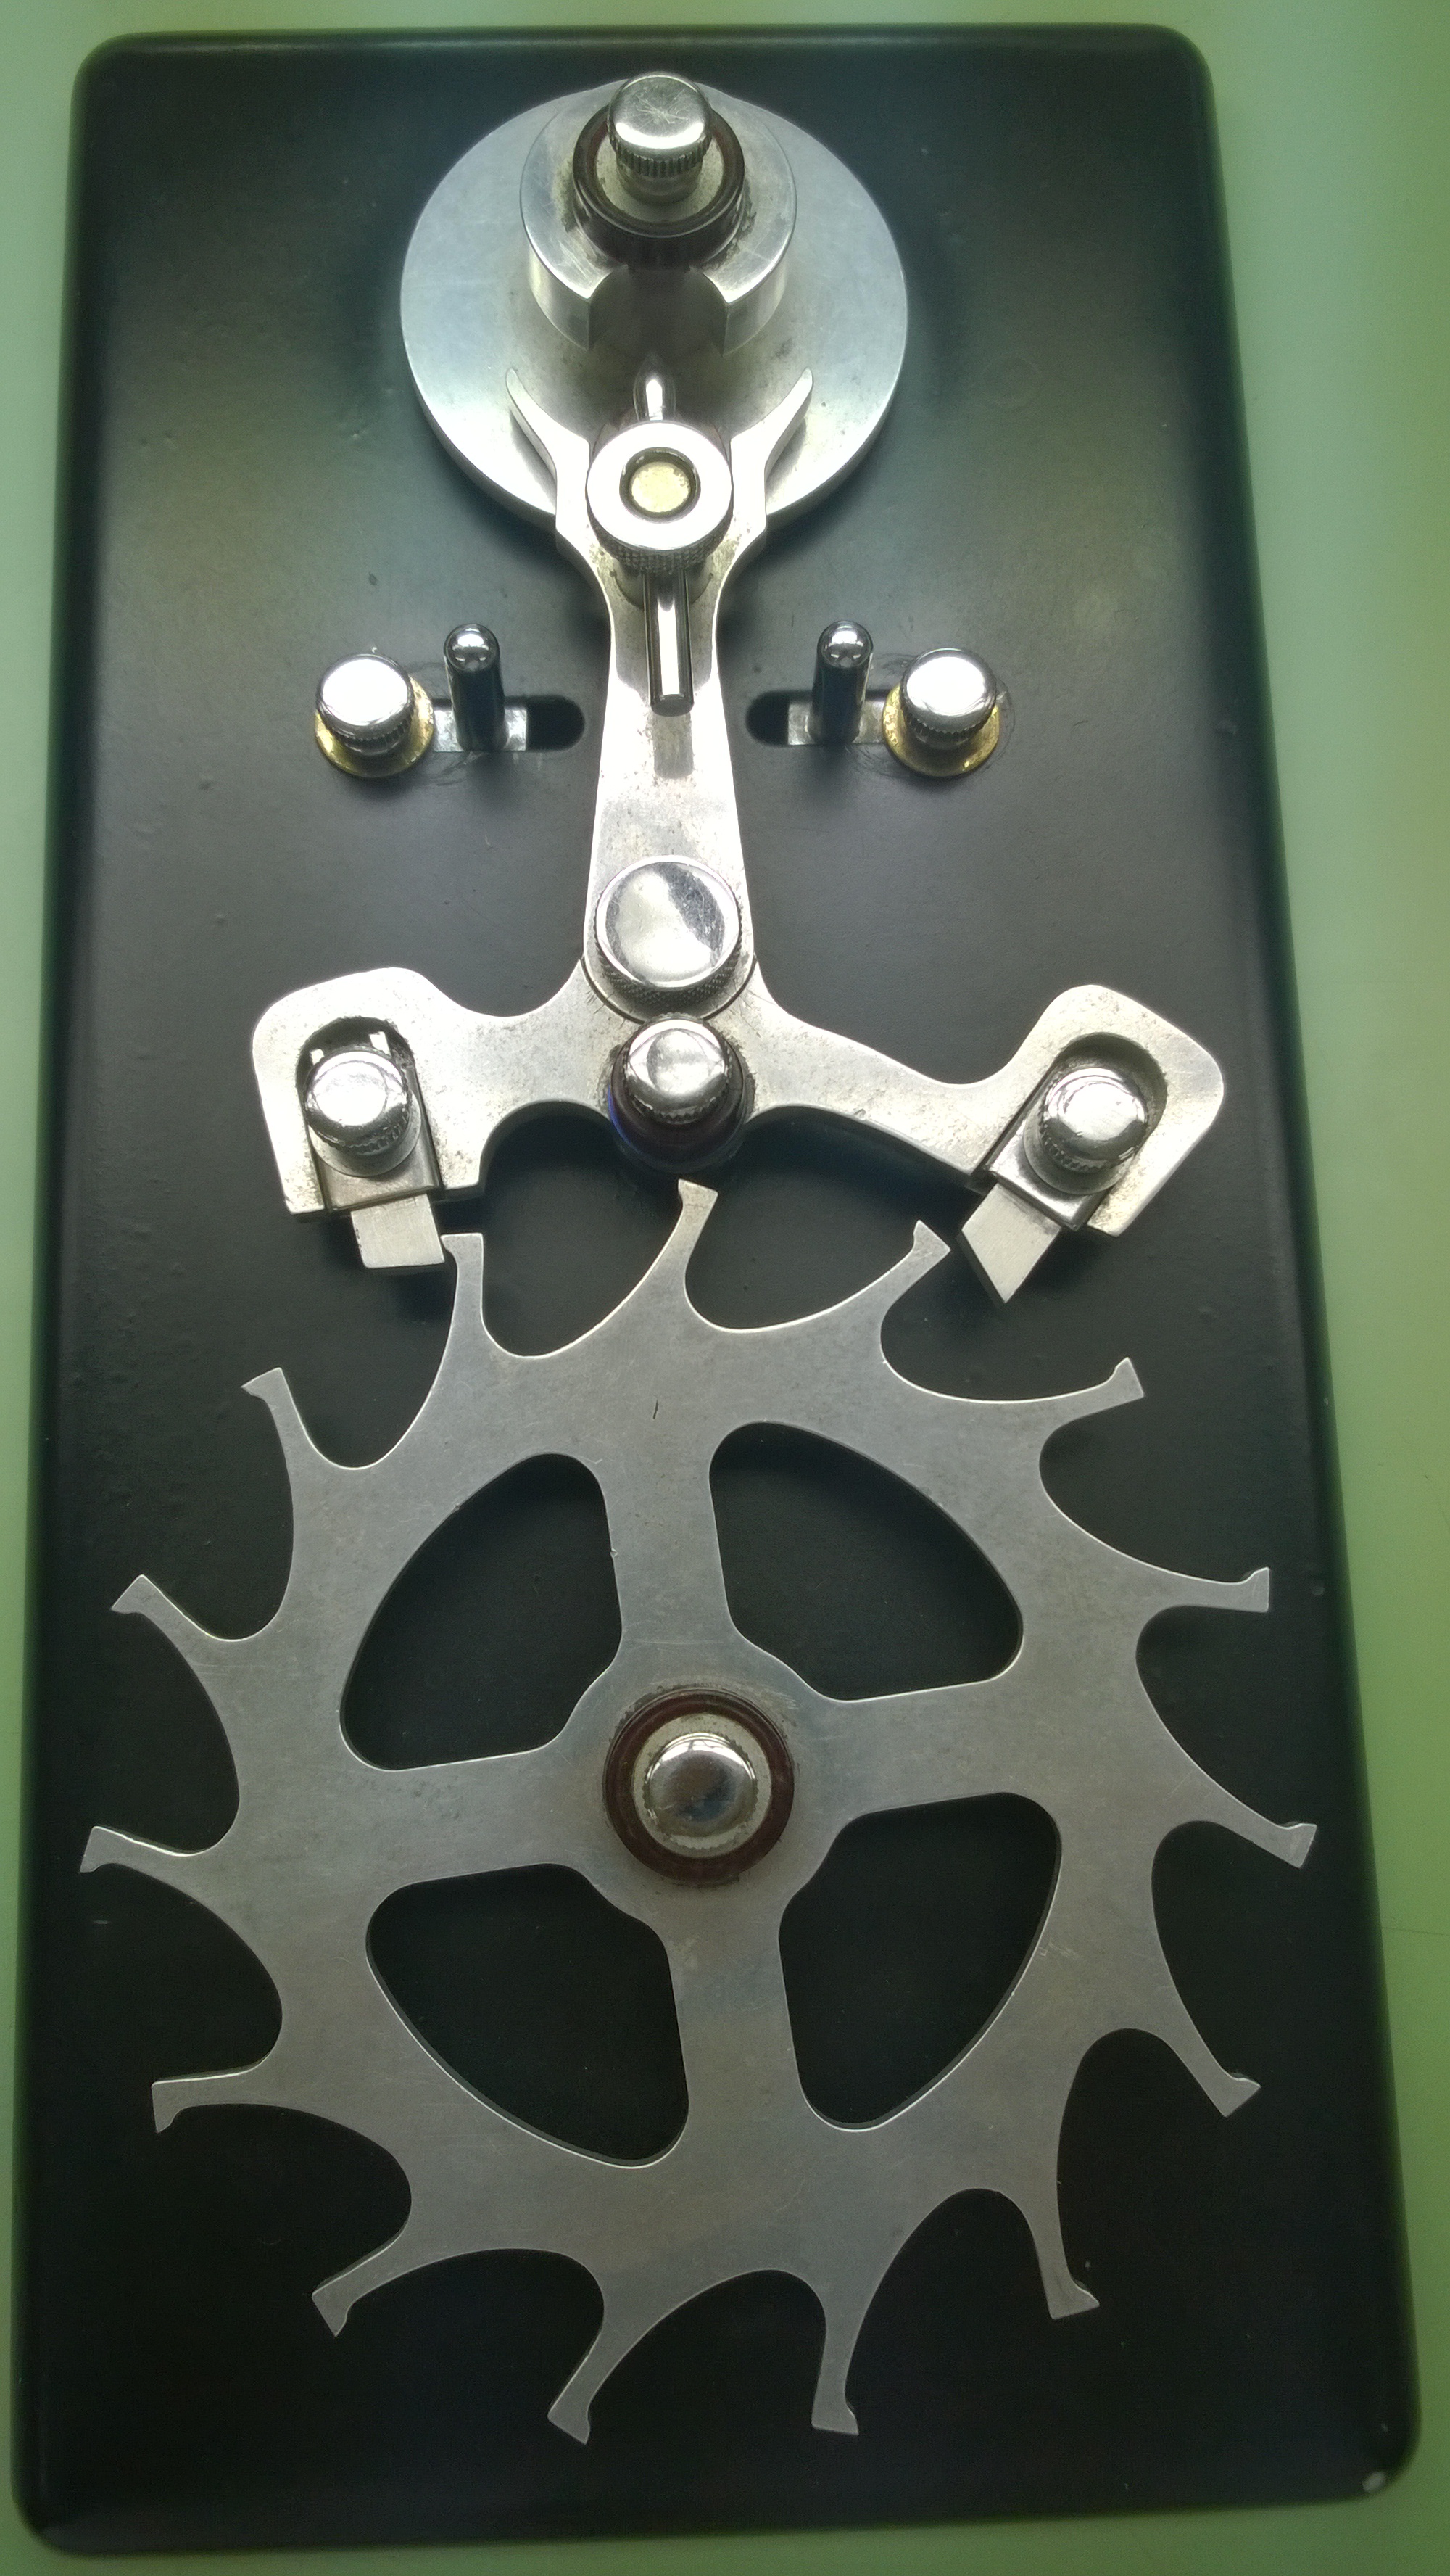 This, is the crib toy. It is a large model of the escapment (minus the balance wheel) The pallet stones, fork shank (middle part of the pallet fork), banking pins (the pins on the left and right of the fork shank), guard pin and roller jewel are all adjustable. You can work with the tool in a few different ways, but the way we do it in class is to start from the jewels and work our way up to the roller jewel.
The pallet stones can be adjusted vertically and laterally. The reason for this is so I can learn the basics how they lock with the escape wheel (there are different kinds of lock (when talking about escapement, but I will get into those next week). The first step we do with the model is to remove the pallet shank so all we are working with are the stones. When doing the stones, you need to make sure that they have about 1/6th the width of the pallet stone as the amount of thickness of the stone where the stone and escape wheel meet. I know that doesn’t make a lot of sense, but take a look at the next picture, and hopefully it will help.
 Okay, first, click the drawing and open it in a new tab or window so you can have a big picture. The jewel on the right has been divided into sixths (pretend that they are even-working in microsoft paint isn’t the most accurate). Now, look at the stone on the left. The line that is moving horizontally should be as tall as one of the vertical sections is wide. Each stone should have the same amount of lock when they engage an escape wheel tooth.
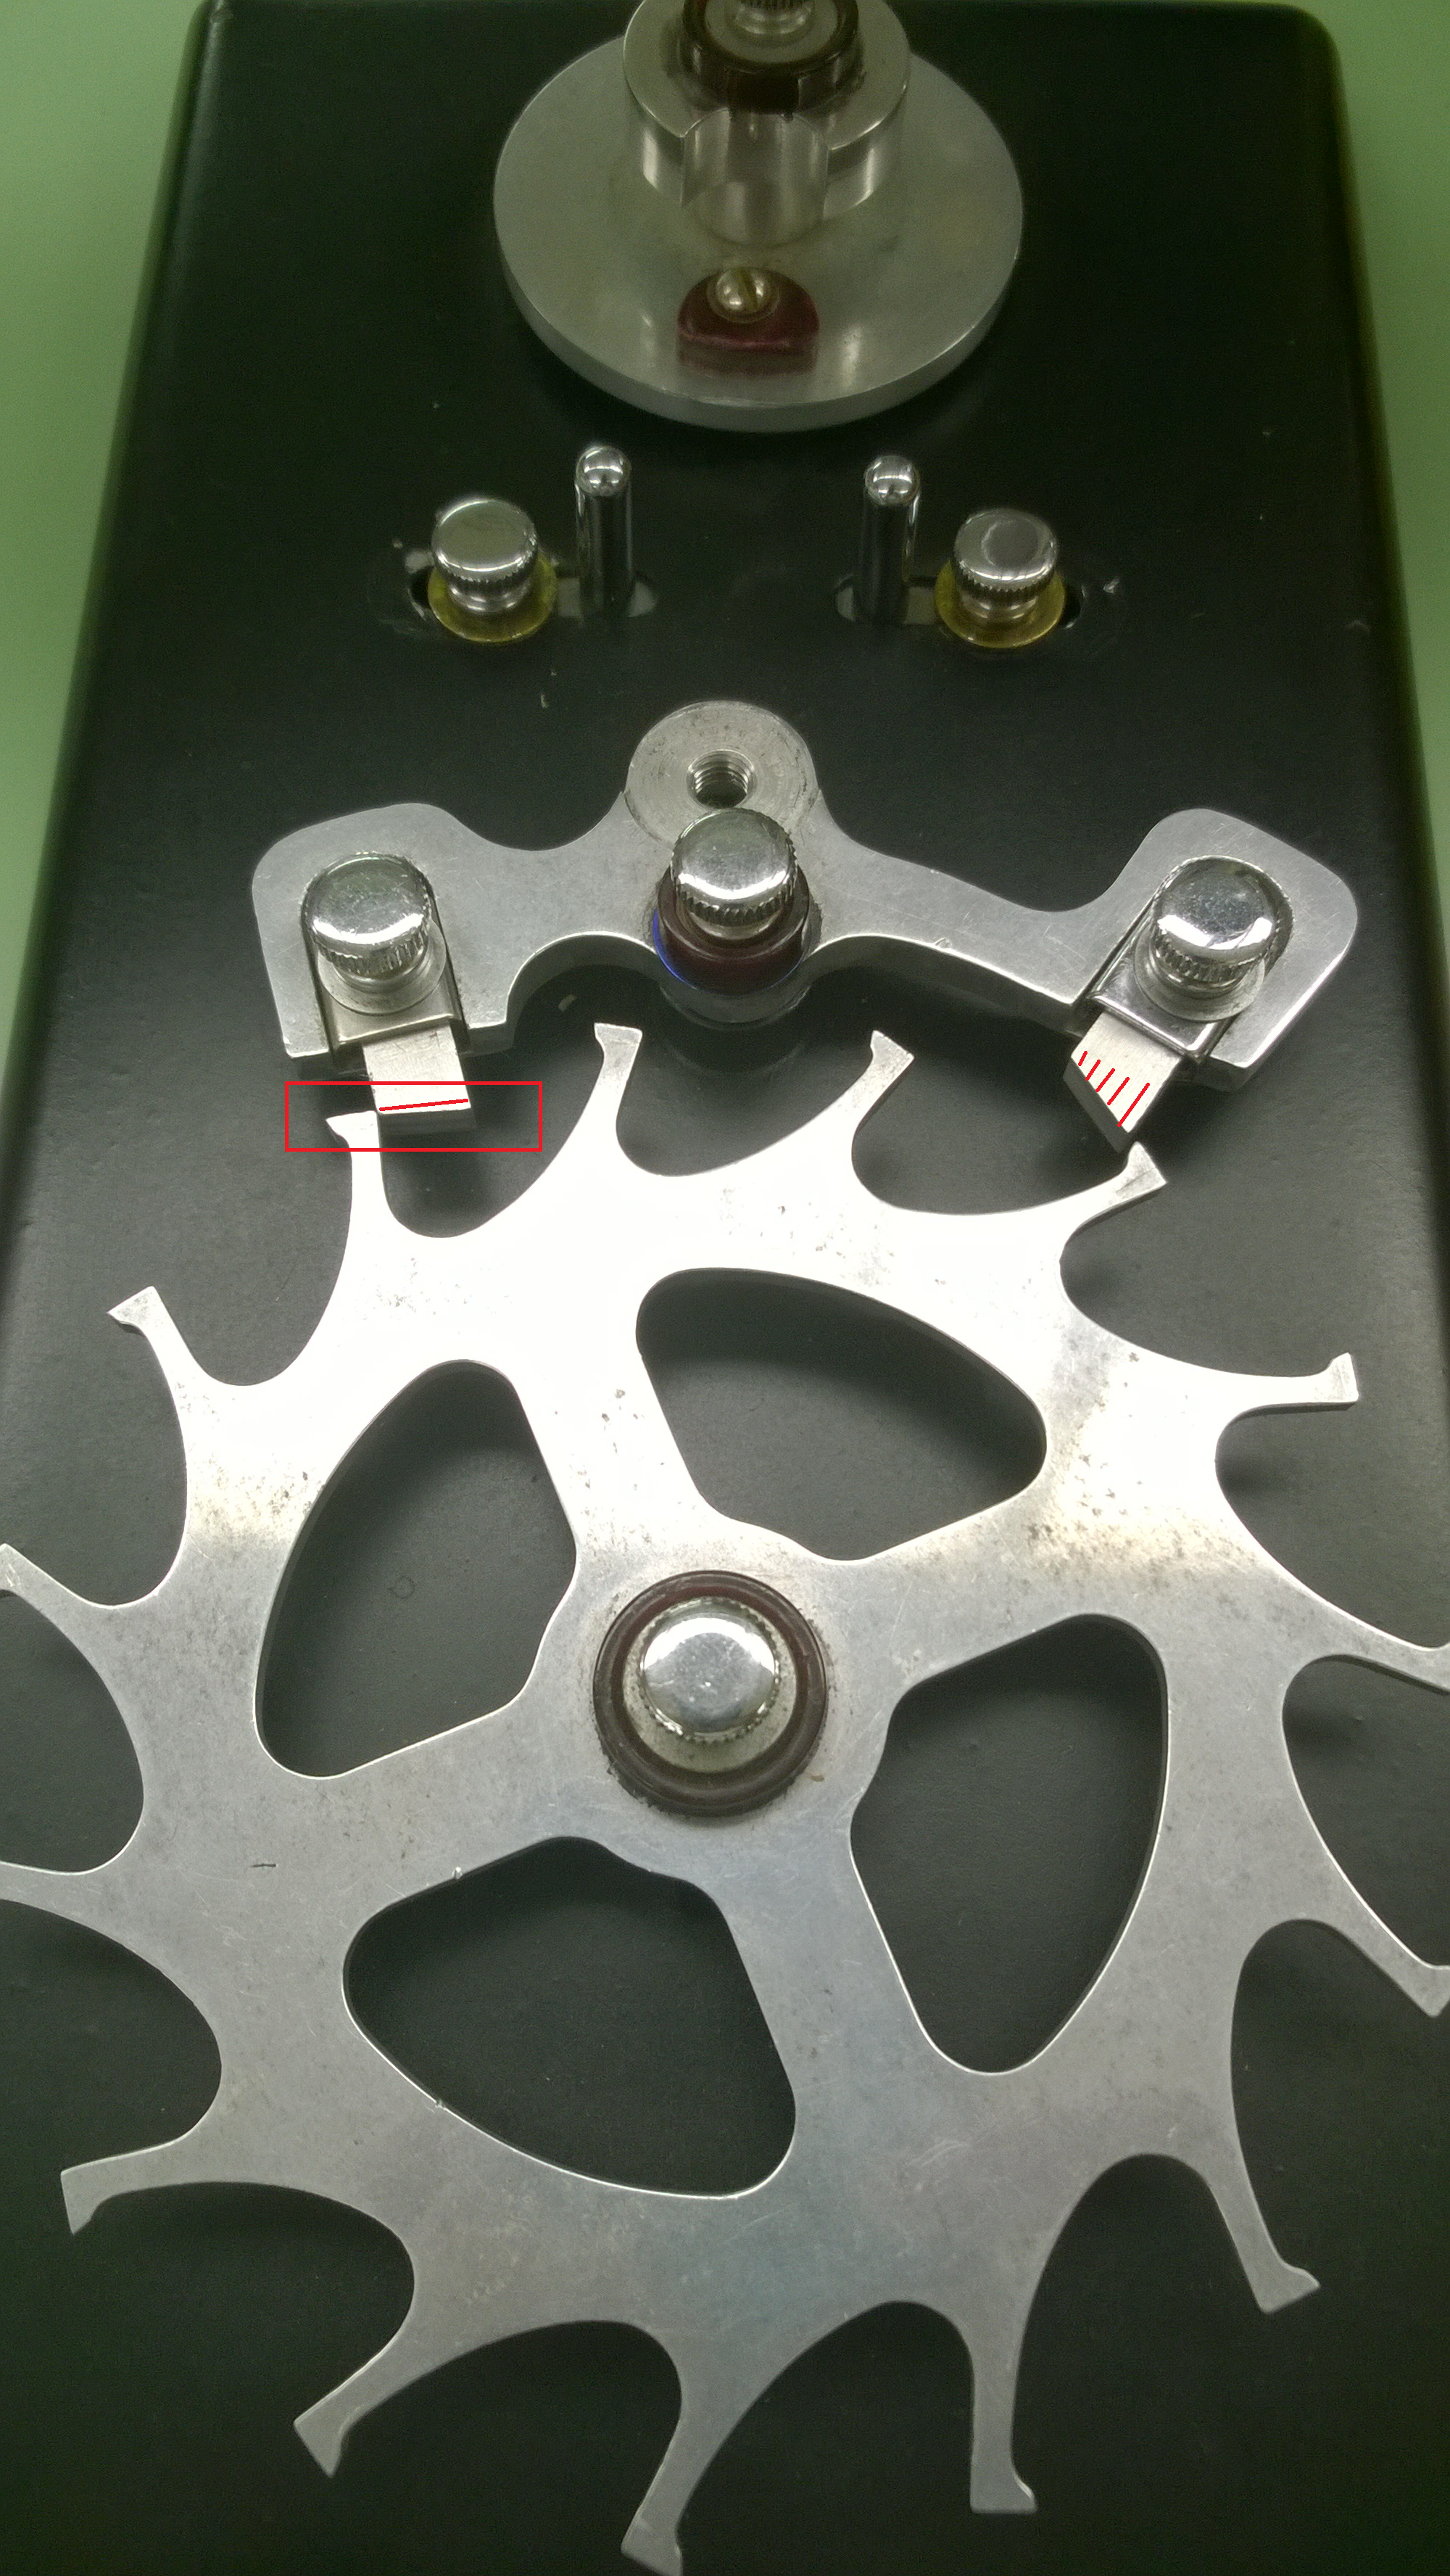
Once you have the vertical lock done, the inside and outside lock needs to be adjusted. In modern watches, the pallet fork is designed to not have any lateral play with the stones, but in older watches (before they had higher manufacturing tolerances), you could adjust the lateral movement of the pallet stones.
 In the above picture, the stone on the left is locked. The stone on the right is not. The gap between the stone and the toe of the escape tooth is called outside lock. If it were reversed (the stone on the right locked), it would be called inside lock. Both locks need to be equal in order for the escapement to function properly.
Once you have all the locks where they need to be, the next step do with this model is adjust the pallet shank and make sure it is centered.
To do that, you move one the escape wheel so it engages with one of the jewels about half way down the length of the impulse face of the jewel. Once you have done that, it is just a matter of straightening the shank. Once you get it straight, you check the shank when you engage the other jewel. It will take a few times going back and forth between jewels, but it will eventually straighten out.
Once you get the shank straight, you then need to adjust the roller jewel and make sure that it has proper corner clearance. When the jewel enters and exits between the horn of the pallet fork, it needs to have equal clearance on its entry and exit-this is corner clearance. This is the spot that I am at. After each section (stones, shank, roller jewel), everything gets reset, so you end up doing each step as part of a larger process as opposed to just by itself. Once I finish up with the tool on Monday, I will move on to adjusting pallet stones in watches.
Here is a video showcasing how the whole thing moves. I apologize for shooting the video in portrait mode 😐
My Jewelry Practices class on Friday was pretty neat. We watched an older documentary about the creation of the internet (I think it was made in the early 2000’s). I was familiar with a lot of it, but the names and the step-by-step process was neat to see laid out the way it was. After the video, we went through a pdf file that Jewelers of America put out about all the different positions that one can have in the industry (gemologist, appraiser, designer, watchmaker, etc). What was interesting about doing that is I got to learn more about the jewelry side and see the different paths some of my fellow “schoolmates” (is that a thing? I don’t know) on the jewelry side are wanting to take.
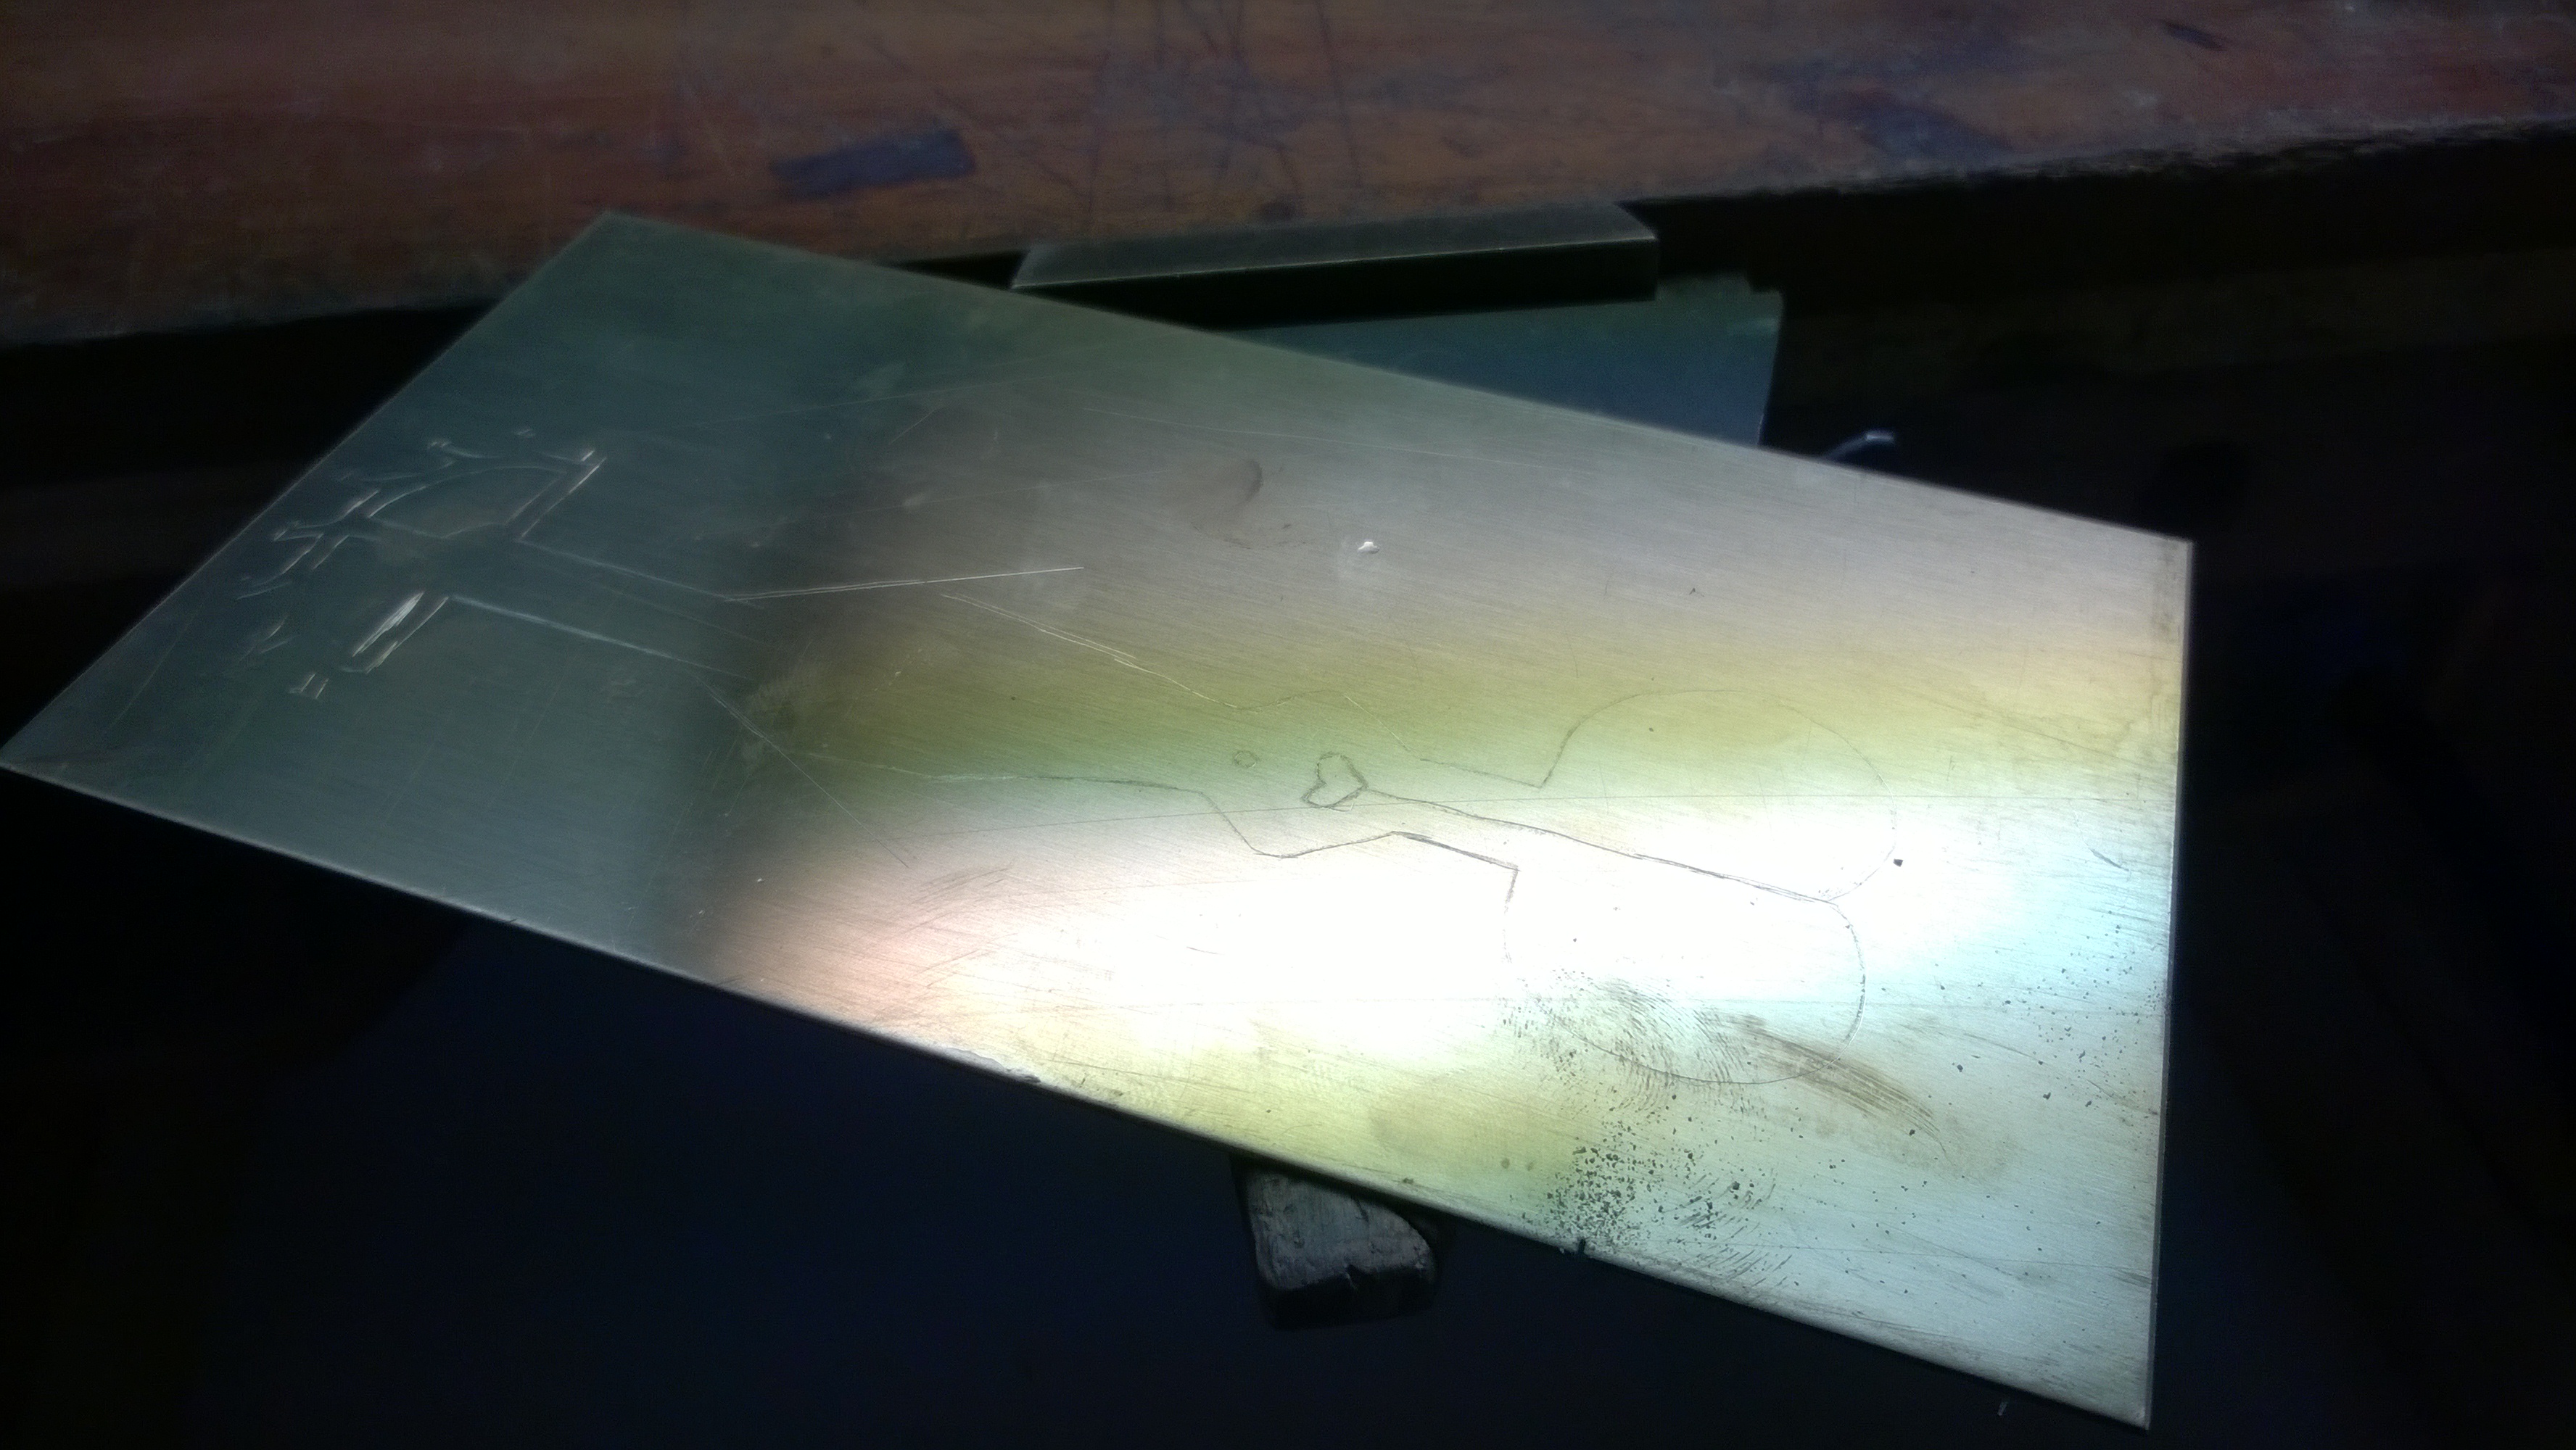
After class on Friday, I met up with a couple of my watchmaking classmates and we worked on making some tools. I started off working on a pallet warmer. I modified the template that I was given and tried to transfer it to a sheet of brass using an acetone process. Unfortunately, the design didn’t have thick enough lines, so the transfer didn’t go through as well as it could have, and I ended up free-hand tracing the design with a scrying tool, and then cut it out with a jewelers saw.
For free-handing the design and learning how to use a jewelers saw for the first time, I did an… okay job. I am going to refine the template (thicken the lines a bit) and give it another go next Friday. Once I finish the warmer (re-cutting it), I am going to move on to some hand pulling tools.
Here is a look at the various stages of making the base of the pallet warmer.

 Soooooo…. yeah. Not too pretty, but I definitely learned enough that when I give it a go next week, I should have it looking a lot better.
Have a great weekend!
