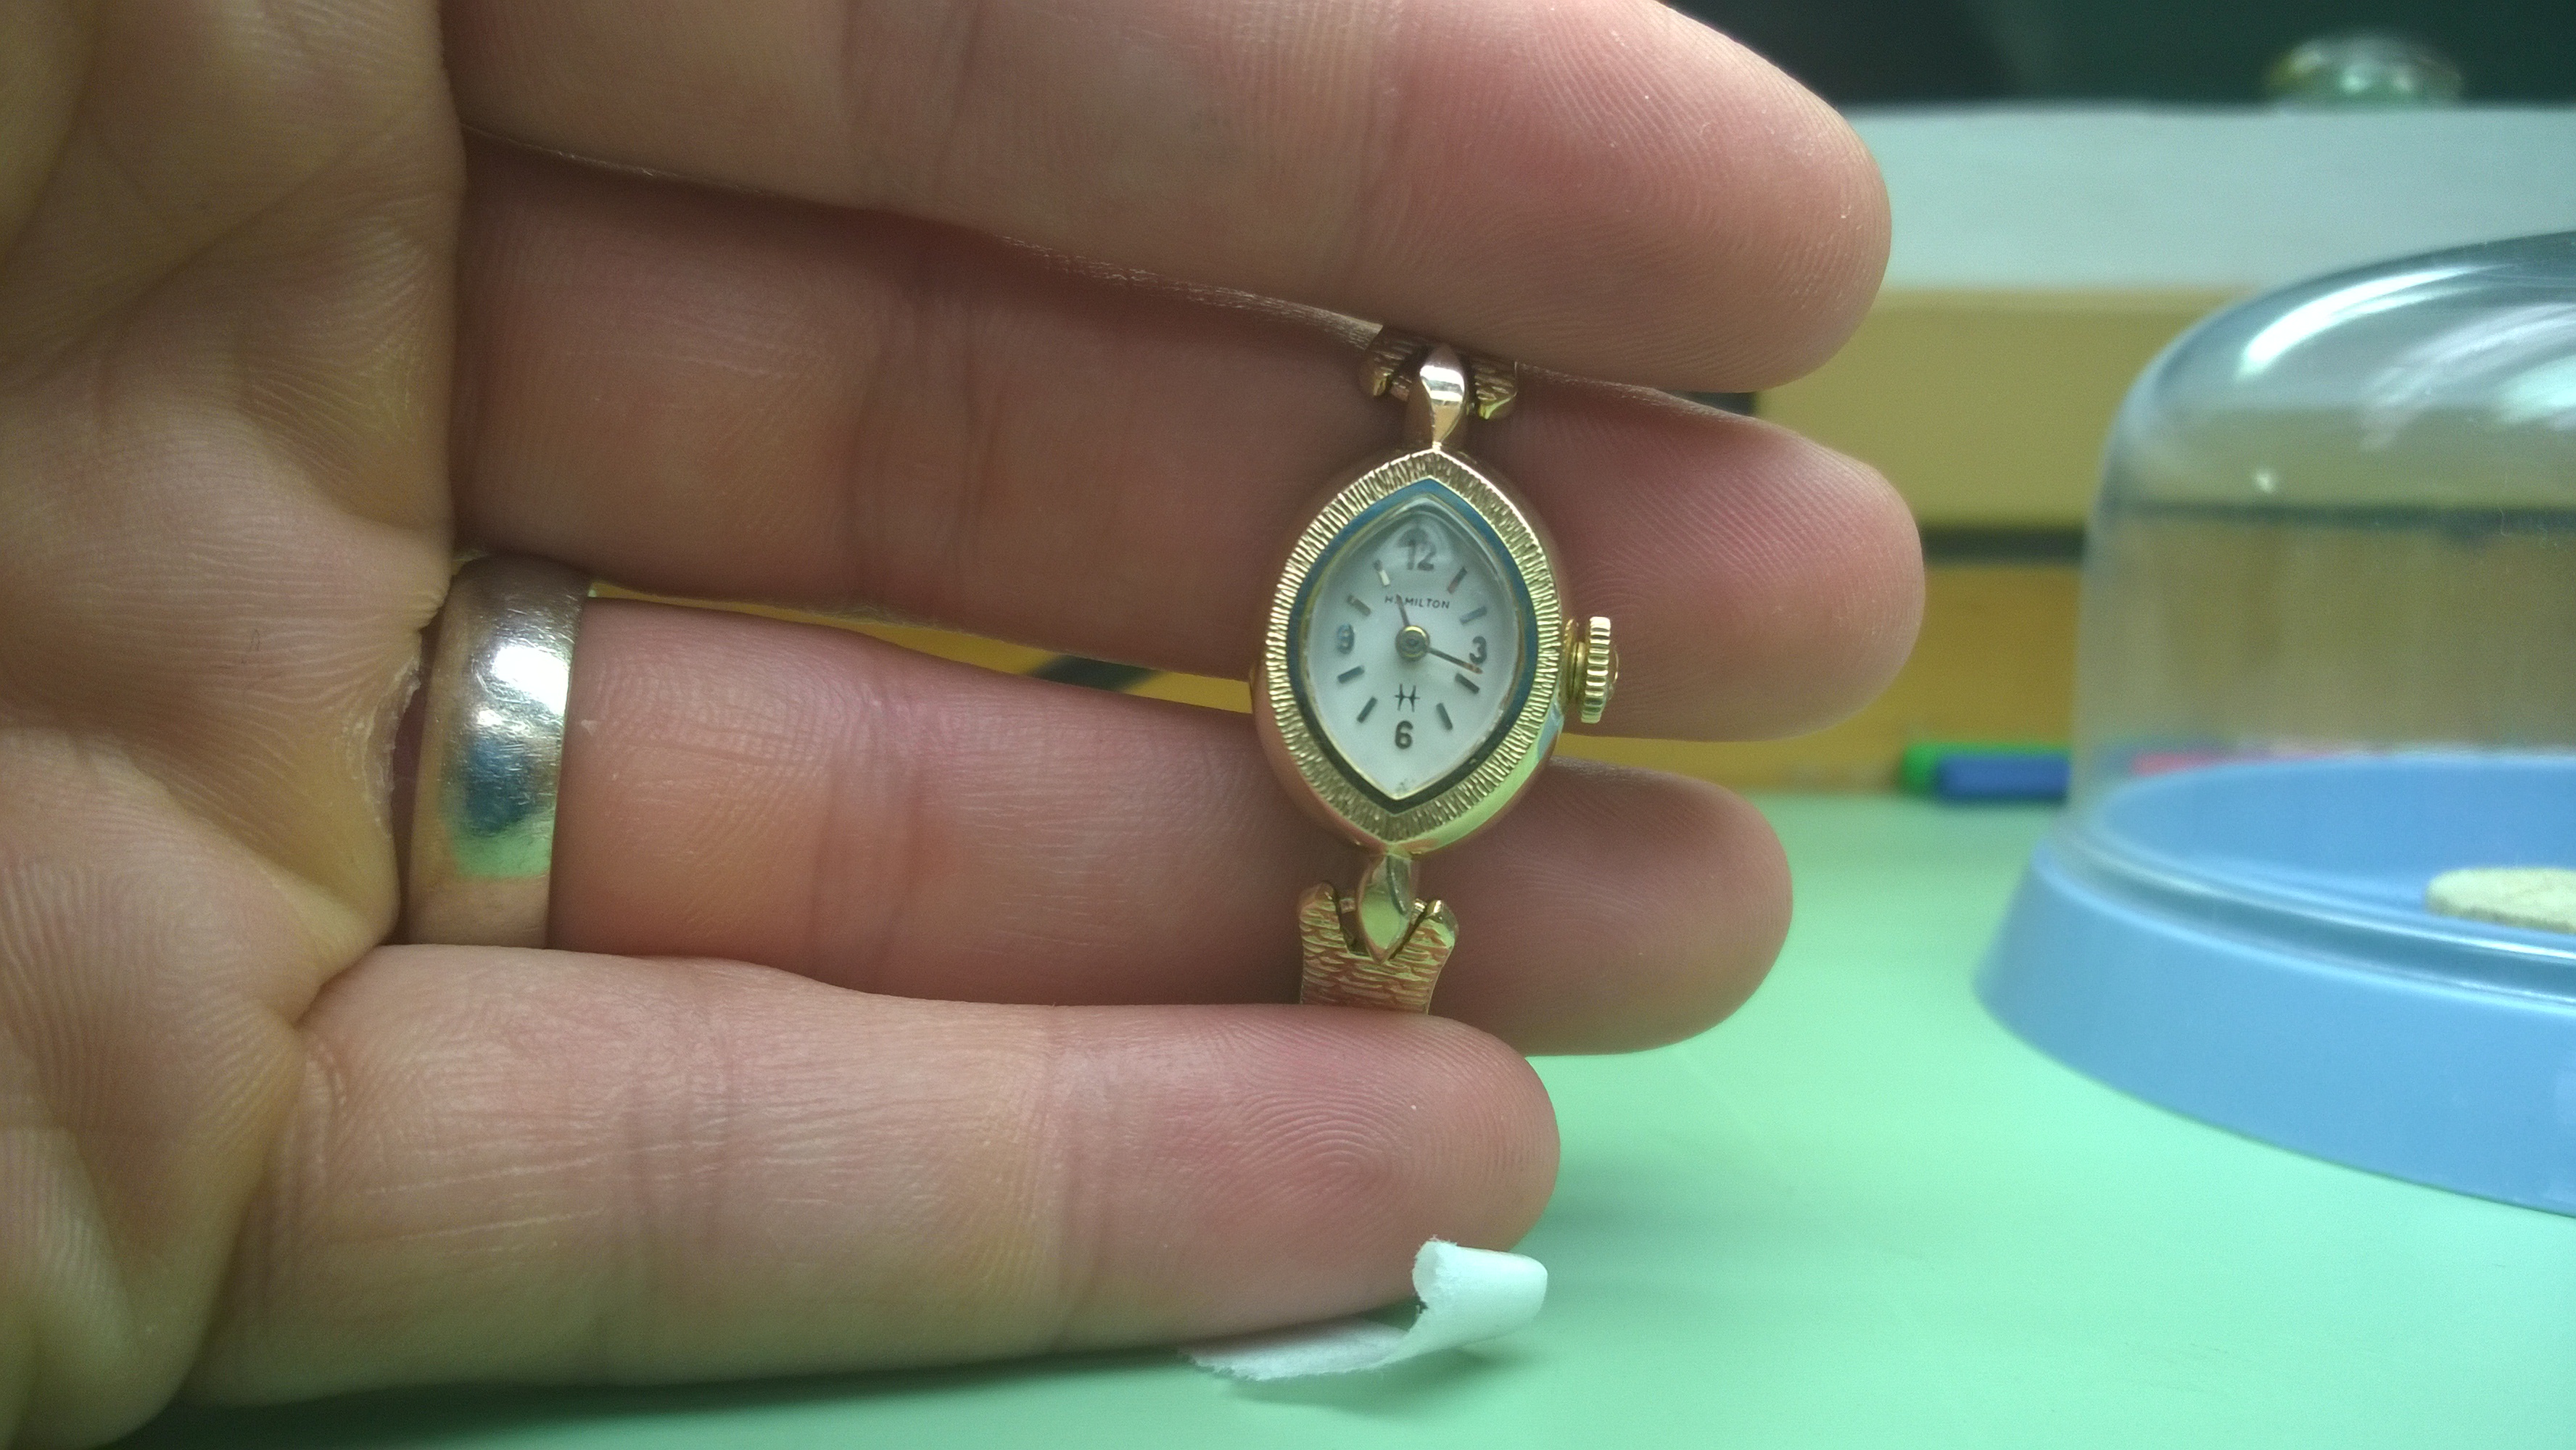
 After finishing up the Lord Elgin, I got this beauty. A Hamilton 780. The watches seem to be getting smaller. I’m not complaining at all. Two companies I really respect (and I hope to do a brand guide about them) are Piaget and Arnold & Son. They both specialize in ultra-thin movements, so the more work I can get in class developing my dexterity and comfort working with small parts, if I ever happen to have one of their movements grace my bench, I’ll hopefully be able to work on them without any hesitation.
That being said, this watch had some issues. It was running intermittently, had timing issues and was pretty dirty. Luckily, at this point, those issues weren’t too disconcerting for me. That’s the whole point of the 16-Point Check Process.
Something that was new to me, when I was taking down the movement was the hairspring, or at least how the hairspring was “studded” to the bridge.
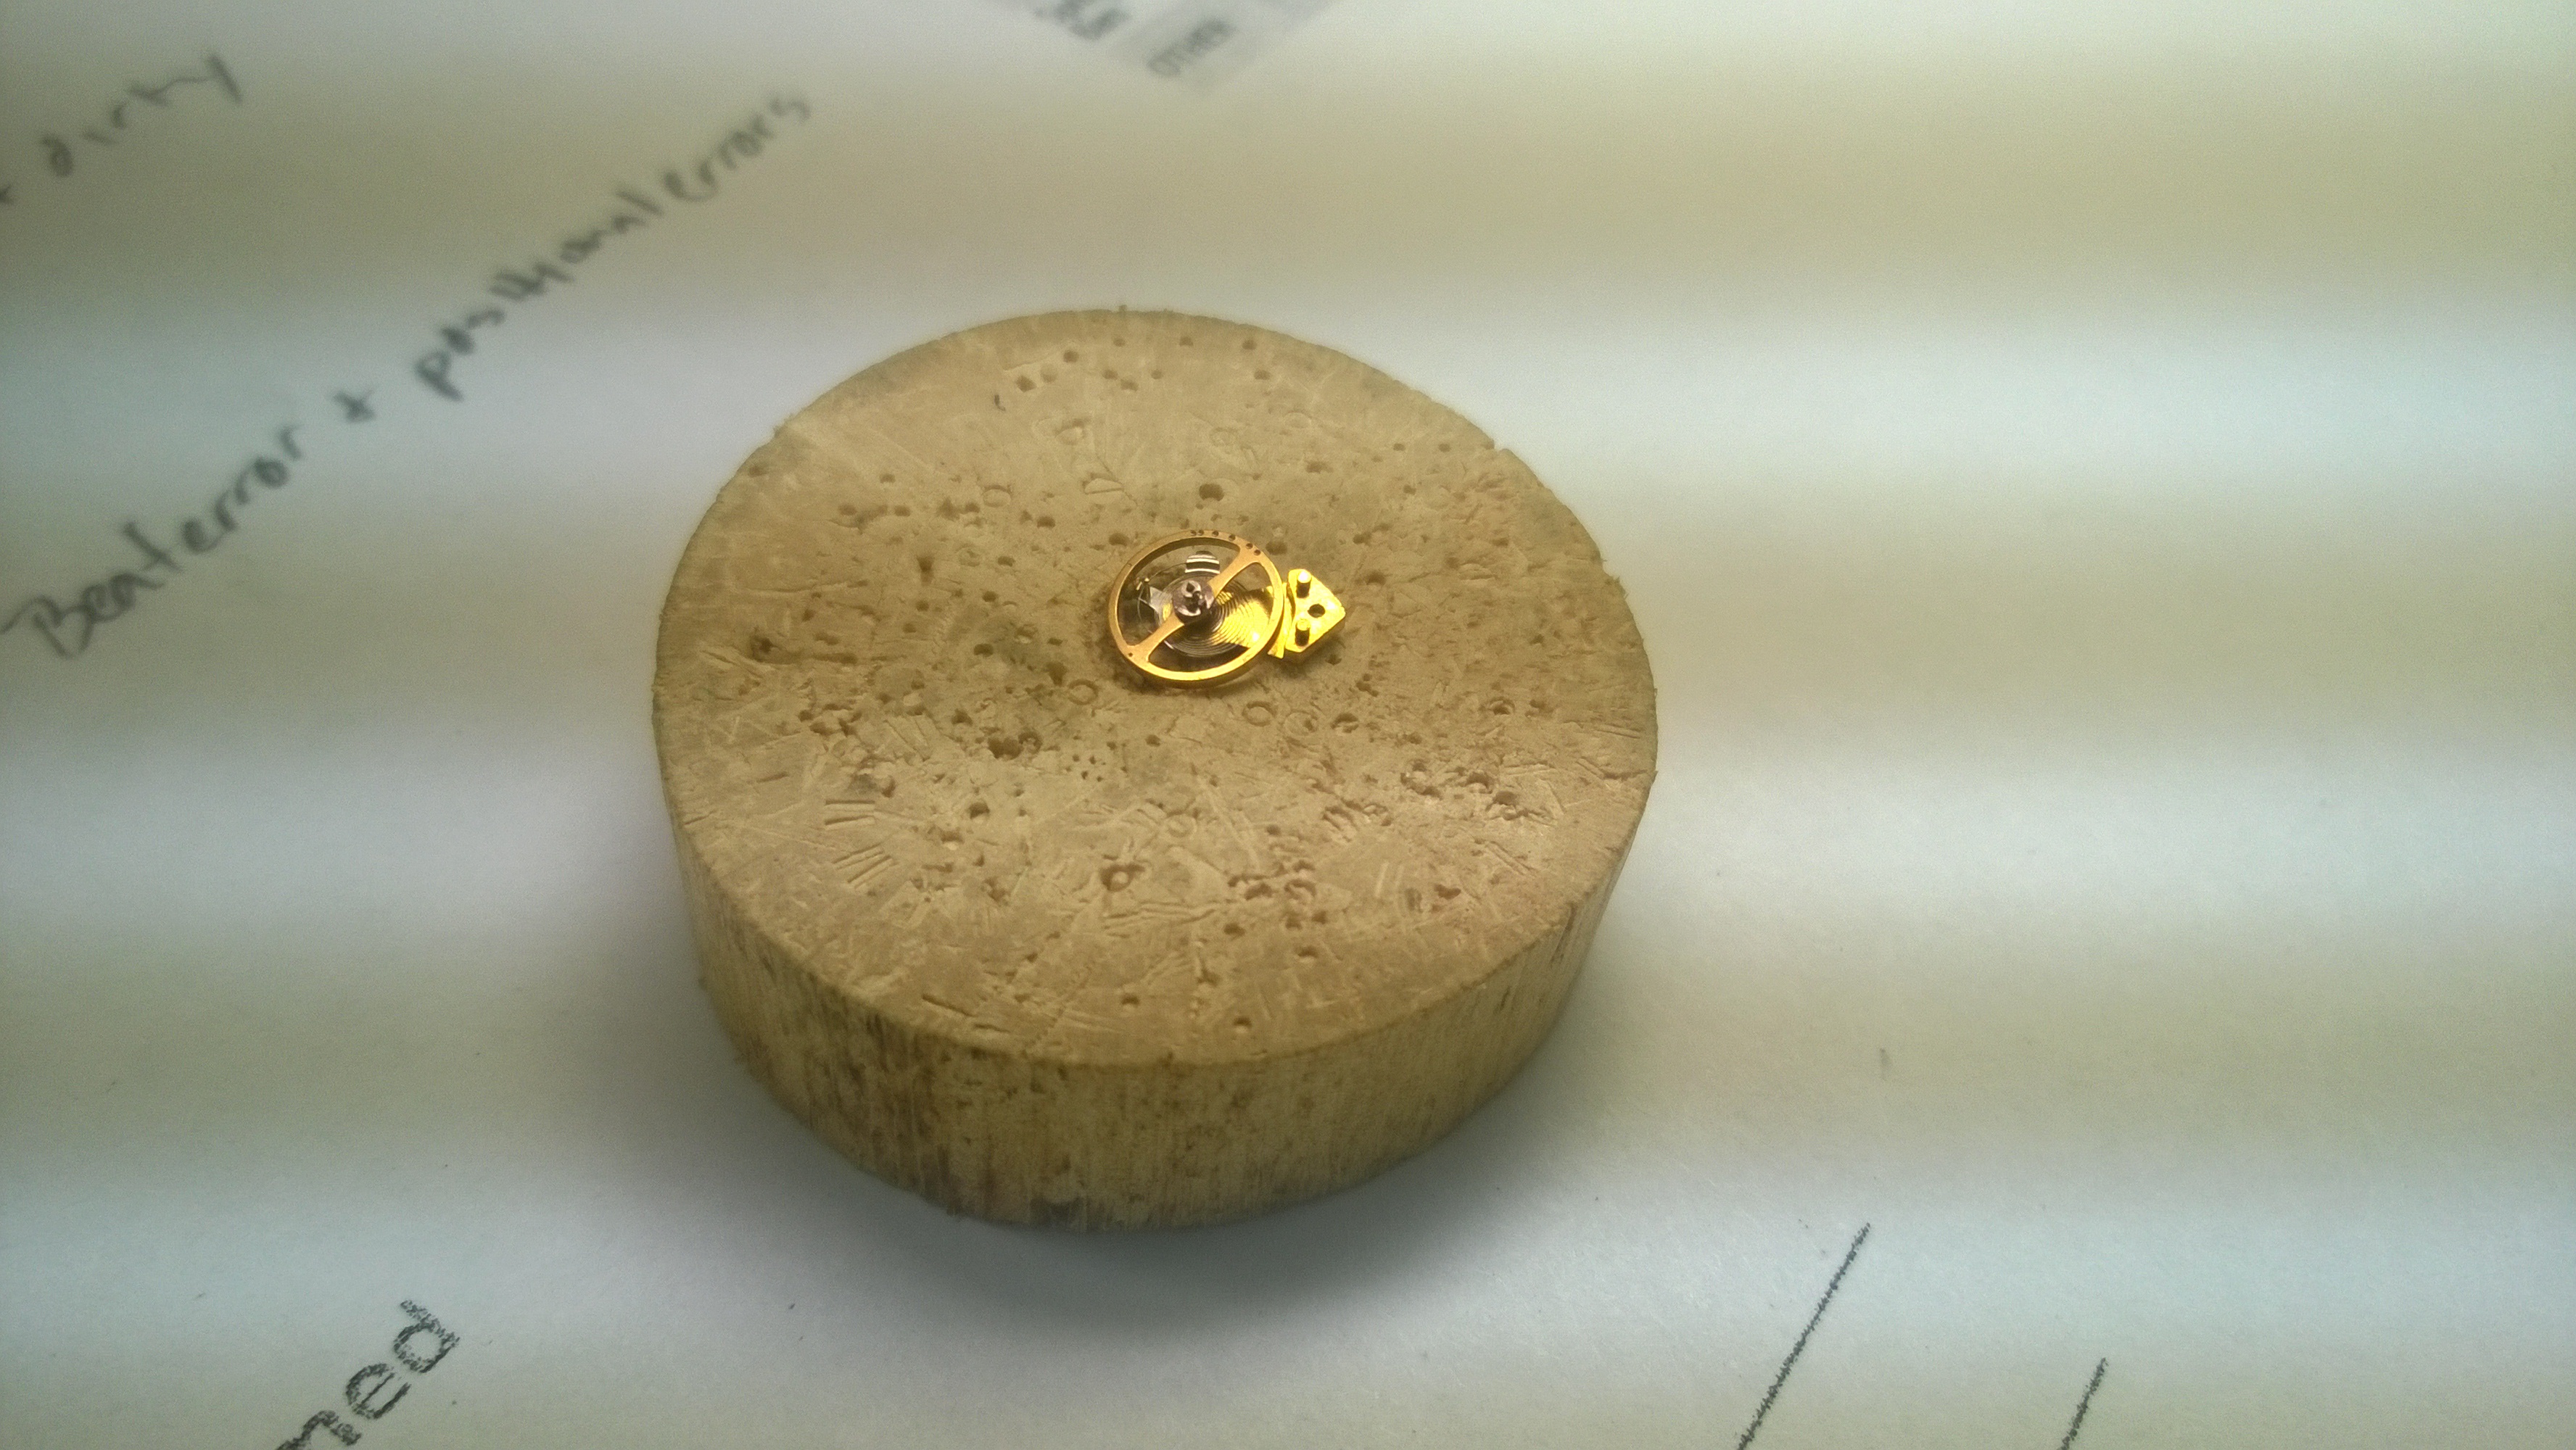 Like with many of the pictures on my blog, I encourage you to click on the picture to see the big picture. This hairspring isn’t studded at all. In fact, it has been left free and is “sandwiched” between a clamp. This is an ideal way to secure the hairspring because it avoids deforming the spring (traditionally, when you stud a hairspring, there is a bit of deformity that occurs due to the spring being stuck between the pin as well as the wall of the stud). Depending on whether or not the spring has any out of round/flat bends, putting the spring back as well as being level can be a bit tricky. After a little looking, prodding, and experimenting, I was able to get the spring put back and level. Here’s what I did:
- First you have to make sure that they end of the spring is inserted to the right distance
- Tighten the screw that moves the clamp just a little bit to slightly secure the spring so it won’t fall out if you move it
- If the spring is level, continue to tighten the clamp a bit at the time, pausing to check that the spring is level. If it isn’t level, move the free end of the spring to level it out.
- Put the final turn on the screw, and if everything has been done properly, the spring will remain level. If not, loosen the screw a bit and re-adjust it.
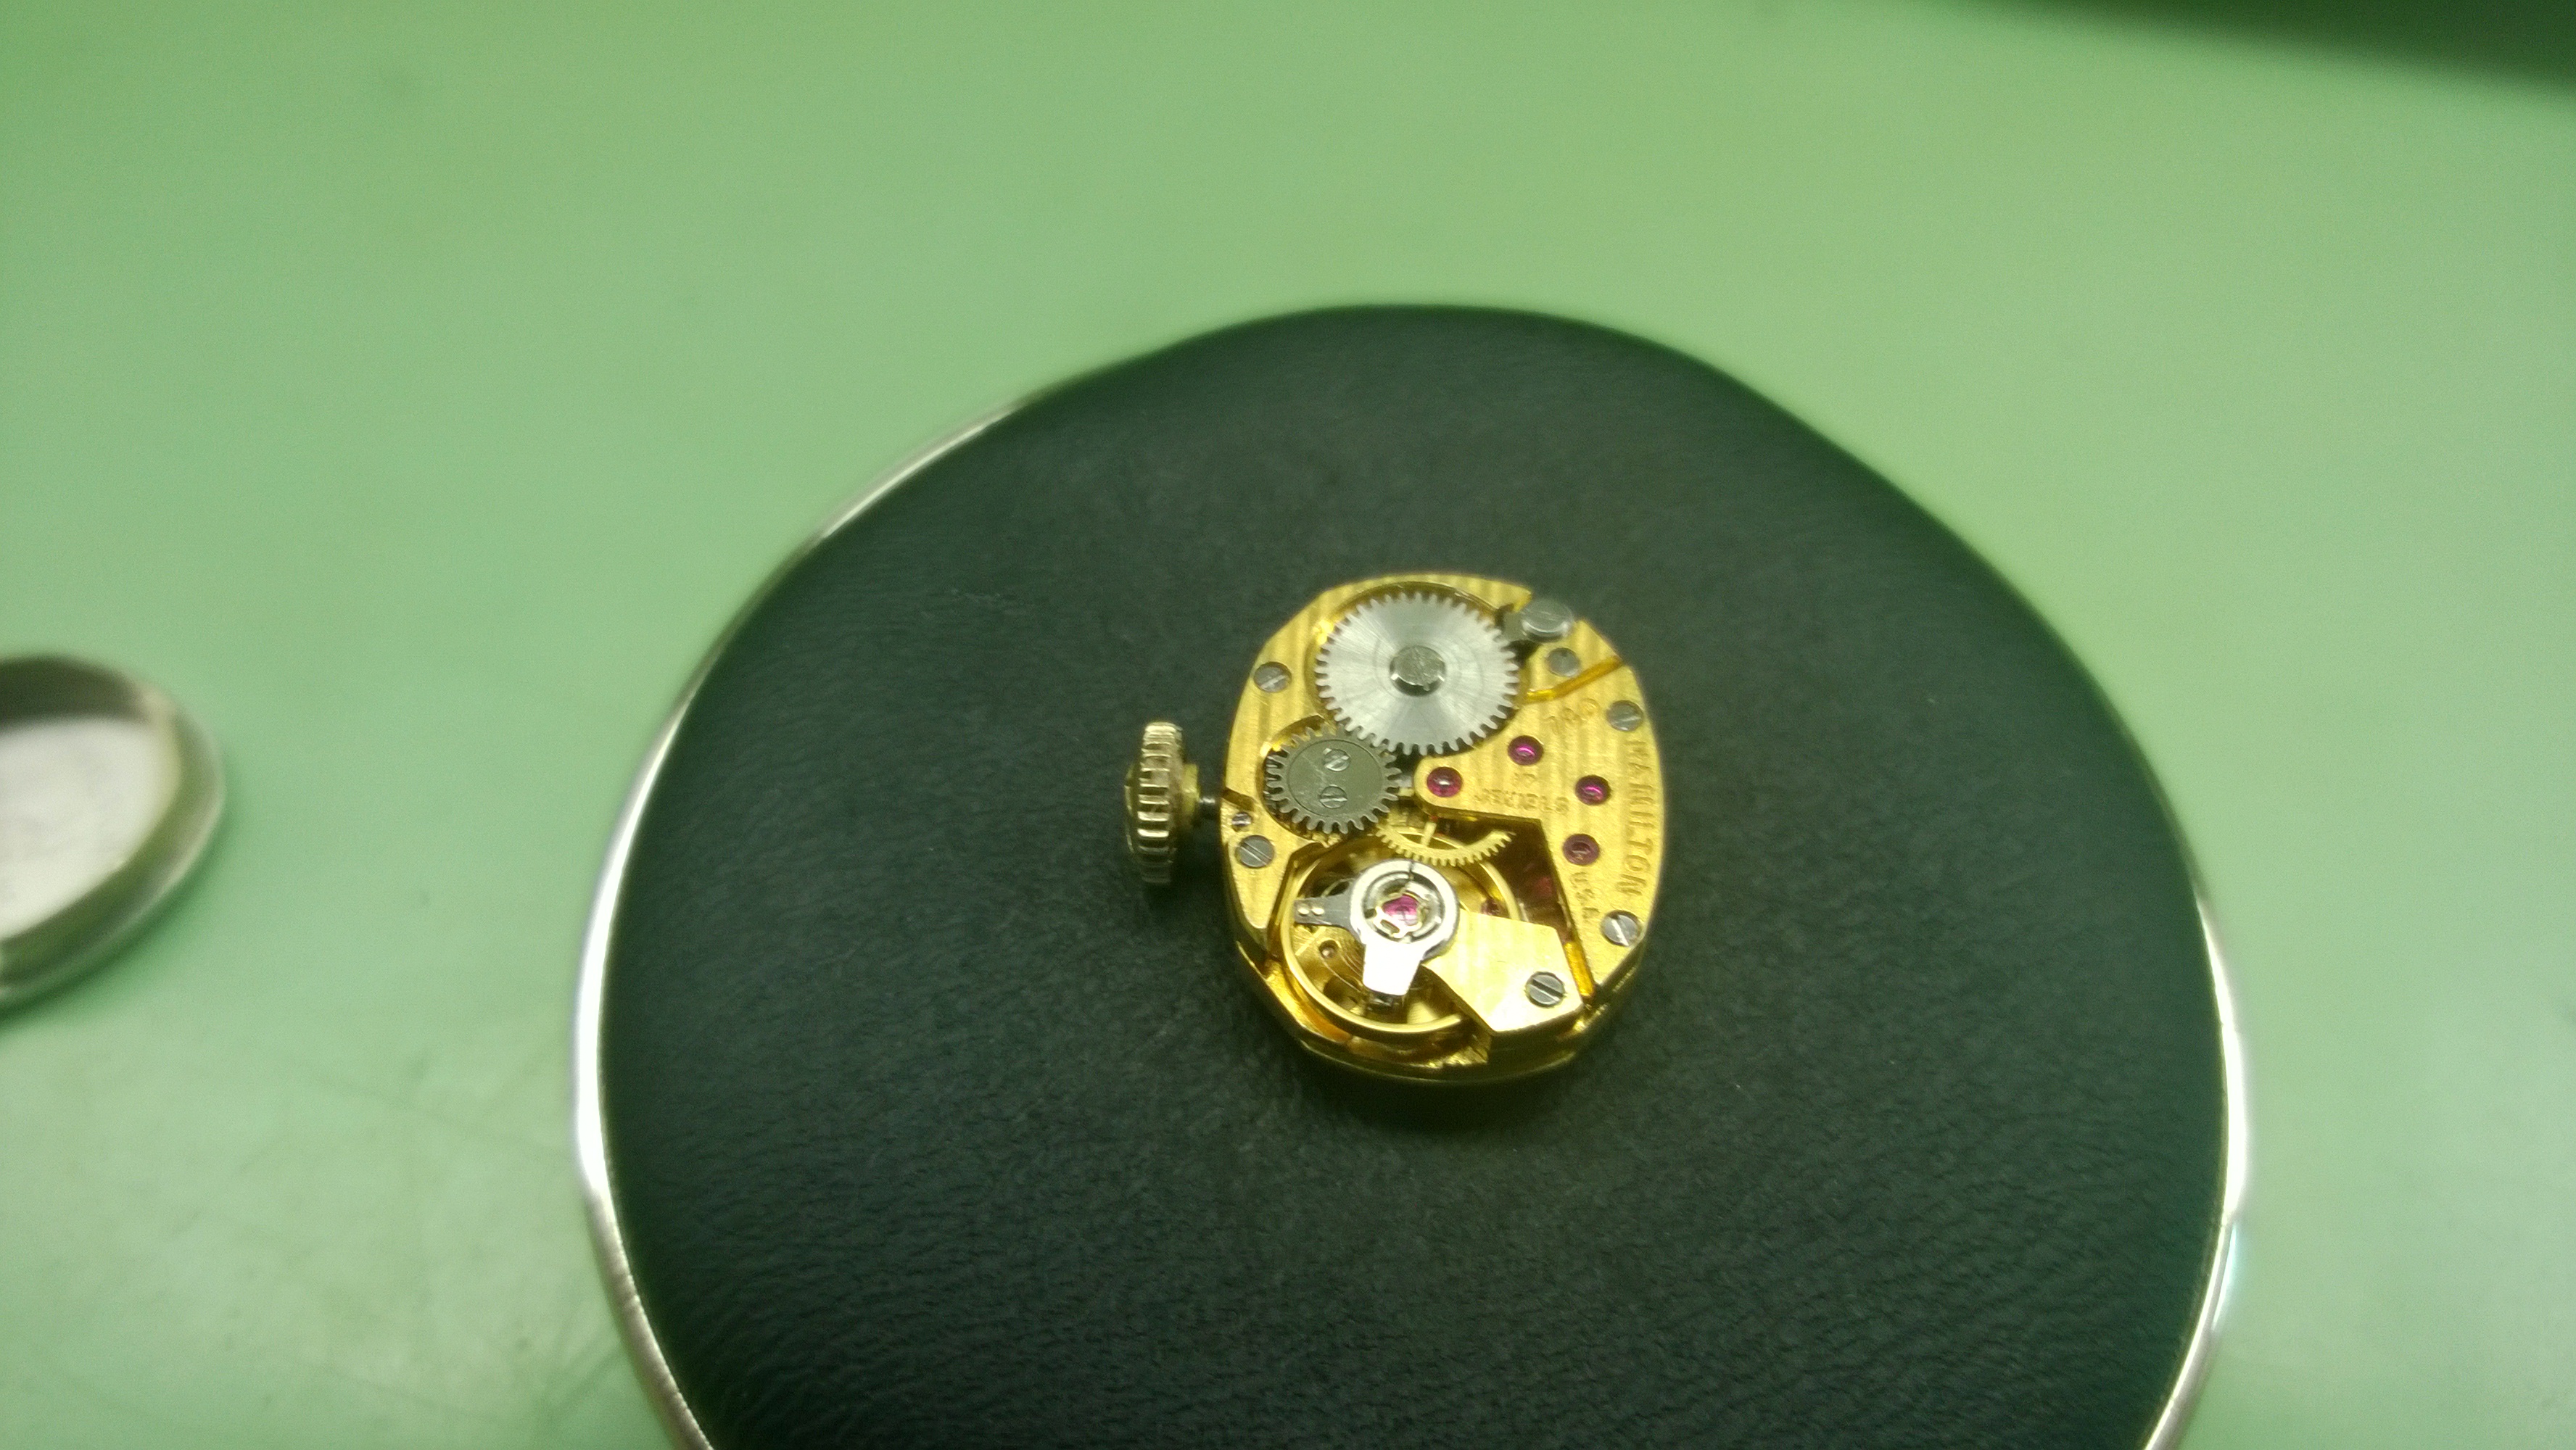
After removing the hairspring, I took out the pallet fork and noticed that the entry stone was kicked up. That would explain the erratic running of the watch. I went ahead and redid the shellac, put the part aside so I could get through the rest of the dismantling and cleaning process.
After I got everything cleaned, assembled and put back together, I was ready to time the watch. Except for the fact that the watch stopped running in different positions. Great. While there may be a bit of sarcasm, I actually appreciate the problems that I am getting during this process because the more I can experience now, the more confident I will be when I am working on my own for real. I knew that the issues wasn’t necessarily a power transmission problem (at least coming from the mainspring) and my mind went back to the pallet fork (the night before I had just started watching a DVD from the AWCI on diagnosing poor balance motion). I double checked the depth of the stones and verified that they had proper clearance and lock. I took the balance out and looked at the fork when it was in the watch. The guard finger was bent down and was rubbing on the balance wheel hole setting.
While I know how to create a new guard finger, the one in this watch was riveted in place as opposed to a friction fit. so I wasn’t able to make a new one. I attempted to straighten the finger out with my tweezers but bent it a bit too far in the opposite direction (by a few tenths of a millimeter or so). It didn’t break or anything, but I didn’t want to risk messing it up, so I had Mr. Poye take a look at it. Luckily, after a few minutes of working on it he was able to get it in working condition. I got the fork back in the watch, re-oiled it and put it on the timing machine. After a couple adjustments, I was able to get a pretty decent rate result.
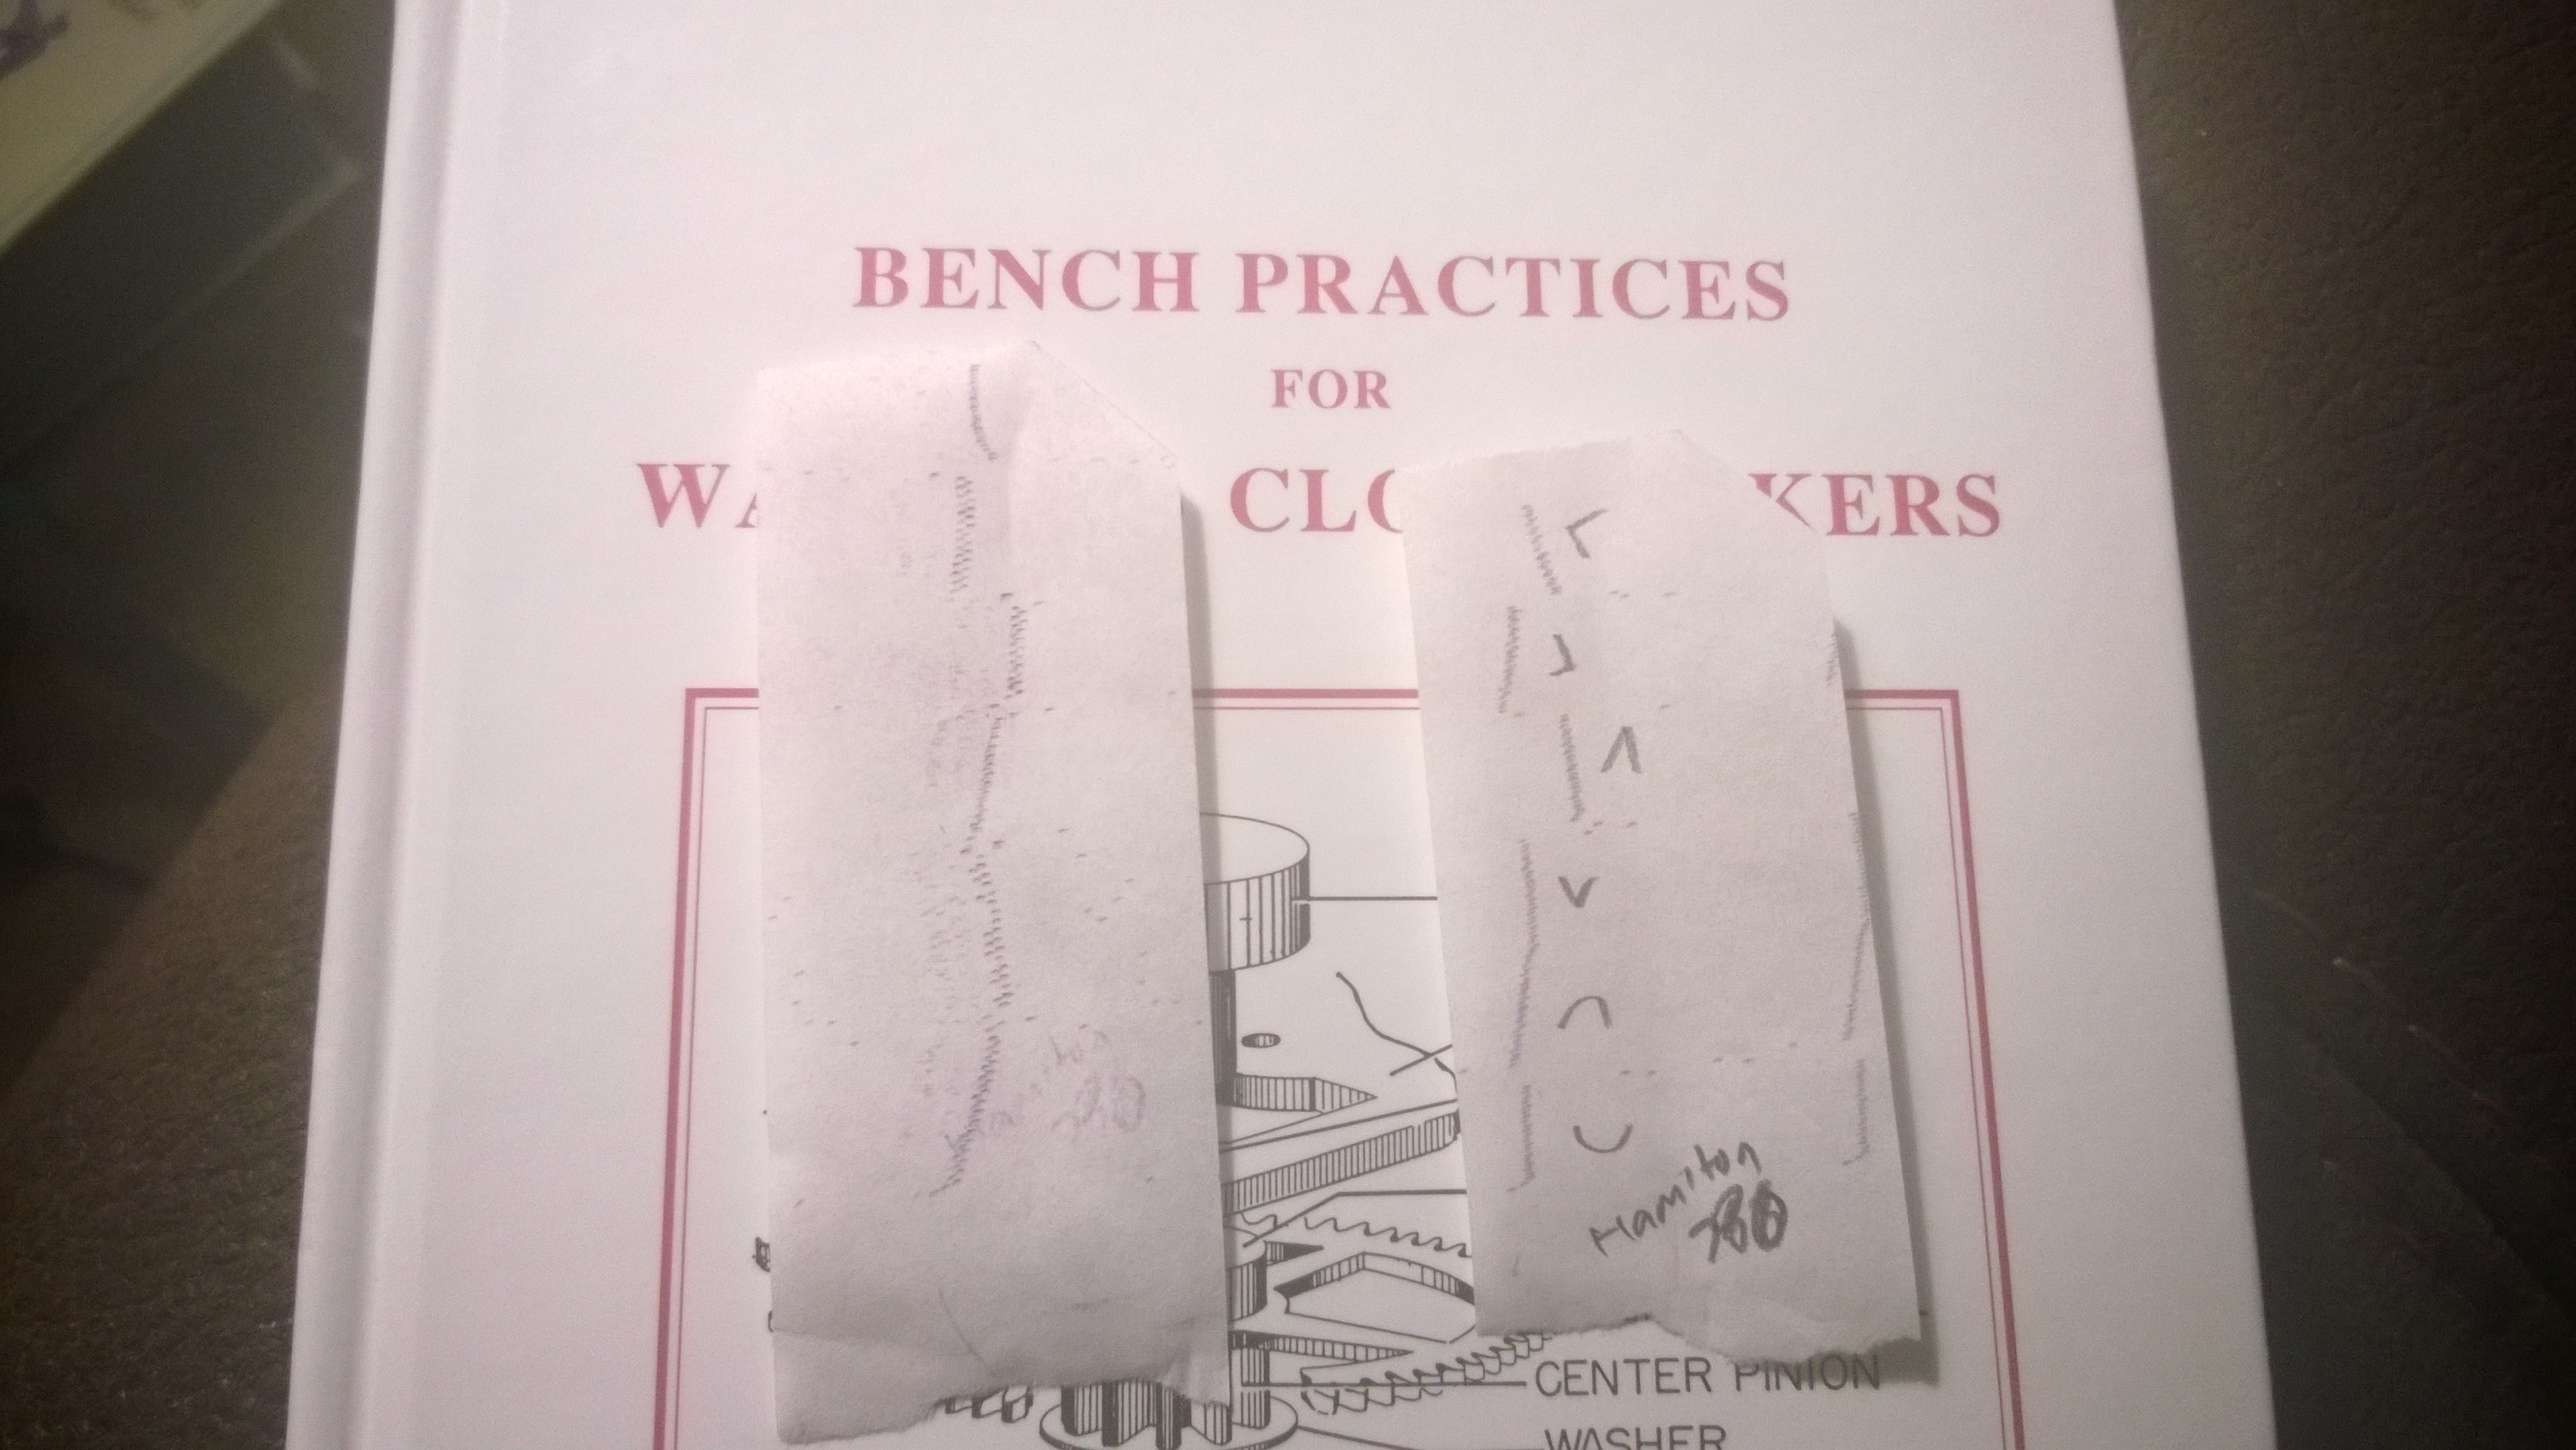 The tape on the left is the original and the one on the right is after the repairs and C/O/R (Clean, Oil, Regulate). All in all, not bad for another old watch. I shouldn’t be, but I am still amazed at how much of a difference cleaning and oiling can make in a watch.
____________________________
Prior Entries in the 16-Point Check Project

Pingback: 16-Point Check (Baylor Watch/Standard 1686) | watchmaking journey·
Pingback: 16-Point Check (Elgin Baguette Style Watch/Font-5921) | watchmaking journey·
Pingback: 16-Point Check (Bulova 11A) | watchmaking journey·
Pingback: 16-Point Check (Seiko 11A, #2) | watchmaking journey·
Pingback: 16-Point Check (Arnex/Parrenin 40) | watchmaking journey·
Pingback: 16-Point Check (ETA 2660) | watchmaking journey·