I hope you all had a great Thanksgiving! I took a few days off to enjoy good times and food with family and friends!

My next movement that I received was an ETA 2660. Before I even started to work on the movement, I was told that I needed to make a new tool called an ETA-Chron tool. I hadn’t worked on a movement that used the ETA-Chron system, so I was excited about being able to learn something new as well as make a new tool.
 Here is the finished tool. I didn’t take any before pictures, but I started with a replacement screwdriver blade that I ground down a bit on both sides to make it thinner and then I started working on creating the “head” of the tool. To do that, I used a triangular shaped escapement file. I started off by making two notches about a millimeter in from both sides with one of the edges of the file. Working one side at a time, I slowly increased the depth of the notch until I had gone down a bit over a millimeter before switching sides. Once both notches were the same depth, I went in with the very end of one of my barrette escapement file and removed the excess between the notches. Doing it this way allowed me to keep the outside parts of the tool as straight as possible. When I did this initially, I had sloped sides because I started with a central notch and made the sides as I filed. Since the edges of the file are a bit round, coming in from the center made for rounded sides. Doing the two notches allowed me to fit the straight side of the file into the notch and keep the end straight as I worked.
The ETA-Chron system is a pretty neat replacement for the traditional regulators I have been working with.
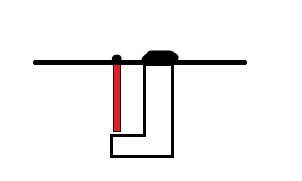 In case you need a refresher, this is what I am typically working with regarding a regulator system. The red pin is stationary and the backwards L is the regulator key that swings open and closed to allow the hairspring to be inserted or removed from the bridge. The hairspring passes between the space between the stud and key and needs to remain centered as it breathes. If the spring is centered properly, it may tap either the stud or key as it moves through the space. If that happens, you will need to make a corrective bend either near the stud or after the regulator.
With an ETA-Chron system, you are able to make adjustments to the whole regulator system by turning it. What this means is once you have made your corrective bends (if you need to), you can adjust the regulator to make sure the hairspring has ample space (ideally you want the space on both sides of the spring to add up to the width of the spring) to move without making more bends to the hairspring.

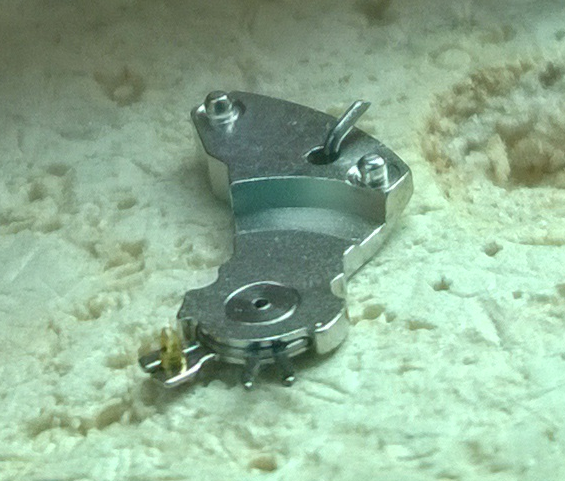
image is a photograph from an ETA manual on the 2660
The regulator in the above picture is part “B.” As you can see, it is canted instead of being parallel/perpendicular to the holder.
 In this picture, I have removed the hairspring (the stud holder is the empty silver-ish set of prongs) and the regulator is the brass looking smudge (I ran into some technical limitations of my cell-phone camera). They are actually prongs that are close together. Both of these function the same way as a regular beat and rate regulator, so timing/regulating the watch is just as easy.
As for taking apart the watch, it was pretty standard. Putting it back together was pretty simple as well, except this time I was going step-by-step from the technical guide (which, for the most part was how I do things anyway). The only difference that I had was how lubrication was applied.
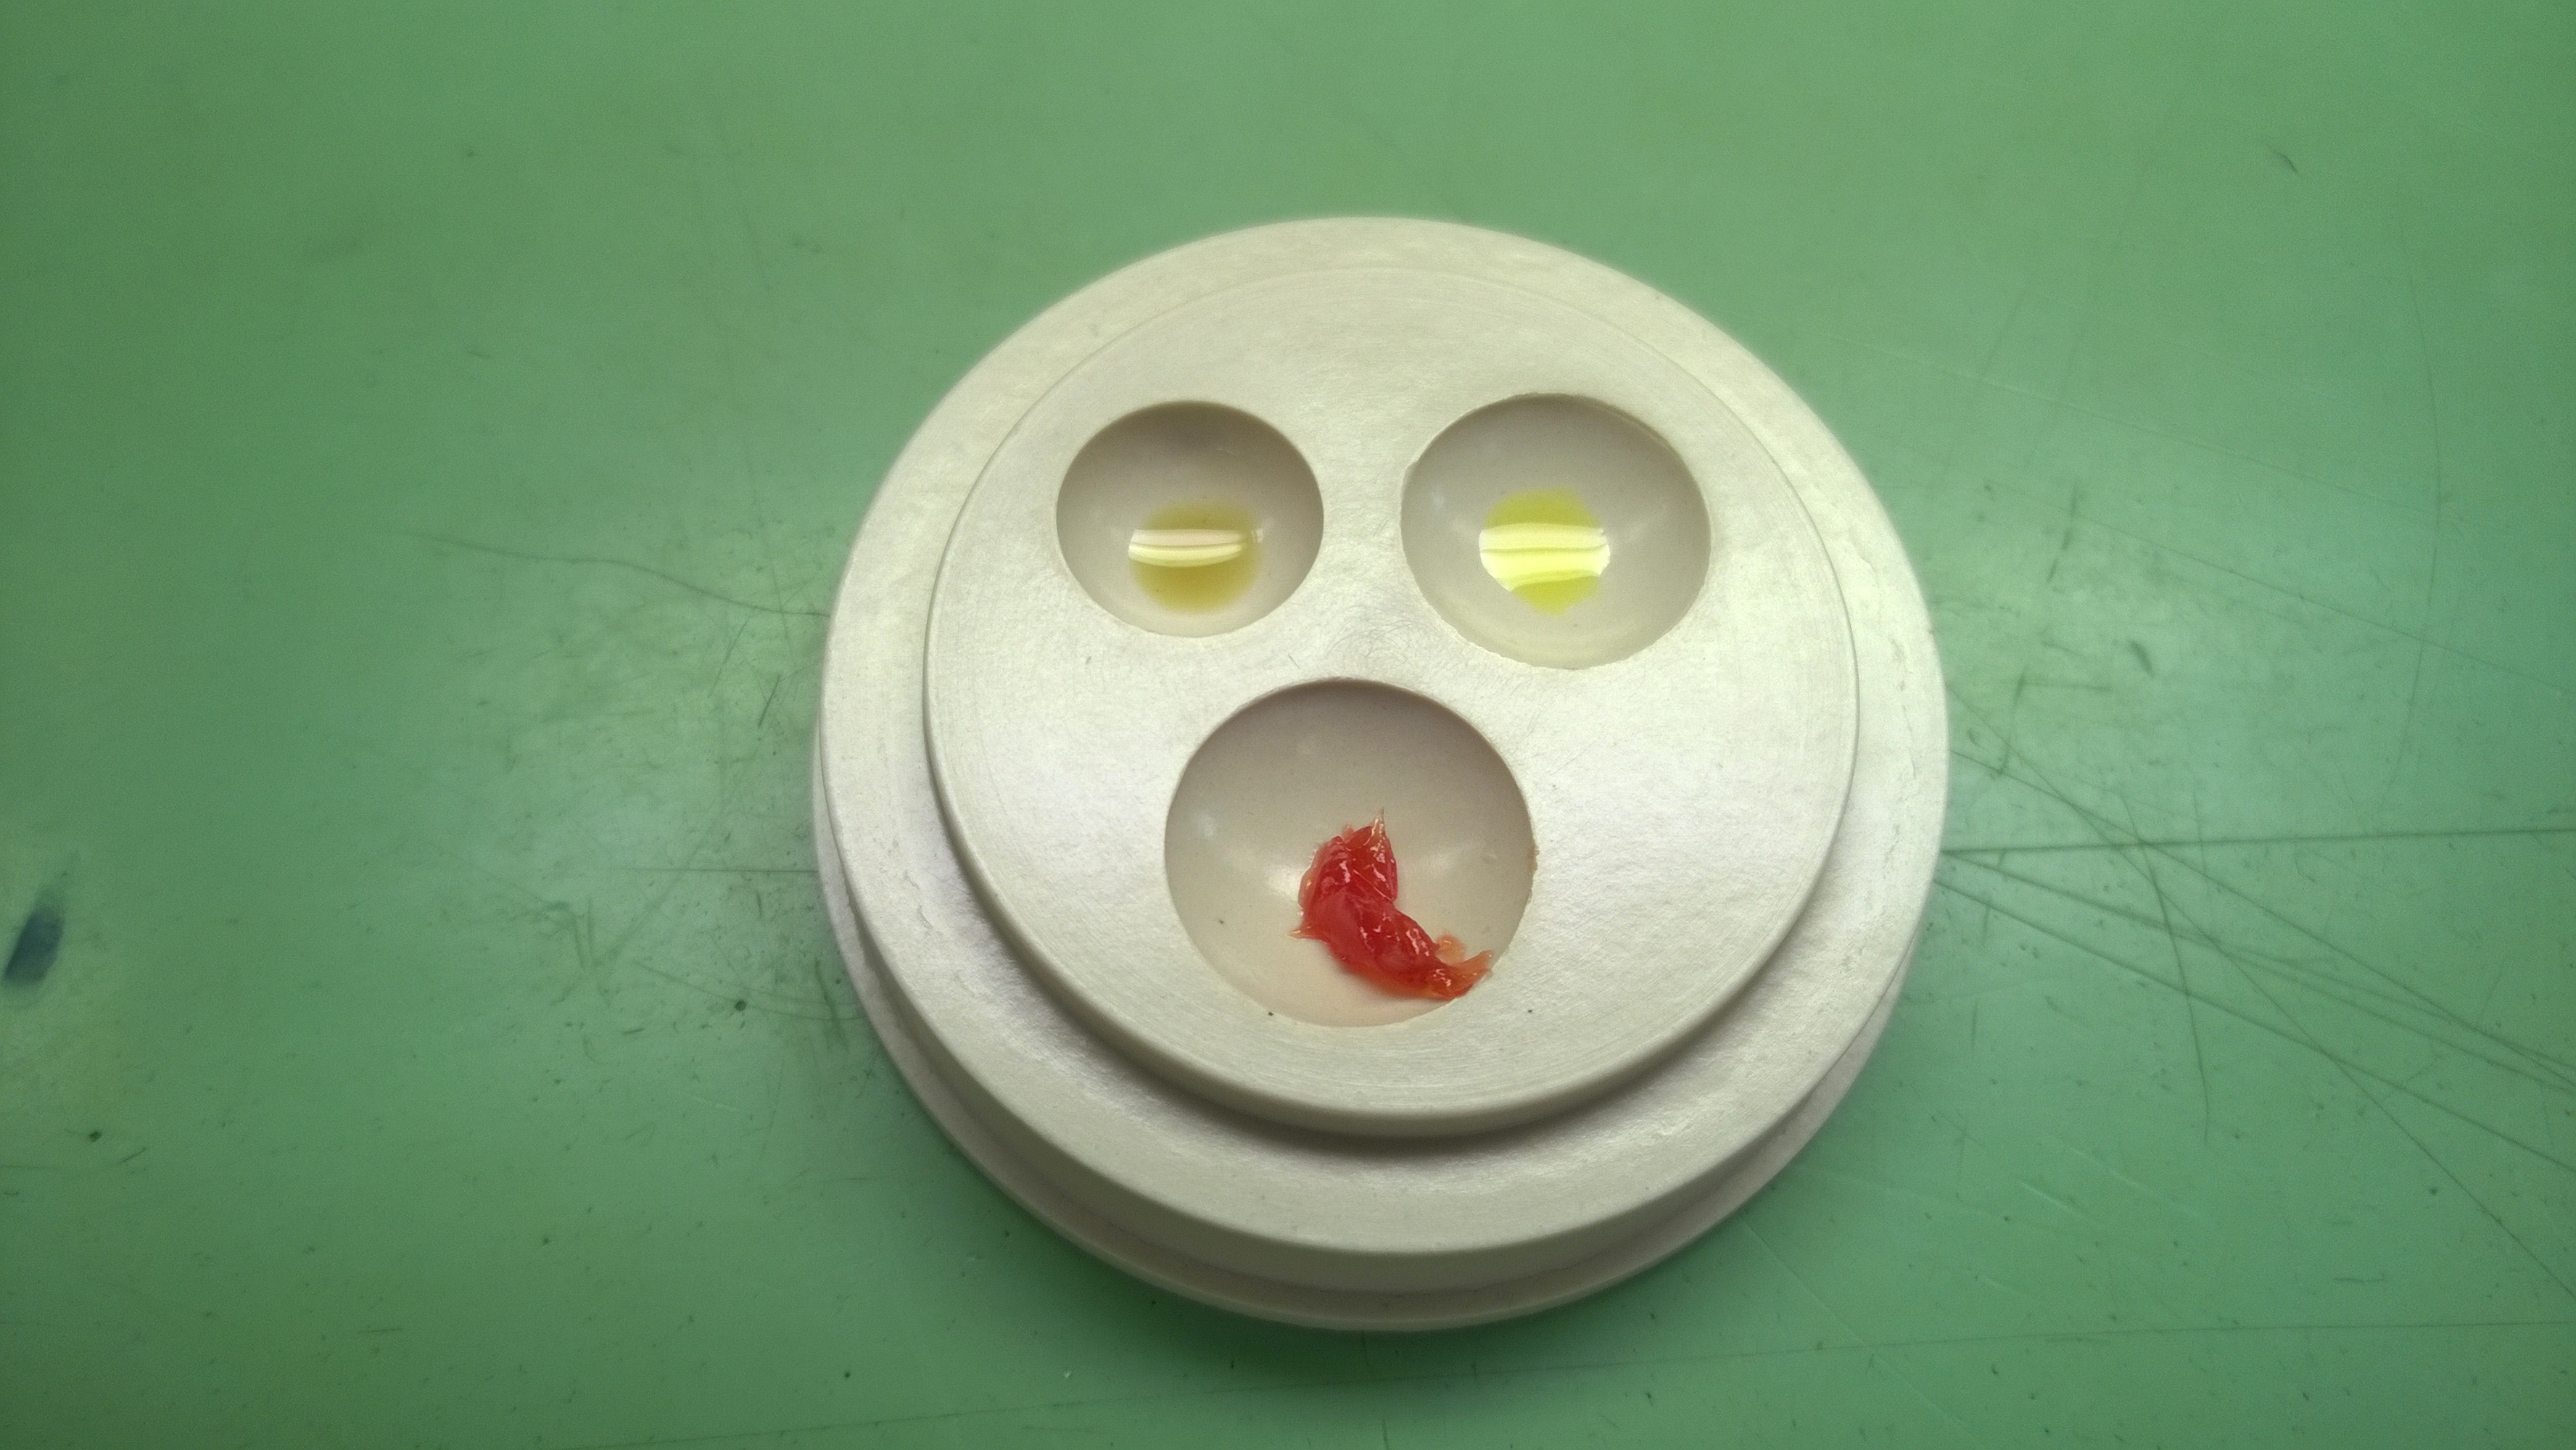 I got a new oil to use-the top left oil is Moebius D5. It is a thick oil/thin grease. Instead of using the KT-22 on the stem, winding pinion and clutch wheel, I used the D5. Also, for some of the wheels, I used the D5.
After getting the watch back together and oiled I timed it out. I had a laugh when I looked at the tape.
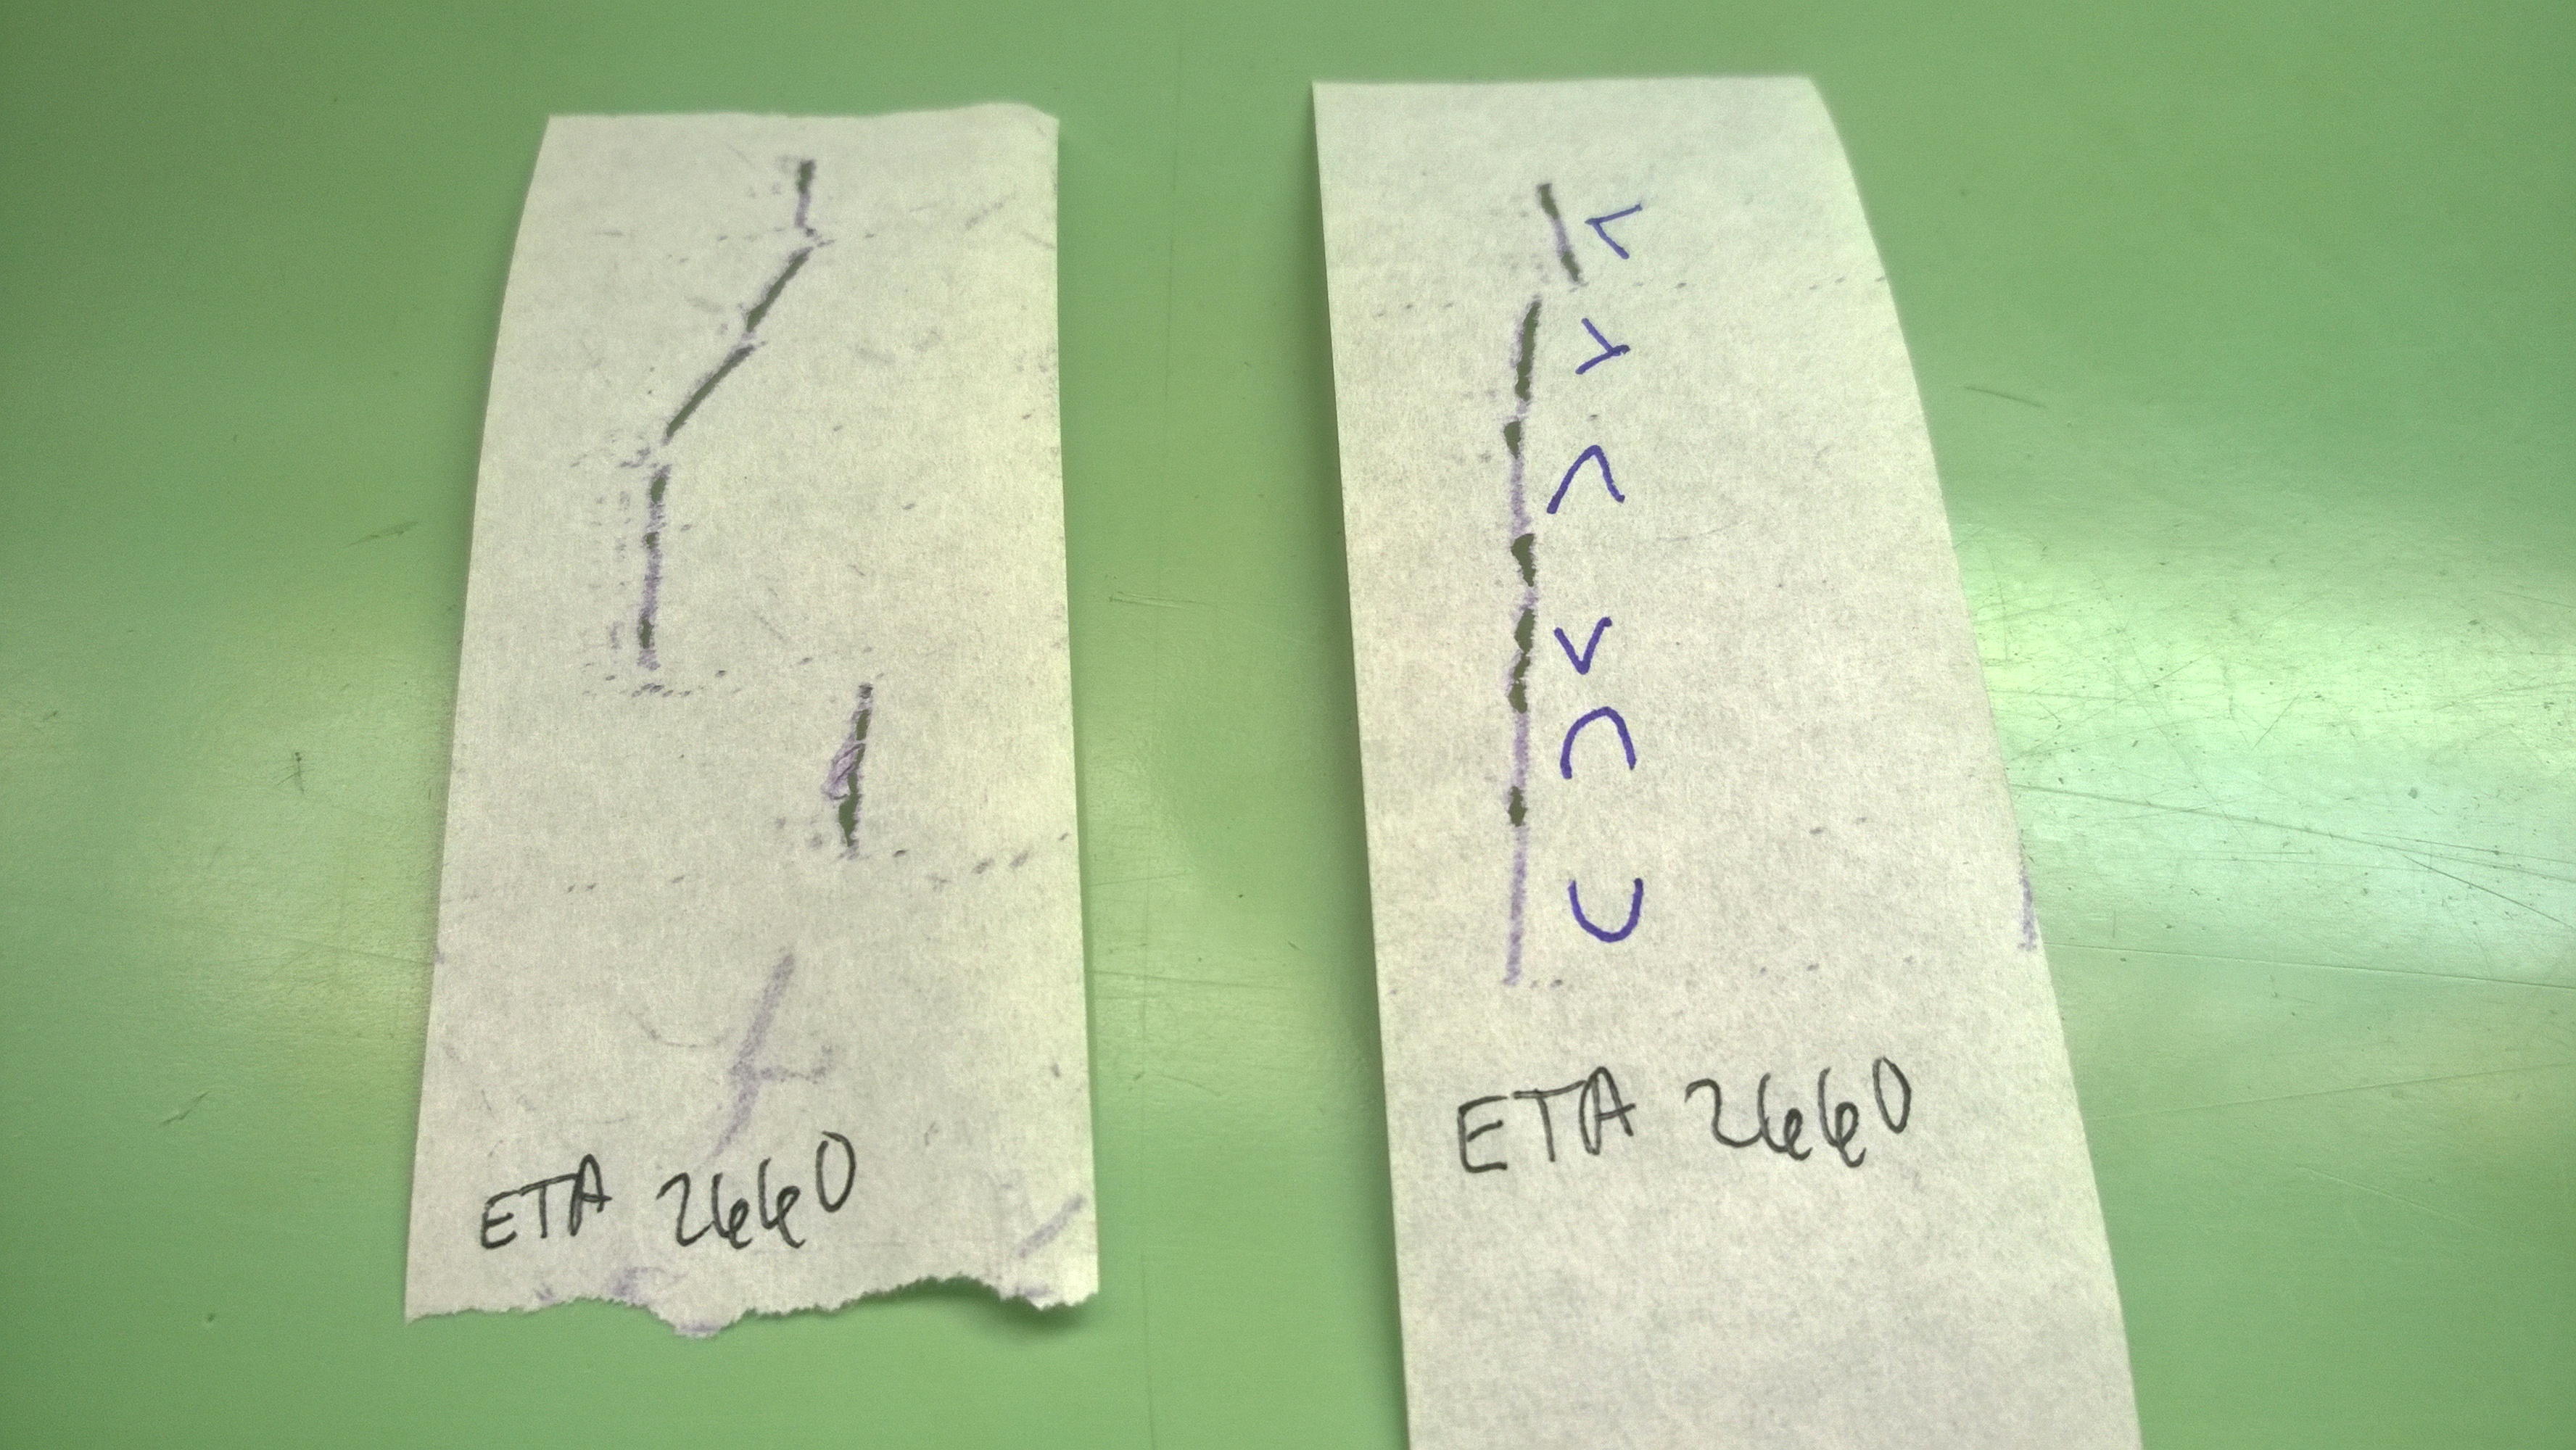 If you can’t tell, the watch pretty much punched through the paper.
All in all, I enjoyed working on this movement, and the ETA-Chron was pretty nice.


____________________________
Prior Entries in the 16-Point Check Project
- Arnex/Parrenin 40
- Seiko 11A (#2)
- Bulova 11AOCD
- Elgin/Font-5921
- Baylor Watch/Standard-1686
- Hamilton 780
- Lord Elgin
- Benrus DR-25 (ETA-2370)
- Seiko 11 A
- 16-Point Check 2
- Introduction to the 16-Point Check

Pingback: 16-Point Check (Bulova 11ACC) | watchmaking journey·
Pingback: 16-Point Check Outline | watchmaking journey·