Following up on my last post (found here), the next step in learning the lathe was to learn how to temper steel. All throughout my time on the lathe, each project (with the exception of one) that I turned, I did it in brass first and then repeated the process in steel. Brass is a whole lot softer than steel, so it makes an ideal material to learn how to turn, and following it up with steel teaches you how to apply and refine what you did with brass.
In metallurgical terms, tempering is a process that increases the toughness of a metal by decreasing its hardness by the use of heat. In non-metallurgical terms, you apply heat to metal and make it softer/easier to cut with gravers. There are different ways you can go about doing this, but in class, we use a torch and our eyes. When you temper steel, it goes through color changes and each color represents a specific temperature and a specific quality. When using the lathe, we temper to a blue color. Blue is essentially the softest you can take the metal before it becomes unusable.
I don’t have any pictures of the process of tempering (I can’t imagine it would be safe to try and hold a torch and my phone at the same time), but the process is easily explained. A piece of steel is fitted into a clamp angled at down at about 45° (Heat tends to rise, so this helps to not overheat the stock). The torch is lit with a controlled flame, and then the flame is applied to the stock working in a steady back-and-forth motion. Don’t keep the flame in one area for too long, and occasionally remove the flame for a moment to observe the color change. The color will start off as a light yellow/straw color and increase in intensity color moving from yellow -> brown -> purple -> blue -> grey -> red with some variations in between. Once the color is going from purple to dark purple, pull the torch away and see what happens. It will usually change from purple to blue. If you keep the torch on until it gets blue, it will typically turn from blue to grey and you have to start over with a new piece of stock.

After learning how to temper, I learned how to turn down diameters and create square shoulders and conical pivots. Those three skills are the building blocks of creating small parts on a lathe (screws, staffs, stems, etc).
I want to stop for a moment and say that learning the lathe is difficult. So much of your time with the lathe at the beginning is learning to feel and see what you are doing. Learning to manage your expectations, your patience and frustration is more important. Your teacher can tell you to angle your graver at 45° to the stock, but what does that feel like? What do you see and feel when you press too hard or too soft with the graver? What does a dull graver feel like versus a sharp one? How can someone teach you what it feels and looks like when you are tapering your work? If you measure with an outside micrometer and see that you are .05 mm away from your desired measurement, can you see that come off as you are turning? It is an art and a skill that is developed over time. I’ve seen and heard stories of people quitting the program because they get “stuck” at a certain project in the lathe section. There is a steep learning curve to the lathe but it can be exhilarating to see the fruits of your labor as you turn a piece of stock into a functioning watch part.
Having said all that, my first couple of projects were working with square shoulders of various lengths and diameters. I started big and worked smaller (in terms of measurements). The first project I did was three diameters (4 mm, 2.5 mm and 1 mm), with the last two sections being 3 mm in length. The tolerances I had to work with were +0/-.01mm on the diameters and +/- .05mm on the length.
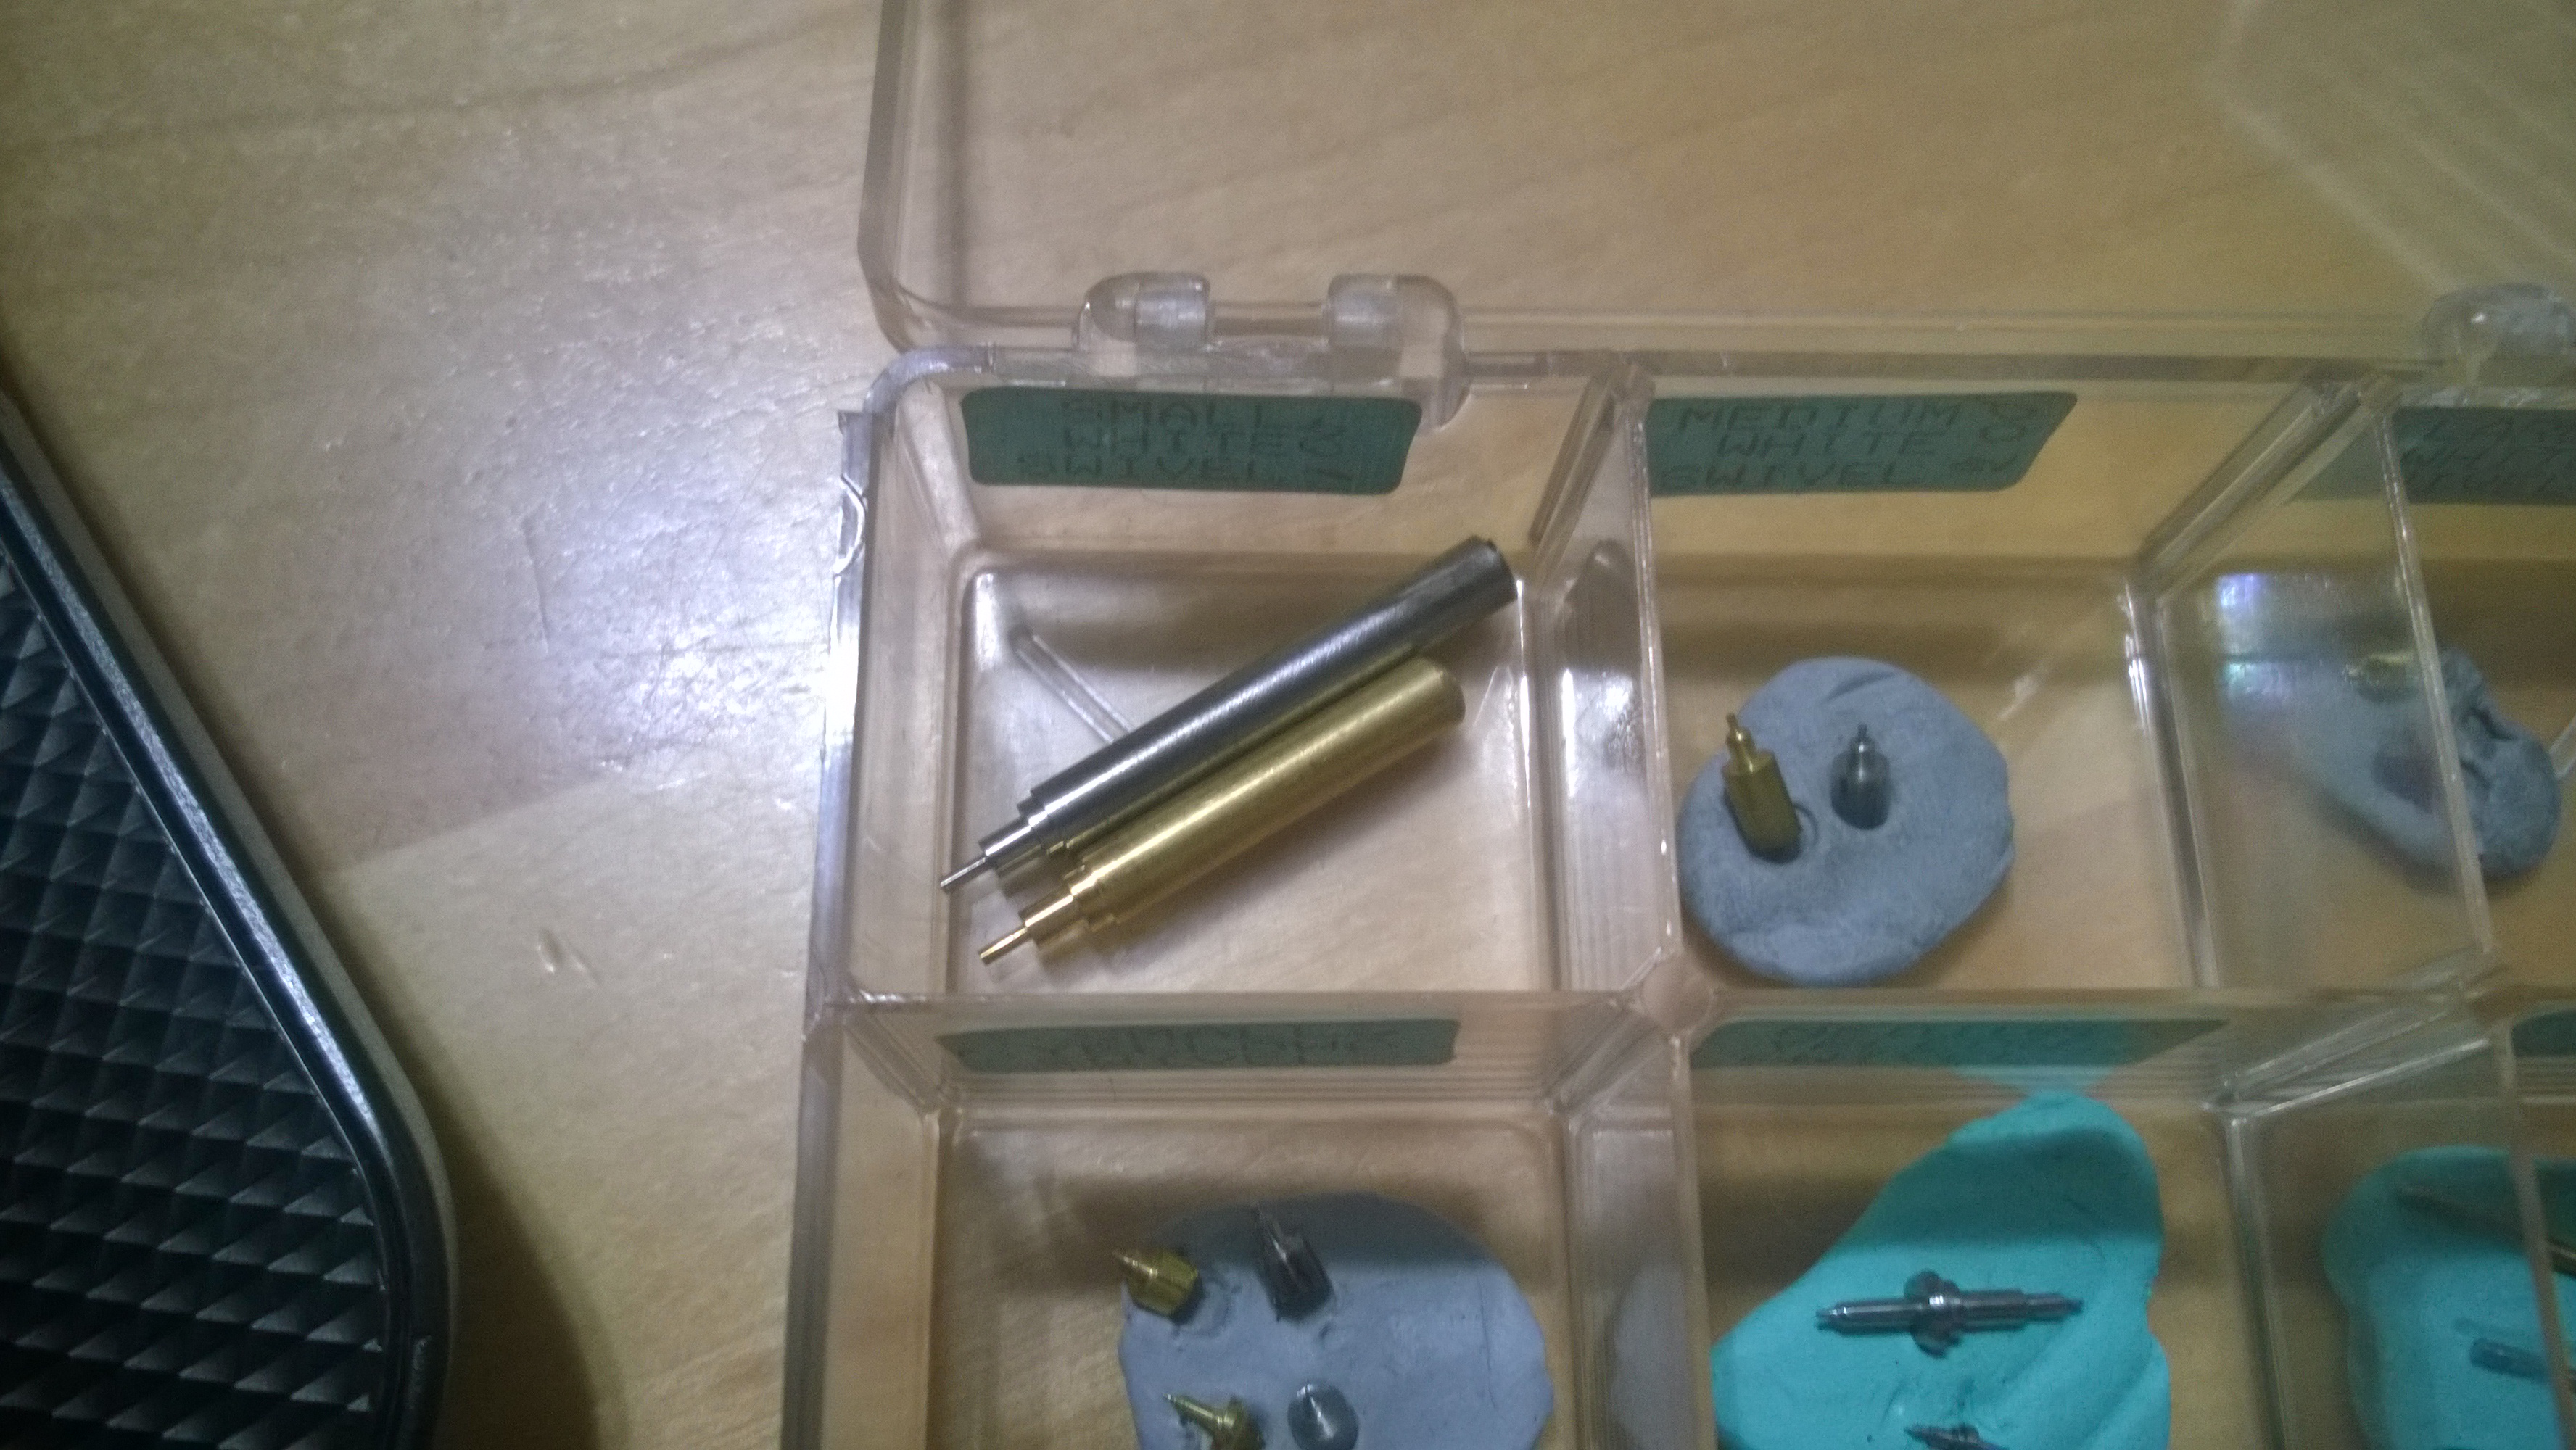
The key to this and most other projects was to find the largest diameter that needed to be cut (4mm on the first project) and turn down the diameter of the piece of stock to that measurement. For instance, if I was going to have 3 sections where the length totaled 8mm, I would turn down 8mm of stock to the largest diameter. That way you can back your work into that final measurement. From there, it is a matter of using a depthing tool to set your lengths and turn down each section to its proper diameter.
After knocking out my first project, the second and third projects were a repeat, but with smaller measurements as well as adding a bevel to the shoulder. They both had two sections instead of three and had measurements of
- Diameters of 1.5mm and .5mm and a length of 1mm on the .5mm diameter

- Diameters of 1mm and .2mm and a length of .3mm on the .2mm diameter

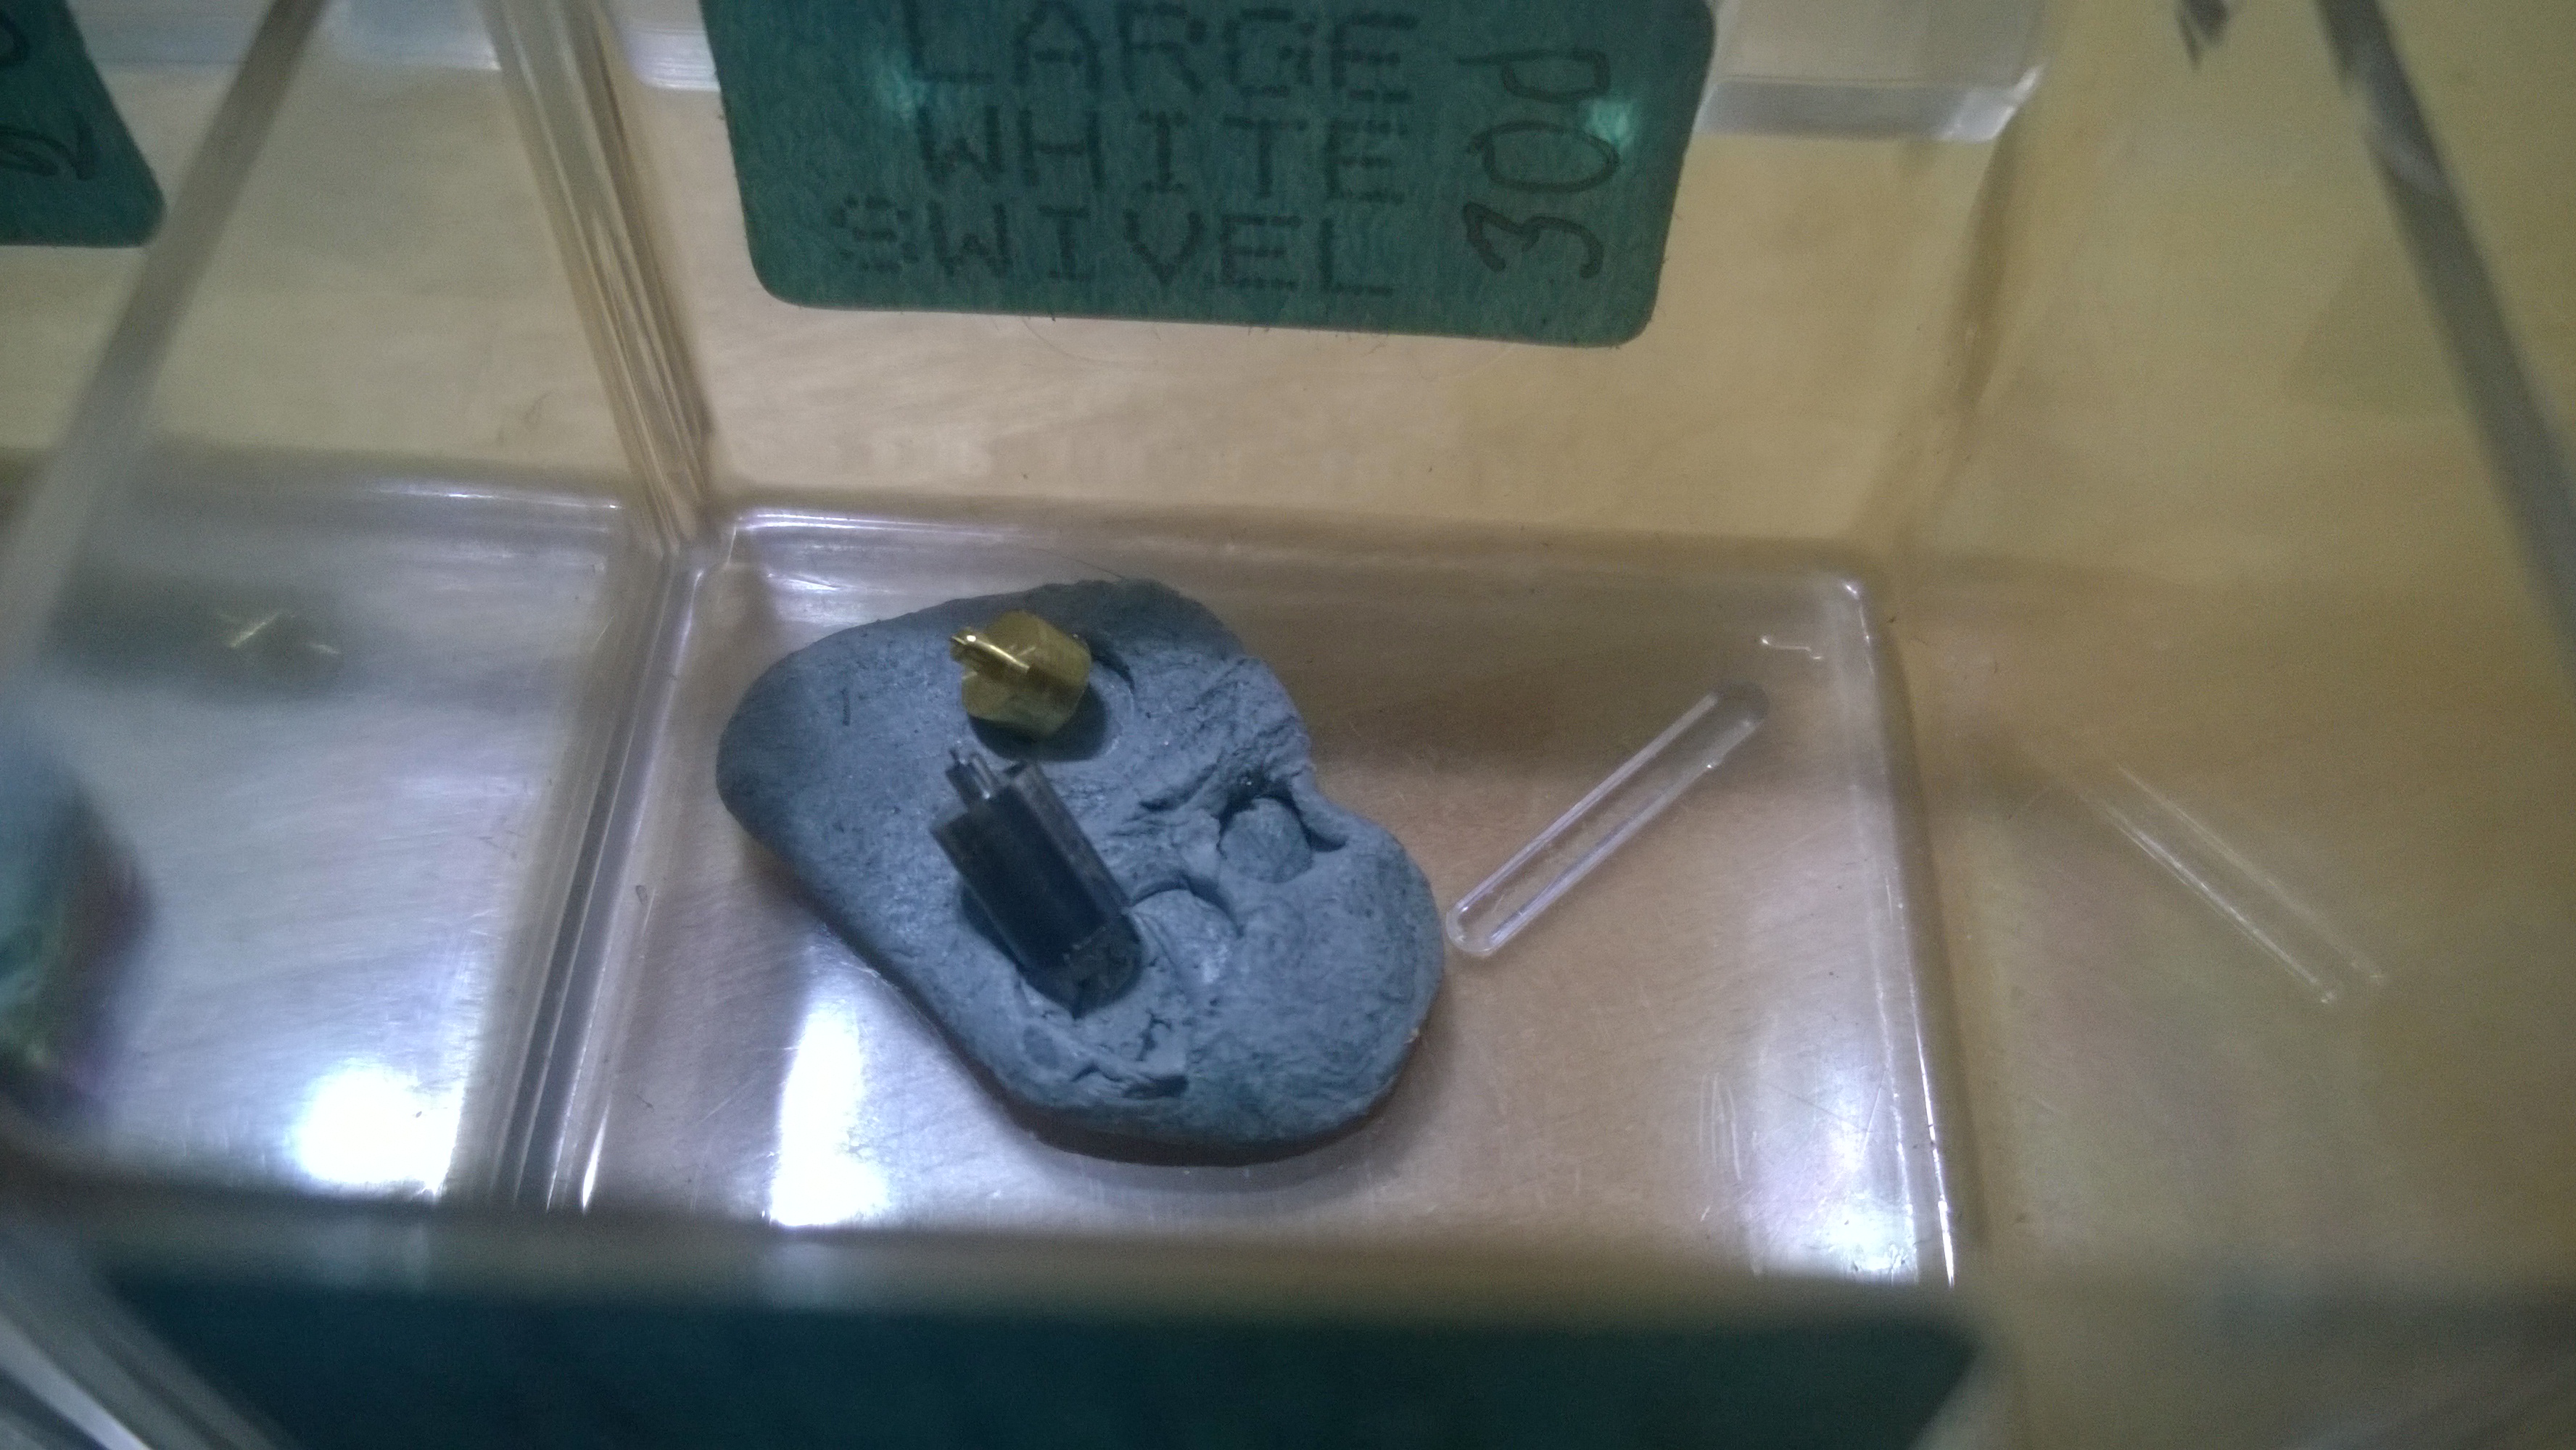
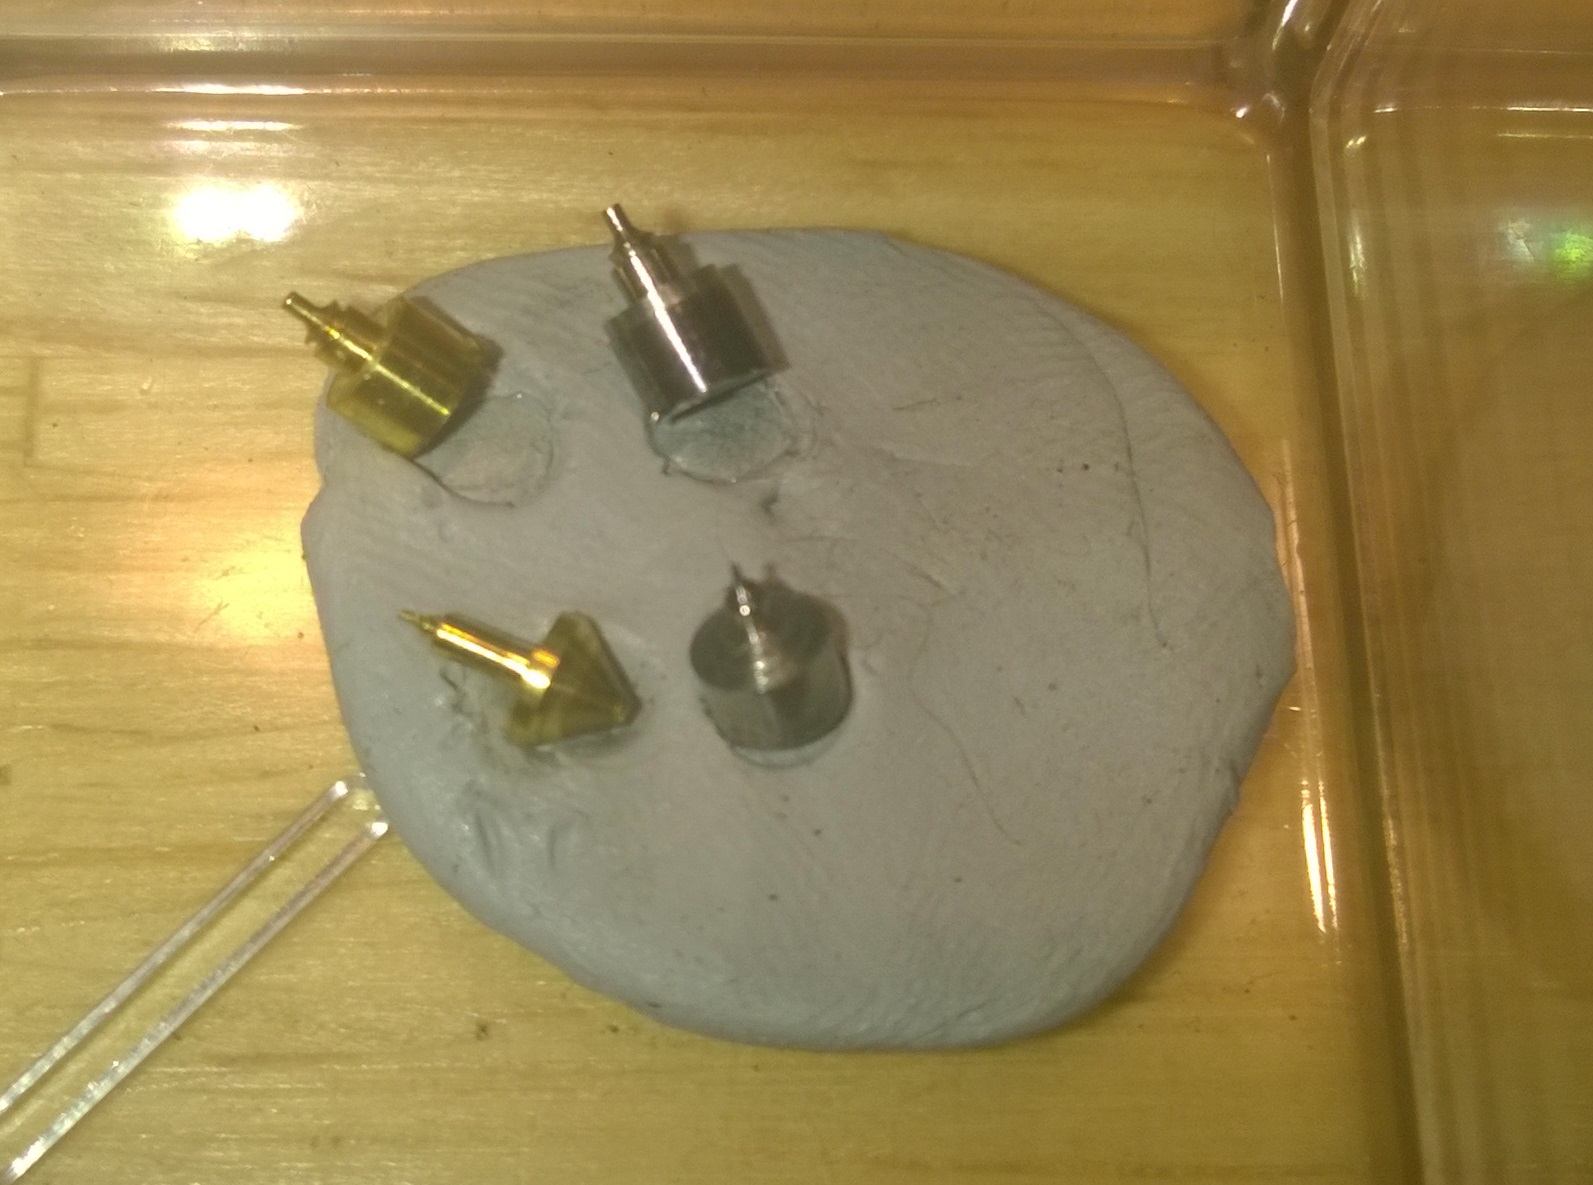
After mastering those three projects in brass in steel, the next step was learning how to turn conical pivots. Before doing that, I had to modify one of my gravers slightly to do this. I chose my number 3 graver and turned it into a rounded graver. This was a quick process and involved flipping my graver so it was resting on its spine/point edge and rub it slightly on some emery paper to round the point.
Once the graver was modified, it was business as usual, but after getting the rough measurements cut, I had to use the rounded graver to form the cone. The best way I can describe this is it is kind of like making small, half-moon types of motions from the inside of the shoulder out to the tip. It takes a while to learn how it feels, but after you do it successfully the first time, it is easily repeated. In addition to making conical pivots, I learned how to cut necks/oil sinks. To do that, I had to modify another graver to give it more of a shallow angle. I repeated this project twice and the measurements were as follows
- Diameters of 1.5mm, 1.25mm and .5mm with a total length of 1.3mm from the shoulder to the tip
.6mm of that length was the .5mm diameter
- Diameters of 1mm and .2mm with a total length of 1mm from the shoulder to the tip
.3mm of that length was the .2mm diameter
With this one, there was no diameter given for the beginning of the cone, but I had to essentially… flow the angle of the bezel into the start of the cone.

In addition to learning how to turn projects based off of blueprints, I had to learn to polish the end results. Polishing brass is pretty easy-if you cut smoothly, you will have a decent polish and you can finish it off with a quick hit of some rouge on watch paper. Steel takes a bit more work. When you are going to polish your final work, you want to leave about +.01/.02mm on the diameter because you are going to polish away the rest. You are going to take some coarse and fine grit oilstone powder and some ruby powder and mix them individually with some oil and use those to polish the steel.
To apply the polish, start with the coarse oilstone powder and get a dab of it on a flattened piece of pegwood. Start turning your piece and with a side-to-side motion, press the pegwood against your work. Do this a bit, wipe it off and move the fine oilstone. Repeat and finish with the ruby powder. After you finish with the ruby powder, take your measurements and you should be within your tolerances and have a shinier looking piece. It won’t be super shiny like the brass, but it will look a lot better than when you started.
So there you have it, my first 5 projects that helped lay the foundation for everything that is coming up. My next post will detail learning to make staffs and possibly stems.
