My last post dealt with turning balance staffs. I am glad that they were my first ‘real’ project on the lathe because they were probably the most difficult thing I did with the lathe based solely on the fact that it had so many different sections, measurements and techniques I had to learn to complete a staff. After turning a staff, a stem was a walk in the park and one that I had to do three times. The first two were from a blueprint and the third was of unknown measurements.
When turning a stem, you can separate the stem into two large sections-the threaded portion and everything from the hub to the pilot pin (I will refer to this section as the functional part). Make sure you have the total measurements of the functional part of the stem-pull out enough of your stock you are working with to allow you to do all the non-threaded work.
The first section you are going to turn is the pilot pin. The pilot pin is a straight pivot that leads into a square shoulder. Finish out the pilot pin by tapering it to a point.

After you have formed the pilot pin, the next section to turn is the diameter for the square. A point to remember about this part of the stem is the diameter is going to be initially larger than the square will be after filing it. The diameter that you are turning is going to be for the winding pinion shoulder. This whole section is essentially another straight pivot that feeds into a square shoulder. This square shoulder will end up being the plate bearing hub and will be finished after you file the square.
 Once those three sections have been turned to their dimensions, it is time to file the square to an actual square. On the spindle there are a series of index holes. There are four series of indexes that have two holes instead of one-these are exactly 90° apart which makes filing a square very convenient. You want to lock the chuck and headstock in place using one of the 90° markers before you start doing anything.
There are a couple of ways that you can go about filing the square, but we learned how to do it by hand. To ensure that you are filing straight and level, take a small piece of Rodico and affix a spirit level to a flat hand file. This will give you a visual reference as to how level you are staying.

Before you start filing, you need to make a washer that has a thickness equal to the winding pinion shoulder to protect it from your file. The washer should fit snugly over the winding pinion shoulder. This will protect the the roundness of your work and guarantee the perfect thickness and length for the shoulder (If you click on the picture above, you will see the washer in place)
Place the file on the square and level it, and only move it forward, making sure the bubble in the level stays in place. Once you get to the end of your stroke, lift the file straight up (don’t go backwards) and check the finish of what you just did to ensure that you have a straight line finish without any faceting. I found that it was easiest to stand as close as possible (in a staggered stance) to the lathe while bracing the handle of the file with my stomach-instead of pushing the file forward with my hands and potentially rocking the file, I could shift my weight forward and drive the file forward while keeping it level. Continue in this fashion until you have removed half of what you need to (i.e. if the square needs to be 1.4mm and you start at 1.8mm, file down .2mm until you get a measurement of 1.6.mm). Unlock the headstock, rotate 180° and repeat the process until you get to your desired diameter. Rotate the headstock 90° and repeat the process. Once you are done, you should have a square shoulder that has slightly rounded corners/edges.

After filing your square, pull out a little bit of your piece at a time and turn down a taper from the beginning of your plate bearing hub. Pull out a little bit more of the stock and start turning down the diameter to just a tiny bit larger than what your threaded section diameter is supposed to measure. Keep doing small sections at a time until you have a length a little longer than what you need. Form the end into a point.
Once you have your length, part off your work and turn it around and place it in a collet that will hold the hub of the stem. It would be advisable to use a headstock to keep your work stable while your are turning down the diameter of the threaded portion. Continue working the diameter down to .01-.02 mm below the size of the thread. At this point, you are ready to thread the stem.
Apply a little bit of oil to the portion that is meant to be threaded before proceeding. Take a screwplate/threading die and place it on the tip of the stem and apply a steady pressure while you manually turn the headstock. Once the tool “bites” into the stem, you can stop applying pressure and instead just keep the tool in place by resisting the rotational forces. Go slowly, turn the headstock and stop frequently to remove any strips of metal that are being removed. Once you get to the hub, ensure that the tool is clean, reapply some oil and slowly back the tool off while avoiding cross threading.
To finish off the stem, you need to flip the stem around and place the stem in a collet grasping it at the hub. Cut out the setting lever/detent slot using a part off tool.
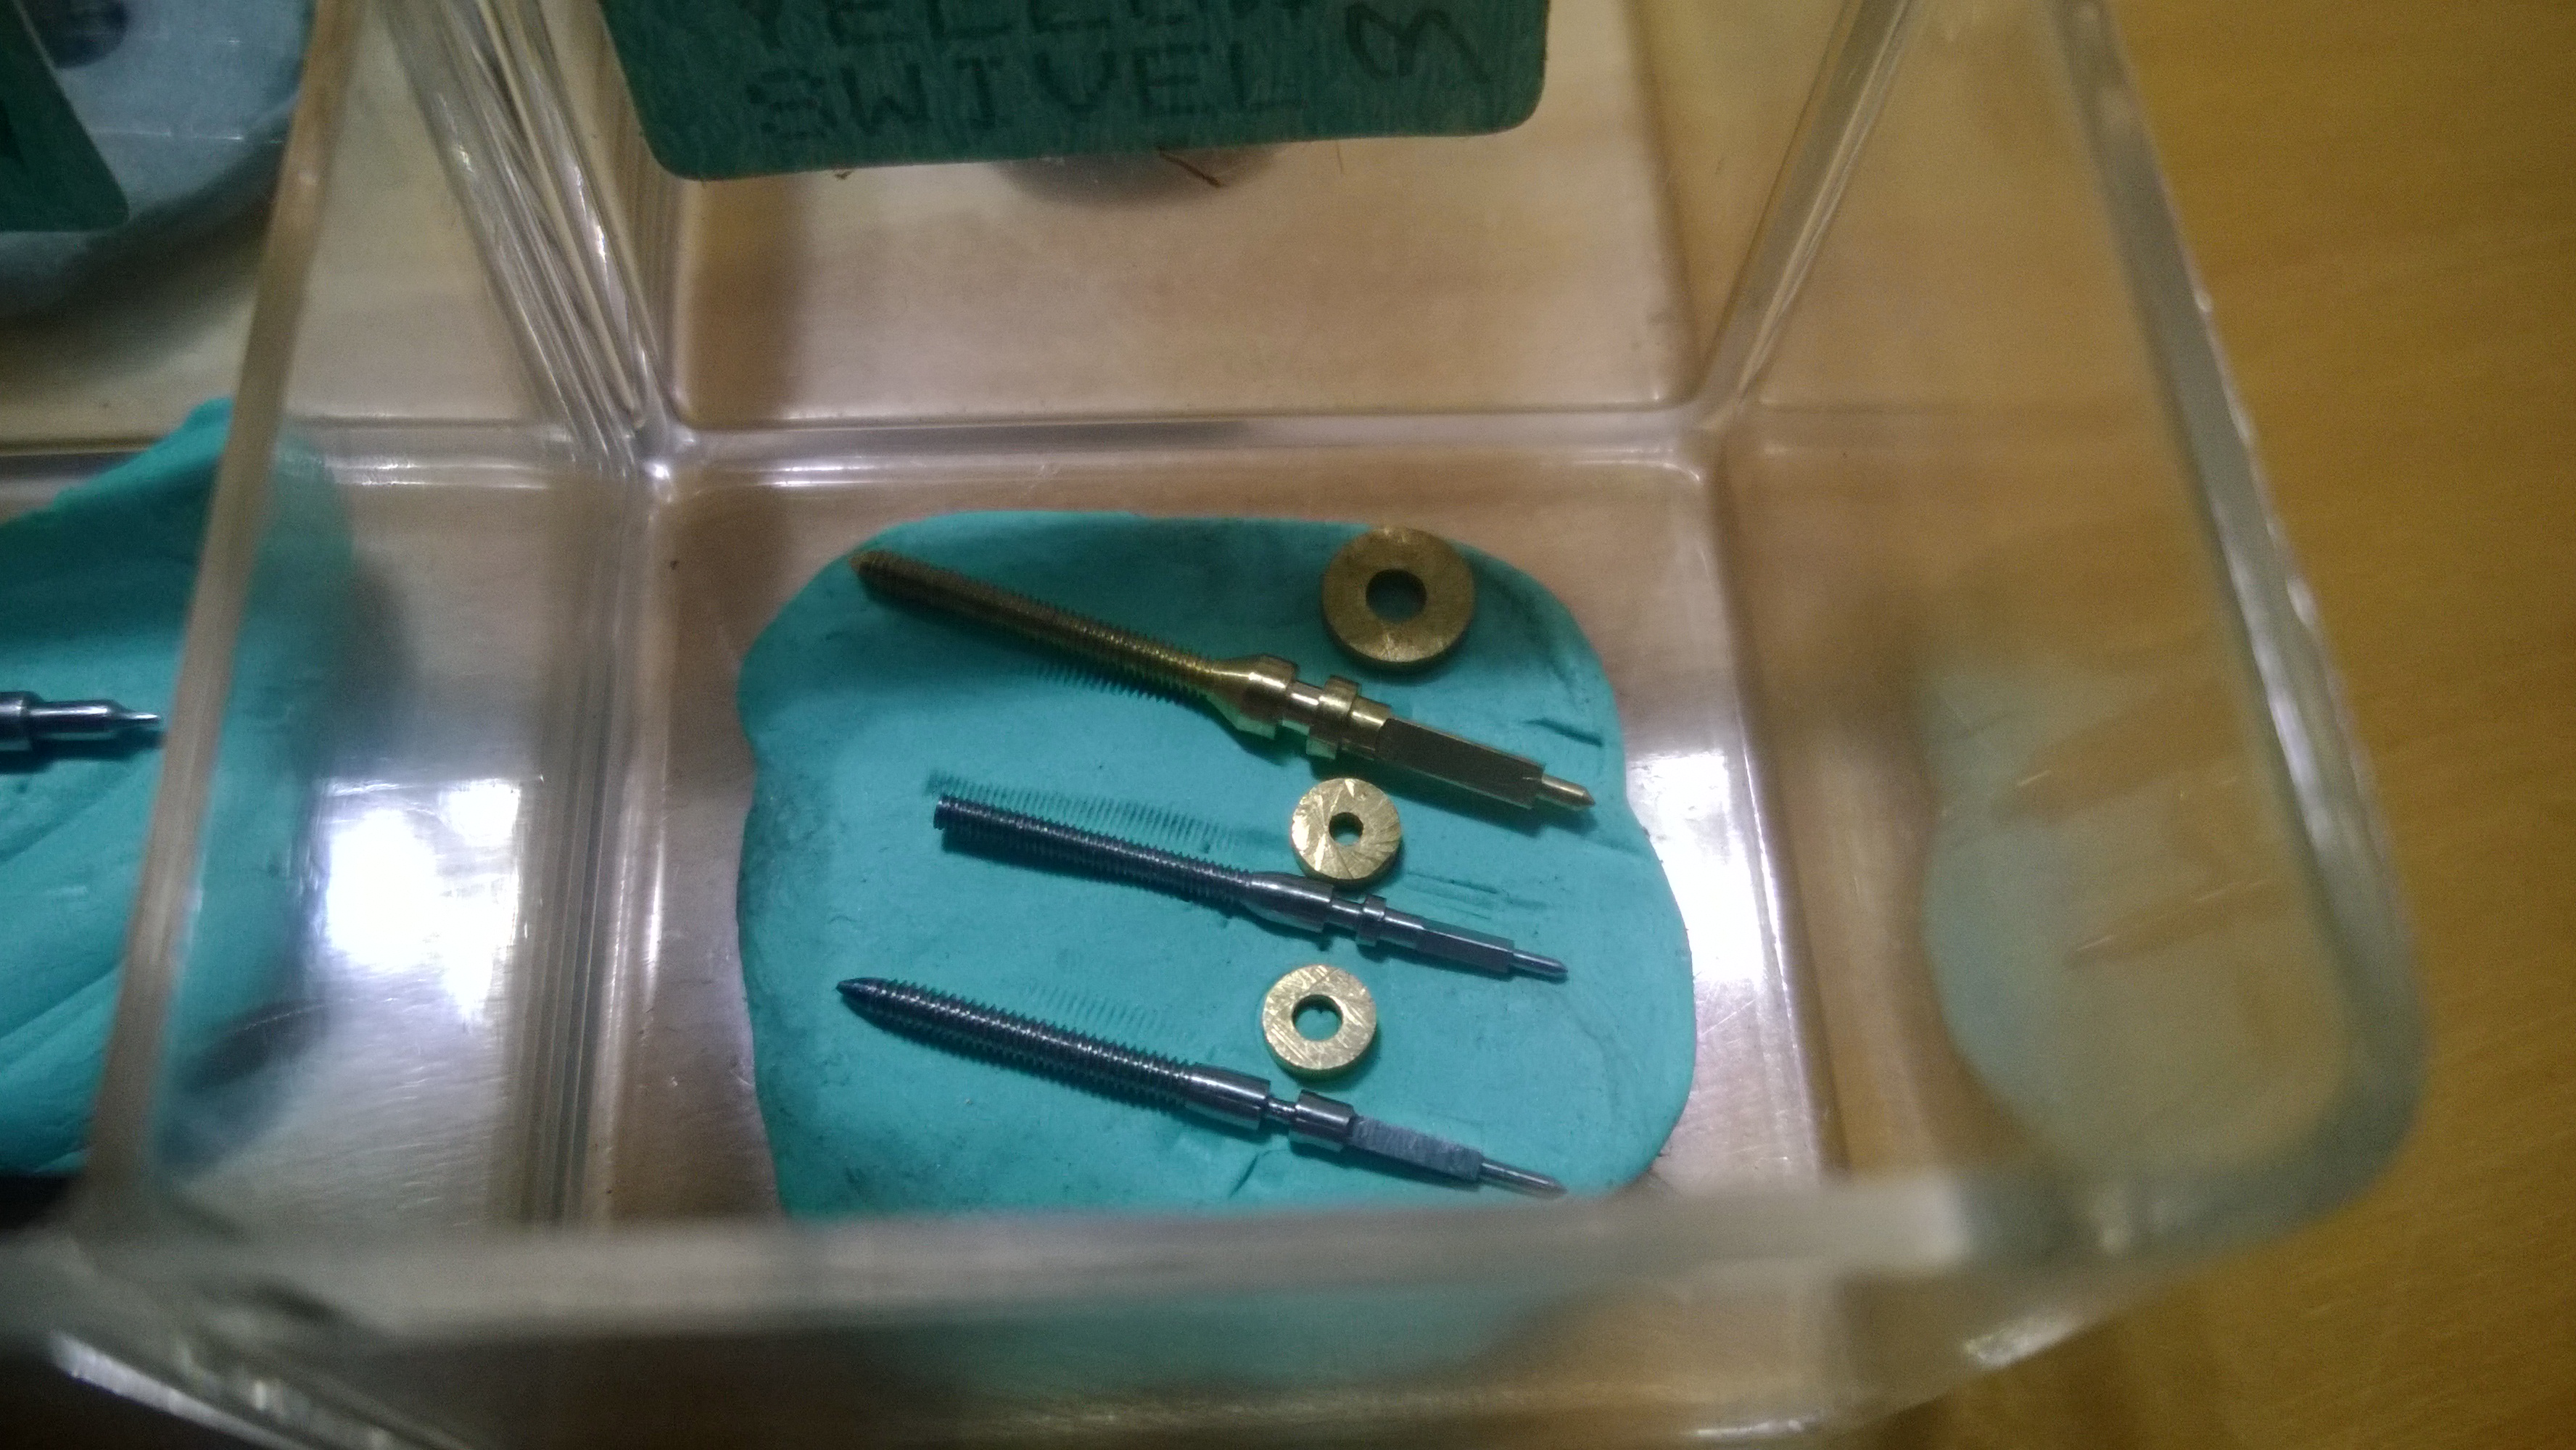
So that’s how you turn a stem if you have a blueprint. I did two stems from blueprints. The first one was in brass and measured
- 25mm in length
- 2.5mm at its thickest point (plate bearing hub)
- .8mm a the pilot pin
- Thread diameter was 1.4mm
The second stem was made out of steel and measured
- 19mm in length
- 1.5mm at its thickest point (plate bearing hub)
- .5mm at the pilot pin
- Thread diameter was 1.2mm
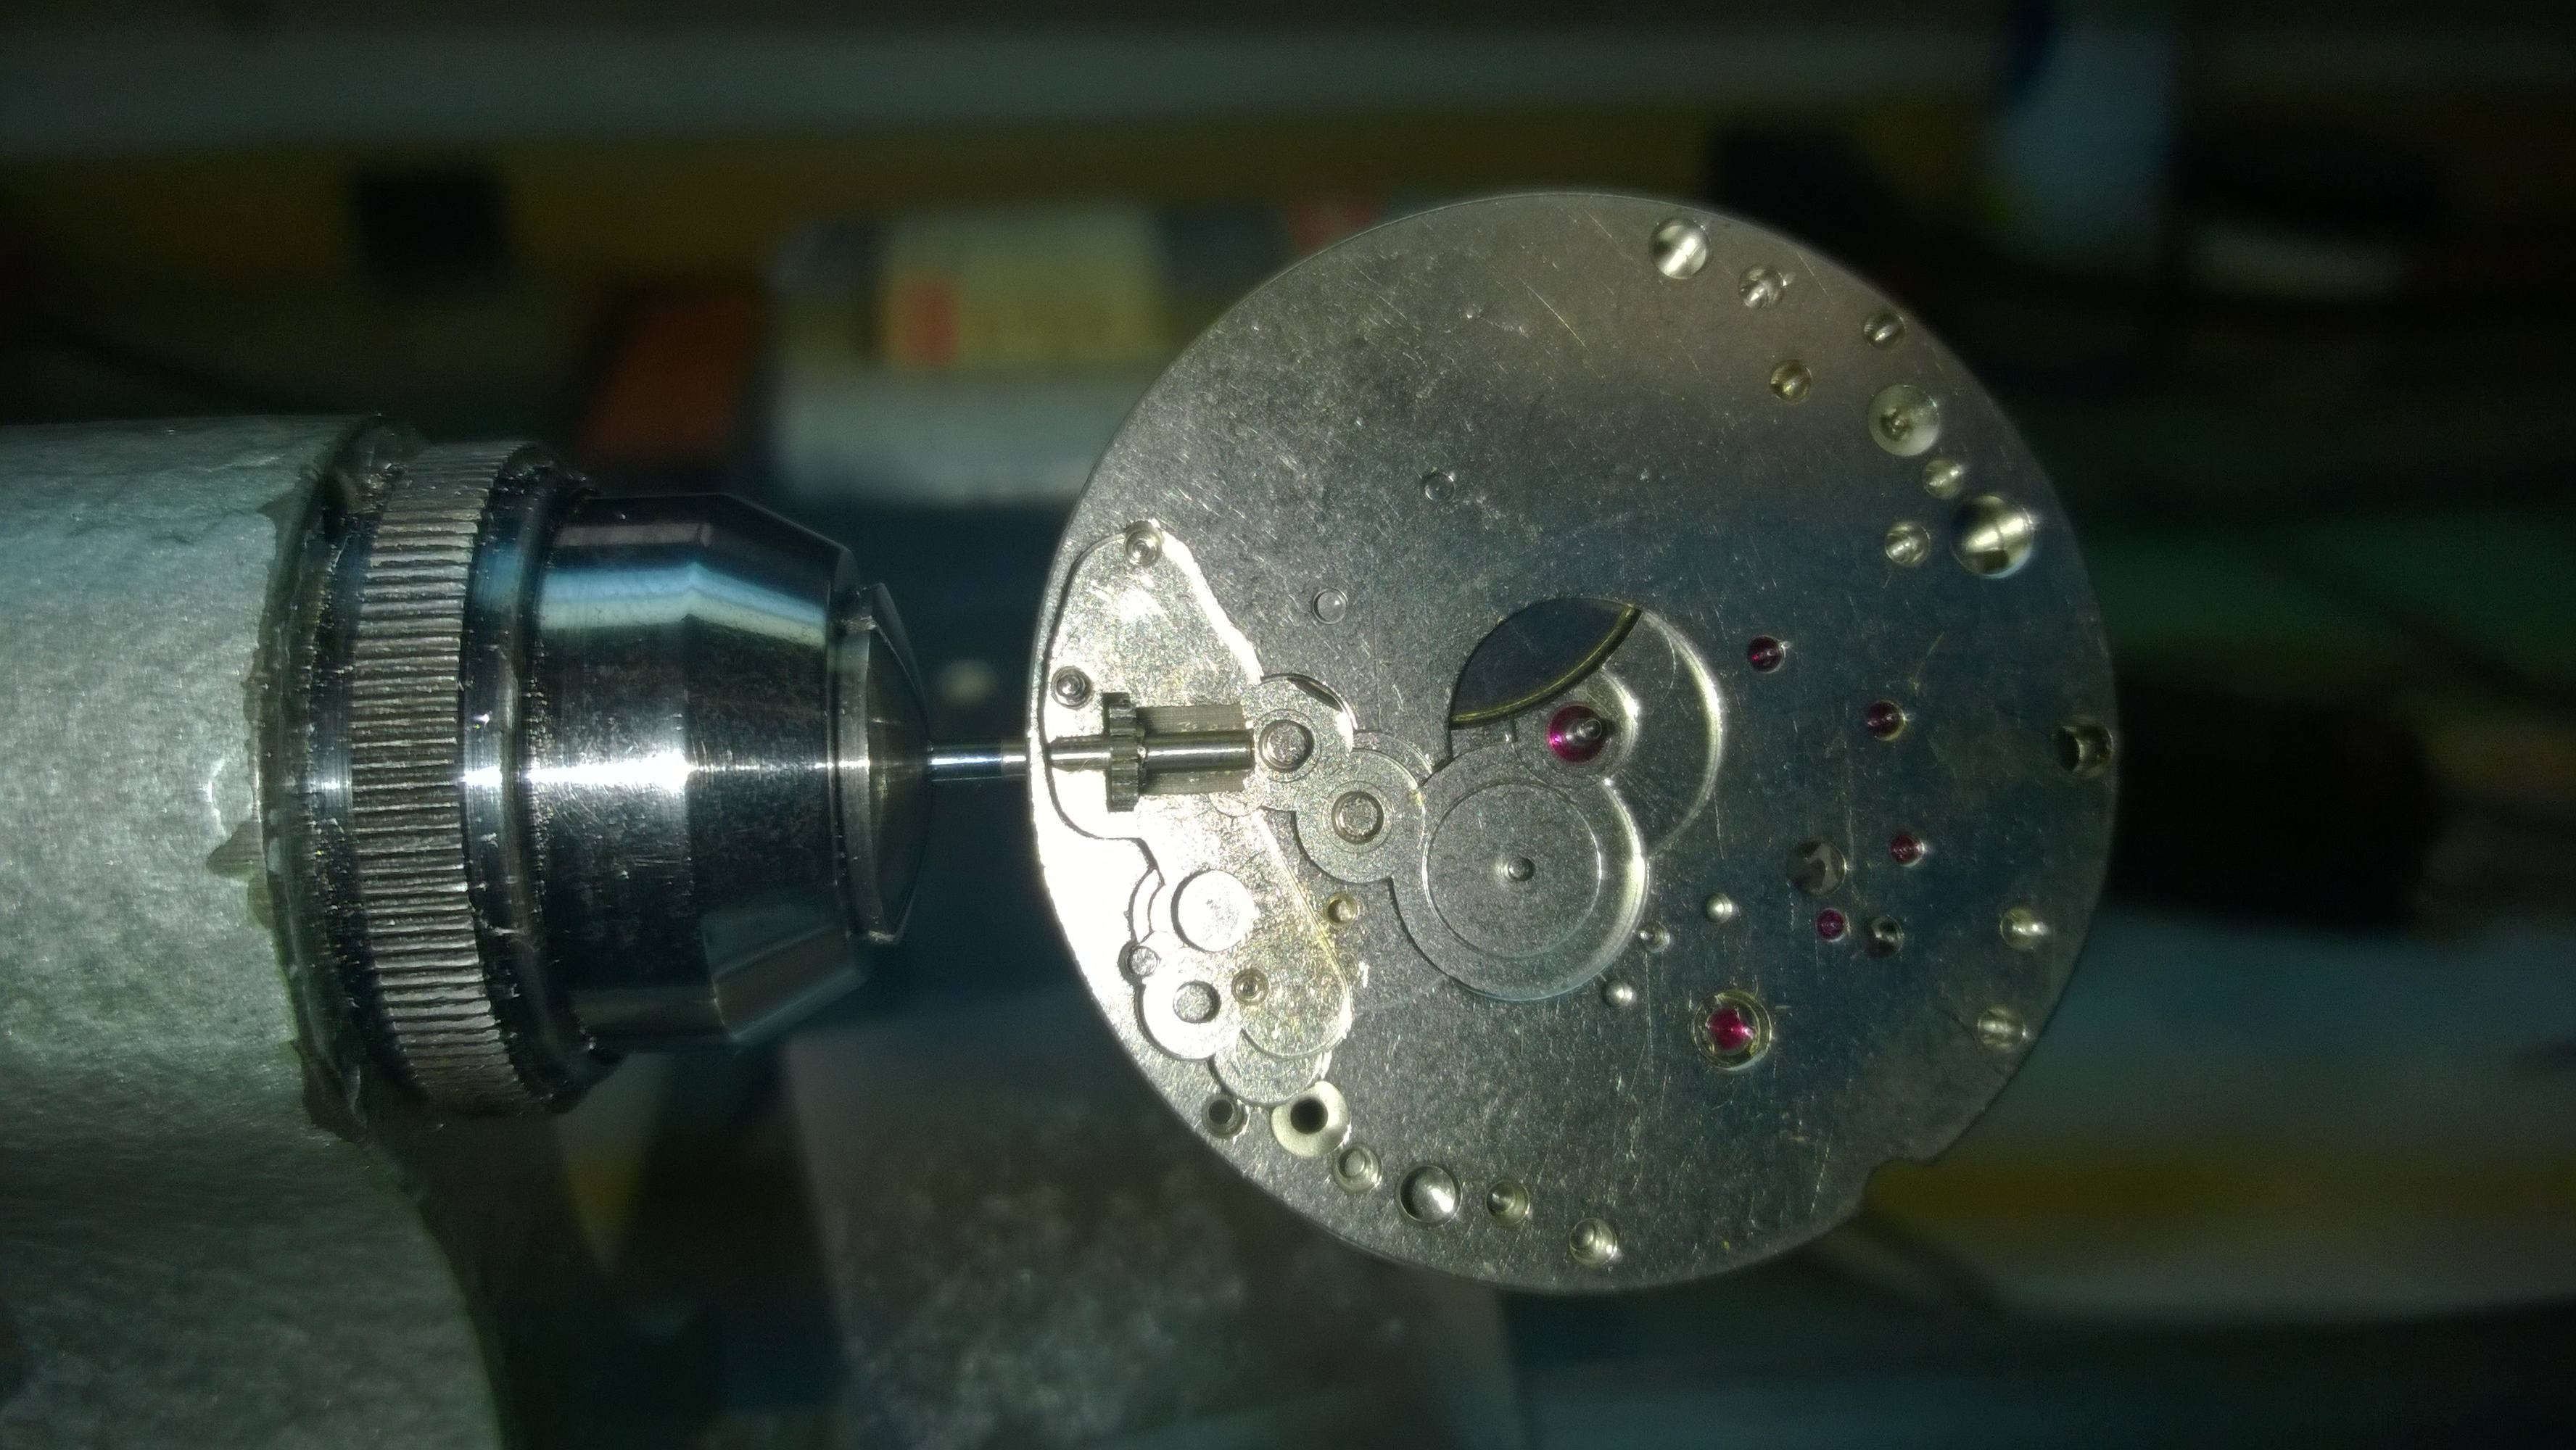
The third stem that I did was a lot of fun. I was given an ETA/Unitas-6497 movement without a stem as well as a piece steel rod and basically told “Make this fit that and have it work.” The process for making the stem is exactly the same, except you need to stop and take measurements as you are working.
The first two measurements you need to figure out are the active length of the stem and the plate bearing hub diameter. To figure out the active length of the stem, use your calipers to measure from the outside of the setting wheel post to the outside of the movement plate (see the yellow below). Add a couple of millimeters to that measurement to allow for some wiggle room.  Once you have that length, you can start figuring out your plate bearing hub diameter. Slowly turn down a little section of the rod so you are able to slide the rod into the movement. You don’t want it to be so tight that you have to force it in, but you don’t want any side to side travel.

Once you have your first diameter turned, you need to turn down your pilot pin. Again, slowly turn down a small section until you are able to fit it in the pilot pin hole. If you want, you can measure from the outside of the setting wheel post to the end of the cutout for the sliding pinion and use that as the length for your pilot pin. You don’t want your pilot pin to be too short-if it is, your stem can/will disengage when you pull it out to the setting position. If your stem is too long, you will not be able to engage the setting mechanism. I found that the ideal length was long enough when I couldn’t push it in anymore, but short enough to not be seen when pushed all the way in.

After you get the pilot pin length, you need to get the winding pinion shoulder diameter. Again, slowly turn down a small section of your first diameter (the plate bearing hub) until you are able to slide the winding pinion on your stem. Again, not too tight or loose. Remove the winding pinion from your stem and slide the stem into your watch. With a scribe or a graver you don’t use, score on your stem where the winding pinion shoulder begins. Slide the movement off and turn down the diameter for the winding pinion-make sure to stop at the where your scored your work. Place the winding pinion back on the stem and make sure that along the entire length that you just turned, the winding pinion fits snuggly but not tight.
Next, you need to figure out the diameter for the sliding pinion. Take your calipers and measure the inside of your sliding pinion from corner to opposite corner. That should give you a good idea of the diameter. Once you have that, measure the diameter of the of the hole for the sliding pinion from corner to corner, subtract that from the diameter that you just cut, divide that in half and that is how much you need to remove from each side of the square (i.e. winding pinion shoulder was 1.8, sliding pinion hole is 1.7 leaves a difference of .1 You will need to remove .05 from each side to have the right thickness).
After you file the square, you will want to go ahead and start turning down the back of the hub so you are able to work on the threading.
After you have the threading done, slide the stem into the watch and gently screw down the setting lever. Do not over-tighten this (you can bend the part), and score your work to create the length of the slot for the setting lever. Replace the stem in the lathe, use a part-off tool and cut your slot. Stop occasionally and place the movement on your stem to check the width and depth of the slot. You will eventually get it and should have a functioning stem at this point.
I have just a couple more topics to touch on before wrapping up the lathe-at most two more articles and then it will be back to watches and back to a more consistent posting schedule. Thanks for sticking around!
