In my last post, I went over the process of how to make a winding stem. In this one, I’ll be covering cutting a balance staff out of a wheel, making a screwdriver and using the Jacot Tool. After that, you can expect a flurry of posts detailing my experiences with automatic watches and calendars.
The first of the the final two lathe projects I did with the watchmakers lathe was cutting balance staffs out of balance wheels. If you go back to the series of posts I did way back in my first semester on staffing, you will see that the first way I learned how to remove balance staffs was a relatively rough way that involved hammering the staff out. Doing so caused the balance wheel to become distorted and lose its poise. A more elegant solution (and more gentle) is cutting the staff out.
To do this, you will need two specific tools in addition to the lathe and various collets-a soldering iron and carbide gravers. The carbide gravers differ from regular gravers in that they don’t lose their sharpness. A balance staff is a very hard piece of metal. If you were to try and use your regular gravers, they would get dull very quickly and just wouldn’t work very well. Carbide gravers also have a tendency to chip/shatter easier than regular gravers so you need the staff to be as soft as possible before you start attempting to cut them out, hence the soldering iron. To soften the staff, and only the staff, you need to apply direct and controlled heat to the staff. A torch or a flame of any kind will be too unwieldy and you will most likely heat up the wheel as well.
The process for cutting a staff out is simple and relatively quick. The first thing to figure out which side of the staff you are going to cut out. When you look at a wheel, you have two sides-the hairspring/upper side and the roller/lower side. When you remove the hairspring and the roller there are two distinct features that you see-the rivet and the hub. If you try to remove the staff by cutting the rivet you run the risk of damaging wheel since there isn’t a lot of material to work with. If you flip the staff over and look at the hub, you have plenty of metal that you will be able to slowly remove while being careful not to cut or scratch the wheel. If you scratch the wheel during this process, you will throw off the weight of the wheel which will cause the wheel to be out of poise and you will have a hard time getting it back into poise. Once you have removed the hairspring and roller table, you need to find a collet that will grasp the staff as close to the wheel as possible at the hairspring shoulder.
After that, take your hot soldering iron and apply it to the staff on its lower end, being careful not to touch the wheel. Heat the staff until you start getting a color change (at least to a straw color, but the darker the better). Once the lower part of the staff has changed color you can place it in the collet you selected.

From here, it is just a matter of using your graver to slowly cut away the hub until you are left with a very, very thin piece of of metal that looks similar to the rivet on the other side. Once you have that, take your graver and hold it so you can rest the tip of the graver up against the staff
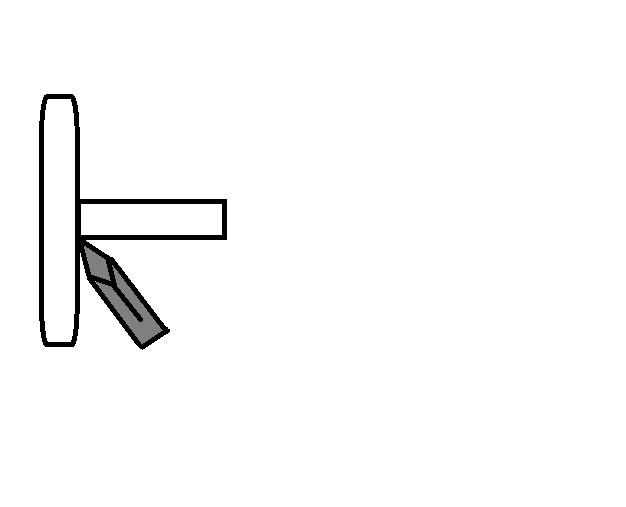
and press in as you turn the wheel. Doing this will essentially turn the hub into a washer that you can remove. After that, you can gently turn wheel with your fingers and the wheel should slide right off the staff.
 If all went well, you will be left with a “staff,” a washer and an unscratched wheel and can proceed to re-staff the wheel with a lot more ease.
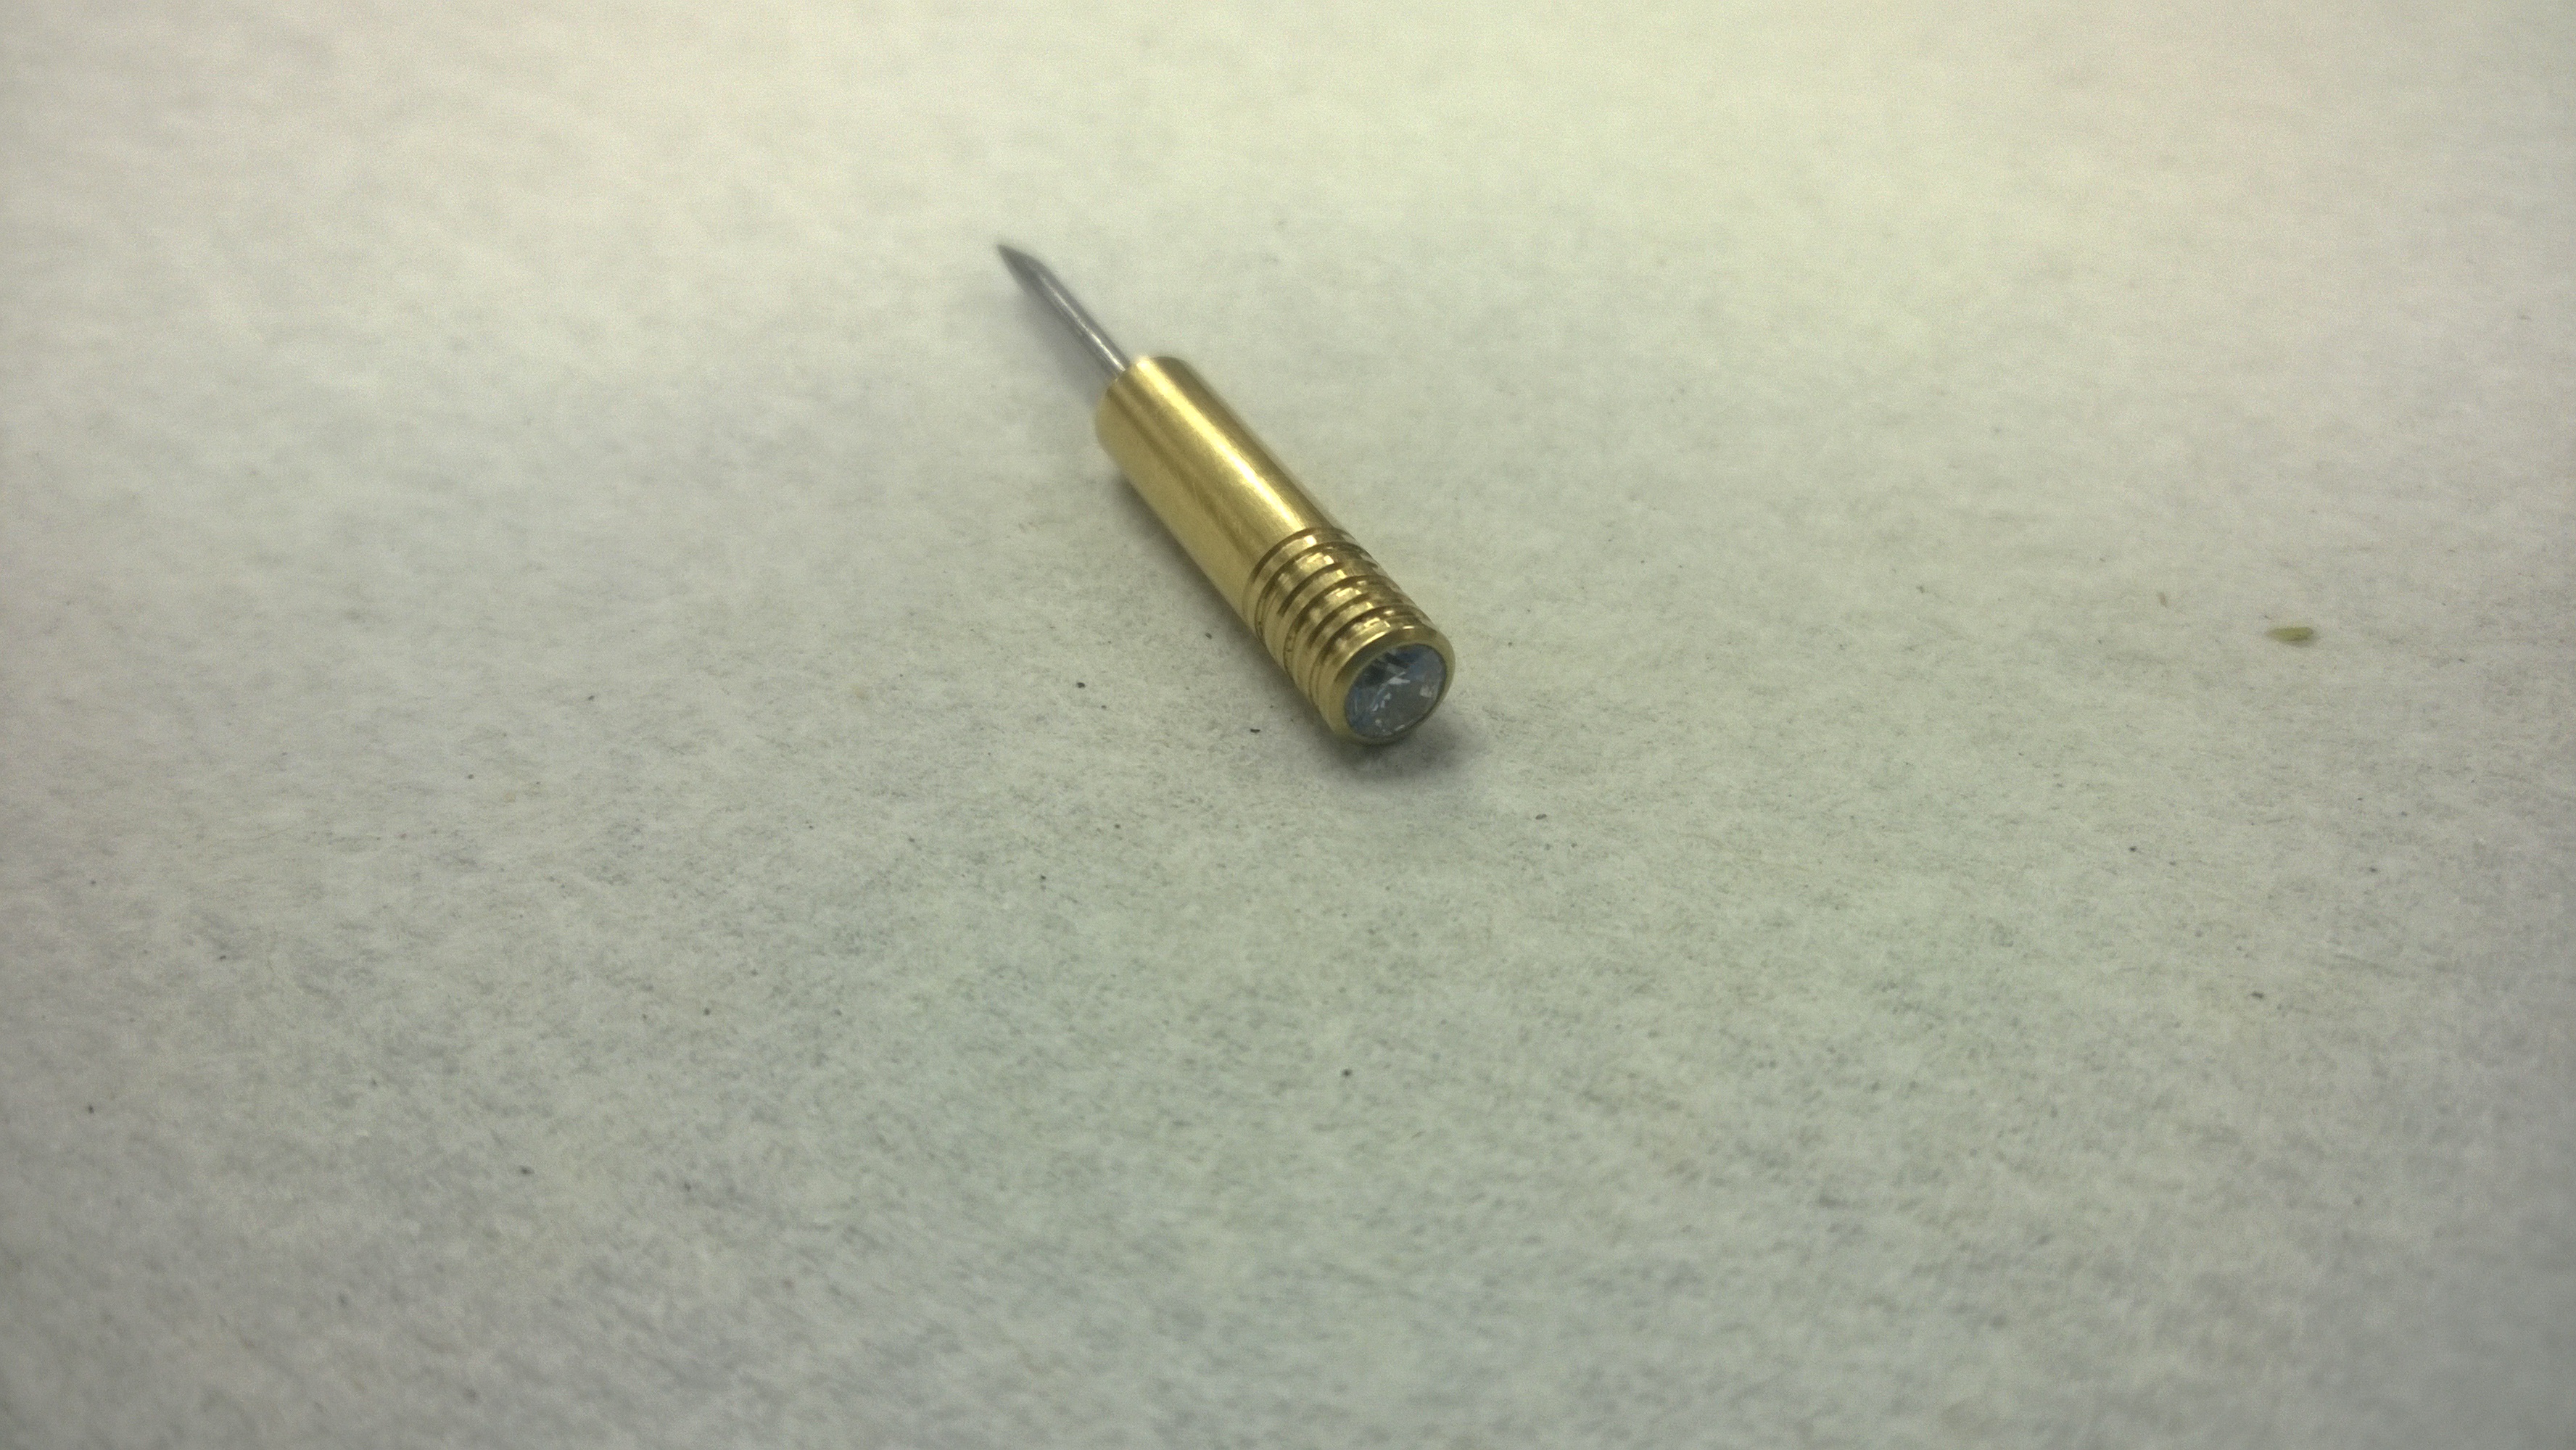
Once I finished that project, it was time to move on to my next project-making a screwdriver with a cubic zirconia in the tip of the handle. The purpose of this project was three-fold:
- To learn how to bezel set a jewel
- Learn the basics of re-pivoting
- To make a screwdriver
As with everything done with the lathe, there was a slight learning curve to get past for bezel-setting the jewel-most of this was learning what angle to use when trying to match the pavilion angle (the pavilion angle is the angle that makes up the bottom of a jewel). Once I got the hang of that, it was a relatively quick process.
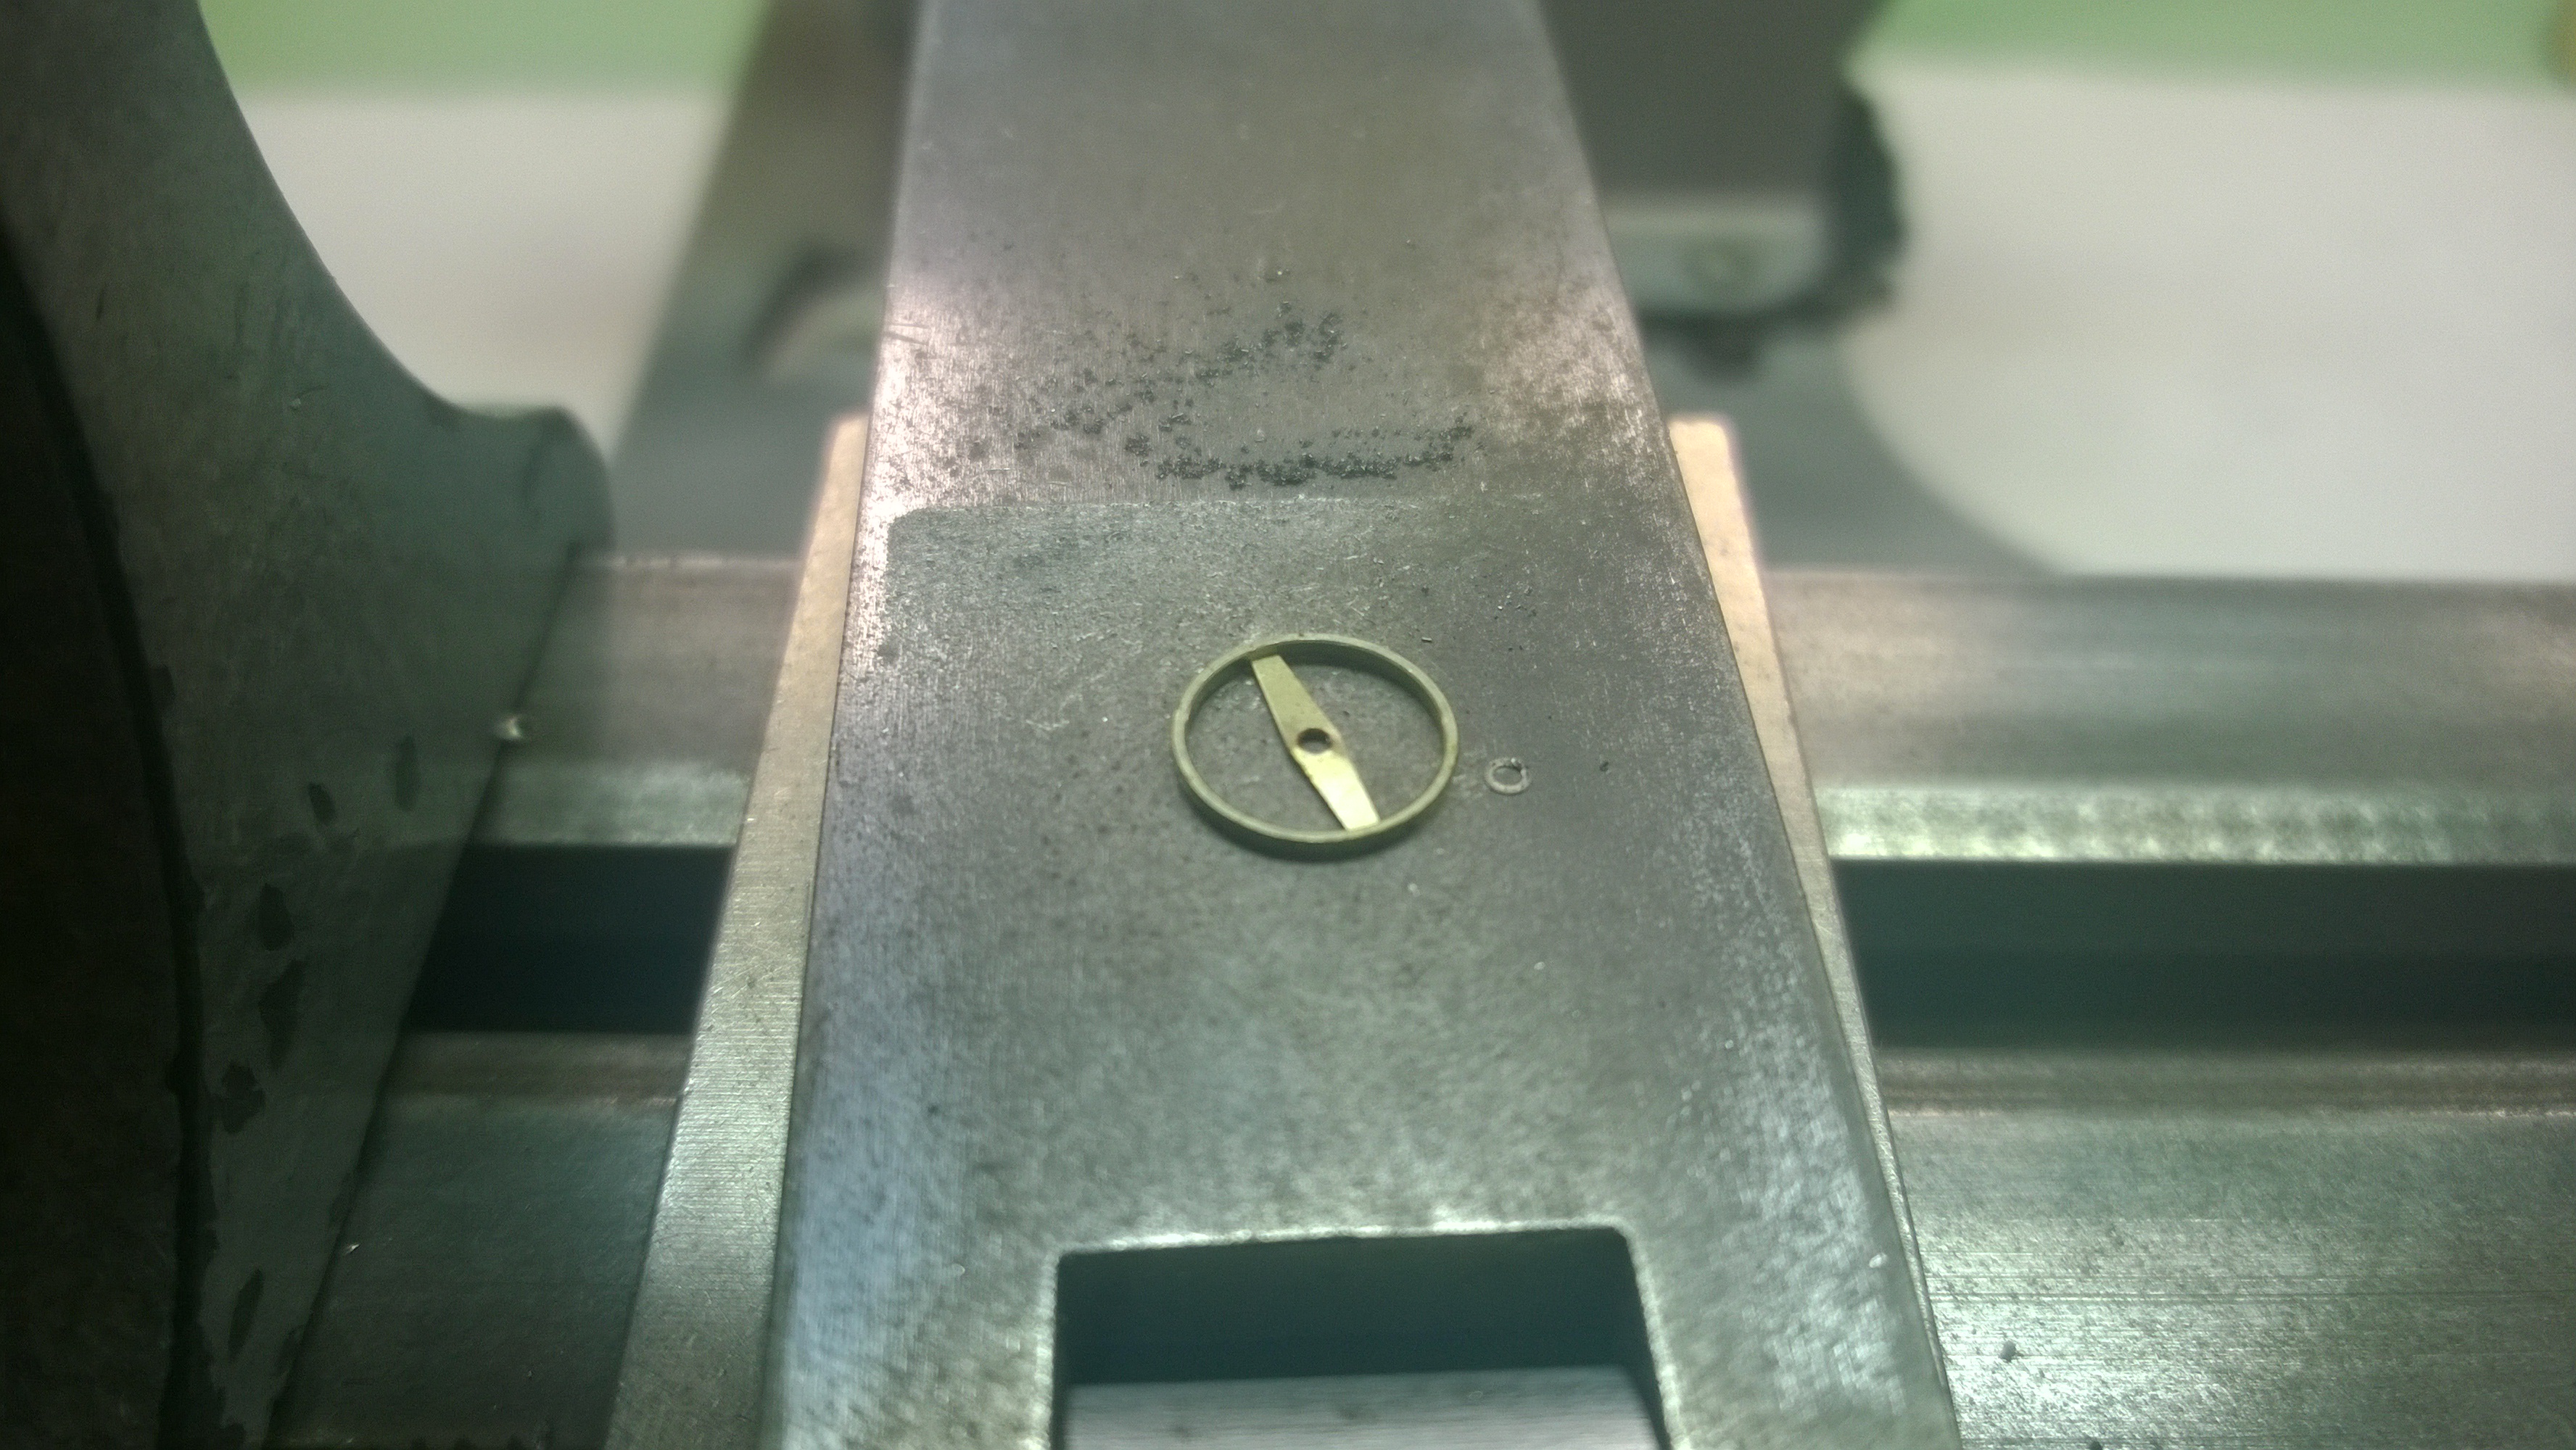
To bezel set a jewel using a lathe, take a drill that is slightly smaller in diameter than your jewel and drill a hole into your stock that is deeper than the length of your jewel. Once you have done that, you need to reverse the direction of your lathe so you can watch what you are doing. To do that, all you need to do is take your pulley belt and make a figure eight with it. Turn out the inside diameter at an angle similar to that of the pavilion angle and make the depth of the “hole” deep enough so that you are able to place the whole jewel inside your stock and have just a bit of stock covering the jewel (no more than a tenth of a millimeter).
Now you need to create the bezel to keep it seated. Using either the face of your graver handle or a small bench block, slowly rotate the stock while presenting your tool of choice to the end of your stock starting off at about a 45° angle to start forming the bezel. Increase the angle gradually taking care not to scratch or crack the jewel. Eventually, you will have a nice bezel that will hold the jewel firmly in place.
From here, you need to make your screwdriver blade and get it set in place. The way that I did this helped lay the foundation of the re-pivoting process. First, you are going to need a piece of stock that is close to or the exact size of the pivot you are going to be replacing, or in this case the screwdriver blade, and a drill bit that is just slightly smaller than the diameter of your blade stock. Turn a slight taper on the side of the stock that will be inserted into the screwdriver handle. After that, you need to drill out the space for the blade in the handle. Once you have drilled out the hole you should be able to slide most of the tapered side of the stock in the hole. After you start experiencing a bit of resistance you will use a hammer to drive the rest of the blade in tightly. If you strike too hard or drive it too far, you can split the handle. If you don’t do enough, the blade will come out over time. Once you have the blade in place, turn down the diameter if needed and shape the blade with a combination stone.

Finally, the last thing I did before moving onto was using the Jacot Tool. At this point, I cleaned my lathe for the last time and was able to put my labcoat back on. The Jacot Tool is a tool that is designed to do a few things:
- Smooth and Polish pivots-Over time and with poor preventative maintenance, pivots can develop uneven wear. As the pivots wear out, they will interfere with the timing of the watch. Pivot wear can come about a few different ways-depthing issues, jewel issues, lubrication issues or any combination of the three. If a pivot isn’t polished well, instead of holding onto oil, the oil will spread away from the pivot and be subject to excess friction.
- Reduce the size of a pivot-If you are working on a vintage or antique piece where you need to replace a wheel but have no access to a replacement, you may need to repair a pitted pivot by reducing the size to get rid of the wear pattern.
- Centering a pivot-If you make a staff or a pivot on a lathe, despite your best efforts, the pivot may not be centered properly. Because the design of a Jacot tool is such that you are working between two points that have been centered, you can ensure that your pivots are centered by using the tool.
A Jacot tool, in my opinion would be a tool of last resort. If you have access to a spare part-use that instead. If you find yourself in a situation where you need to use the Jacot tool to reduce a pivot, you have embarked not only on an exercise of using the Jacot tool but also a jeweling exercise.

The Jacot tool is easy to set-up but difficult to master. You have two fixed centers-they both slide back and forth. The runner on the right has a series of notches that you rest a pivot in. The notches are different sizes to accommodate different pivot sizes. The slide on the left has a hole in each tip to allow you to slide a pivot into. At the end of that slide is a pulley that a bow attaches to.
Not seen in the picture above is a burnisher. A burnisher is a tool that is used to both reduce the size and smooth/polish the surface of something, in this case, pivots. It needs to be flat and smooth with lines running perpendicular to the length of the tool. The burnisher will also have a handedness to it (left/right) which will determine where and how you present the tool to the work. If the tool is held in the right hand, you use a left-handed burnisher and vice-versa. There are two types of burnishers used with a Jacot Tool-rounded and flat. The rounded burnisher is used for conical pivots and the flat one is used for straight pivots.
To use the Jacot tool, you need to determine the new size of the pivot and then chose the appropriate notch to use. If you need to reduce the diameter of a pivot by a sizable amount, you need to work your way down in size. Pick a notch that will allow you to rest the pivot between the two centers in a straight line while having some of the pivot “peeking” out a bit. You then apply a bit of oil to the pivot that is exposed and just a small amount on the burnisher.
Rest the burnisher on the pivot and ensure it is level on all axes. If you are tilting up or down (away from you) or rolled to the right or left, you will ruin the pivot. Once you have the burnisher level, you are going to move both the bow and the burnisher at the same time. When you move the bow up or down, the pivot will turn either towards you or away from you. The burnisher needs to move opposite the direction of the pivot-i.e. if the pivot is moving towards you the burnisher needs to move away from you. The speed at which you do this is best described as smooth and snappy. If you move too slowly, you most likely will knock the pivot out of its groove. If you go too fast, you might slide off the pivot and hit the wheel.
Stop frequently and use a pivot gauge to check your progress. Measure in the same places each time you check the pivot. Make sure you rotate the pivot to make sure you haven’t flattened one side but instead are working the entirety of the pivot. You can prevent that by making sure the bow travels the whole length of its string. If you have a microscope, check to make sure that the pivot doesn’t have any grooves and looks smooth.

If you are doing a conical pivot (as in a balance wheel), you need to make sure that you are working on the flat portion of the pivot. If you get too close to the curve of the pivot, you will snap it.
If you are trying to do this, I highly recommend you try to learn from someone in a face-to-face situation. It really helps to have someone watching you to let you know if you are rolling or angling the burnisher, or that you are going too slow/fast or shallow with the bow. I broke quite a few wheels in the process. I think I ended up going through about 3 or 4 extra straight pivots and about 5 or 6 conical pivots. Like I said at the beginning of the Jacot section, this should be a last resort situation.
That is it for the lathe. It was an amazing section to have gone through. I developed stronger eyesight, dexterity and confidence that will help carry me through the rest of the program. Knowing that I have the foundation of basic machining is exciting, and having made a functional part for a watch is incredible. If you have the opportunity to use a lathe, I highly recommend it.
