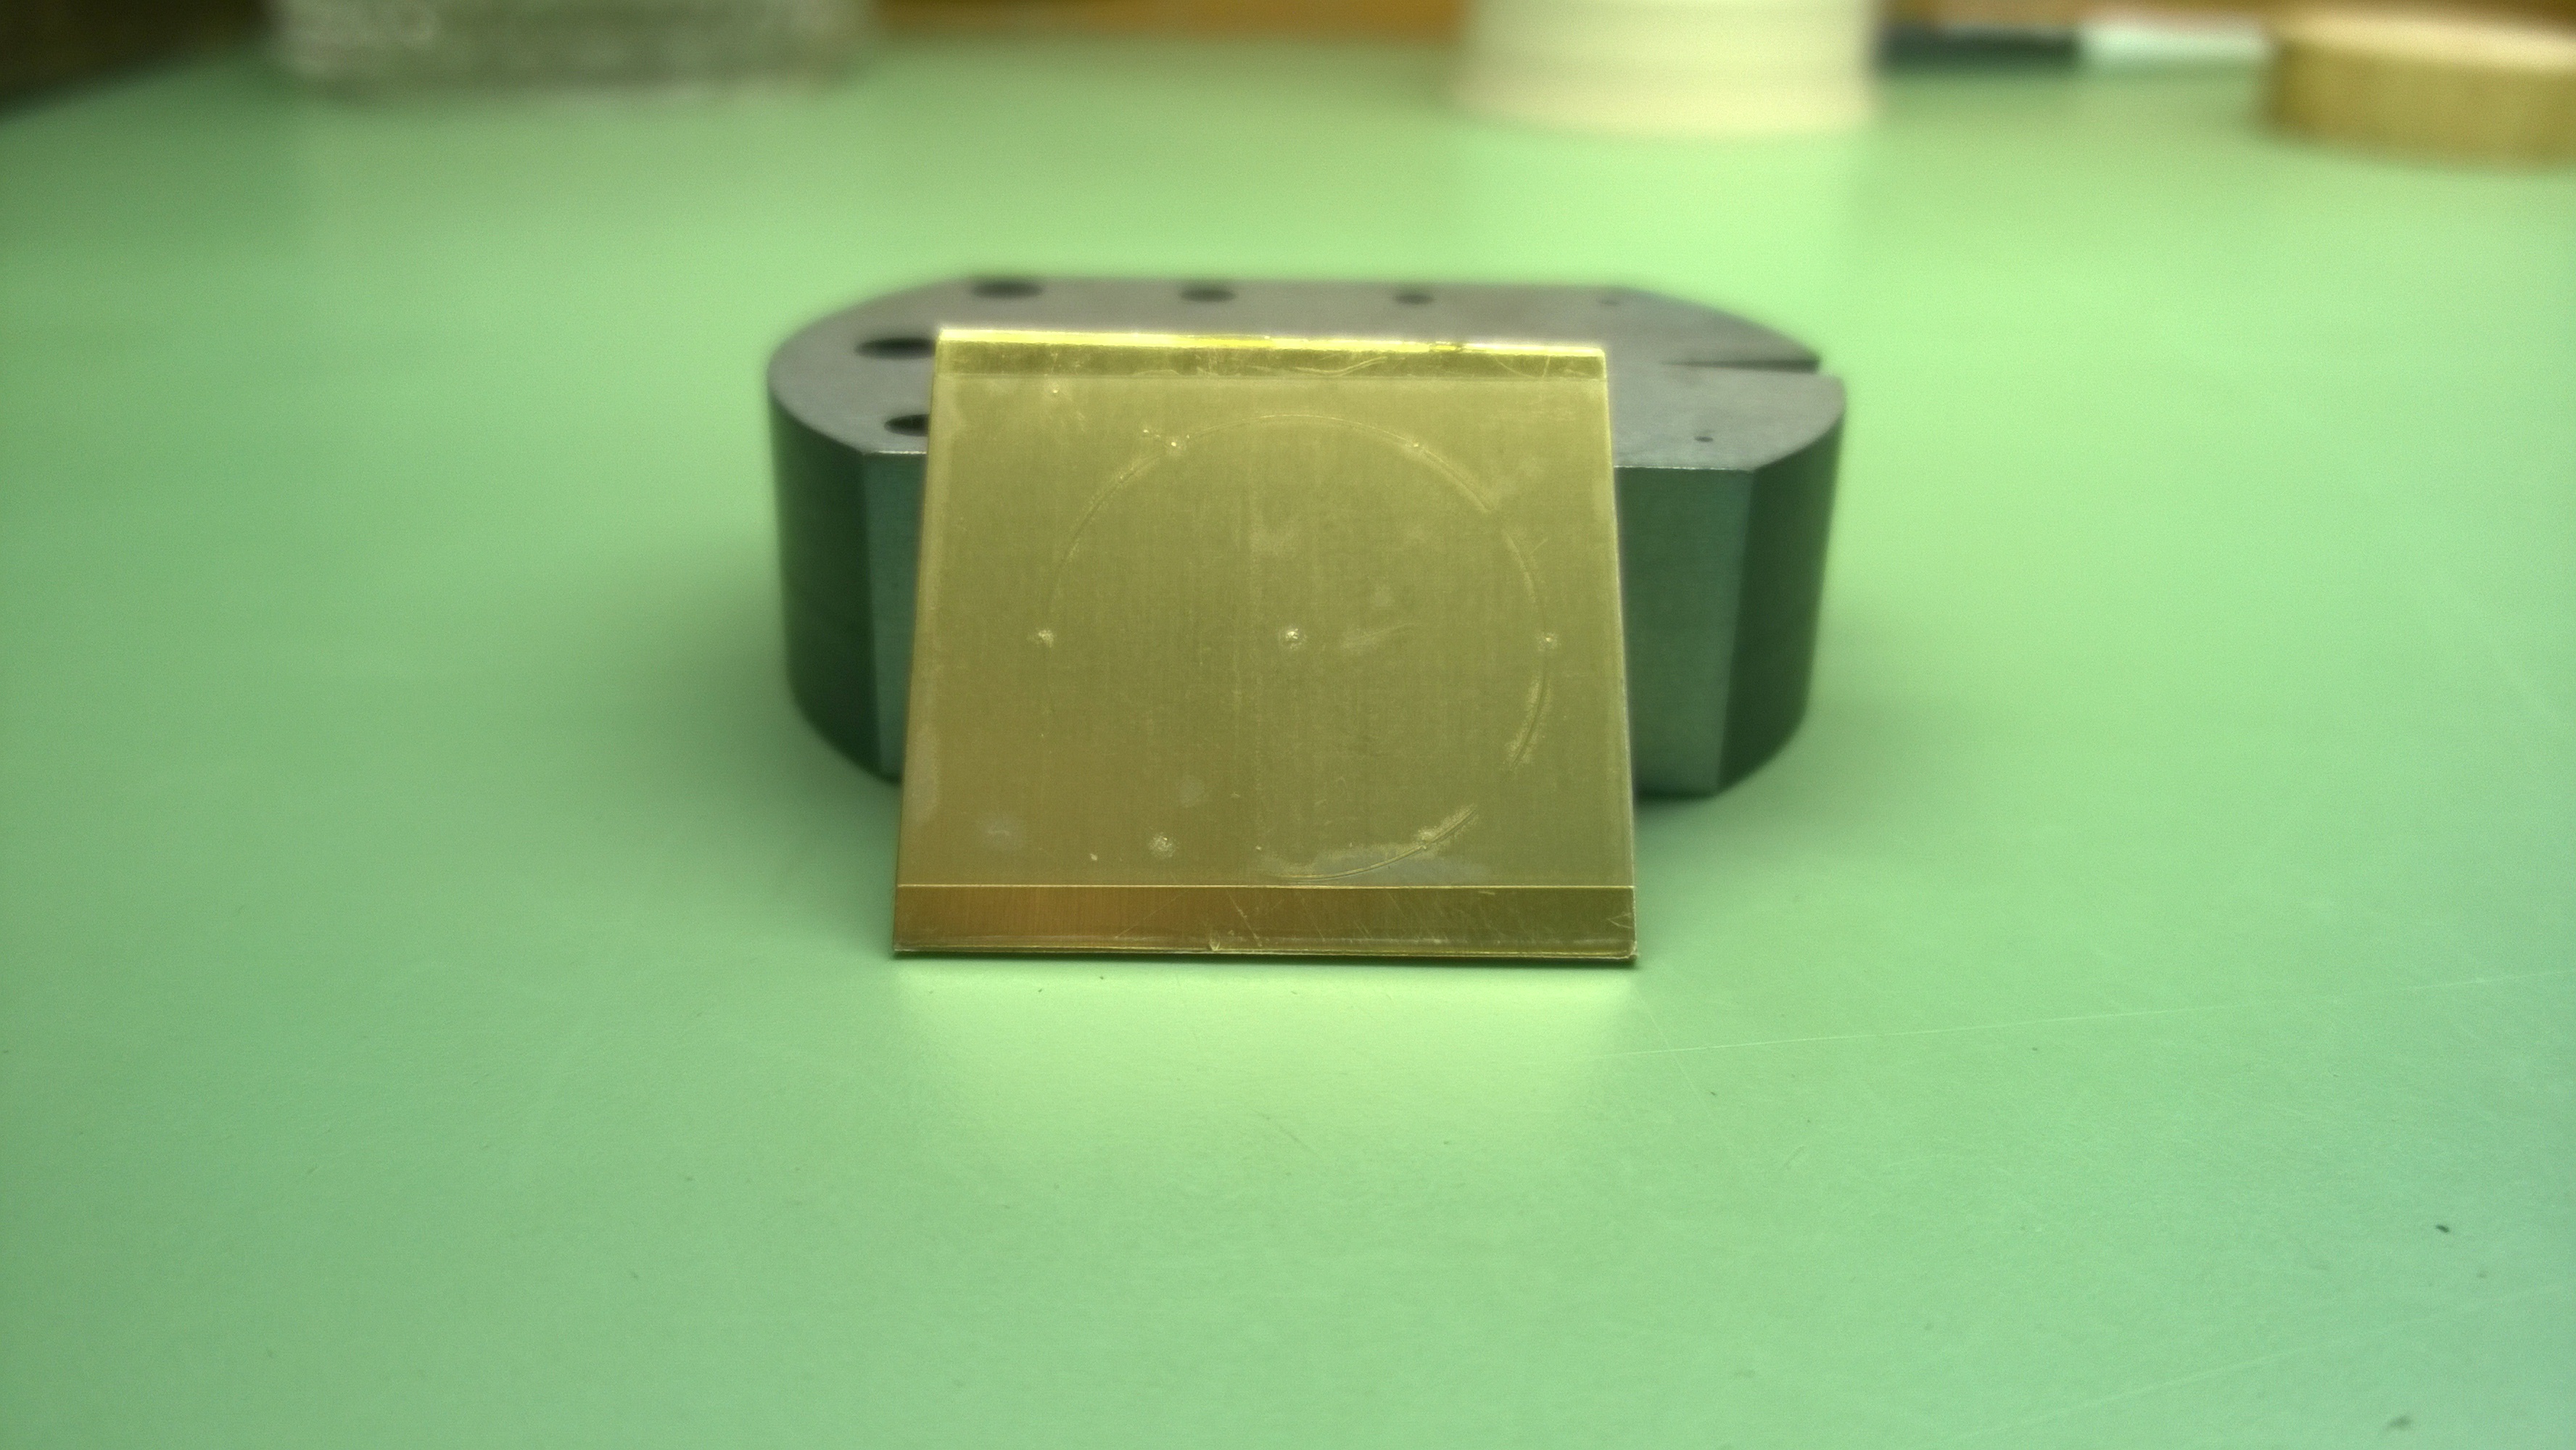
When I left off on Wednesday, I had just finished friction jeweling and adjusting end-shake of jewels from a working watch. The very last thing I did that day right before school was out was scribing a hexagram on a square of brass.

 The process was relatively simple. A piece of tape over the brass helps to protect it from a random scratching while laying down the points. The steps to doing this is as follows:
- lightly draw a circle on the tape.
- set the compass to the radius of the circle and lay down the first point
- with the compass set on the first point and walk it point to point to add 5 more points.
Once the points have been scored, they need to be made a bit more prominent because the next step using a drill press to drill out the holes in the plate. If you don’t have the points set, you risk having the drill bit skip all over the plate. To get the points in the plate as opposed to the tape, you can use a centering punch from a staking set, a hammer, and a bench block.
Once the points are set, they get drilled out with a drill press. I don’t have any pictures of the drilling process because that would be horribly unsafe to try to take a picture with the working drill. Once the plate gets drilled the holes need to be cleaned up before moving on to the next step. Cleaning the holes up is pretty simple-it involves using a deburring tool.

 To use the tool, you simply press it on the hole and spin it around. It will remove the excess metal. At this point, I was left with a series of six, clean, 1 mm diameter holes that need to be made 1.29 mm so I can friction fit 1.30 mm jewels in them.
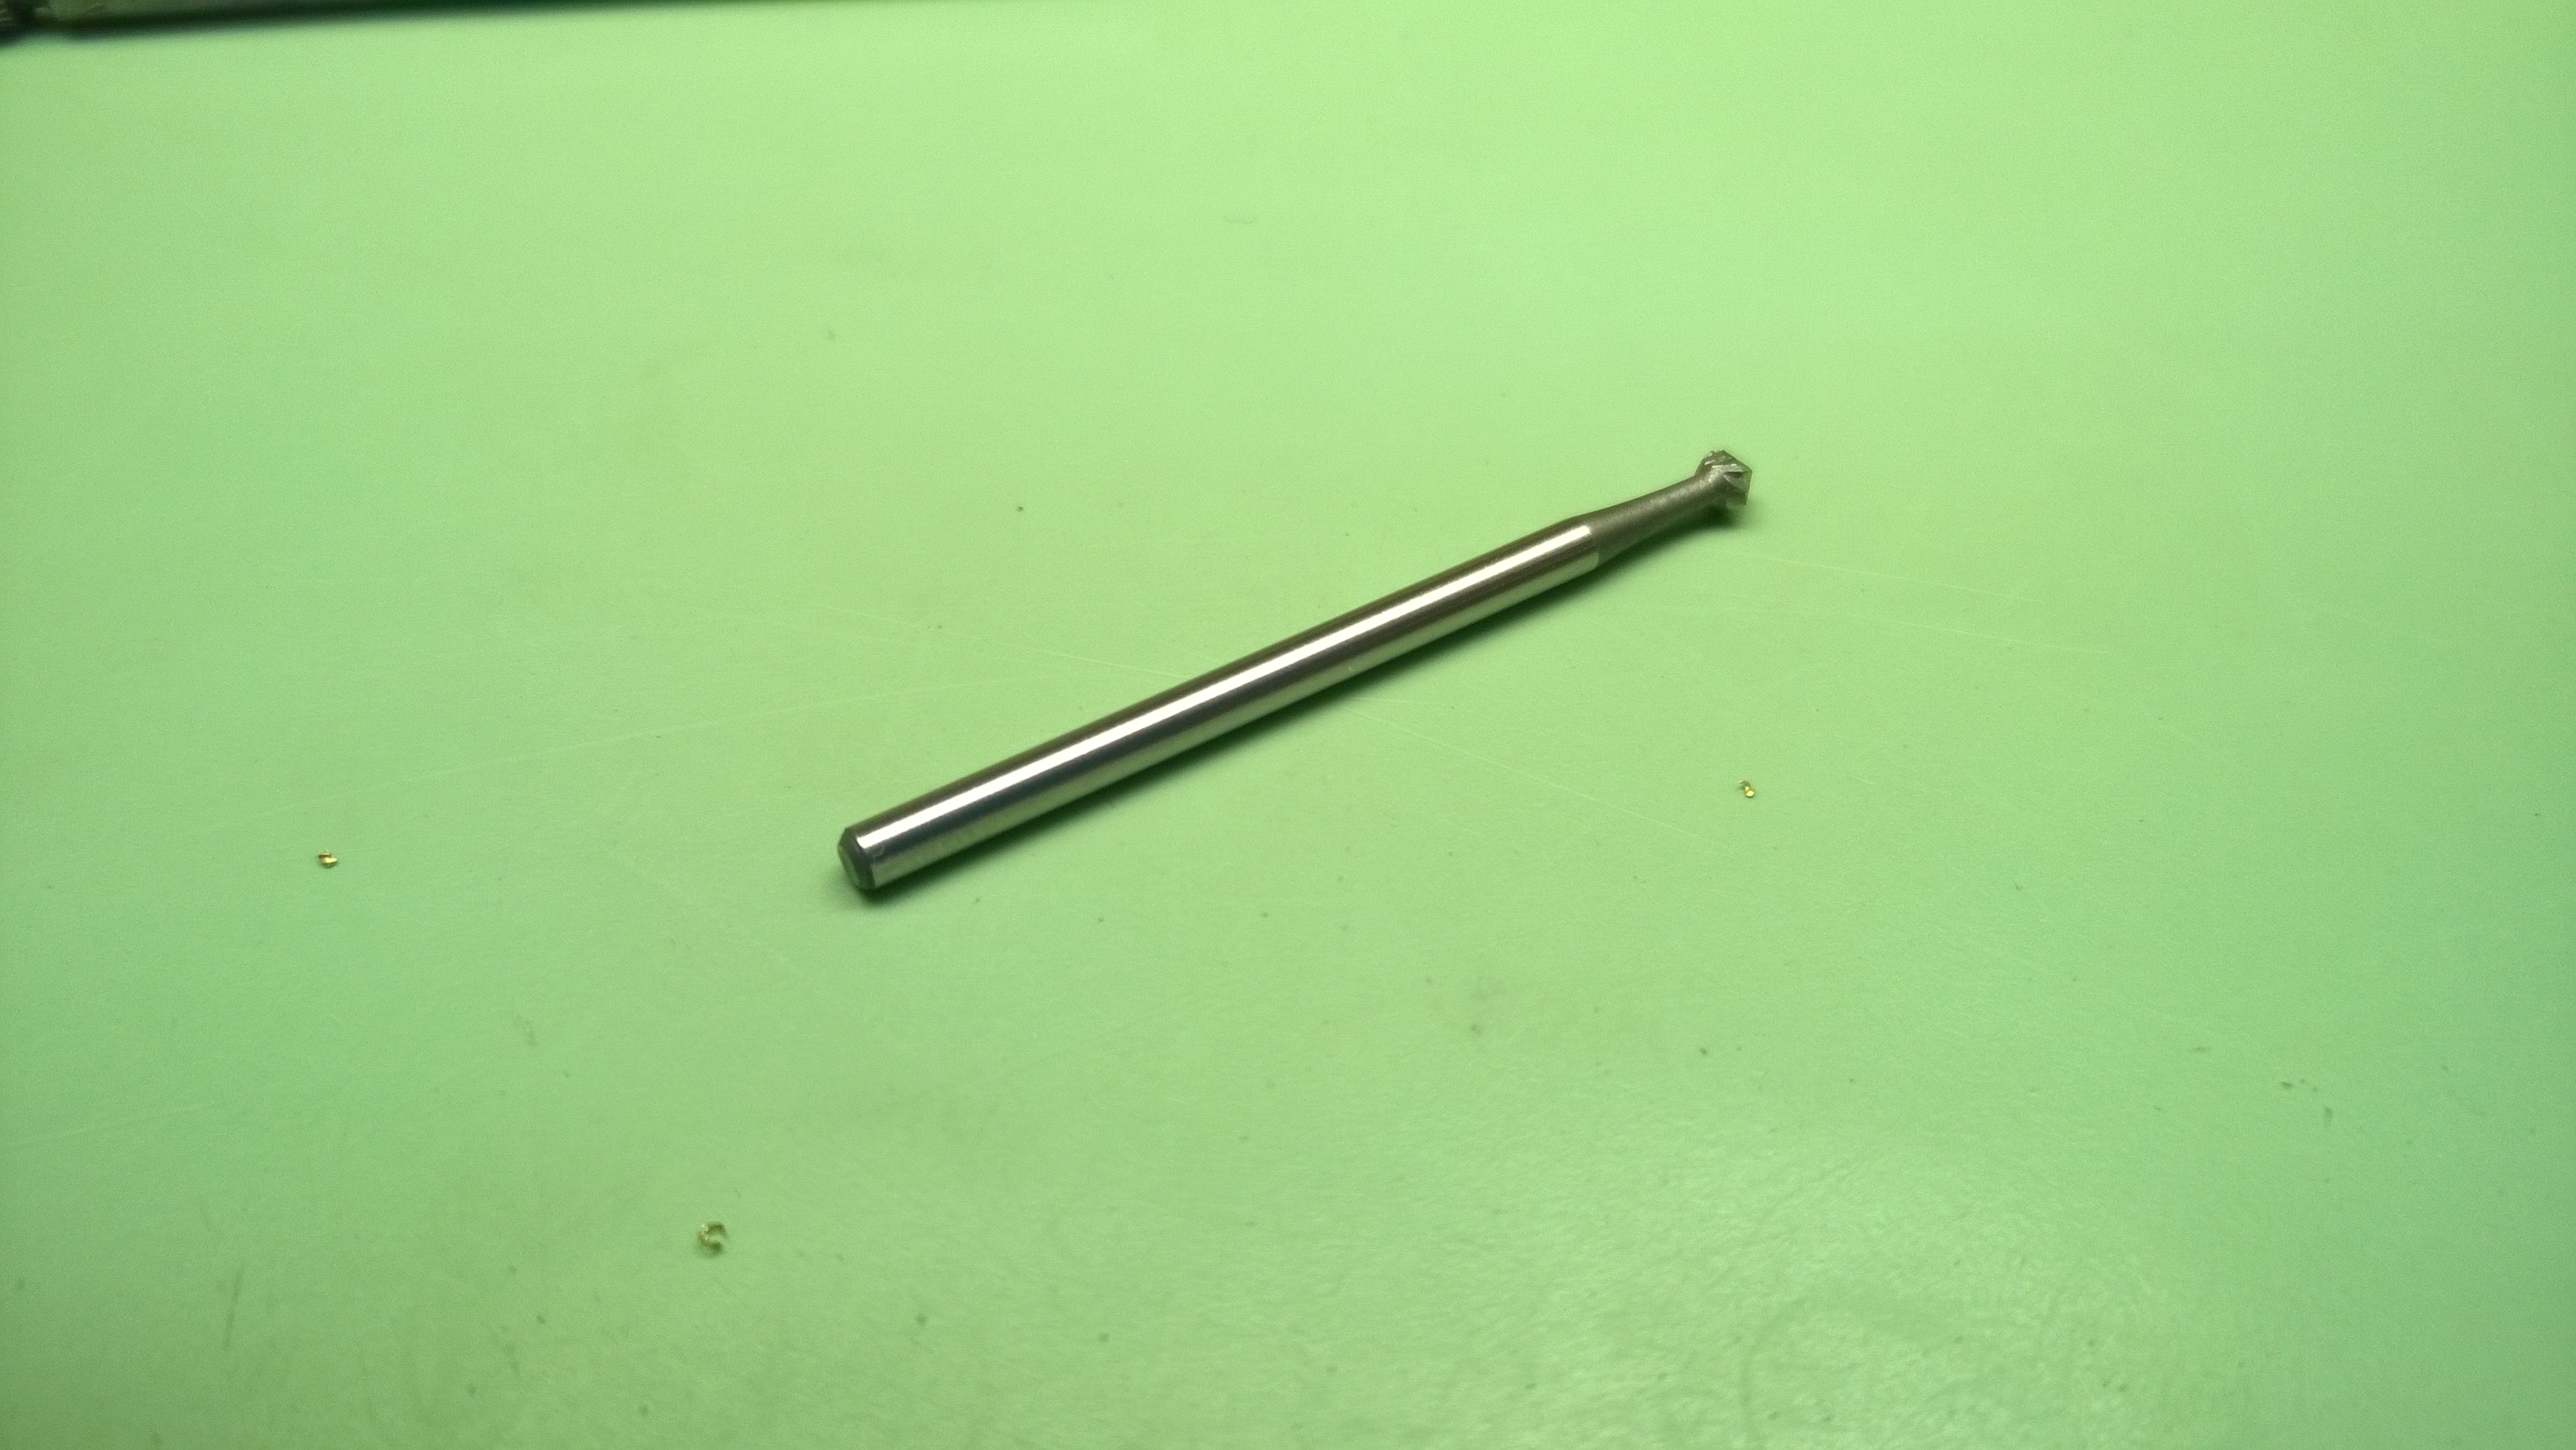
The next steps are broaching and reaming. A broach is a tool that is used to cut away metal. It has a gentle taper so you are able to go slowly. A reamer does the same thing, but it is for more precise enlarging, again, it has a gentle taper to it. Going slowly is key. Stopping frequently to examine your work, is key. The faster you go and the less you check your work, the less precise and the sloppier your work is going to be.
 Here is a sample piece that I was working on before doing my final piece. If you look at the holes in the center, some are level, some have a chamfered edge, and others are bulging out. The last two states (chamfered and bulging) are the result of going too quickly and not checking my work. I went ahead and broached the holes non-stop, and during the reaming process, stopped to deburr only once. I applied too much pressure when I was reaming. The holes that look flat and smooth were the ones that I took my time with, stopping frequently to check and deburr. I let the tools do the work for me.
Having messed around with the practice plate enough, I felt confident to move onto my working piece. Here is a quick picture rundown:

Plate with holes deburred
Broaching

Reaming a hole. The trained eye will notice this is the practice plate. I didn’t want to mess around with trying to take a picture while reaming my plate.
If you look at the reamer in the above photo, you can see the cutting edge transitions into a cylindrical portion and that stops at a shoulder. The cylindrical portion is the same diameter of cutting edge-it is designed to smooth the inside of the hole.
I really took my time with this. I stopped every few rotations with both the broach and reamer to check my work and use the deburring tool (if necessary). To do all six holes, it probably took me a good half-hour. Once all the holes were done, it was time to friction fit plate jewels flush with the plate.

 So, to sum up the jeweling section so far, I have:
- Practiced removing and replacing jewels in plates and bridges
- Removed jewels from plates and bridges in a functioning watch and had it continue to function
- Practiced drilling, broaching and reaming holes to friction fit jewels
The next logical step is to take my most recent project and apply it to a real world application. The real world application of this process is called doing a Jewel Conversion. In some cheap watches, instead of having jewels for gears, you might find oil sinks-which are just a part of the plate or bridge that has been cut out to allow oil to hang out over the pivot of a part.
 Above is a picture of a movement I had last semester. It is a 7-Jewel movement. At the top (click on the picture), where the train wheels are at, you can see that there are no jewels, just oil sinks. Well, since you have metal rubbing on metal, there is going to be some wear and tear in that area. If there is a shock to the watch, or perhaps it was put back together improperly by a watchmaker (and the pivots had to skid across the plate to get in the holes), you can end up with a circular hole getting kind of egg-shaped.
To fix this, you can either buy a replacement part or do a jewel conversion. A jewel conversion is simply figuring out what size jewel you need, broaching the hole, reaming the hole and then friction fitting the jewel. While the steps are simple and easy to do, the hard part is making sure that you have the hole in the right spot, or else you aren’t going to get the pivots to line up properly. The way that we do it is to take a series of broaches and start enlarging the hole at its center, while ensuring that the direction the hole is growing is opposite from the lines of force that caused the hole in the first place. Eventually, you will have a hole that is round and ready to ream to proper size. That second to last sentence may be a bit confusing, so let me try to illustrate that.
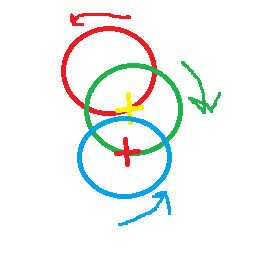
Okay, in the above picture, you have three gears. The colored arrows represent the direction that the corresponding gear is turning. The three crosses represent the pinions of the gears, and you are going to have to pretend that there are teeth on the edge of the gears, as well as some depth to the drawing. The red gear teeth are interacting with the pinion of the green gear (yellow cross) and causing it to rotate clockwise. The green gear teeth, in turn are interacting with the blue gear pinion causing it to turn counter-clockwise. Due to the nature of the force and the layout of the gears, the gears are trying to separate from each other (but aren’t able to do so due to the bridge and plate keeping them in place in a watch) in a down and lateral fashion. So in this drawing, the pressure from the red and green gear would cause the green gear to be pushed down and out to the right. The pressure from the green gear would cause the blue gear to be pushed down and to the left. It is because of that kind of pressure that you get an egg-shape that forms from the center of an oil sink hole.
So, when you are doing the initial broaching, you are trying to broach from the center of the hole in the opposite direction of the force, and eventually enveloping the egg shape.

With that out of the way, let me move on to the what I did. I was given a busted movement and told that I needed to convert an escape wheel bridge.


 The first thing you do before you start the conversion process is figure out the size of jewel you are going to need. To do that, you take your jeweling punch set and fit a punch (flat or concave-they are the same diameters) starting small and working up to what is going to be just the right size. The kit that I have goes in increments of .05 mm and is .5o mm smaller than jewels. I ended up selecting a .85 mm punch which means the diameter of my jewel was .90 mm. The internal hole diameter was next to be figured out. All you do is measure the diameter of the pivot and add ~10% for an escape wheel to allow for a proper fit.
 Looking at this picture, the diameter is .10 millimeters, so with the 10% added, I needed a jewel that had an .11 mm hole with a .90 mm diameter.
Once I had the jewel in hand, it was time to start the process. As with the plate project, I went slowly and carefully. I let the tools do the work for me, stopping frequently to check my work and deburr.

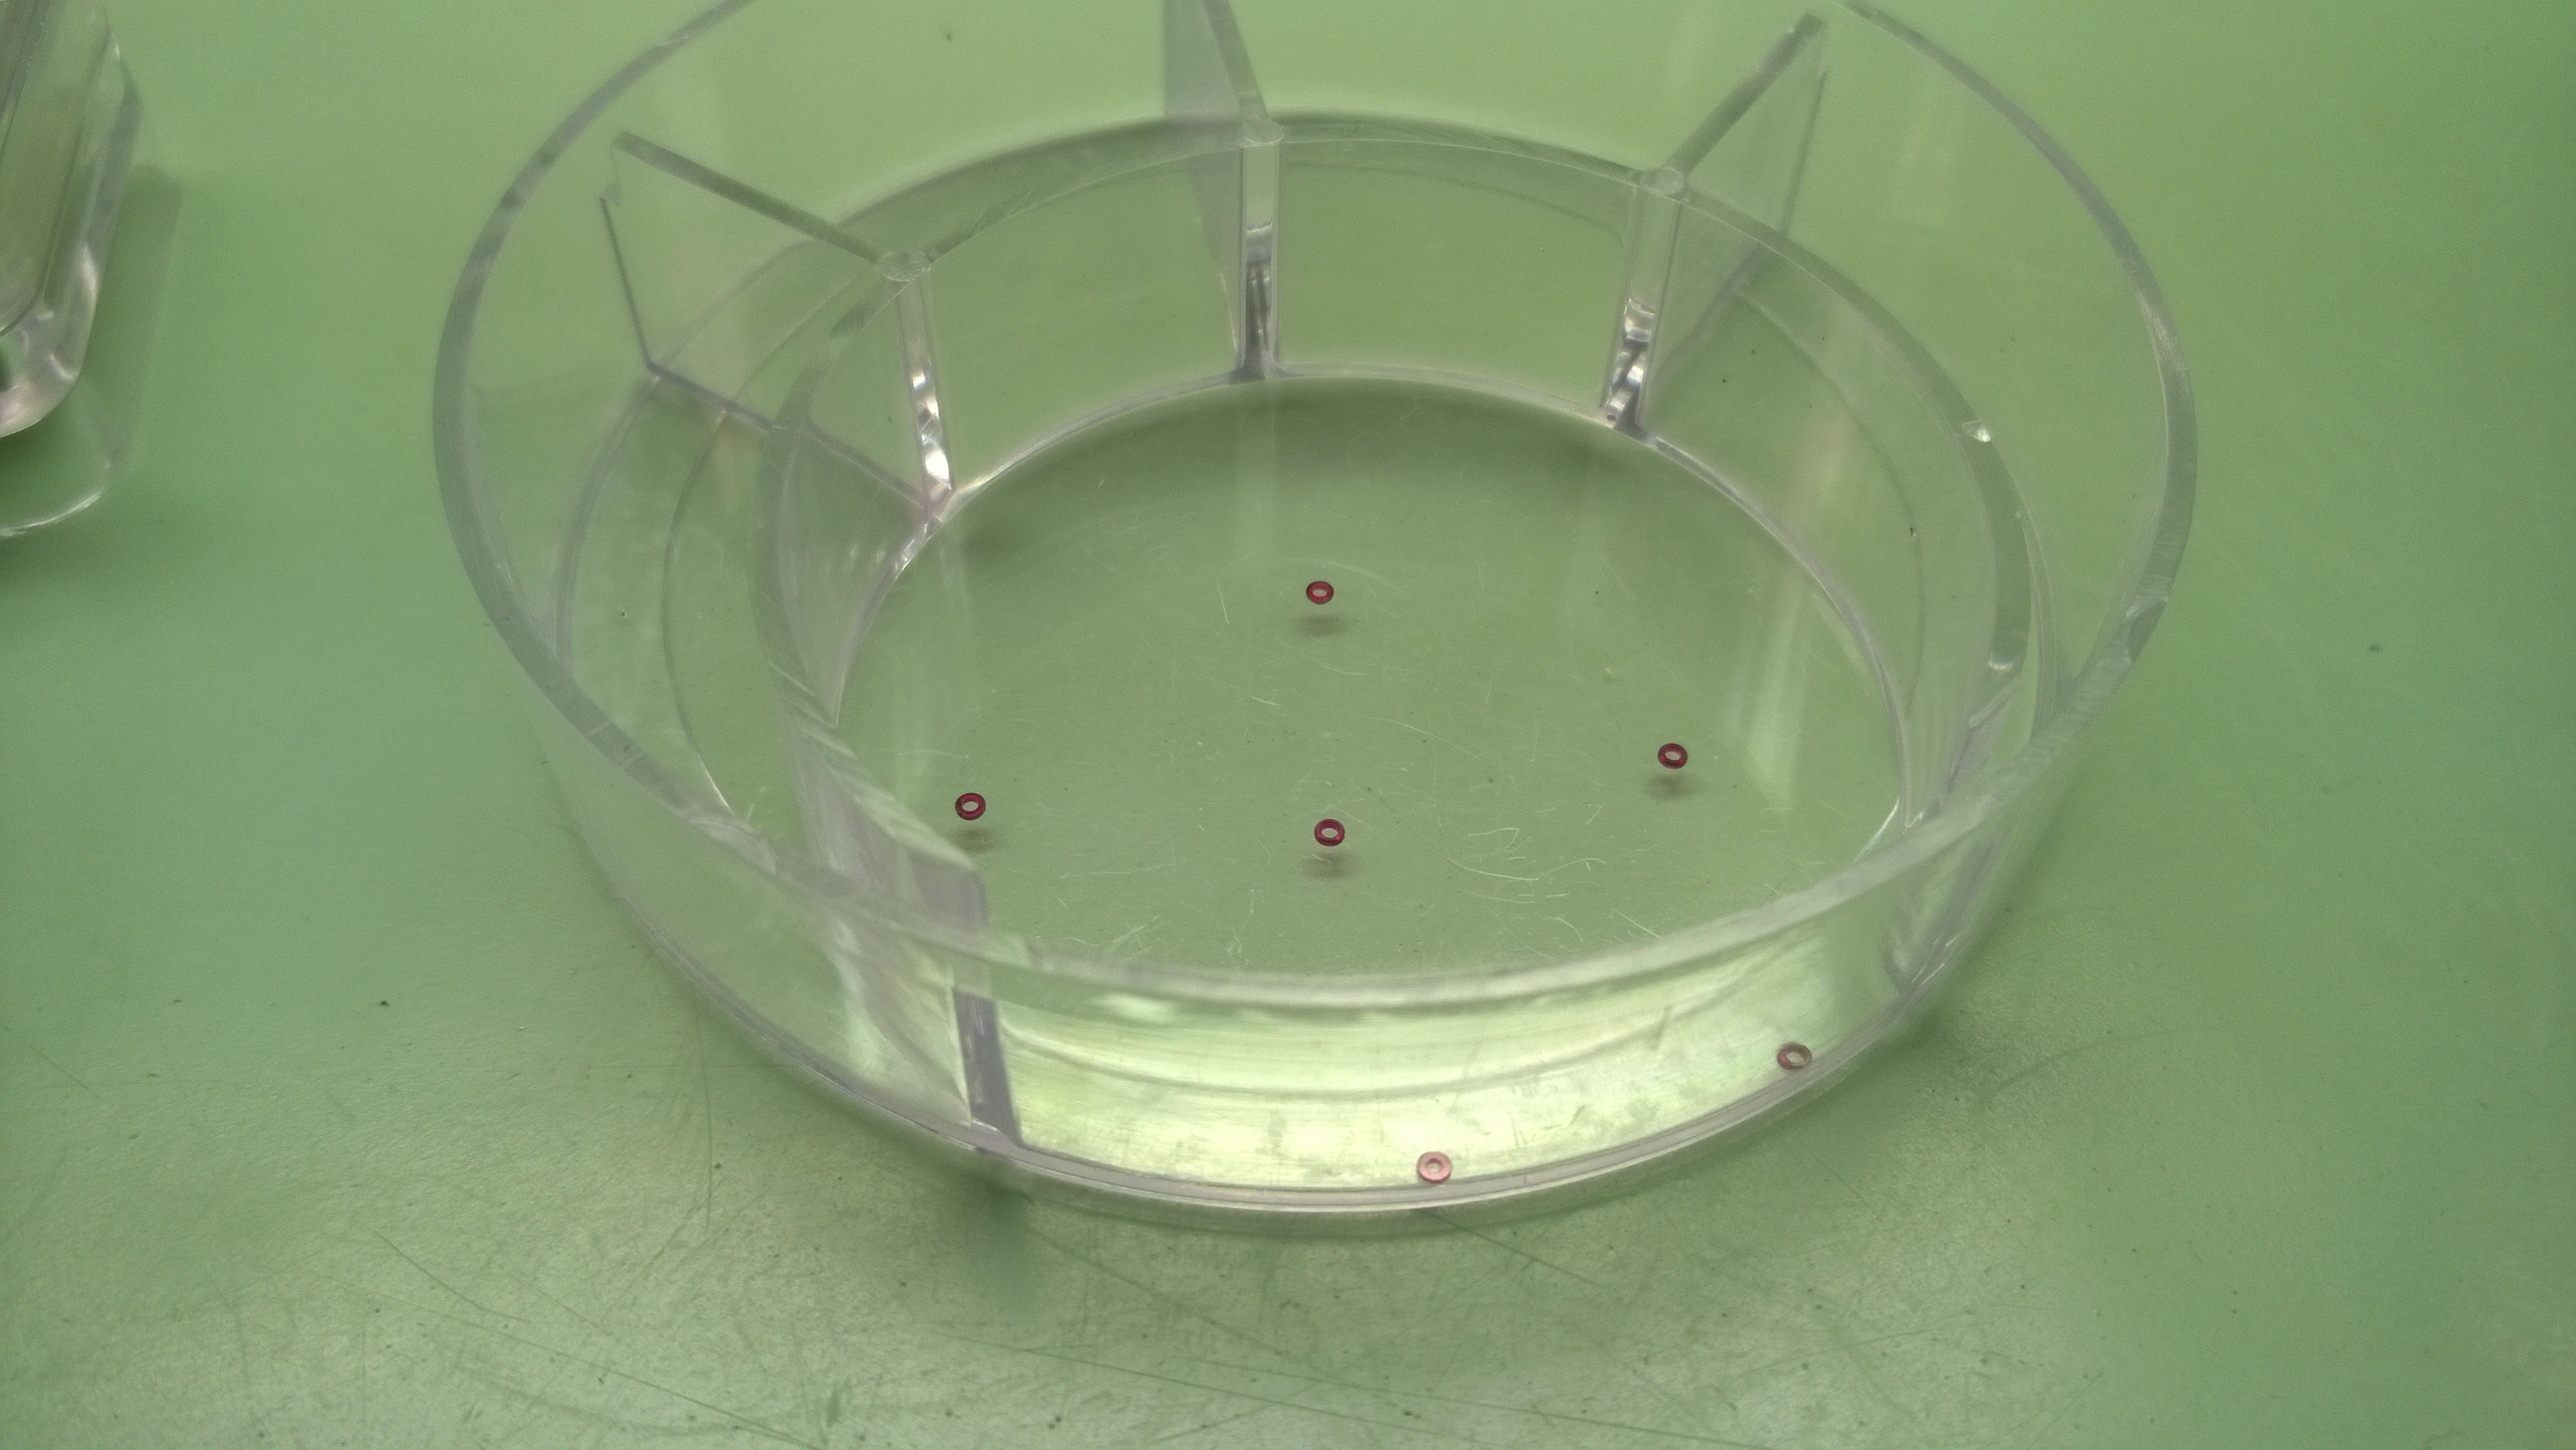
These are my jeweling broaches. I started with the .05 mm and worked up to the .20 mm. 
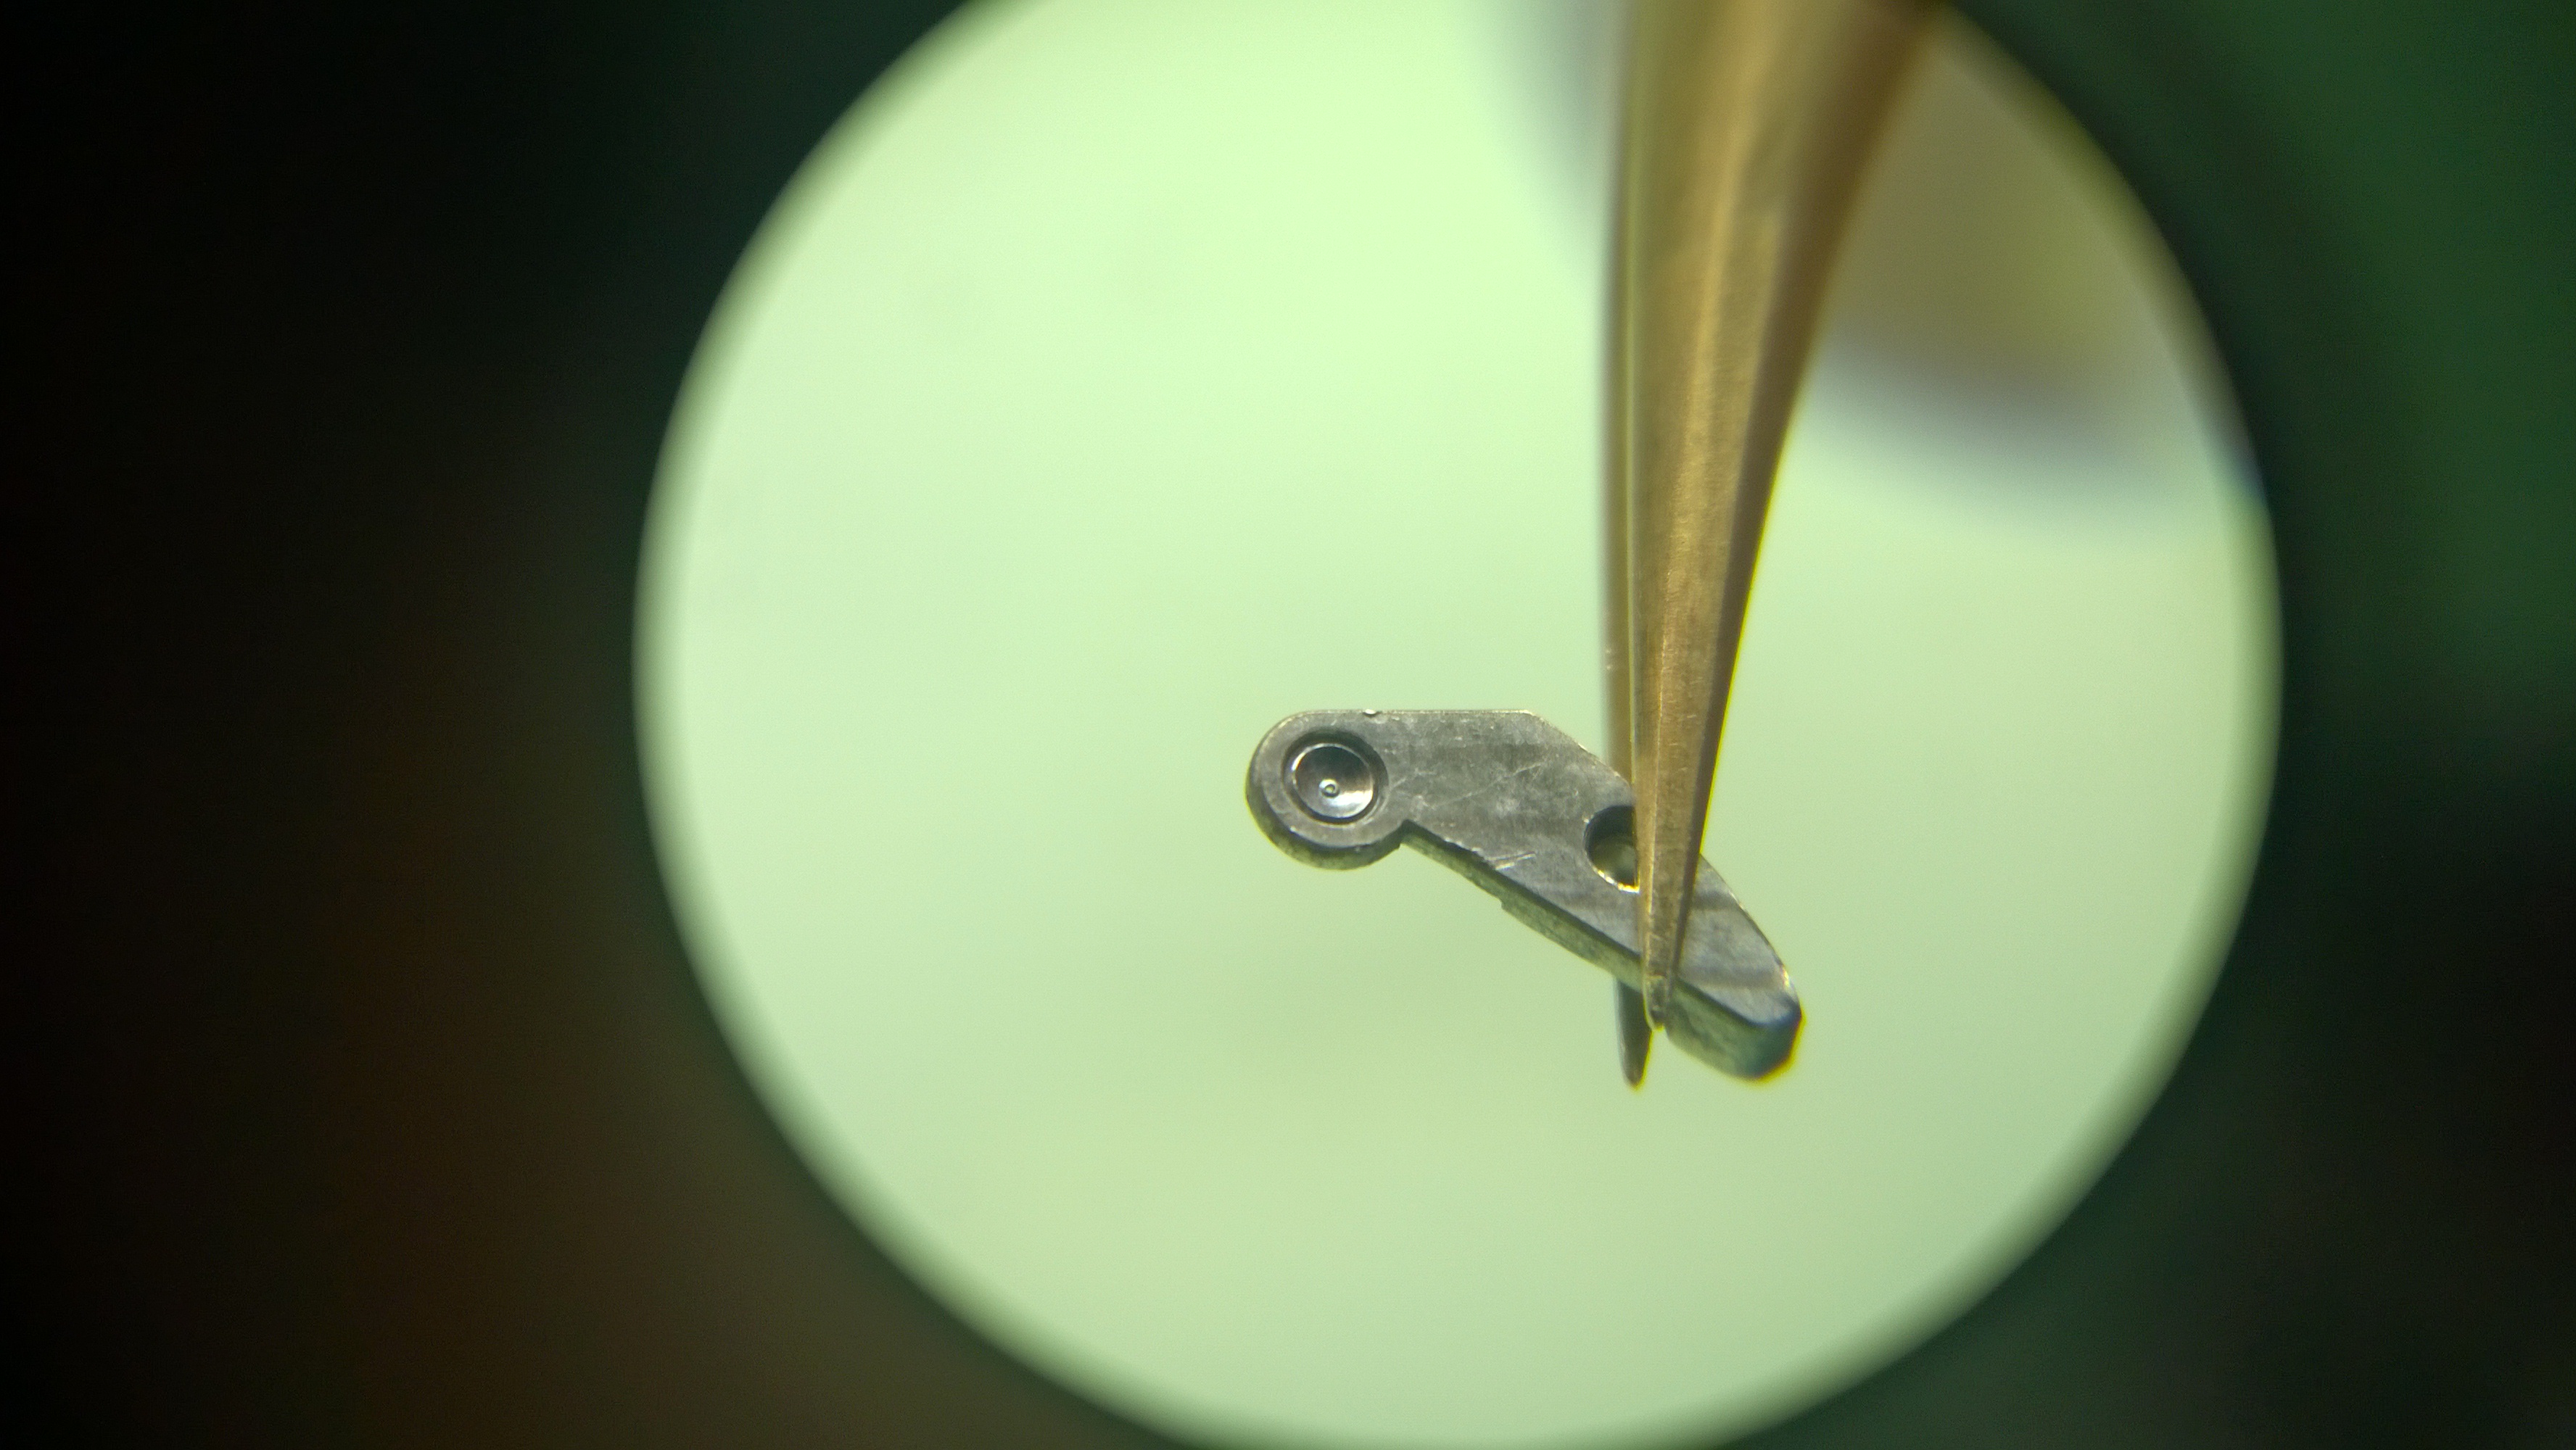
Broaching in progress. Hopefully this picture gives a good idea of the scale to which I was working.
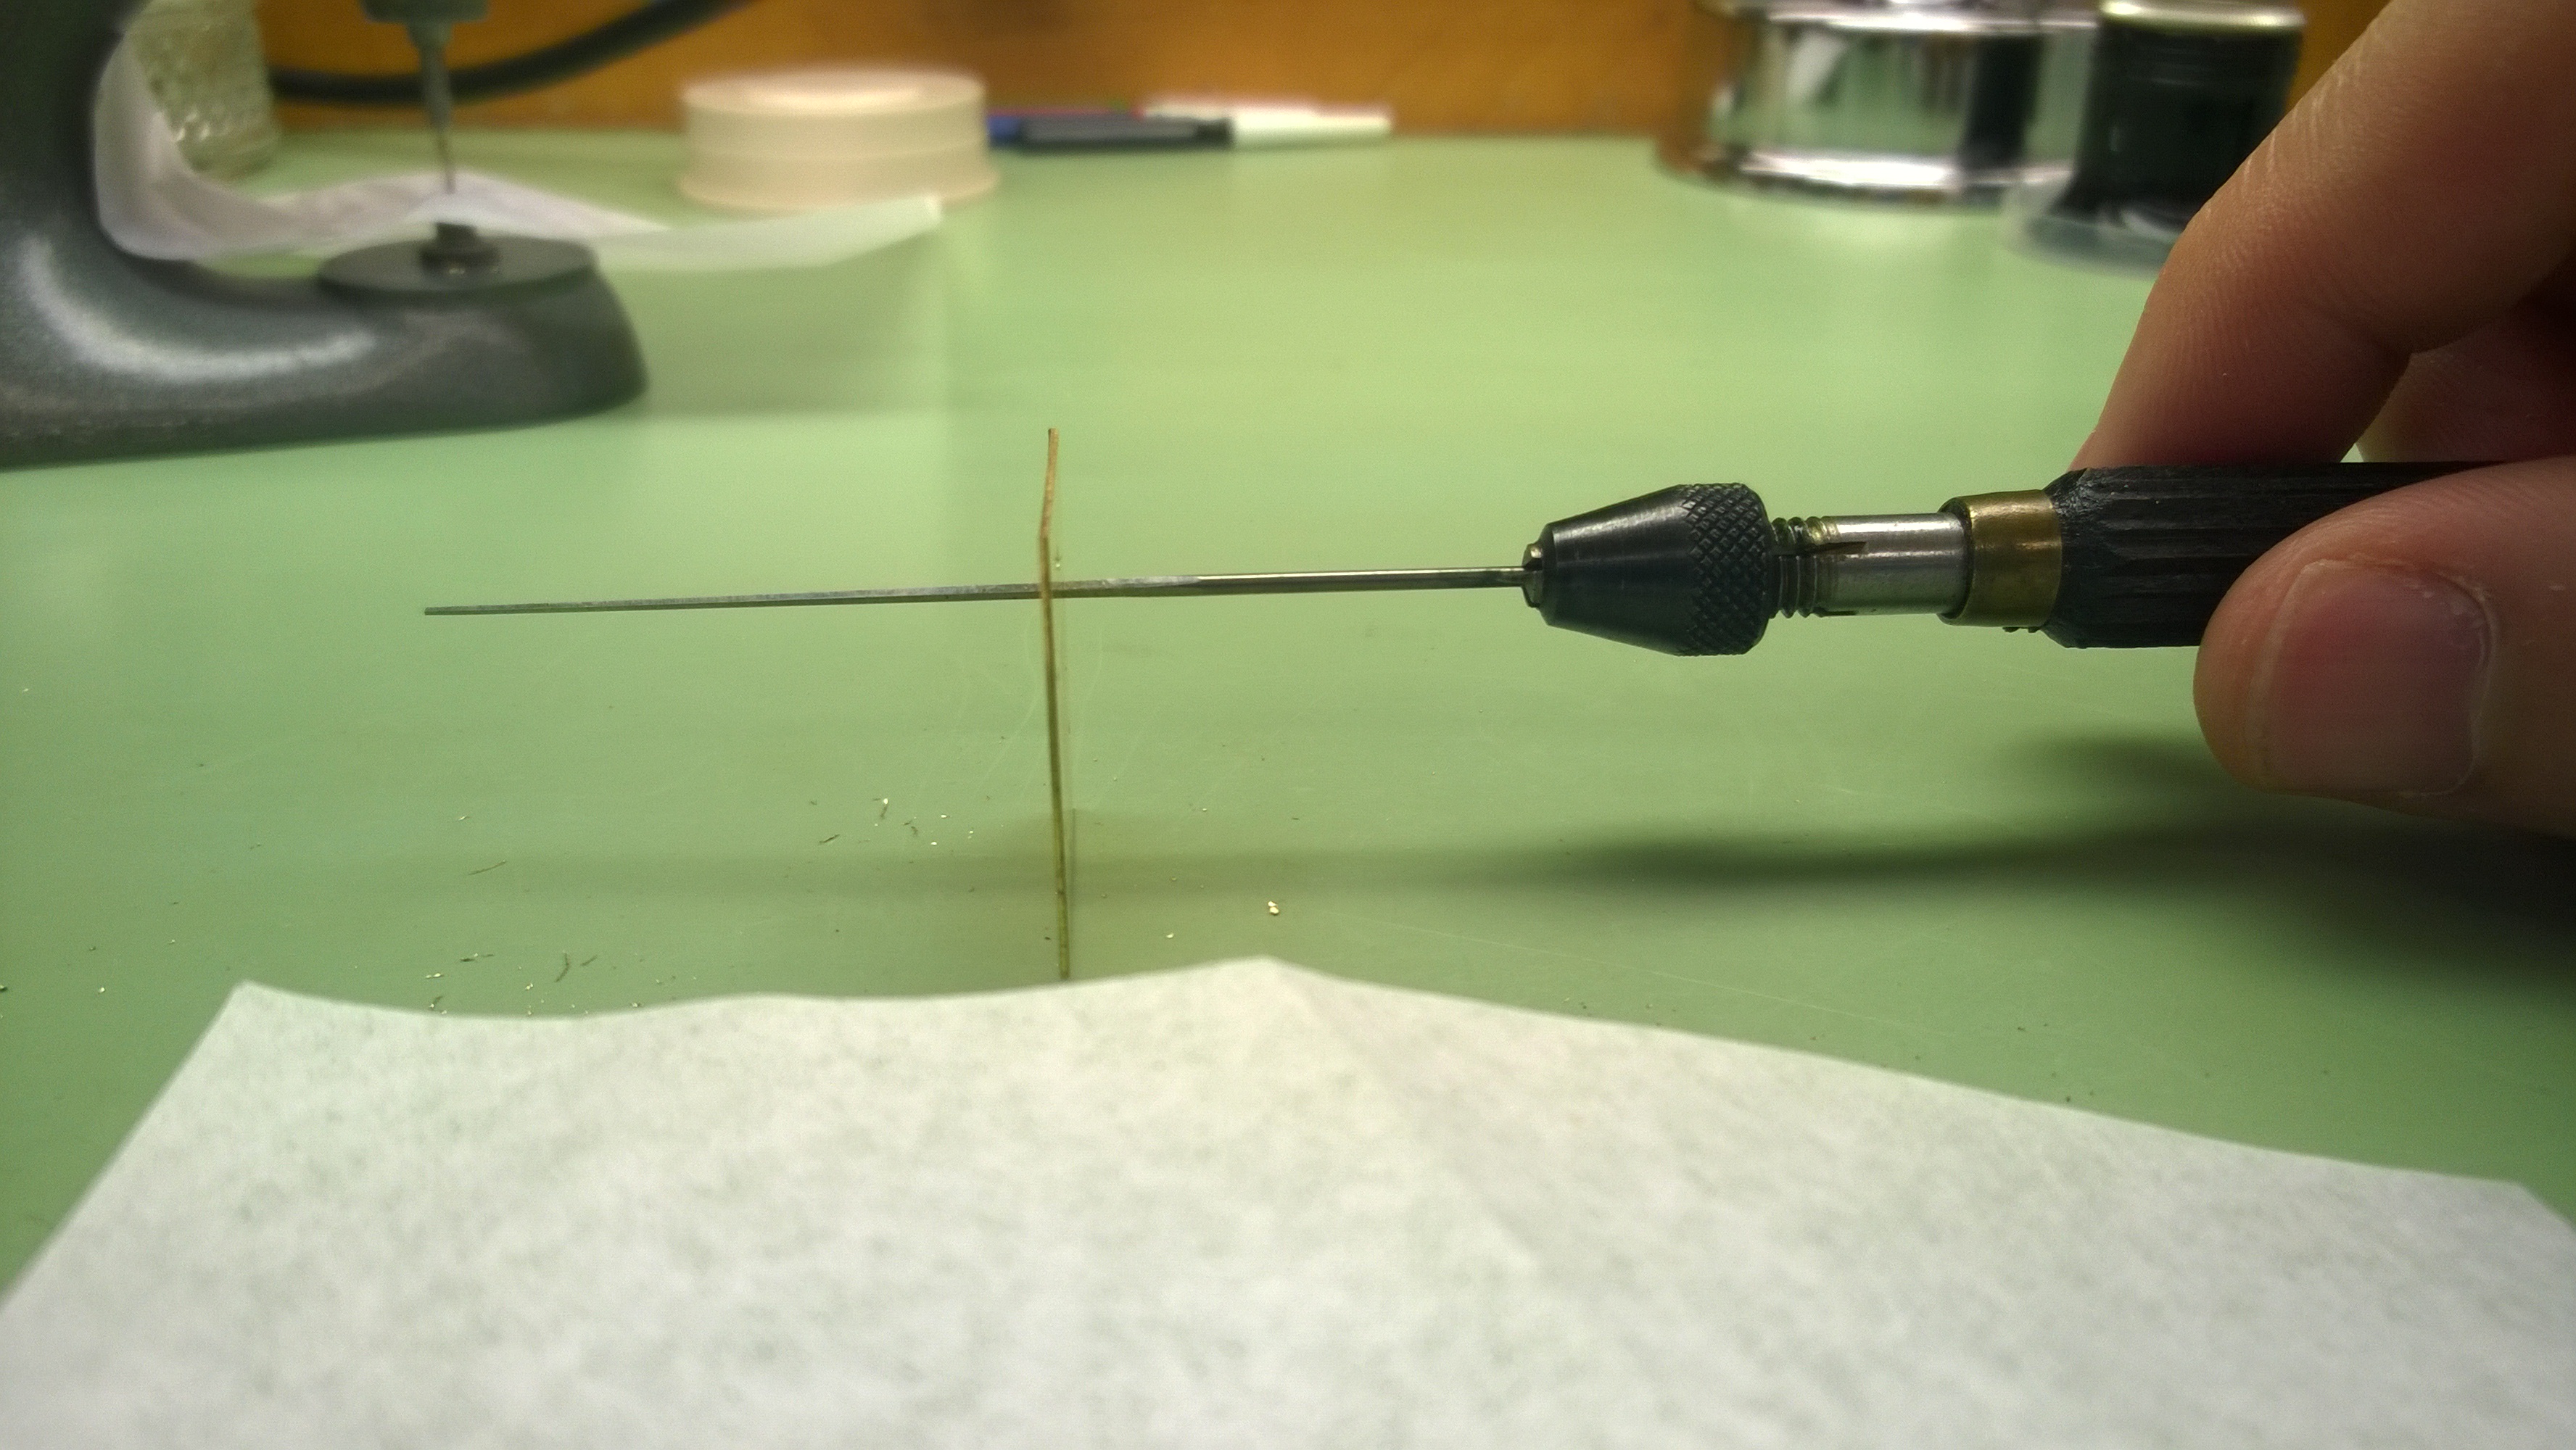
In the process of reaming the jewel with a .79 mm reamer The watch paper is there to protect the finish on the bridge. 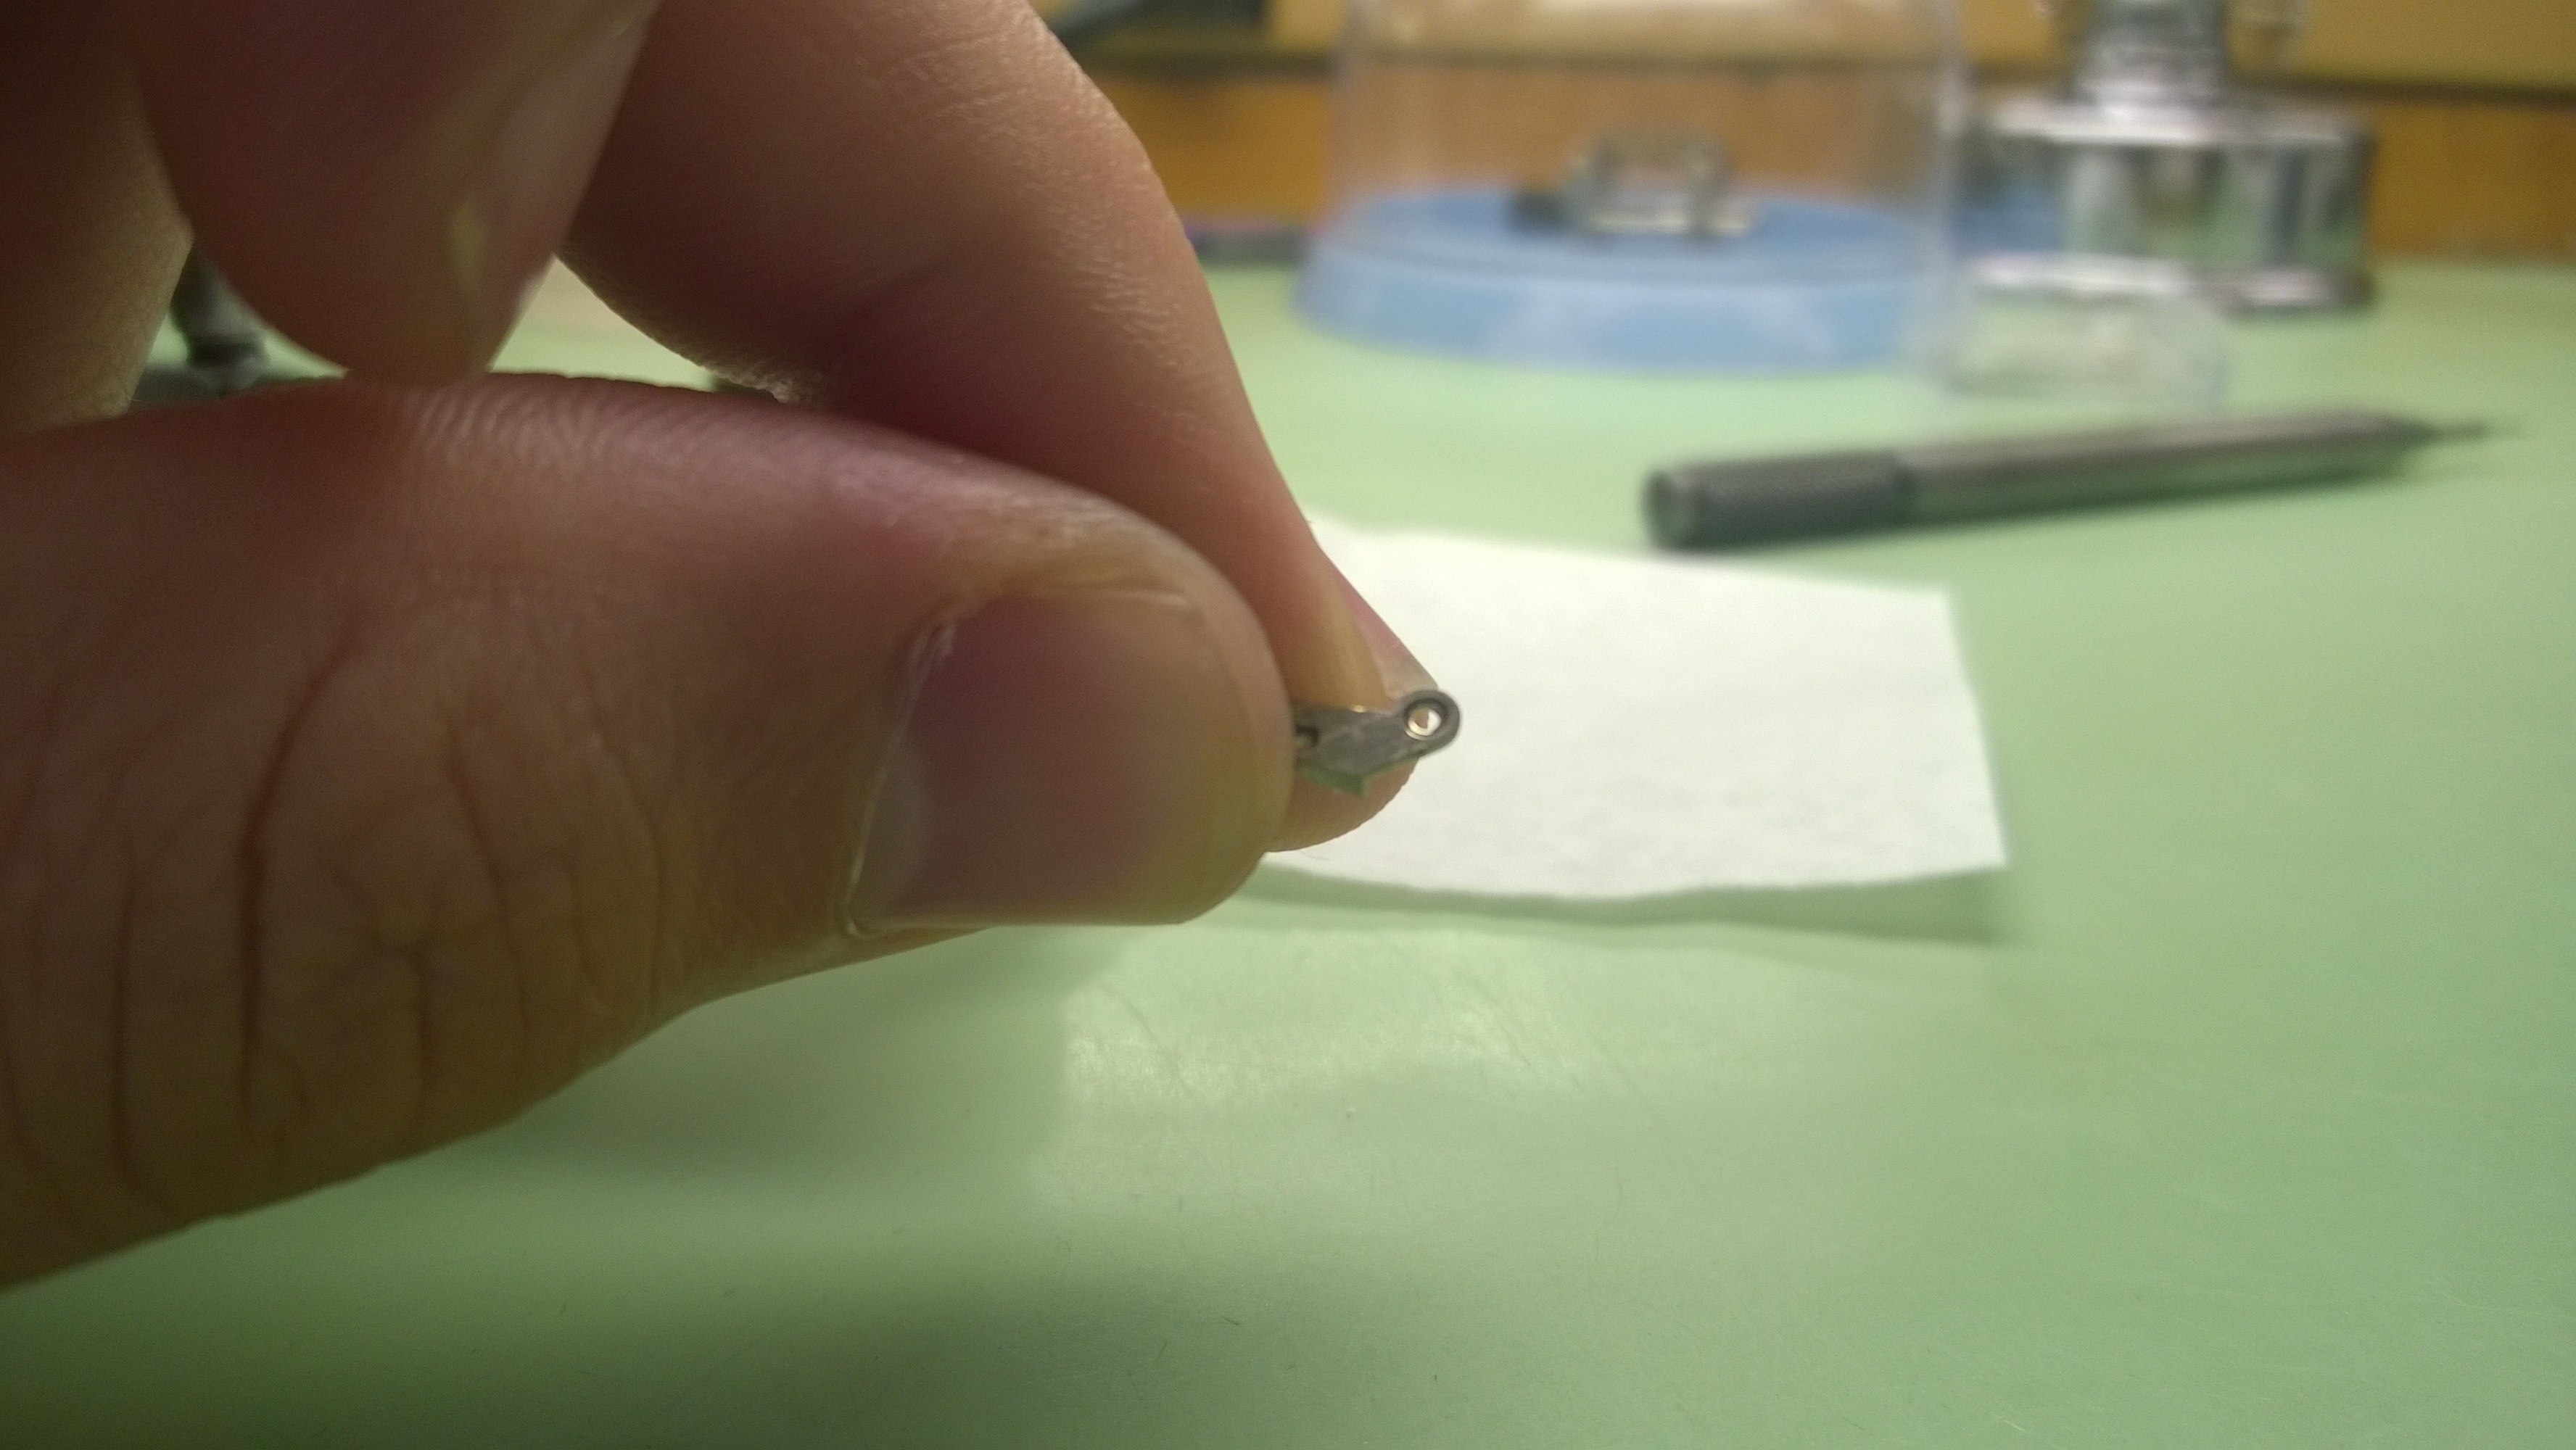
Everything is finished with regard to broaching, reaming and deburring. Time to friction fit the jewel. 
Success! The jewel fit perfectly, I was able to get it flush on the bottom side with ease. The real test was seeing if I had broached it properly and gotten it centered. 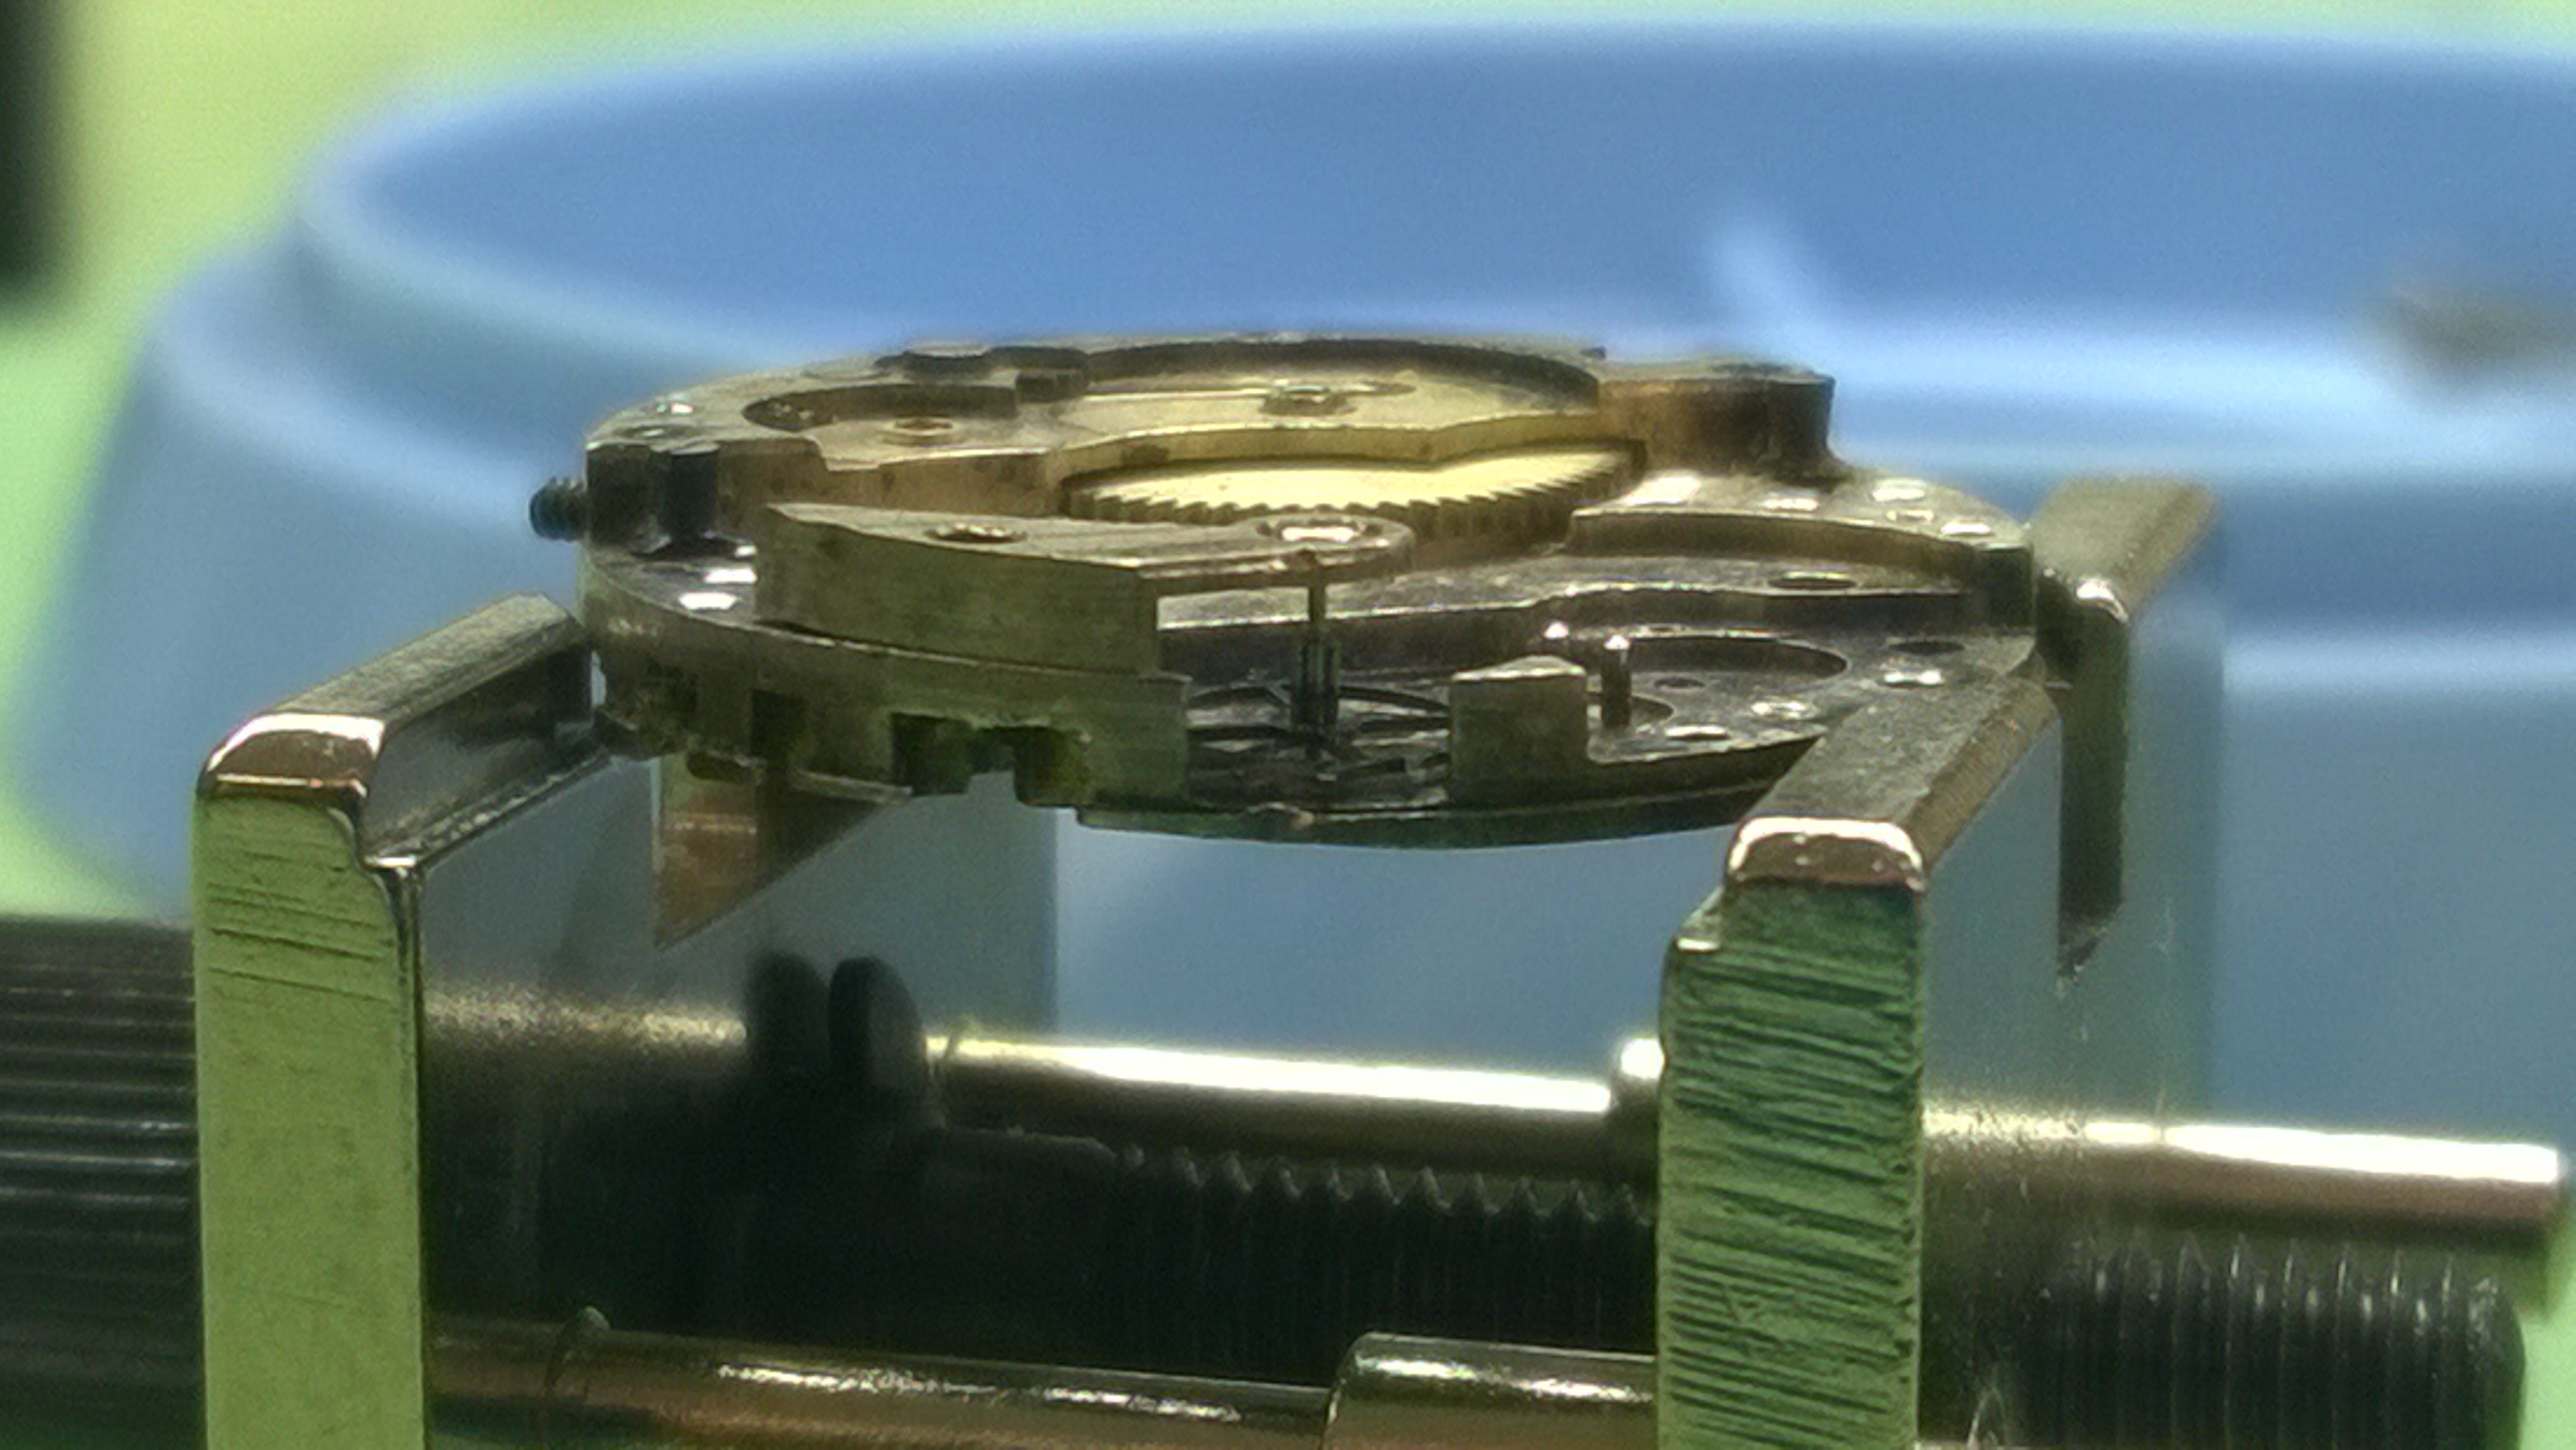 Everything looked great from this angle. I had Mr. Poye check my work and he told me it was good. On Monday, I’ll be doing the same process, but on the plate of the watch. If all is said and done, the escape wheel should be nestled nicely between two new jewels and spinning freely.
Jeweling has been a great project so far, and developing the skills and confidence to do something like a jewel conversion is helping me feel closer to being a watchmaker. It’s one thing to take apart a watch that is running and put it back together. That is an incredible feeling. It is a whole other feeling to physically change the watch (for the better) and still have it function when you are done.
